Border OptionsHugging border, circle, square, or rectangle — with a 3mm satin stitch.
Backing OptionsAvailable with iron-on, sew-on, or velcro backing.
Fast ShippingShipped quickly from the USA.
Free Online Tools
Powerful embroidery utilities that save time and prevent costly mistakes.
Stitch AssistantRECOMMENDED
Get the exact stabilizer, machine settings, needle, and thread color sequence for every embroidery design you purchase — based on that design's stitch density, dimensions, and color count.
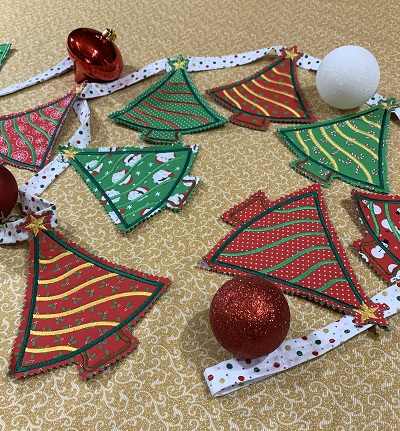
Brighten up your space with a colorful Christmas Tree Garland. This festive decoration features vibrant applique Christmas trees, perfect for adding seasonal cheer to any room. Step-by-step instructions are included.
Step
of
Applique Christmas Tree Garland
By Marisa Littleton
Brighten up your space with a colorful 'Christmas Tree Garland'. A fun, easy to make, seasonal decoration using an applique embroidery design.
Project time length will vary. A multi-needle embroidery machine was used to embroider the designs. Embrilliance Essentials embroidery software program was used to print a design template. A template guides placement and greatly decreases placement errors. However, a ruler and fabric pen can be used for design placement. Basic sewing skills are needed to complete the garland. Fat quarters and scrap fabrics do well for this project.
Step 1:
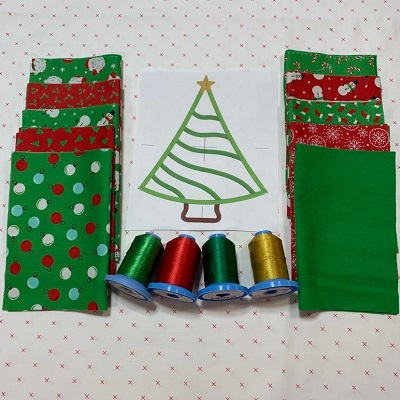
Read the directions before you begin the project. Gather & prepare the materials needed for the project. Scraps and fat quarter fabrics work well for the trees. Iron and lightly starch the fabric.
Step 2:
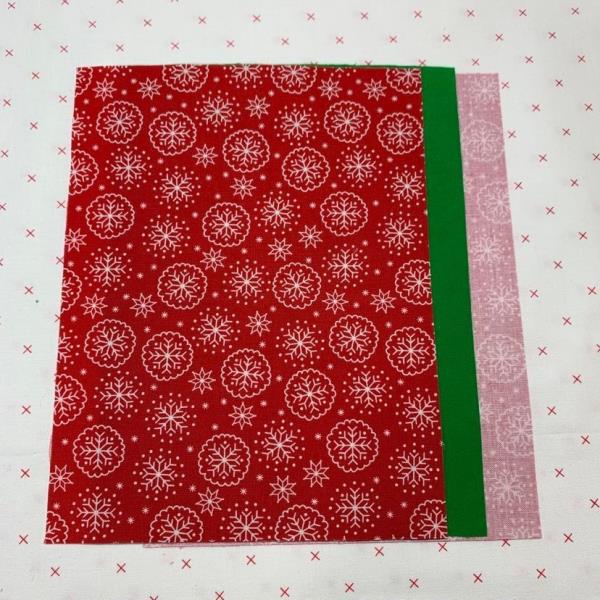
Use two cotton fabric pieces with one piece of flannel to make a set. Make sets with the remaining fabric pieces.
(Click Image to Enlarge)
Step 3:
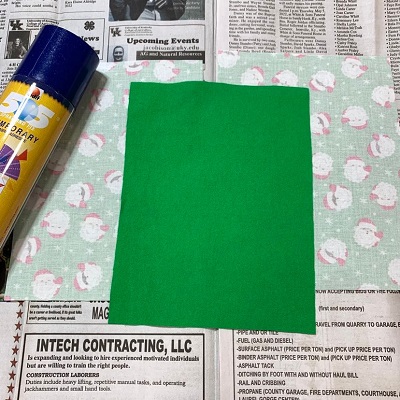
Use a light mist of 505 Temporary Adhesive spray to keep the fabrics from puckering while stitching.
Step 4:
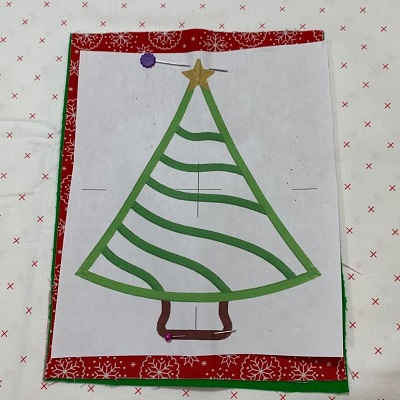
An essential tool for embroidery position and placement is a design template. A design template is a printout of the actual size of the design. It has the center of the design identified, as well as the horizontal and vertical axis lines. An embroidery program can print a template of any design. (Embrilliance Essentials embroidery software program was used to print the design template).
Center the design template on the 6"x8" fabric set. Pin the template onto the fabric.
Step 5:
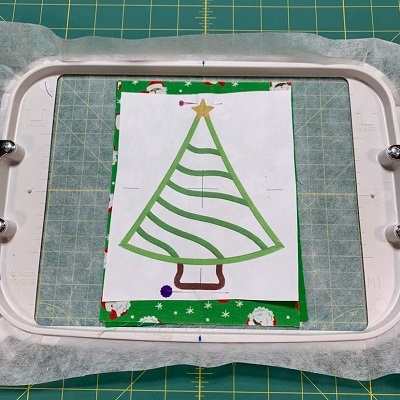
Hoop one piece of tear away stabilizer. Center the fabric in the hoop on the stabilizer. Use a light mist of 505 Temporary Adhesive spray to help hold the fabric on the stabilizer.
Step 6:
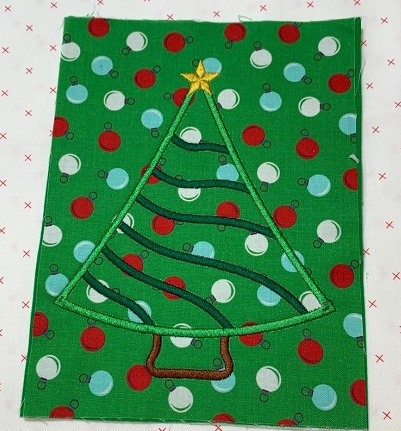
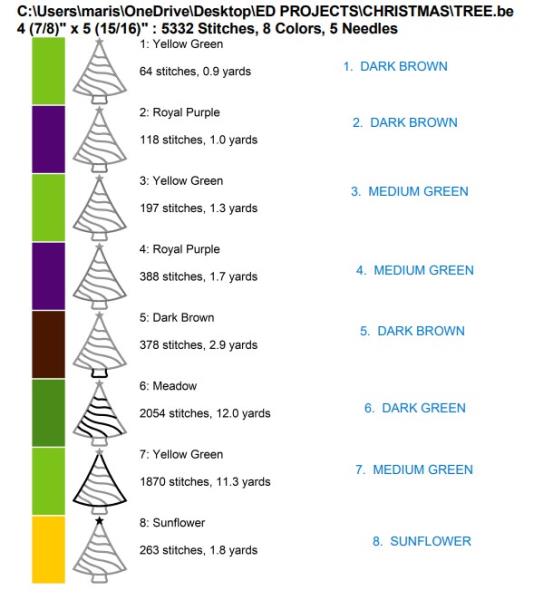
Load the design on the machine. A 75/11 size embroidery needle is suggested for this project. Attach the hoop to the machine. Check the stitching field area to make sure there is nothing in the way. Although the tree is an appliqued design; we are not following basic applique steps. We are simply stitching the design for the shape and details. Refer to the color chart included with the tutorial. Embroider the tree.
Step 7:
Once the design has completed stitching, remove the hoop from the machine. Remove the fabric from the hoop. Gently tear away the stabiliizer from the back of the design. Trim any long threads if needed.
Step 8:
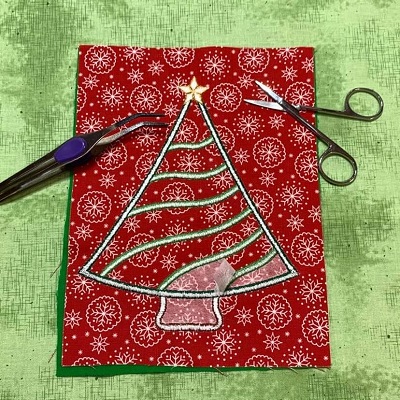
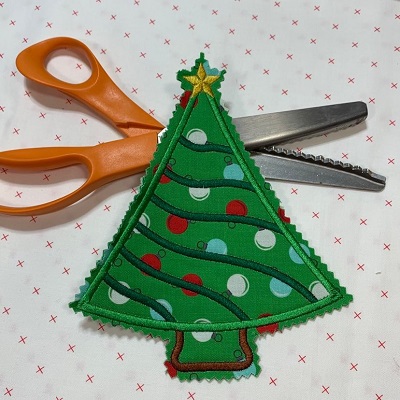
Use pinking shears or scissors to trim excess fabric from around the tree. The pinking shears will leave a jagged edge as it cuts. The number of trees needed will depend on the length of the garland. 6 trees were used for every 1 yard of garland. 12 trees are needed for 2 yards of garland. Repeat steps 4-8 for each tree you need.
Step 9:
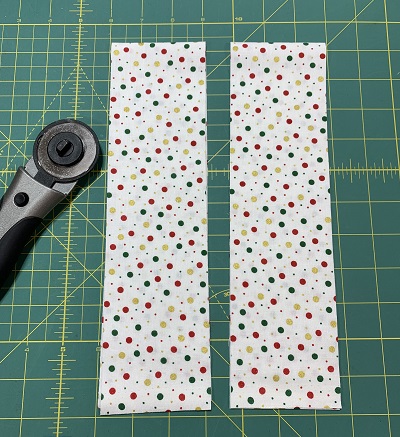
Cut two 3"x 42" (width of fabric) cotton pieces for the garland string.
Step 10:
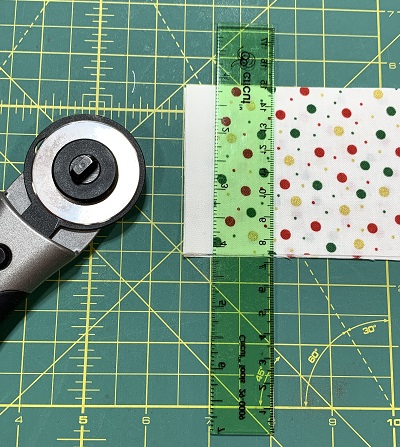
Trim the selvage off of the 3" ends of the strips.
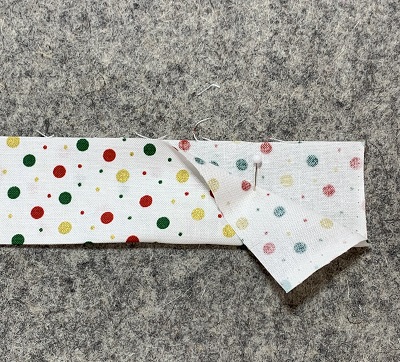
Step 11:
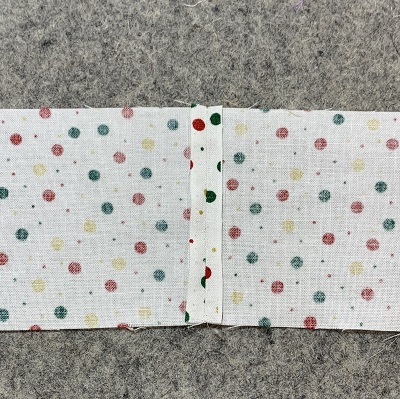
Pin two of the 3" ends right sides together. Sew a 1/4" seam along the 3" side. Use an iron to press the seam open,
Step 12:
Fold the strip in half. Press along the fold with an iron.
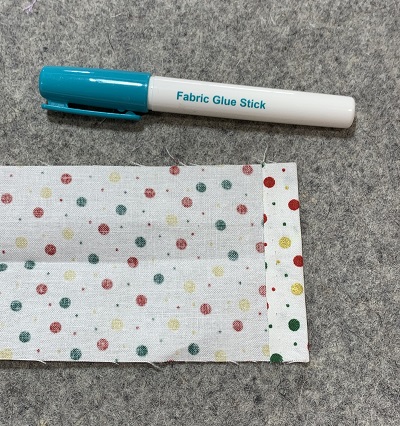
Step 13:
Fold the 3" side down toward the wrong side of fabric 1/2" Use a fabric glue stick to tack the folded piece down.
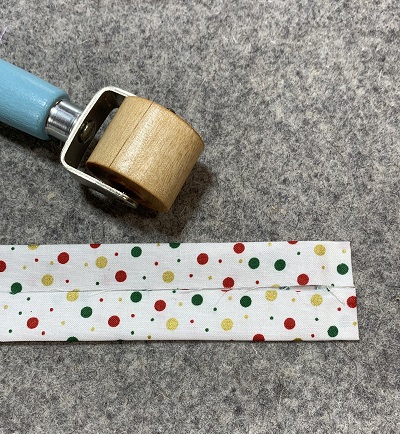
Step 14:
Fold the sides of the strip to the center crease line. Press a crease line at the fold on each side. A pressing tool was used on the folded side to make the crease.
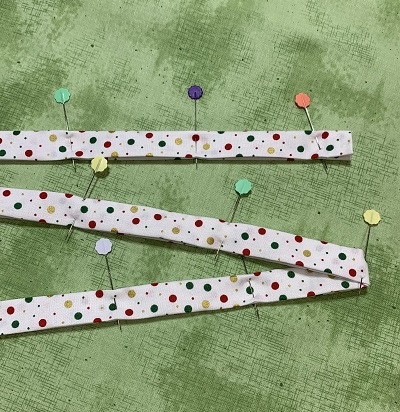
Step 15:
Fold the strip in half and pin in place.
Step 16:
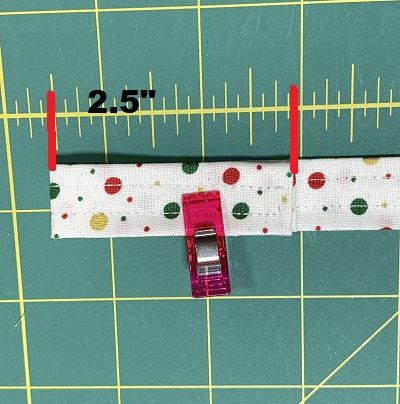
Measure 5" from the end of the garland. Fold the garland in half and clip in place. This will make a loop for hanging the garland.
Step 17:
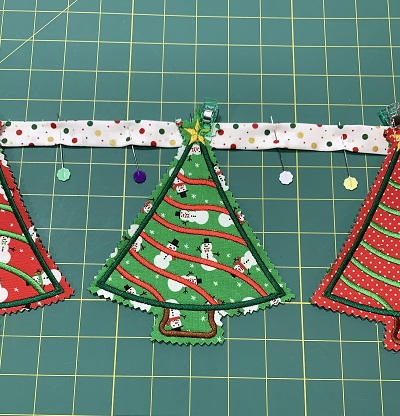
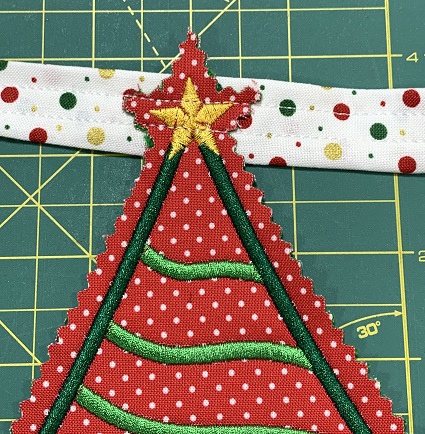
Pin trees to the garland leaving about 1" between the bottom of the trees. Make another hanging loop when you get to the end of the garland.
Step 18:
Sew a 1/4" around all sides of the garland.
Step 19:
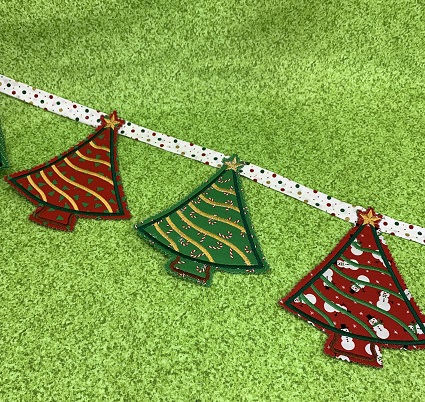
Congrats! You have completed a 'Christmas Tree Garland'. A short garland (less than a yard) would decorate a doorway or an office cubby. The bulletin boards in nursing home rooms would measure approximately one yard. Stairways & mantels would need longer garlands.
Marisa Littleton is a retired educator with a love for teaching and learning. Interests include machine embroidery, hand embroidery, quilting, cooking, and antiques.