Border OptionsHugging border, circle, square, or rectangle — with a 3mm satin stitch.
Backing OptionsAvailable with iron-on, sew-on, or velcro backing.
Fast ShippingShipped quickly from the USA.
Free Online Tools
Powerful embroidery utilities that save time and prevent costly mistakes.
Stitch AssistantRECOMMENDED
Get the exact stabilizer, machine settings, needle, and thread color sequence for every embroidery design you purchase — based on that design's stitch density, dimensions, and color count.
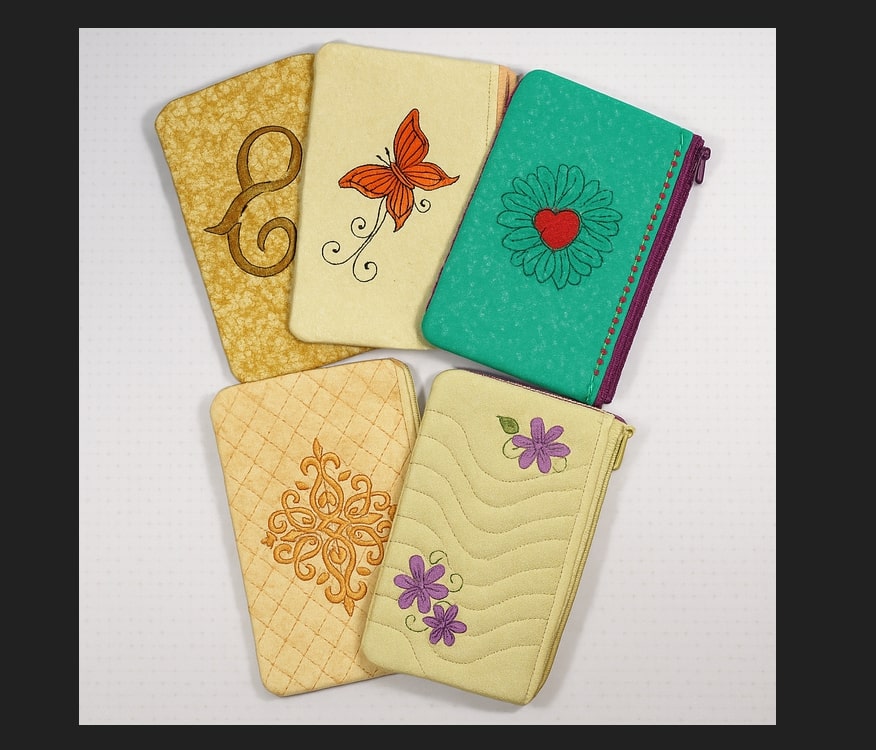
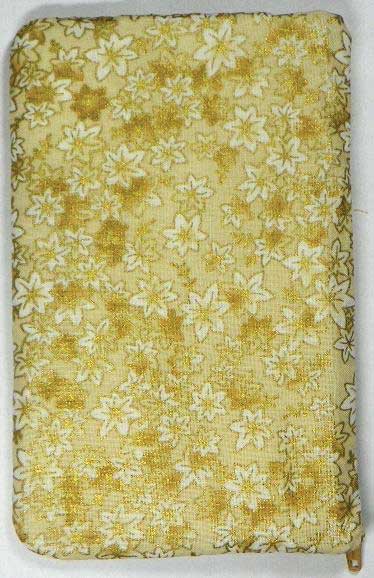
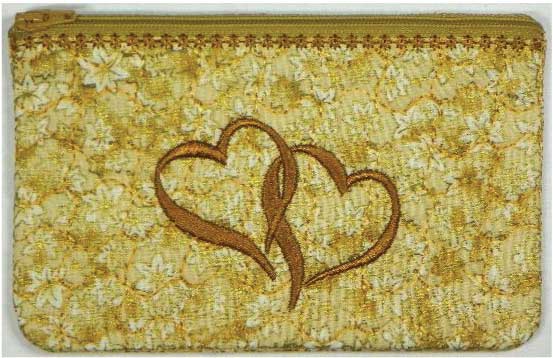
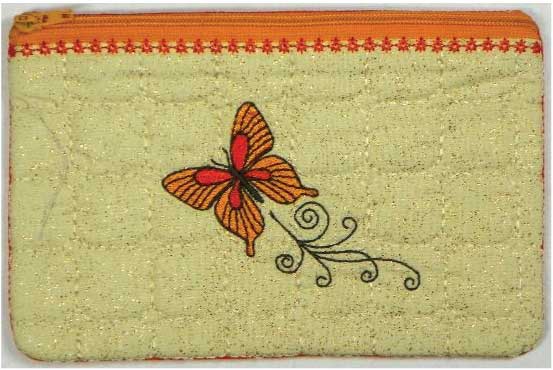
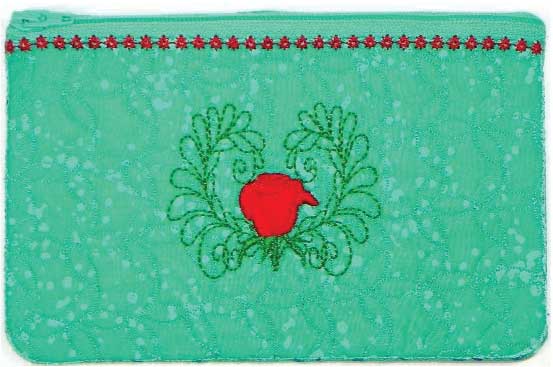
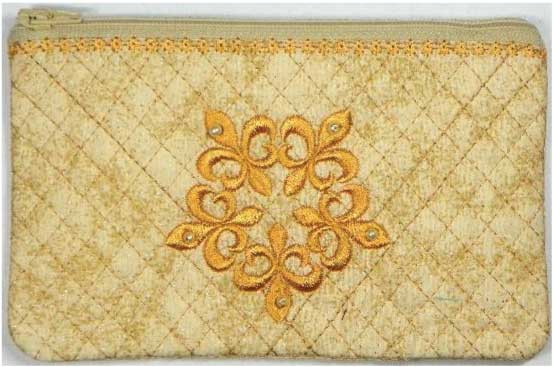
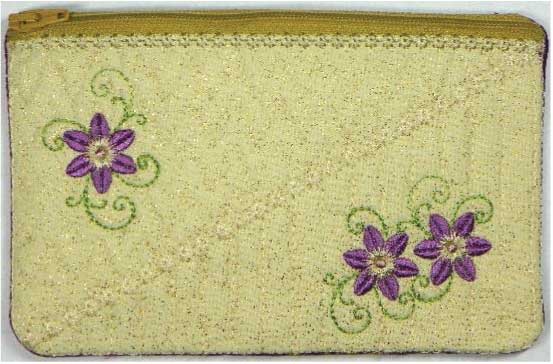
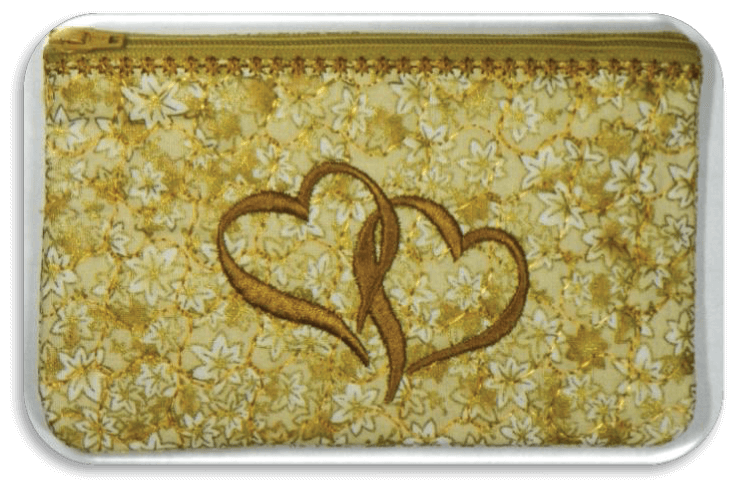
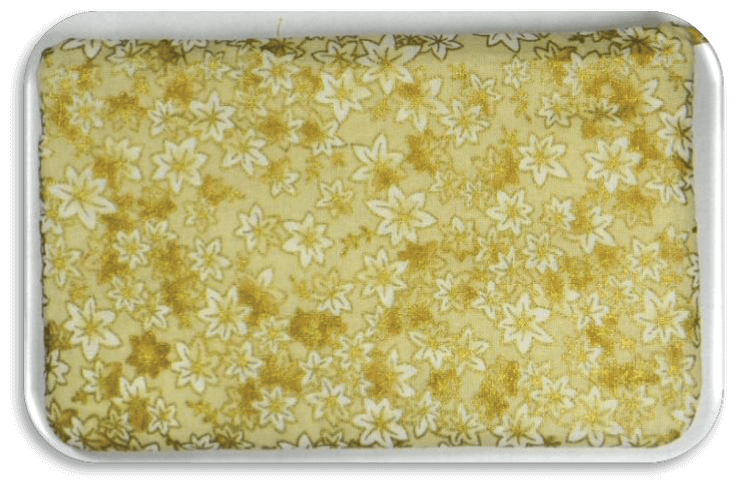
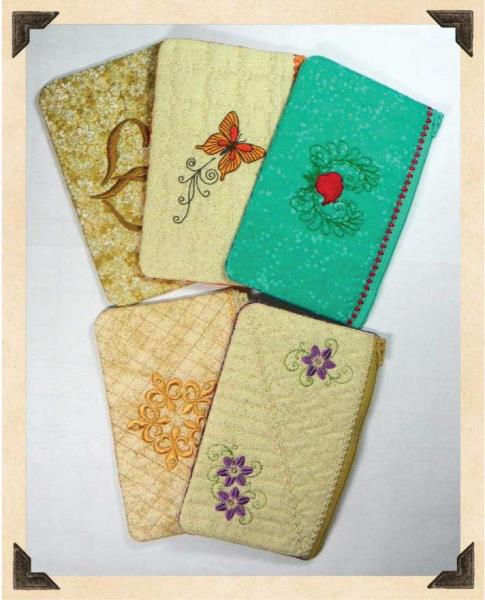
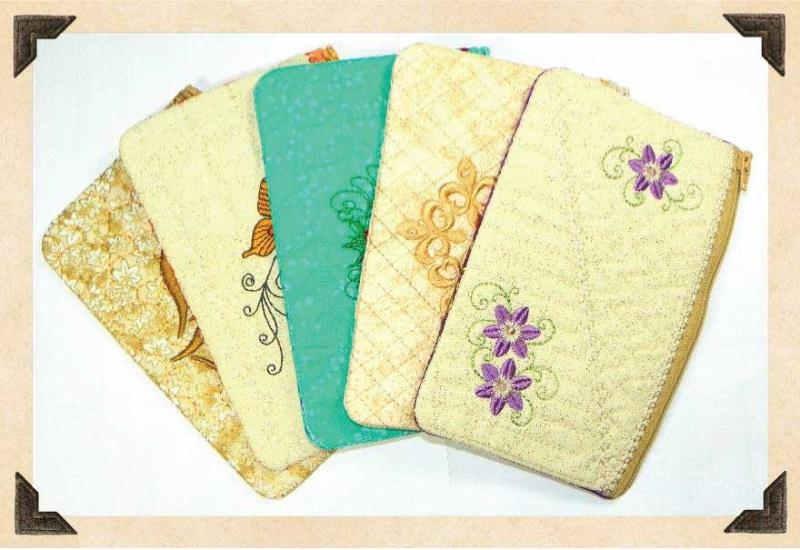
Create a delightful set of ITH zipper pouches adorned with unique floral and artistic designs. These fully lined pouches are perfect for organizing your essentials or as thoughtful gifts. Quick to complete in under an hour. Step-by-step instructions are included.
Step
of
ITH Floral and Artistic Zipper Pouch Set
By Sew Chic
This is a collaboration between Artsy Knots and Holly. The copyrights to digitizing and project instructions belongs to Holly.
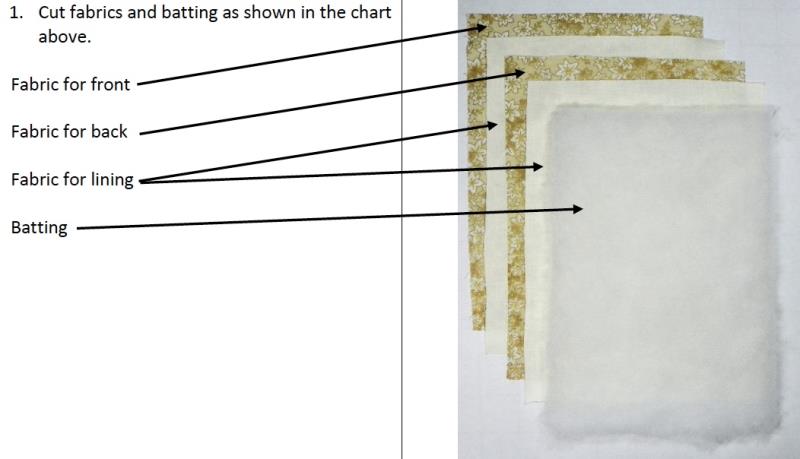
Cut Sizes
1 cut for front at 6 x 8 inches
1 cut for back at 6 x 8 inches
2 cuts at 6 x 8 inches
(Color to match selected fabric)
Enough for one 5 x 7 inch hooping
1 cut at 5 x 8
Step 1:
Cut fabrics and batting as shown in the chart above.
(Click Image to Enlarge)
Step 2:
(Click Image to Enlarge)
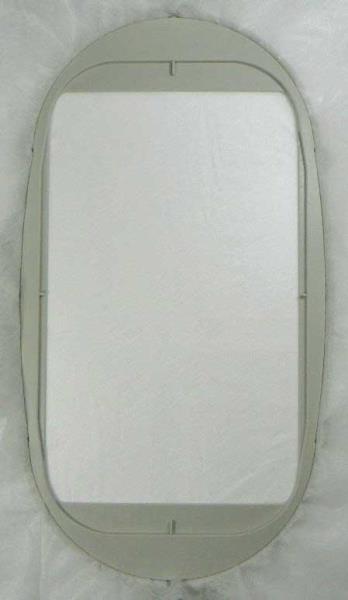
Hoop Tear-away stabilizer in a 5 x 7 inch embroidery hoop.
Step 3:
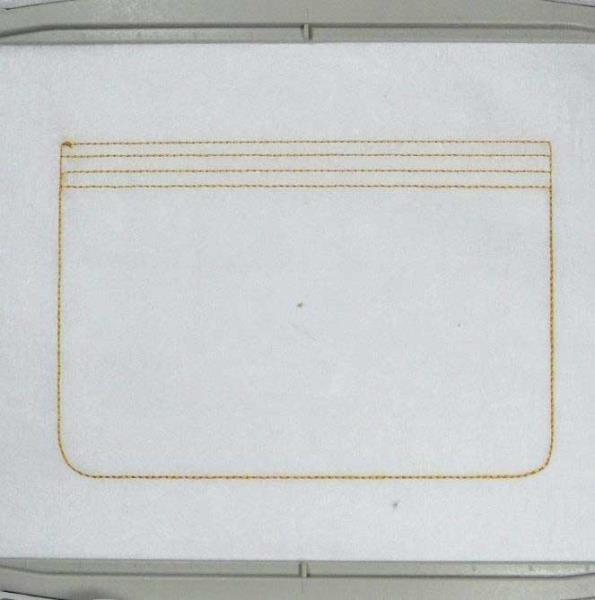
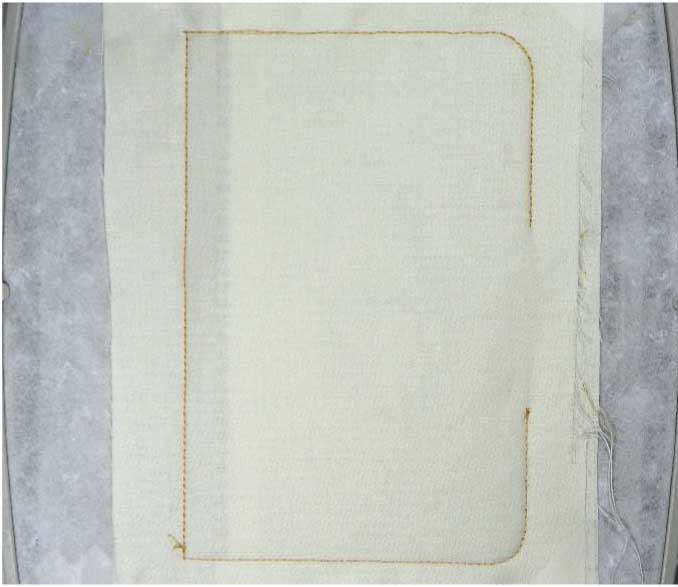
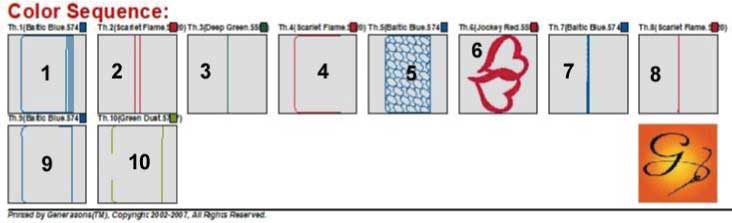
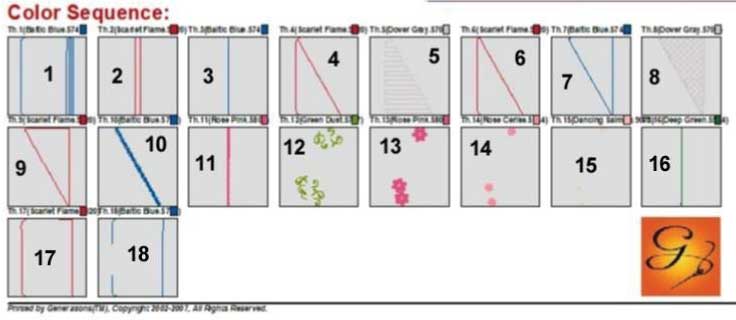
Send design to embroidery machine and sew #1 in the Color Sequence Chart. These stitches will create the placement stitches for the project.
(Click Image to Enlarge)
Step 4:
(Click Image to Enlarge)
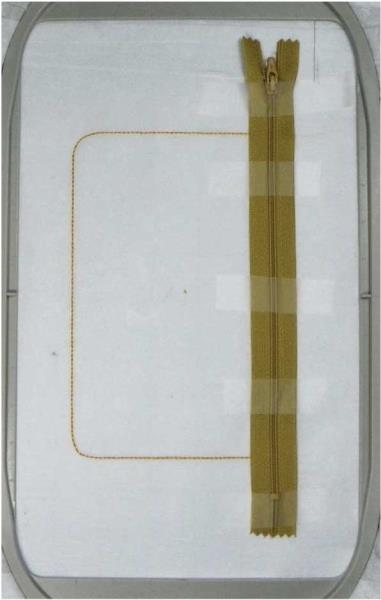
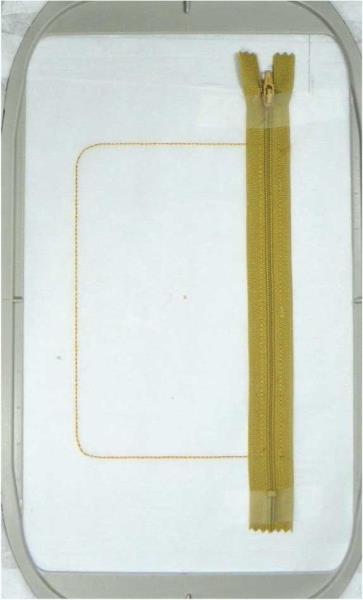
Remove hoop from machine, place on a flat surface, and place the 9 inch zipper across the top of the placement stitches. It is important to line up the center teeth with the correct stitching line as indicated below. The third line from the top of the pouch. Secure with tape.
Step 5:
(Click Image to Enlarge)
Return hoop to machine and sew #2 in the Color Sequence Chart. These stitches will attach the zipper to the stabilizer.
Step 6:
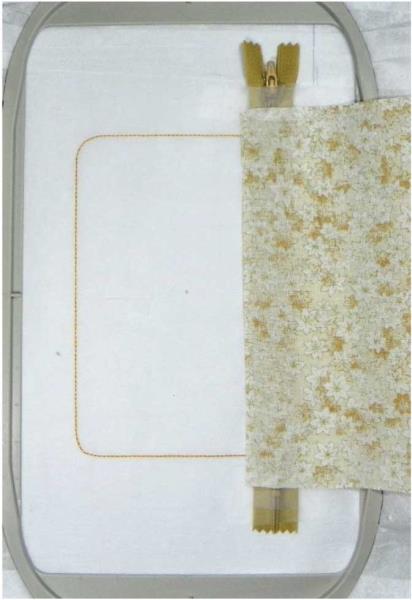
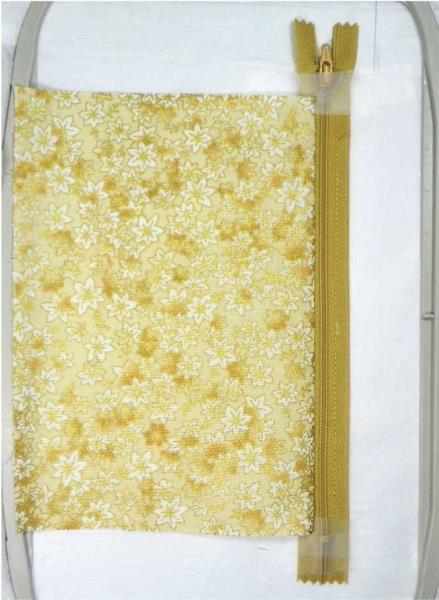
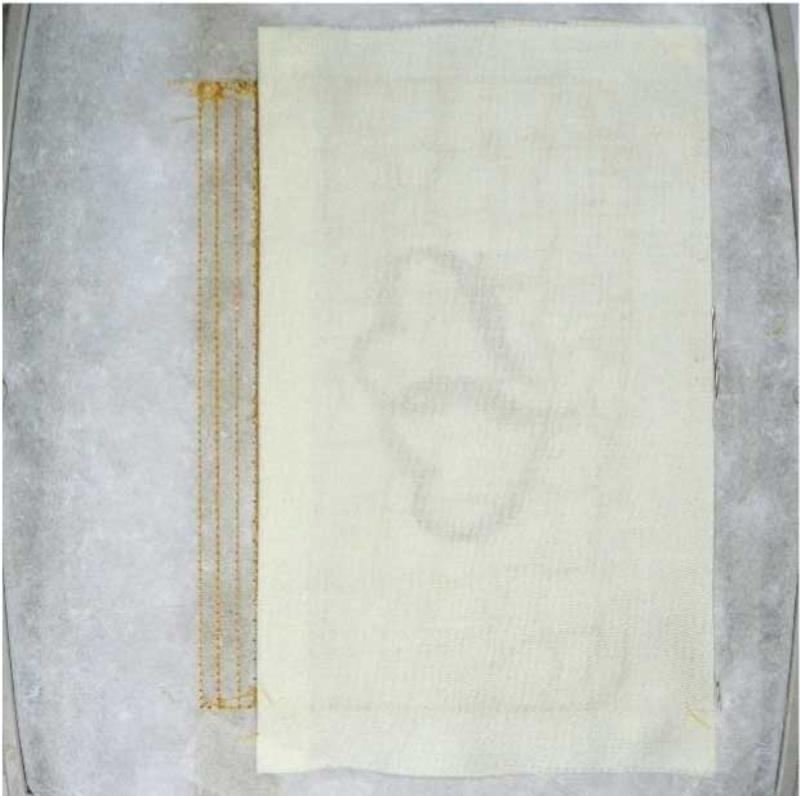
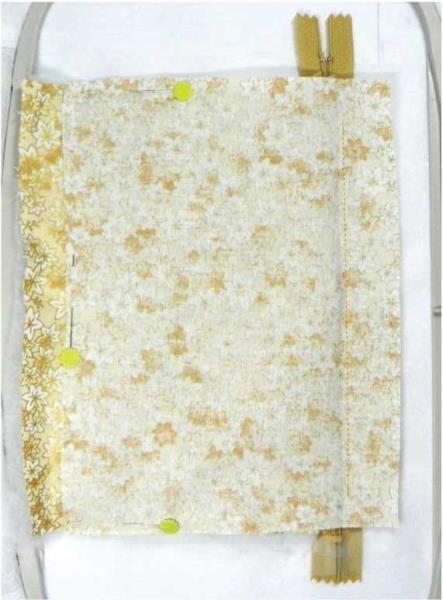
Remove hoop from machine and take the fabric piece for the front of the project, turn right-side DOWN and place along the bottom line of the zipper.
(Click Image to Enlarge)
Step 7:
Secure with tape at both ends of the zipper.
Step 8:
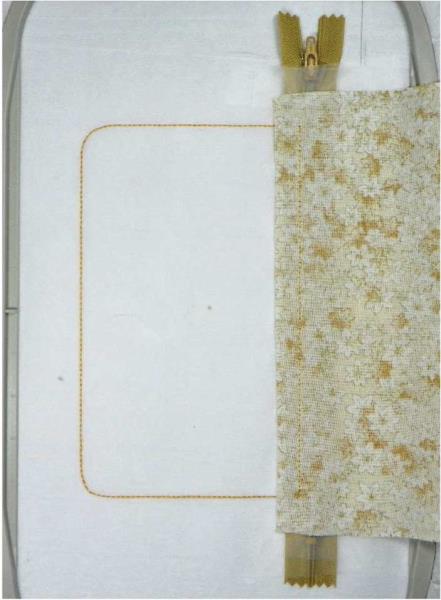
Return hoop to machine and sew #3 in the Color Sequence Chart. These stitches will attach the front fabric to the stabilizer and zipper.
(Click Image to Enlarge)
Step 9:
Remove hoop from machine and lay on a flat surface.
Step 10:
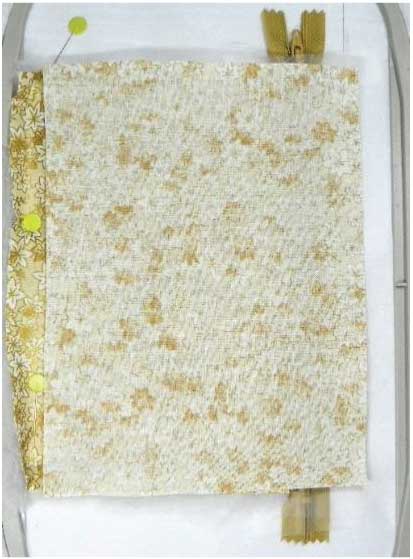
Remove any tape holding down the fabric piece and fold the fabric down as shown in the photo. Finger press the seam.
(Click Image to Enlarge)
Step 11:
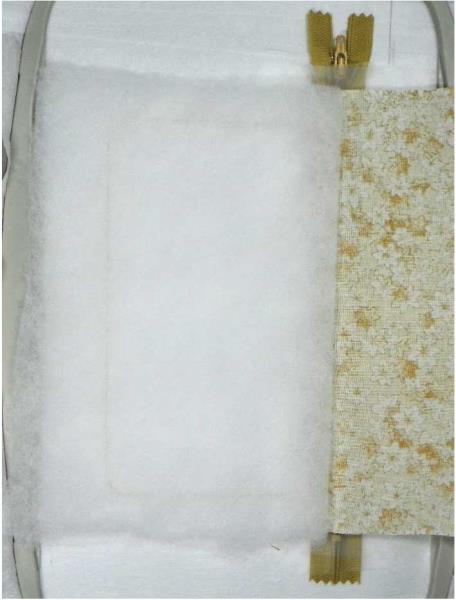
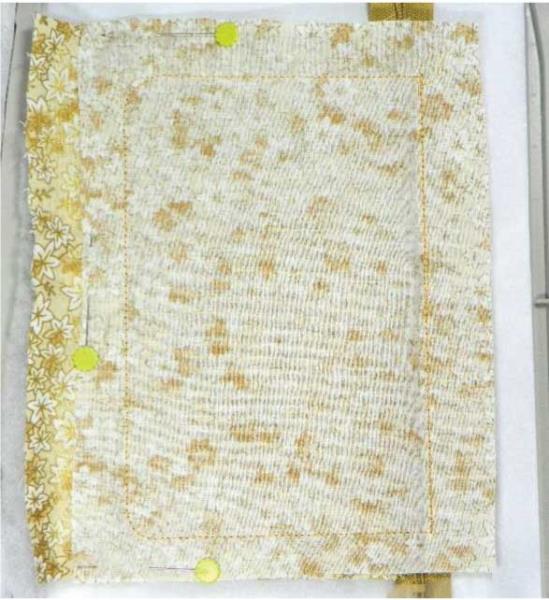
Fold back the front fabric piece and place the batting on the hoop as shown in the photo.
(Click Image to Enlarge)
Step 12:
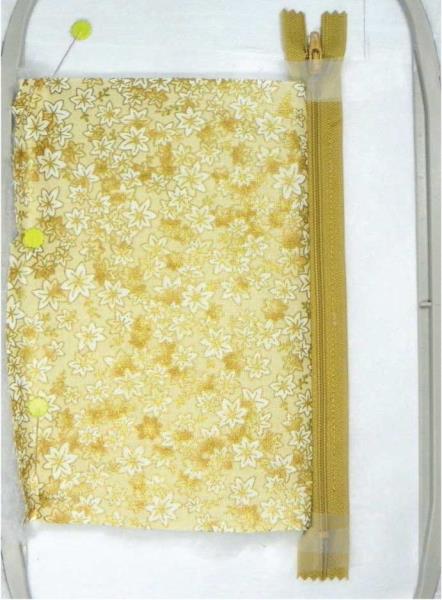
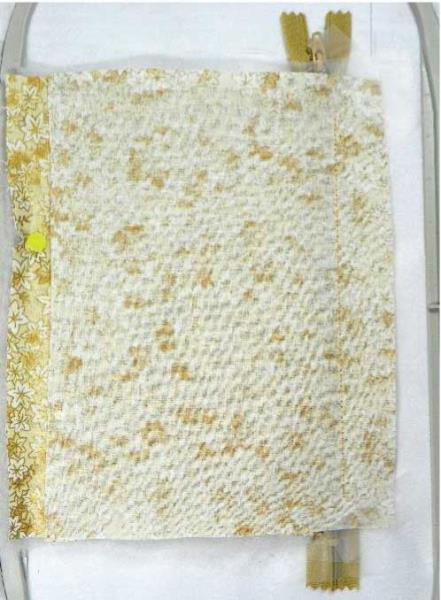
Fold the fabric piece down again. Smooth and pin or tape in place.
(Click Image to Enlarge)
Step 13:
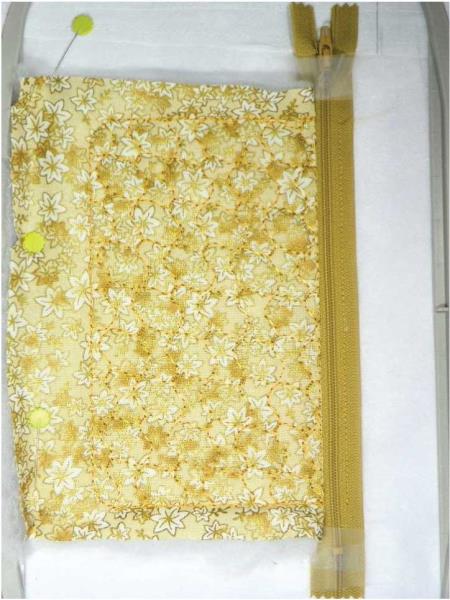
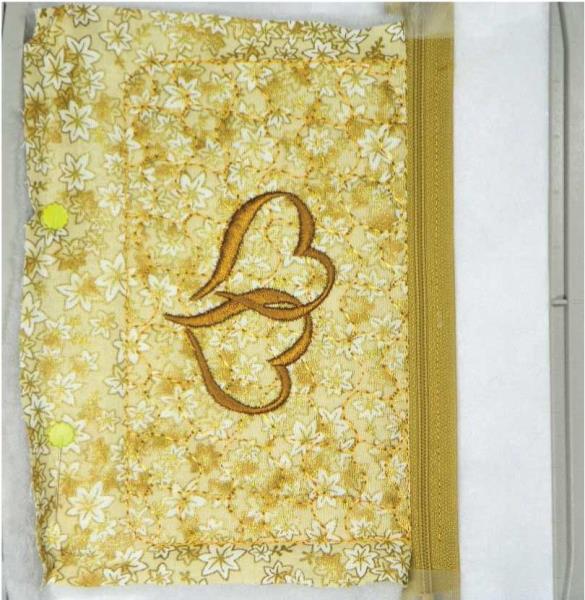
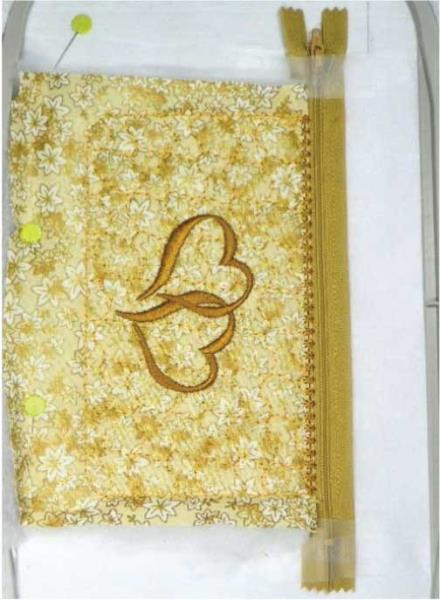
Return hoop to machine and sew #4 and #5 in the Color Sequence Chart. These stitches will attach the fabric and batting to the stabilizer and create the “quilting” on the front of the project.
(Click Image to Enlarge)
Step 14:
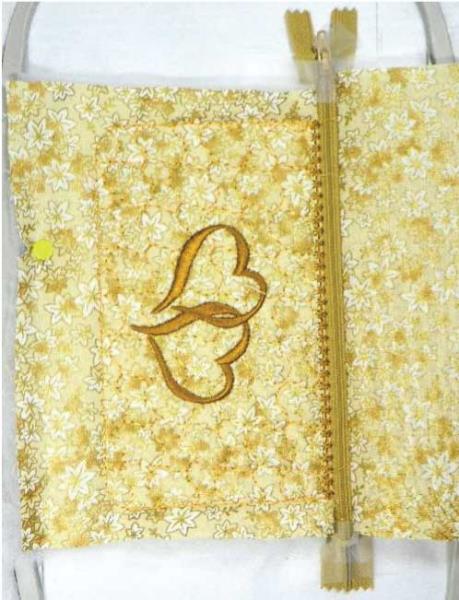
Sew #6 in the Color Sequence Chart. These stitches will create the design on the front of the project. (Monograms can be used if desired to personalize the project.)
(Click Image to Enlarge)
Step 15:
Take one of the lining fabric pieces and fold down about 1 inch toward the back side of the fabric.
(Click Image to Enlarge)
Step 16:
Remove hoop from machine. With the hoop turned up-side down, place the folded lining fabric piece along the area as shown in the photo.
(Click Image to Enlarge)
Step 17:
Secure in place with pins or tape.
Step 18:
Return hoop to machine and sew #7 in the Color Sequence Chart. Use same color bobbin thread as it will show on inside of lining. These stitches will create a decorative row of stitches to secure the lining to the front of the project.
Hoop Front
(Click Image to Enlarge)
Step 19:
Hoop Back
Remove hoop from machine.
(Click Image to Enlarge)
Step 20:
Take the fabric piece for the back of the project and place it, wrong side facing up, over the FRONT of the hoop as shown in the photo. Make sure the placement stitches are covered completely.
Step 21:
Secure in place with pins or tape.
(Click Image to Enlarge)
Step 22:
Return hoop to machine and sew #8 in the Color Sequence Chart. These stitches will attach the fabric back to the project at the top of the zipper.
(Click Image to Enlarge)
Step 23:
Remove hoop from machine and fold the back, fabric piece toward the side of the hoop.
(Click Image to Enlarge)
Step 24:
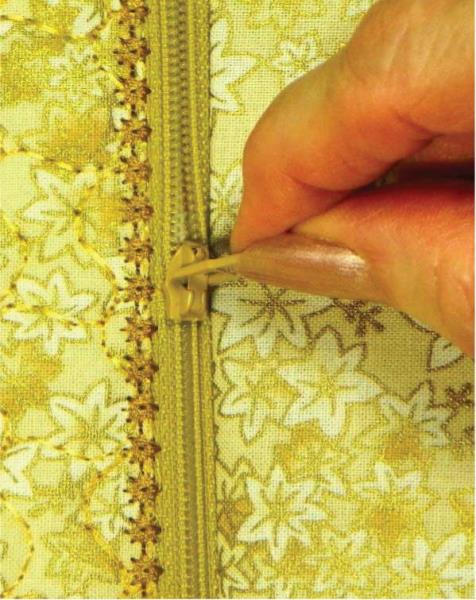
Slide the zipper pull to the center of the zipper. (If this is not done, you will not be able to open the pouch later.)
(Click Image to Enlarge)
Step 25:
Fold the back, fabric piece back in place and secure with pins or tape.
(Click Image to Enlarge)
Step 26:
Return hoop to machine and sew #9 in the Color Sequence Chart. These stitches will attach the back fabric and lining piece to the project.
(Click Image to Enlarge)
Step 27:
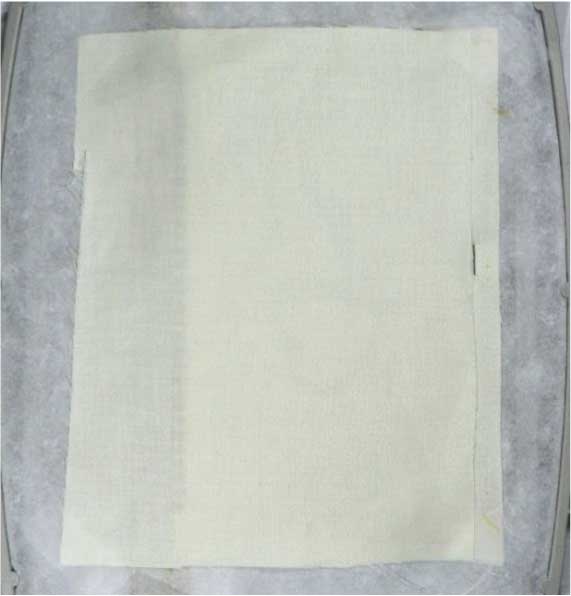
Remove hoop from machine, turn hoop up-side-down and place the last lining piece over the project on back of the hoop. Secure with tape.
(Click Image to Enlarge)
Step 28:
Return hoop to machine and sew #10 in the Color Sequence Chart. Notice that a section was left open and will be used for turning the project later.
(Click Image to Enlarge)
Step 29:
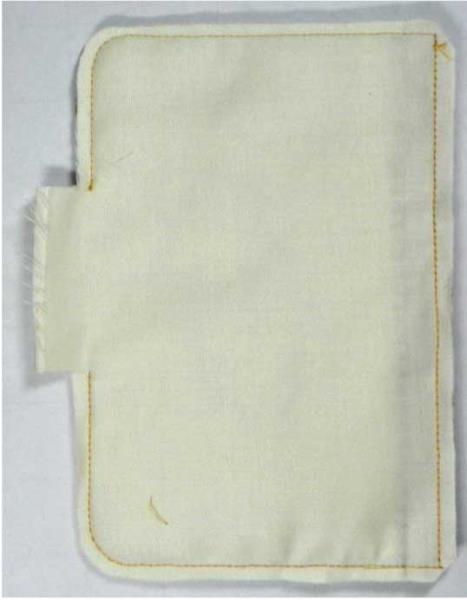
Remove the hoop from the machine and the project from hoop.
Step 30:
Trim away excess materials (fabrics and excess zipper) from around the project. Do not cut away the fabric from the area left open for turning-it can be trimmed but leave at least an inch.
(Click Image to Enlarge)
Step 31:
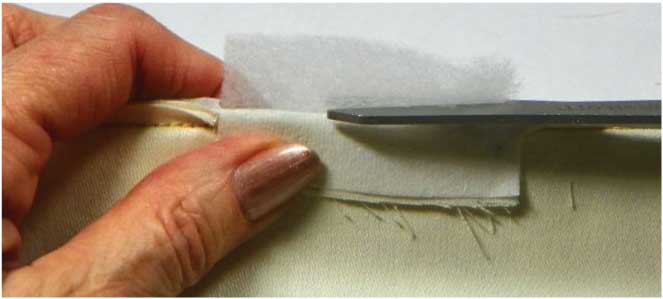
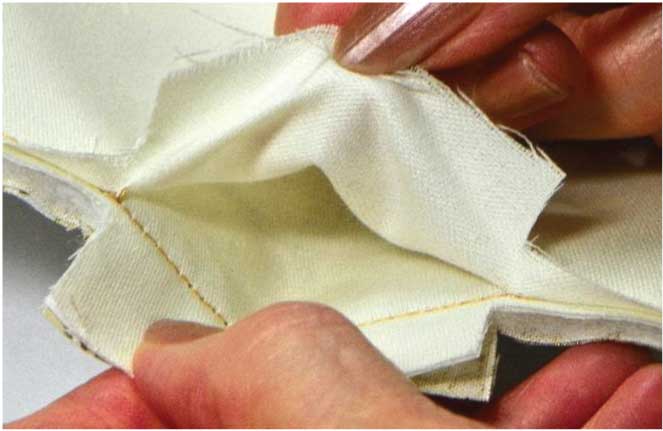
Open the area left open for turning and cut away excess batting and stabilizer.
(Click Image to Enlarge)
Step 32:
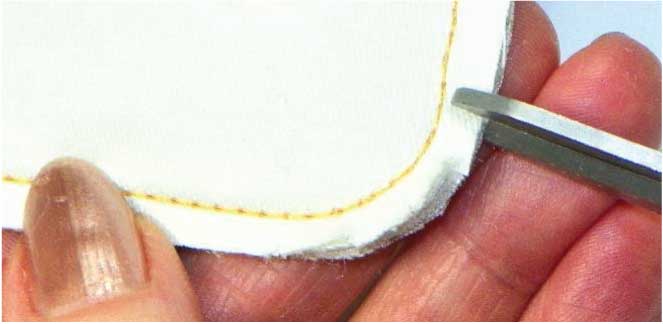
Carefully clip the corners----do not cut the stitching line. This will make turning easier.
(Click Image to Enlarge)
Step 33:
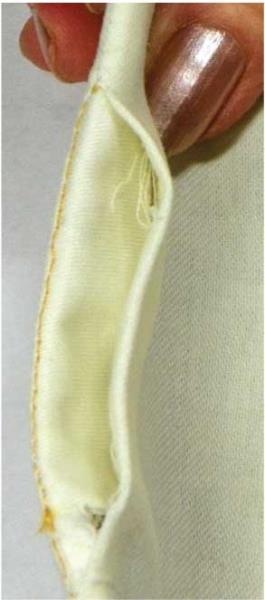
Locate where the two lining pieces. This is where the first turning will be done.
Step 34:
Carefully turn the project-this can be tricky and require patience.
(Click Image to Enlarge)
Step 35:
After the first turn, press the project – use a pressing cloth.
(Click Image to Enlarge)
Step 36:
(Click Image to Enlarge)
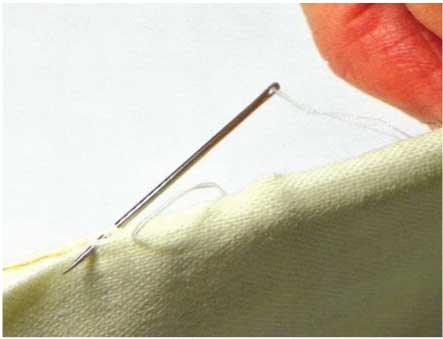
Fold in the flaps and hand stitch to close the area. I use a simple whip-stitch.
Step 37:
.
Step 38:
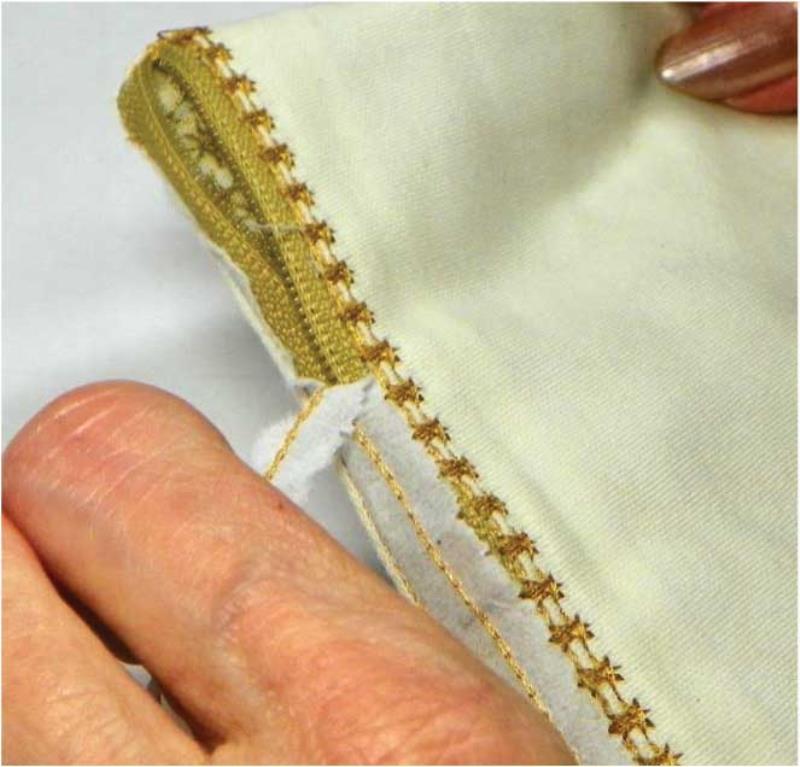
Carefully tear away the stabilizer from around the zipper area.
(Click Image to Enlarge)
Step 39:
In the zipper section left open, slide the zipper pull to the end to open the project.
(Click Image to Enlarge)
Step 40:
(Click Image to Enlarge)
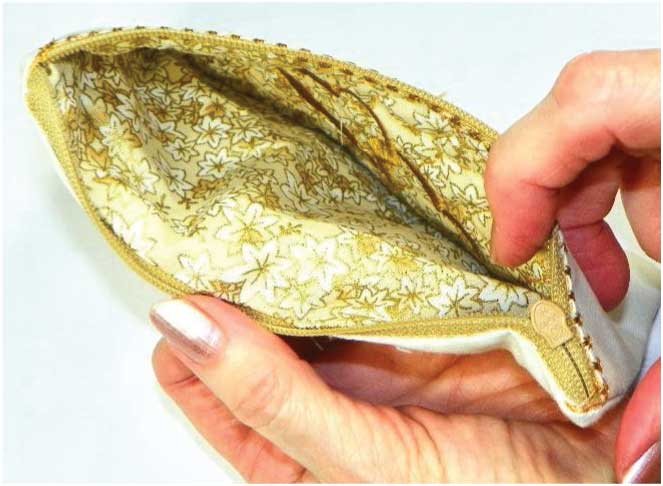
Turn the project, making sure to get the corners pushed out neatly.
Step 41:
(Click Image to Enlarge)
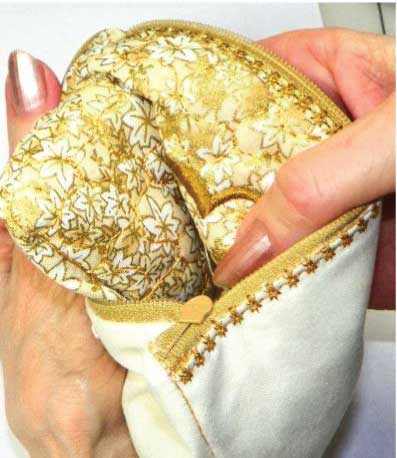
Press the project using a pressing cloth.
Step 42:
(Click Image to Enlarge)
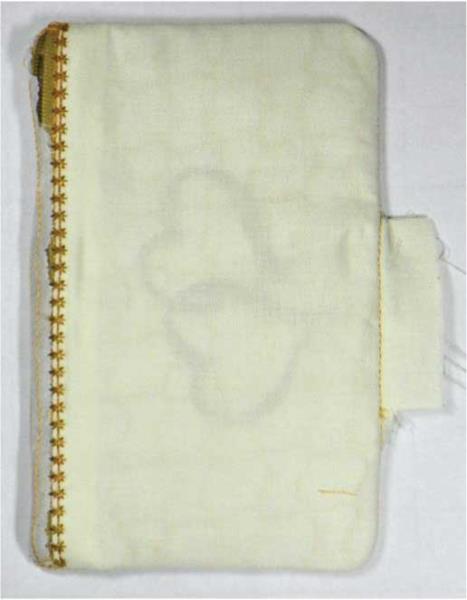
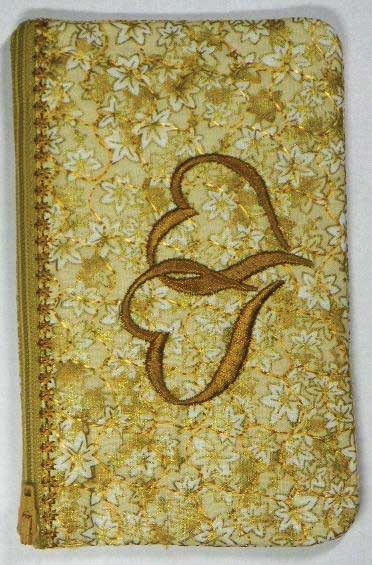
The project is completed and ready to use. A zipper tab or pull can be added if desired.
Step 43:
Design Number Chart
Step 44:
ATWNLS1591-5x7
(Click Image to Enlarge)
Step 45:
ATWNLS1592-5x7
(Click Image to Enlarge)
Step 46:
ATWNLS1593-5x7
(Click Image to Enlarge)
Step 47:
ATWNLS1594-5x7
(Click Image to Enlarge)
Step 48:
ATWNLS1595-5x7
(Click Image to Enlarge)
Step 49:
This lined, zippered, pouch is sewn in one hooping. It requires two different turnings
(Click Image to Enlarge)
Step 50:
.
(Click Image to Enlarge)
Step 51:
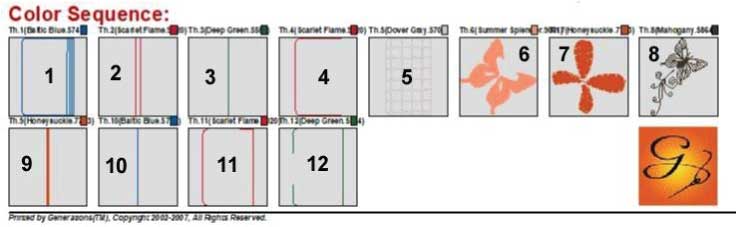
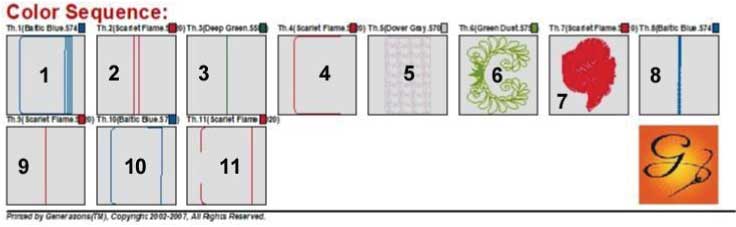
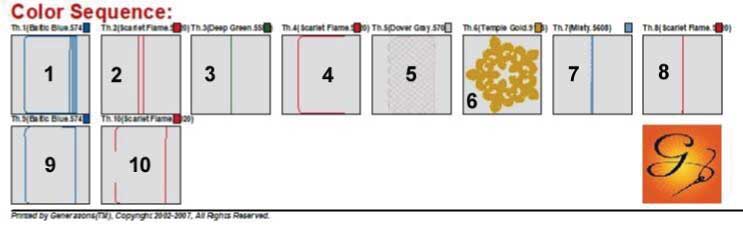
The Color Sequence Chart will be referenced throughout these instructions.
(Click Image to Enlarge)
Step 52:
Design numbers ATWNLS1592-5x7, ATWNLS1593-5x7 and ATWNLS1594-5x7 are all sewn using the same method as shown in the instructions above.
Notice that the first 4 sets of stitches and the last four sets of stitches are the same. They differ only in the design specifics. See the last page for general instructions for sewing ATWNLS1595-5x7.
Step 53:
ATWNLS1592-5x7
(Click Image to Enlarge)
Step 54:
ATWNLS1593-5x7
(Click Image to Enlarge)
Step 55:
ATWNLS1594-5x7
(Click Image to Enlarge)
Step 56:
ATWNLS1595-5x7
(Click Image to Enlarge)
Step 57:
1. Follow the same directions as previously shown. The major difference is the double quilting (#4-10 in the Color Sequence Chart.)
2. Once the quilting has been sewn, you will follow the same directions shown in steps 16-41 to complete the project.