Border OptionsHugging border, circle, square, or rectangle — with a 3mm satin stitch.
Backing OptionsAvailable with iron-on, sew-on, or velcro backing.
Fast ShippingShipped quickly from the USA.
Free Online Tools
Powerful embroidery utilities that save time and prevent costly mistakes.
Stitch AssistantRECOMMENDED
Get the exact stabilizer, machine settings, needle, and thread color sequence for every embroidery design you purchase — based on that design's stitch density, dimensions, and color count.
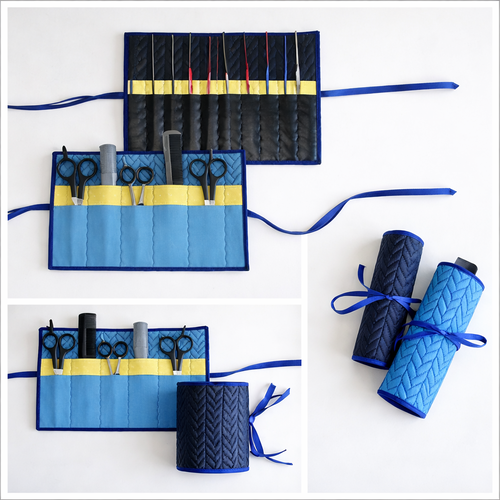
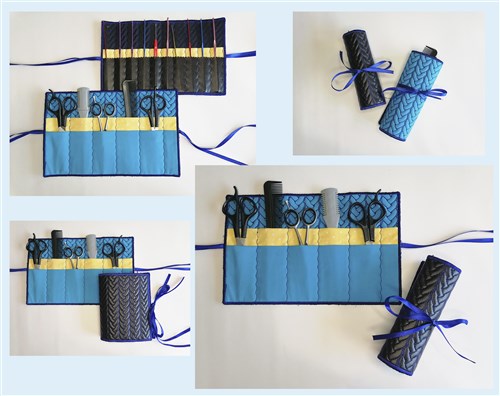
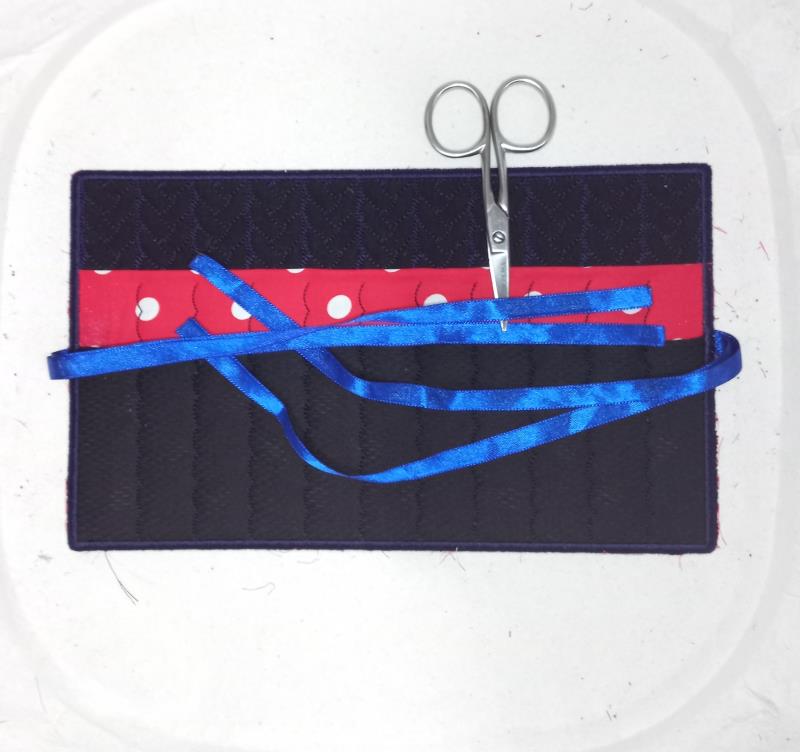
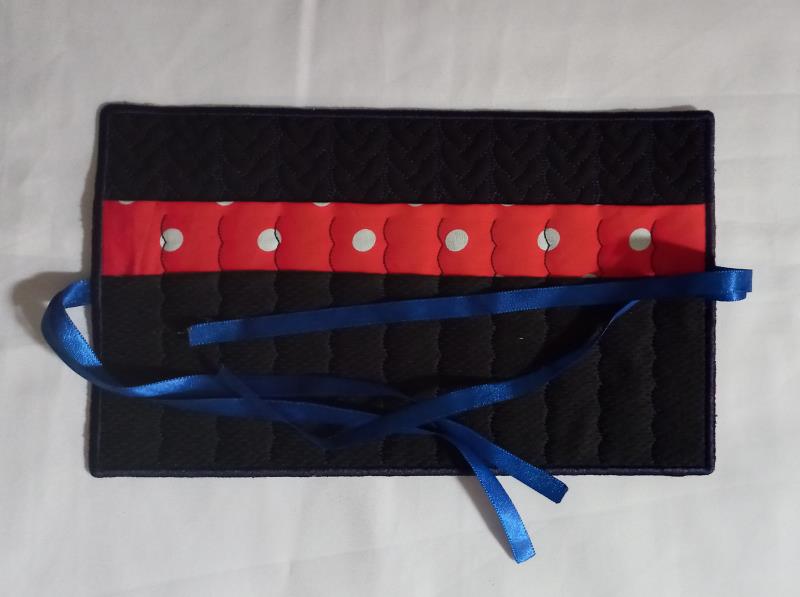
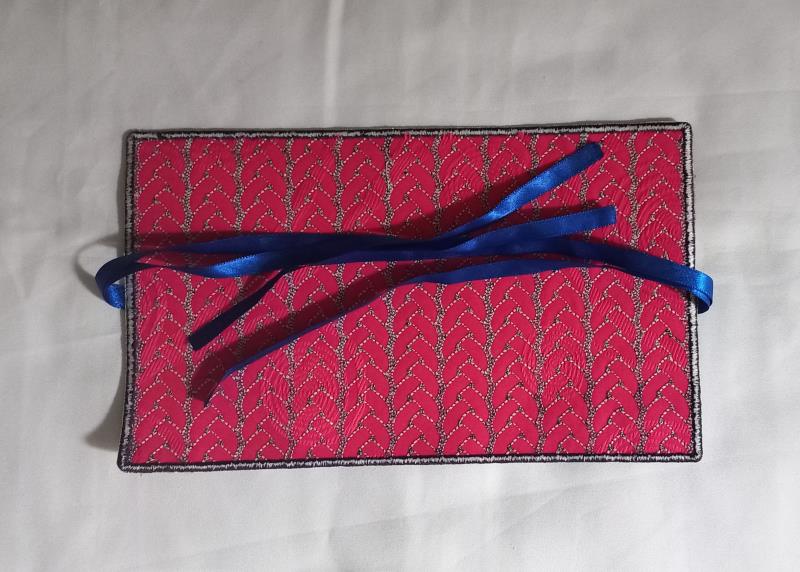
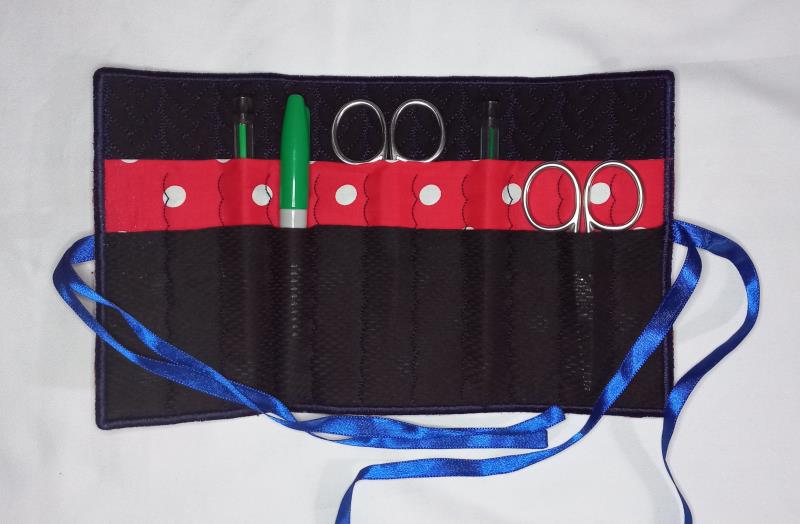
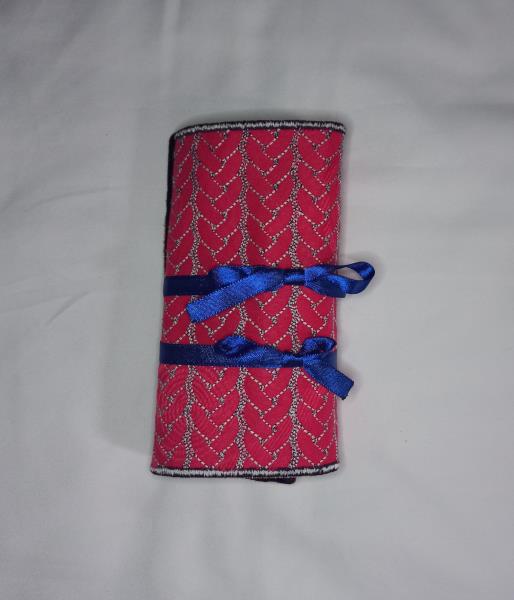
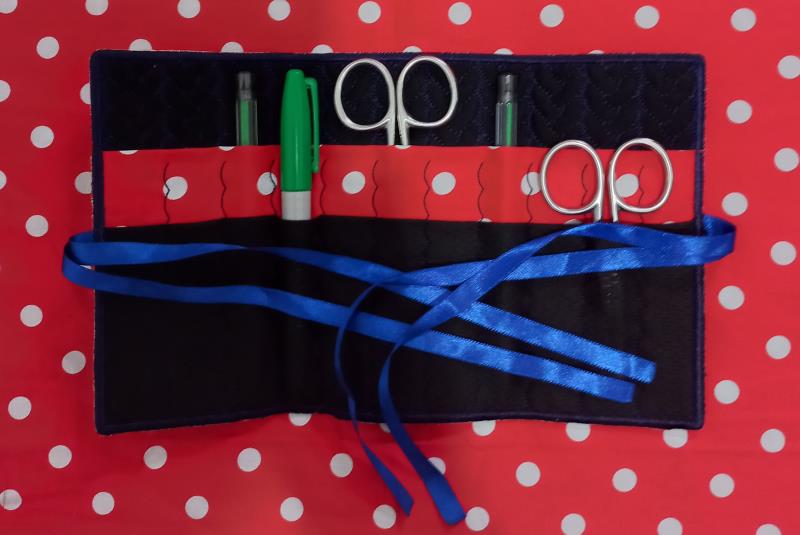
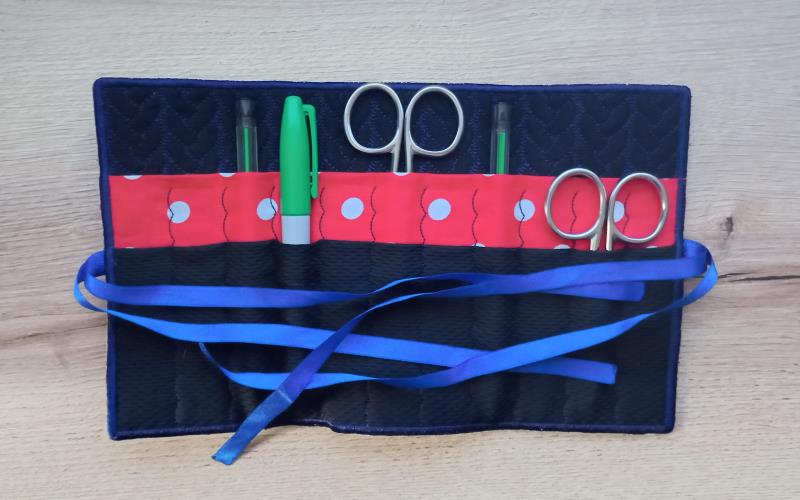
Create an efficient and stylish roll-up tool organizer with this ITH project. This quilted case features multiple pockets for storing scissors, hooks, and other tools, and secures with ribbon ties. Ideal for keeping your crafting essentials neat and portable. Step-by-step instructions are included.
This is a collaboration between ITH Boutique and Irina. The copyrights to digitizing belongs to Irina.
Step 1:
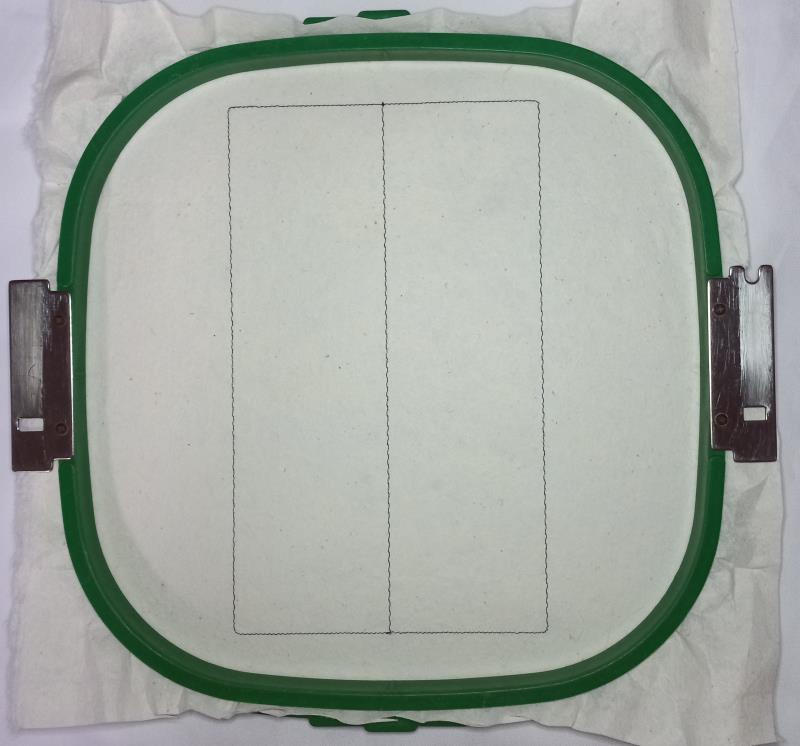
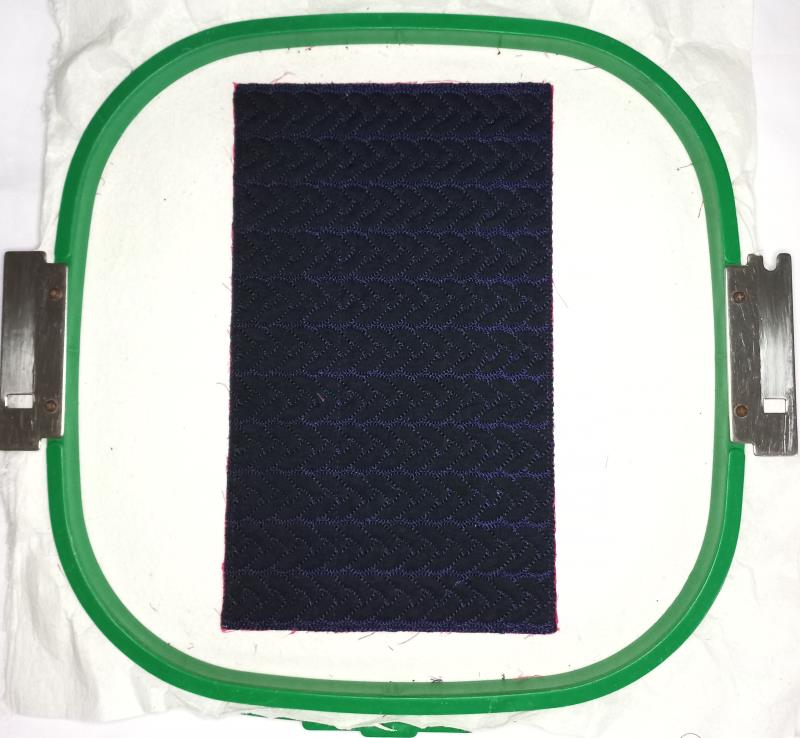
Tautly hoop 2.5-ounce cutaway stabilizer in your embroidery hoop and run color-stop 1 as a placement line.
(Click Image to Enlarge)
Step 2:
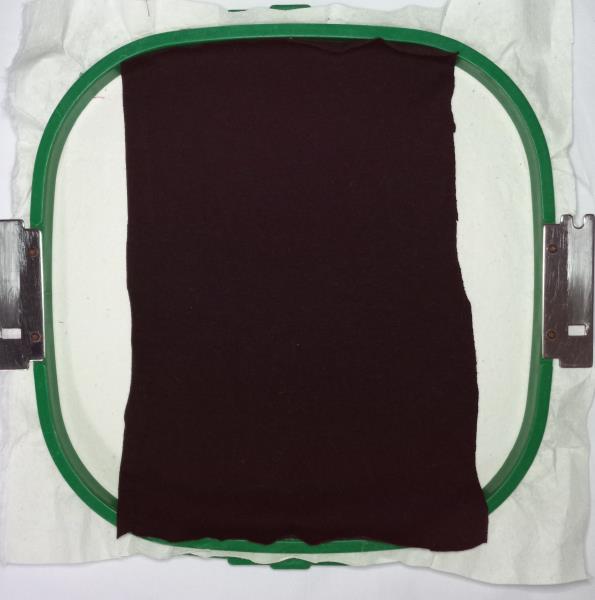
Remove the hoop from the machine, do not unhoop. Cover the placement line with black fabric with the help of the repositionable adhesive spray. Also, cover the back of the hoop with the fabric of your favorite color. Use a repositionable adhesive spray for it and run again color-stop 1 to fix the fabric.
(Click Image to Enlarge)
Step 3:
Run color-stop 2 through color-stop 4 and cut off the excess fabric.
(Click Image to Enlarge)
Step 4:
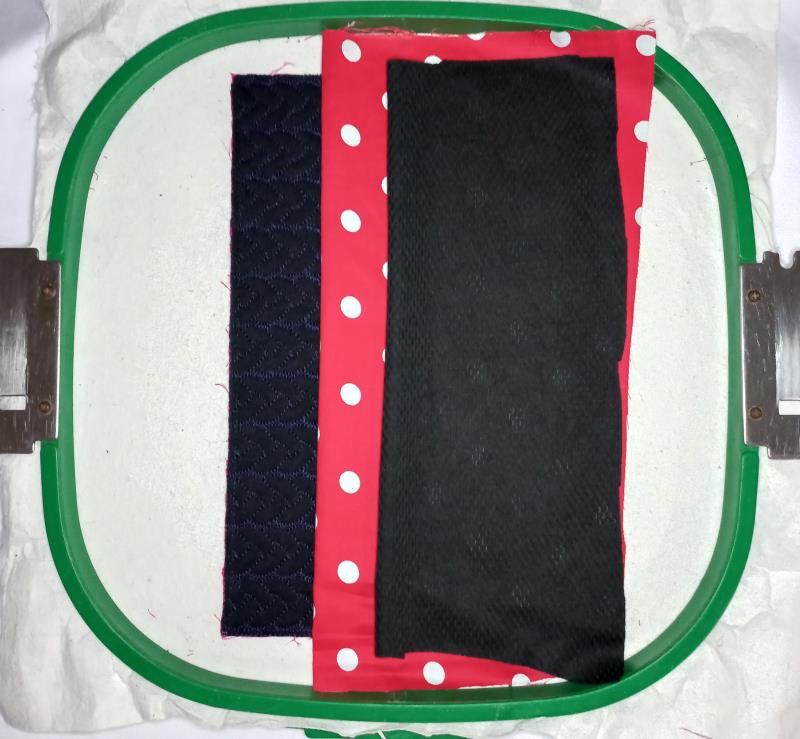
Remove the hoop from the machine, do not unhoop. Place two layers of fabric of your favorite colors, one on the guideline left by color-stop 3 and the other 1 inch below, hem the top tab of both layers of fabric and fix them with the help of the repositionable adhesive spray.
(Click Image to Enlarge)
Step 5:
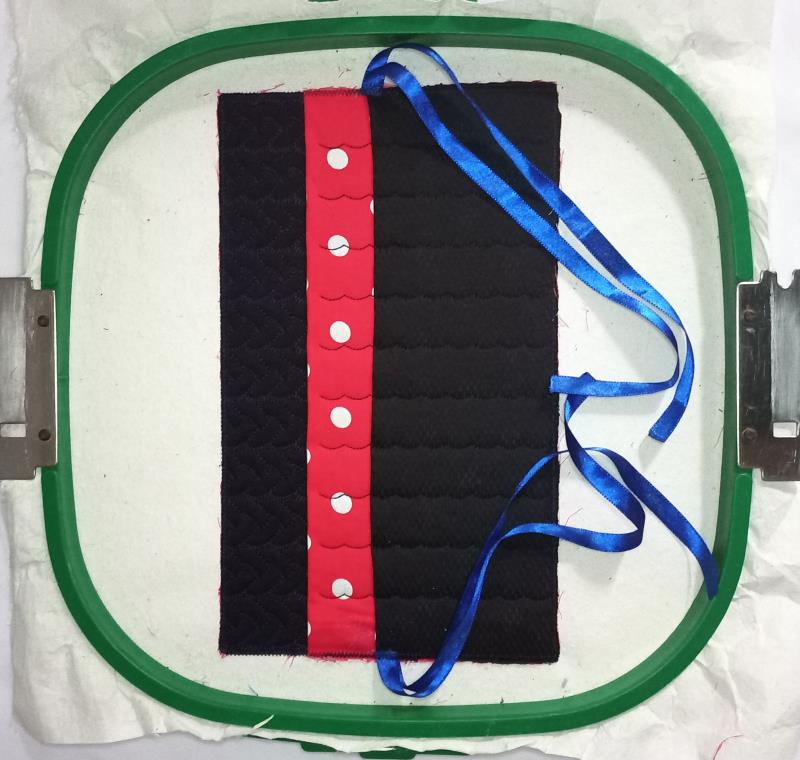
Place two ribbons at the ends of the project and run color-stop 5 through color-stop 7 and cut off the excess fabric.
(Click Image to Enlarge)
Step 6:
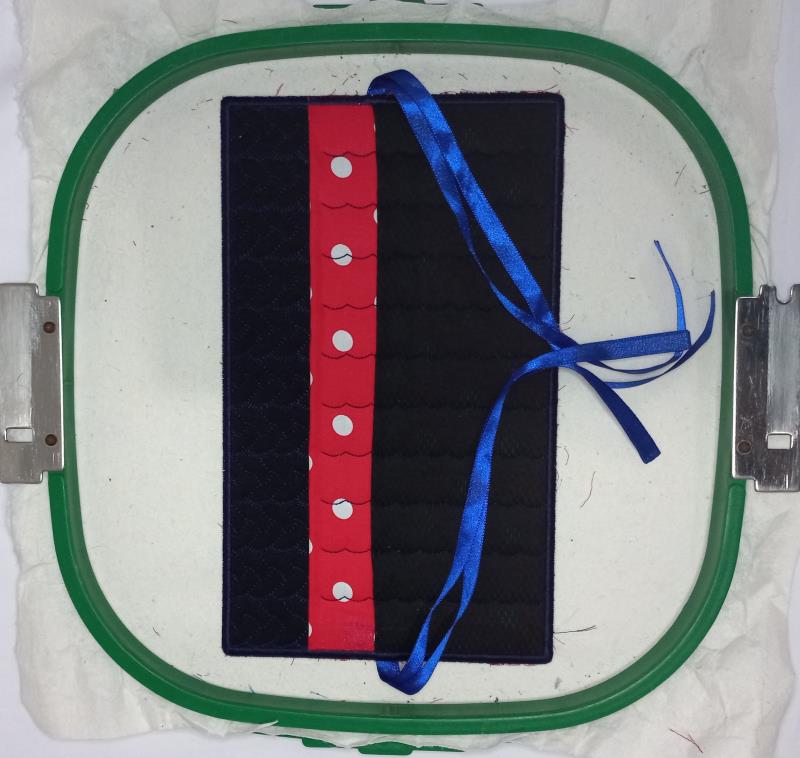
Run color-stop 8 to finish the embroidery.
(Click Image to Enlarge)
Step 7:
Remove the project from the hoop and cut out the outline of the design with sharp scissors and you’re ready to go.
Have fun doing this beautiful project.