Border OptionsHugging border, circle, square, or rectangle — with a 3mm satin stitch.
Backing OptionsAvailable with iron-on, sew-on, or velcro backing.
Fast ShippingShipped quickly from the USA.
Free Online Tools
Powerful embroidery utilities that save time and prevent costly mistakes.
Stitch AssistantRECOMMENDED
Get the exact stabilizer, machine settings, needle, and thread color sequence for every embroidery design you purchase — based on that design's stitch density, dimensions, and color count.
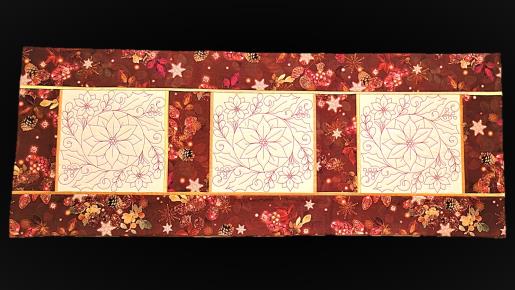
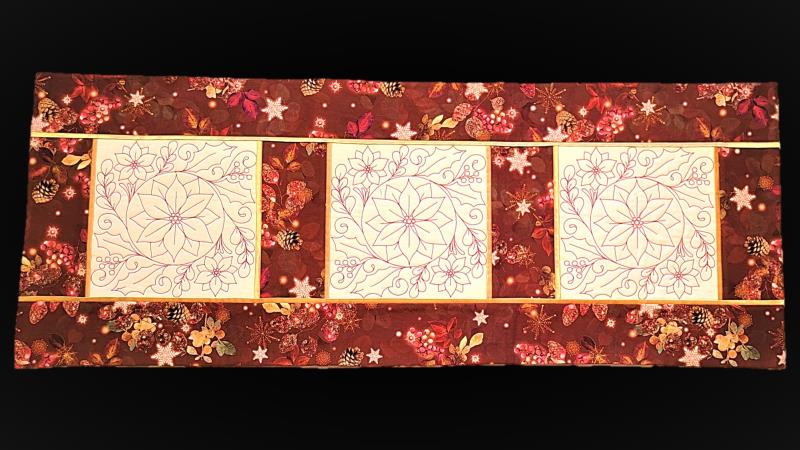
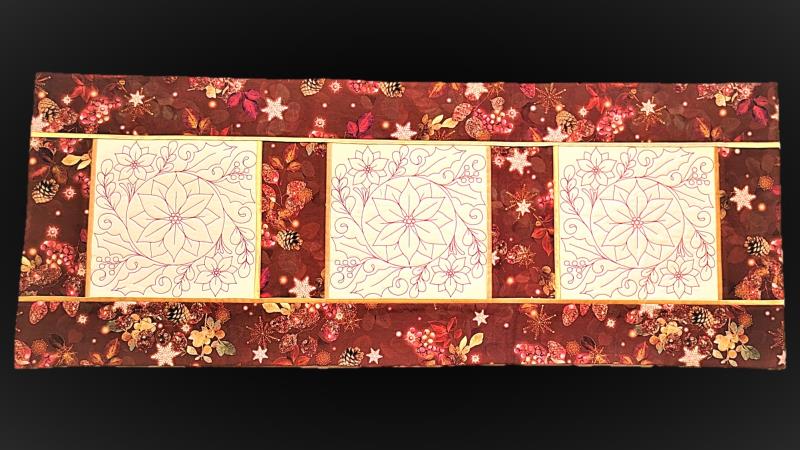
This stunning table runner features a trio of beautifully digitized poinsettias, perfect for adding a touch of elegance to your winter decor. The design is ideal for holiday gatherings and makes a sophisticated centerpiece. Step-by-step instructions are included.
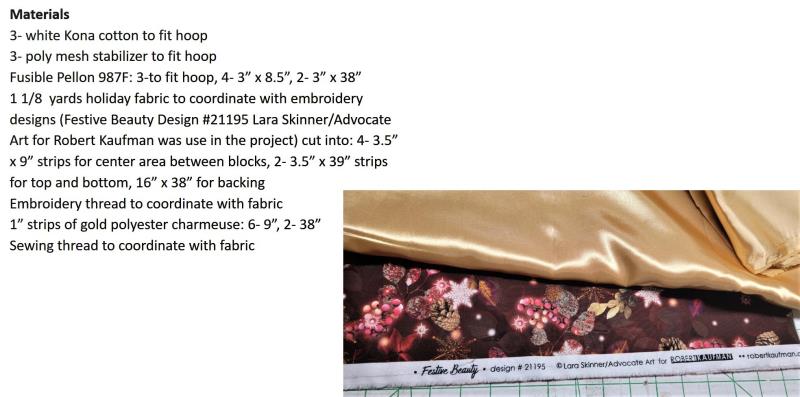
Fusible Pellon 987F: 3-to fit hoop, 4- 3” x 8.5”, 2- 3” x 38”
1 1/8 yards holiday fabric to coordinate with embroidery designs (Festive Beauty Design #21195 Lara Skinner/Advocate Art for Robert Kaufman was use in the project) cut into: 4- 3.5” x 9” strips for center area between blocks, 2- 3.5” x 39” strips for top and bottom, 16” x 38” for backing
Embroidery thread to coordinate with fabric
1” strips of gold polyester charmeuse: 6- 9”, 2- 38”
Read through the instructions thoroughly before beginning and assemble all the materials needed to complete the project. The Kinship Kreations design used in this project is beautifully digitized. Sew all seams using a ¼” seam allowance.
(Click Image to Enlarge)
Step 2:
The gold charmeuse was chosen because it coordinated well with the holiday fabric. Choose a color that coordinates with the fabric you choose—make it something shiny to add a little punch to the project. From the holiday themed fabric first cut the backing and then cut the top and bottom long strips, and then the strips for the center on each side of the embroidered squares. Cut the charmeuse very accurately; it is used as a decorative flange between the fabric strips.
(Click Image to Enlarge)
Step 3:
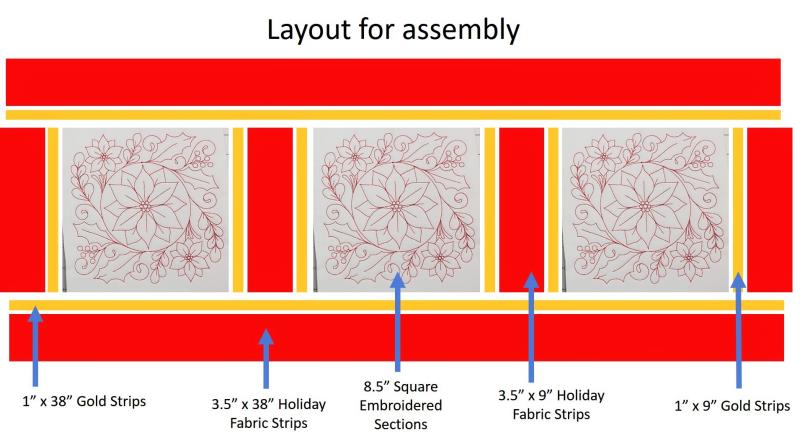
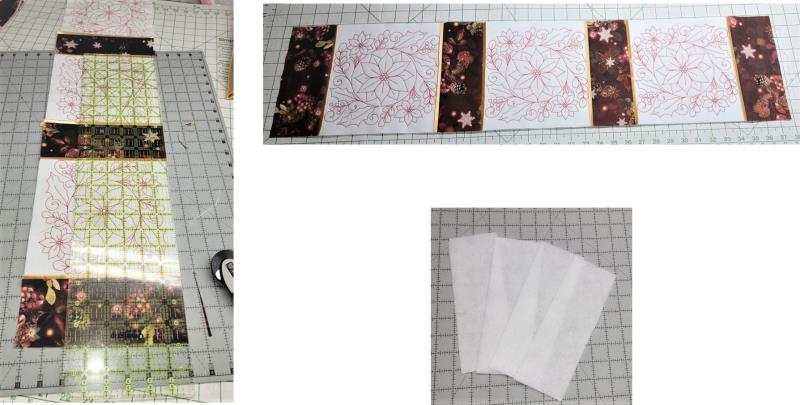
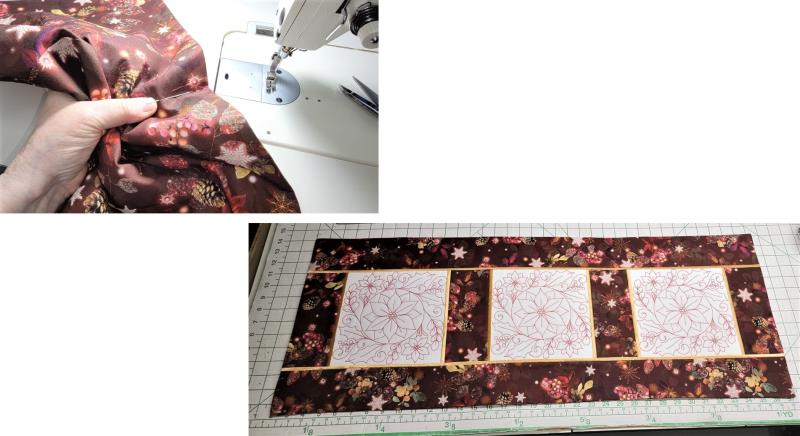
Here is the layout for assembly. The fabrics are cut a little longer than needed and then the pieces squared up and trimmed. The flanges are attached to the embroidered squares on each side, and then the strips added and the piece squared up. After that, the flanges are sewn to the top and bottom and then the strips added. The last step is to face the piece with the back, stitch around all sides, and turn.
(Click Image to Enlarge)
Step 4:
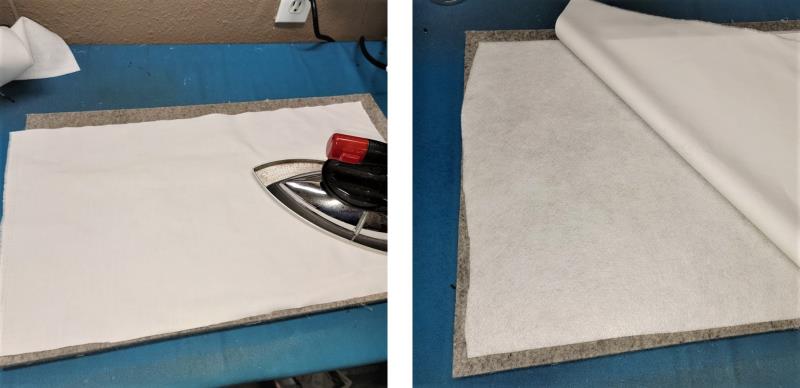
Cut the Kona cotton pieces and fuse the pieces of fleece to the back.
(Click Image to Enlarge)
Step 5:
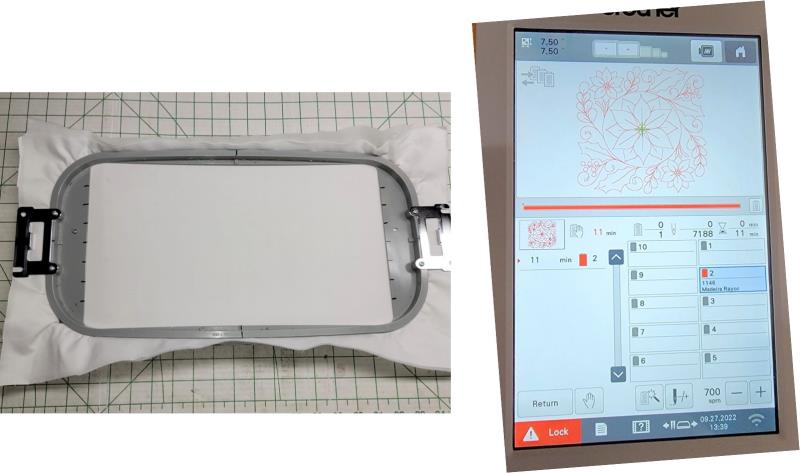
Hoop the first fused piece with a piece of stabilizer. Load the design on the machine with the chosen thread color.
(Click Image to Enlarge)
Step 6:
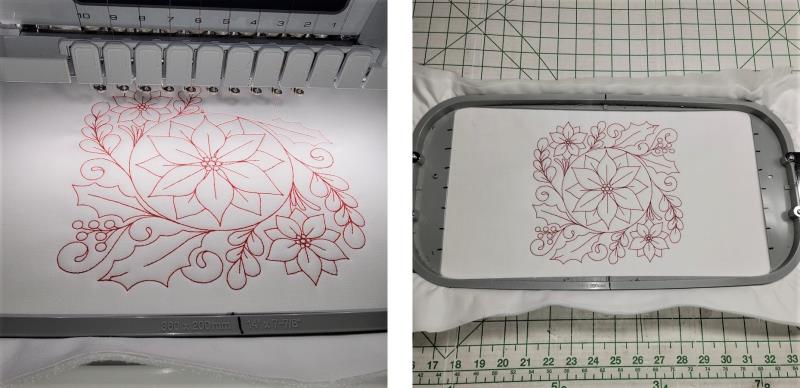
Stitch the design. It is one color with only one thread trim at the end. It is a lot of fun to watch it sew out.
(Click Image to Enlarge)
Step 7:
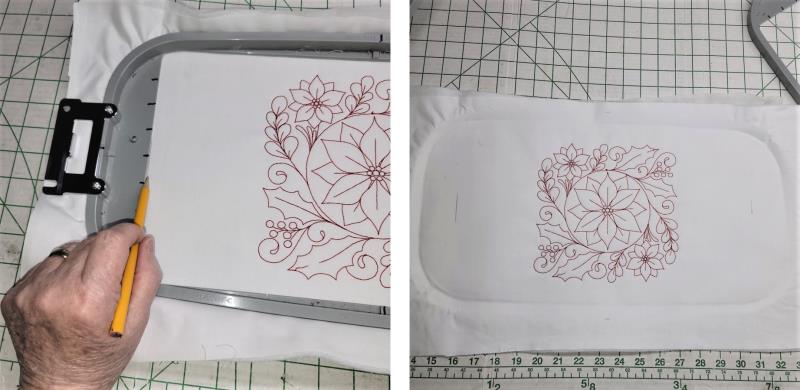
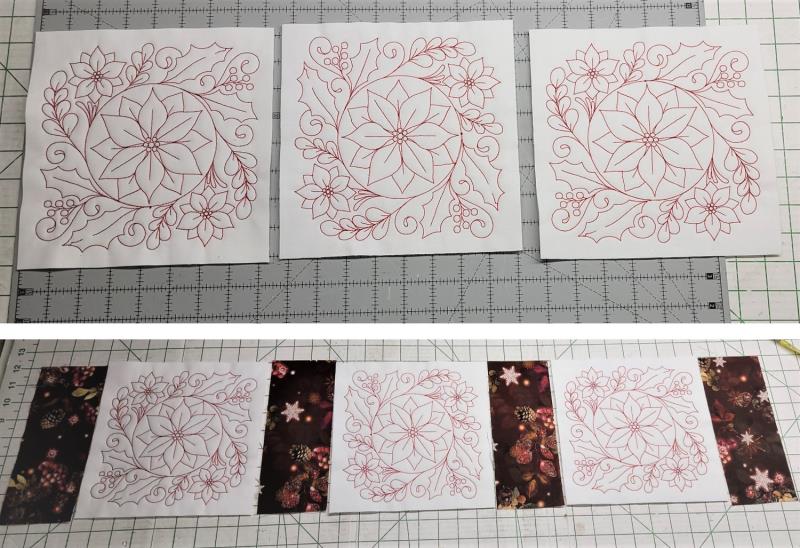
Before un-hooping, lightly mark in four spots around the hoop. These marks will aid in squaring and trimming up the piece. Repeat stitching two more designs.
(Click Image to Enlarge)
Step 8:
Square up the pieces to 8.5” x 8.5”. Next begin to prepare the layout.
(Click Image to Enlarge)
Step 9:
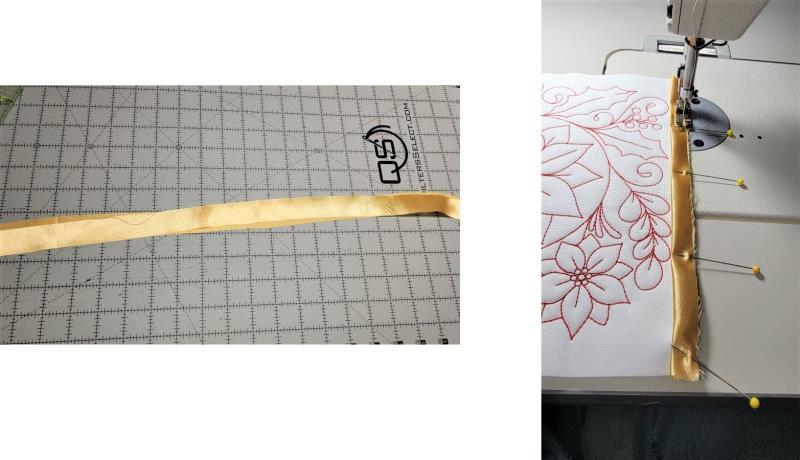
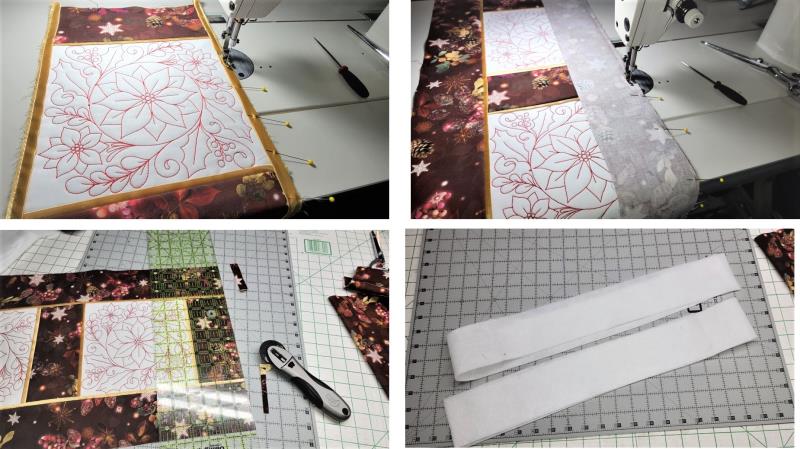
Using the appropriate 1” charmeuse strips, fold them in half lengthwise, pin them on each side of the top of the left and right sides of the embroidered squares at 1/8”.
(Click Image to Enlarge)
Step 10:
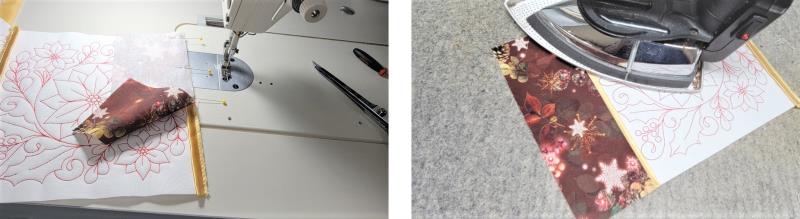
With right sides together, pin and stitch the fabric strips to the left and right sides of the embroidered squares. Stitch the seam allowance carefully so that the flanges end up the same width. Press the strips away from the embroidered piece and the flange flat against the embroidered piece. Repeat until all strips are sewn on.
(Click Image to Enlarge)
Step 11:
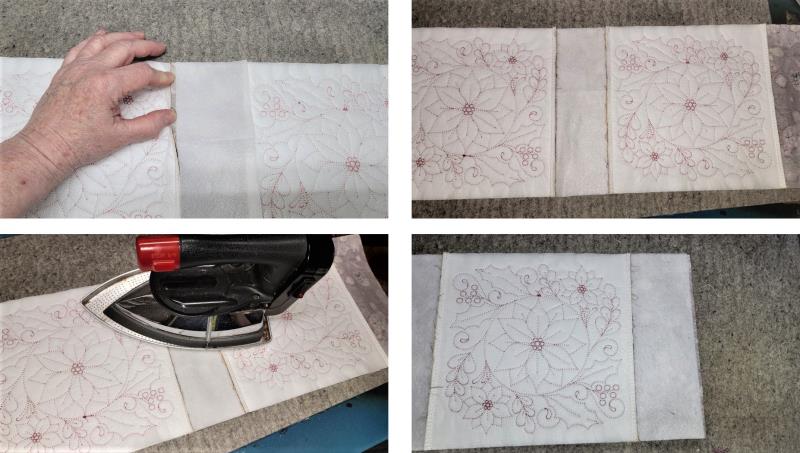
Trim the strips and flanges even with the squares at the top and bottom. Cut the fusible strips.
(Click Image to Enlarge)
Step 12:
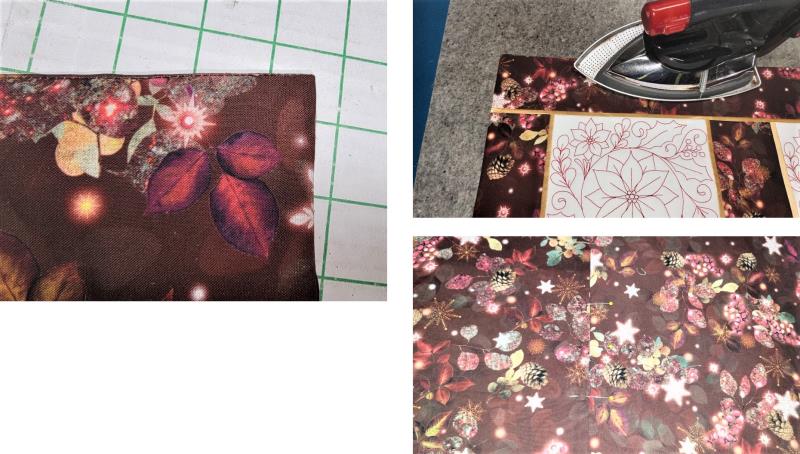
Place the fused side down on the back sides of the strips, lifting the seam allowance; the strip edges should lie along the seam stitching. Press the fusible fleece in place. Repeat for all strips.
(Click Image to Enlarge)
Step 13:
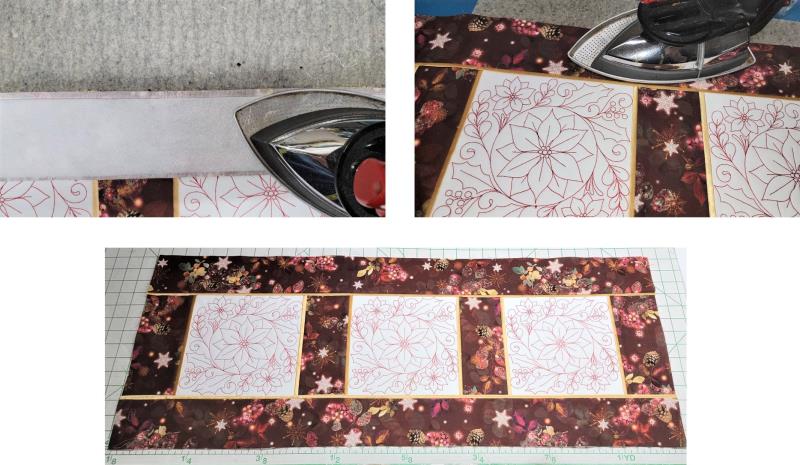
Fold the long strips wrong sides together and pin along the top and bottom of the piece, and then pin and stitch the long fabric pieces in place. Trim the edges even. Cut the long strips of fusible fleece.
(Click Image to Enlarge)
Step 14:
As was done with the short strips, place the fusible side to the wrong side of the top and bottom strips placing the cut edge along the stitching line and press in place. Press everything well; this completes the top.
(Click Image to Enlarge)
Step 15:
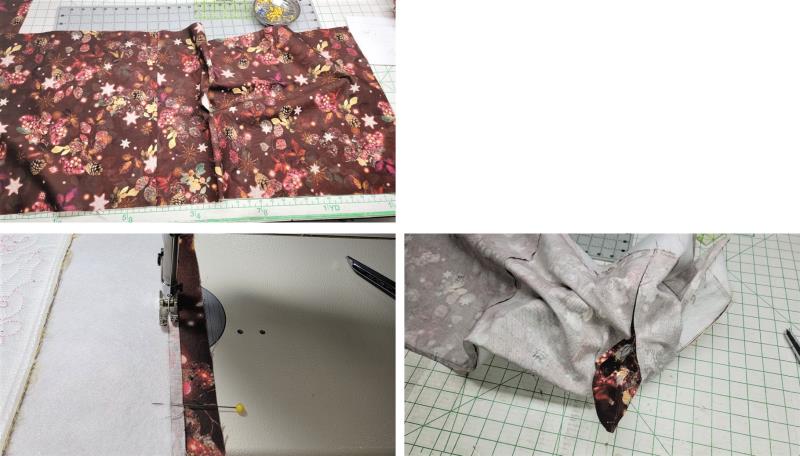
Since this project is faced and not bound, to make all edges look alike, the back piece was cut into three sections and seamed together so that an opening could be left in one of the seams for turning (if you are using a whole piece, the opening should be at the bottom; if using the method used in the project be sure to adjust the cutting and add seam allowances). Place the back and top right sides together, pin, and stitch all the way around. Trim the back edges even with the top edges. Press the edges to set the seam and then turn the piece right side out through the opening.
(Click Image to Enlarge)
Step 16:
Form all the corners well and press all edges. Pin the opening closed.
(Click Image to Enlarge)
Step 17:
Stitch the opening closed. Choose an option for tacking the back to the top. For this project, the top was tacked to the back through the seamlines at the back with the hand stitching; you’ll be able to feel the batting that is on the backside of the front piece as you are stitching. Another option is to quilt the holiday fabrics, or stitch in the ditch along the seam lines.
(Click Image to Enlarge)
Step 18:
You will enjoy creating this table runner to decorate your winter season table.
Ramona Baird has been in the embroidery industry for over 23 years. She and her husband owned a commercial and retail embroidery store in Arizona for many years. She is an experienced digitizer having been mentored by award-winners Pat Williams and Lindee Goodall. Ramona is a contributor to “Creative Machine Embroidery” magazine having 5 covers to her credit. Ramona has worked for Wilcom America and served many years as Education Director for the American Sewing Guild. With a degree in fashion design, she is able to design and execute patterns which Pat Williams says are “out of the box” in creativity and application. Ramona likes to challenge the boundaries of embroidery and bring new and exciting designs, ideas, and projects to EmbroideryDesigns.com. She wants embroiderers of all levels to increase their skills and enjoyment in using their embroidery machine for gift-making and personal pleasure.