Border OptionsHugging border, circle, square, or rectangle — with a 3mm satin stitch.
Backing OptionsAvailable with iron-on, sew-on, or velcro backing.
Fast ShippingShipped quickly from the USA.
Free Online Tools
Powerful embroidery utilities that save time and prevent costly mistakes.
Stitch AssistantRECOMMENDED
Get the exact stabilizer, machine settings, needle, and thread color sequence for every embroidery design you purchase — based on that design's stitch density, dimensions, and color count.
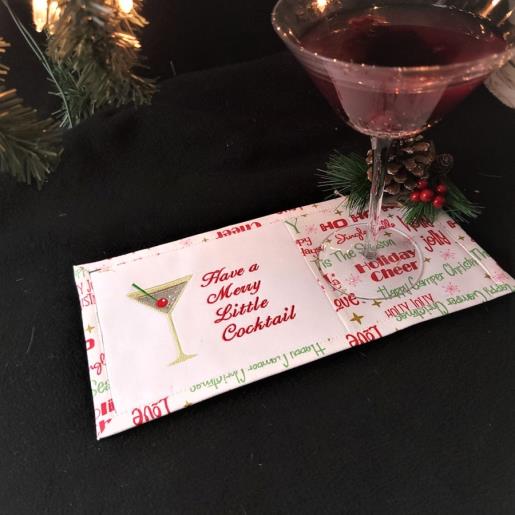
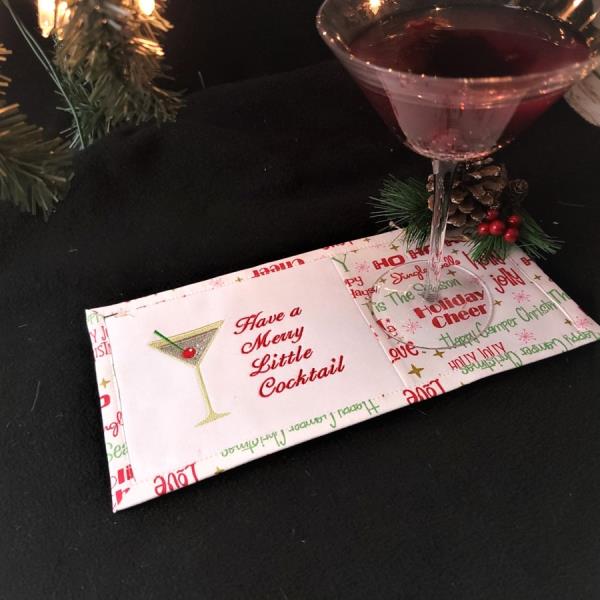
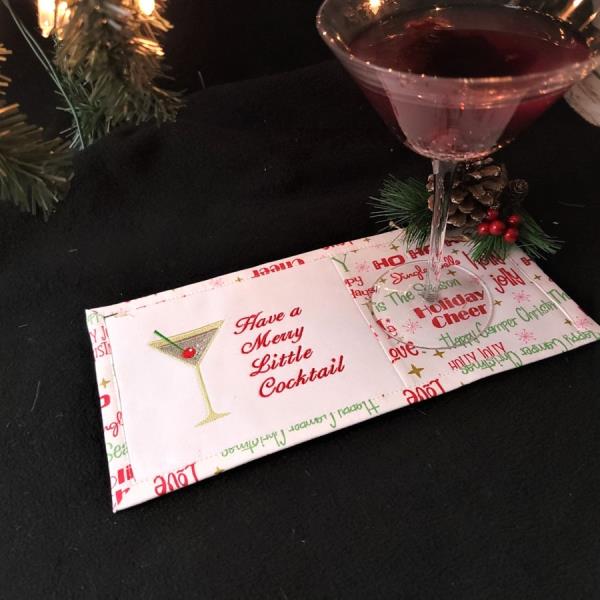
Add a splash of color to your festive gatherings with this bright holiday cocktail mat. Perfect for placing under your favorite drinks, it brings cheer to any holiday table setting. Step-by-step instructions are included.
This Jump Rope design creates the cutest little cocktail mat. You’ll want to stitch up several for your party.
Step 1:
Read through the instructions thoroughly before beginning and assemble all the materials needed to complete the project. The dimensions can be adjusted to fit a smaller or larger mat if you are using scraps of fabric to complete the project. This is a very cute Jump Rope design that stitches up very nicely. Starch and press the fabrics well.
(Click Image to Enlarge)
Step 2:
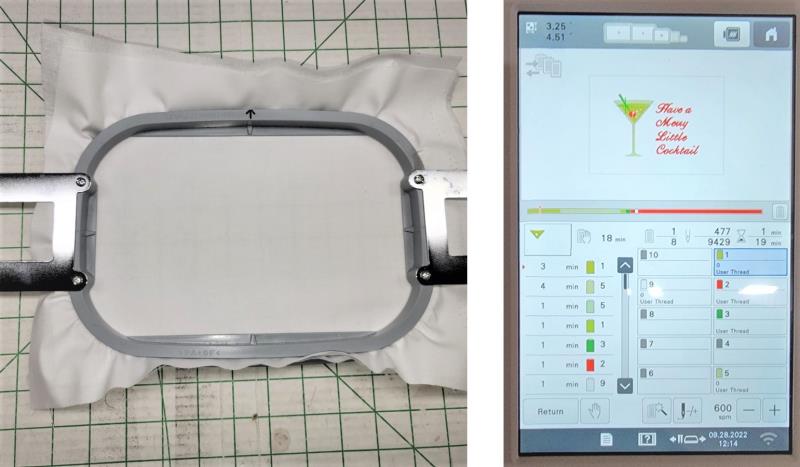
Hoop the layer of white Kona cotton with the stabilizer. Load the design on the machine.
(Click Image to Enlarge)
Step 3:
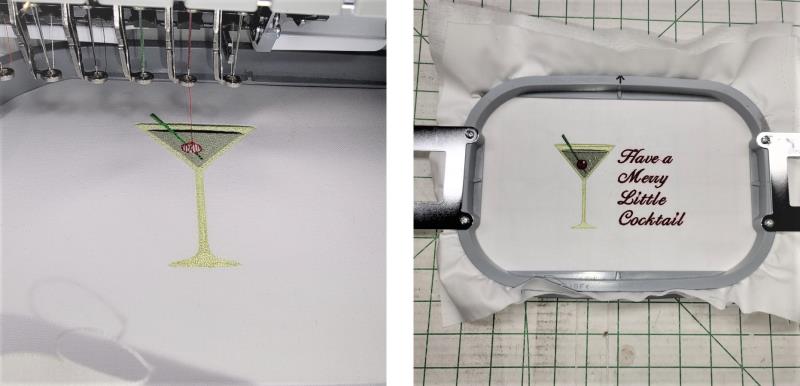
Stitch the design following the color sequence.
(Click Image to Enlarge)
Step 4:
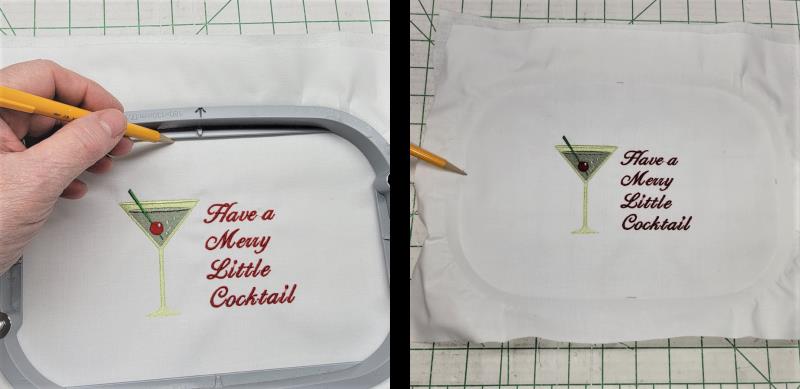
To aid in squaring up the design, before removing the piece from the hoop, lightly make little tick lines at the top, bottom, and sides of the hoop with a pencil or fabric marker.
(Click Image to Enlarge)
Step 5:
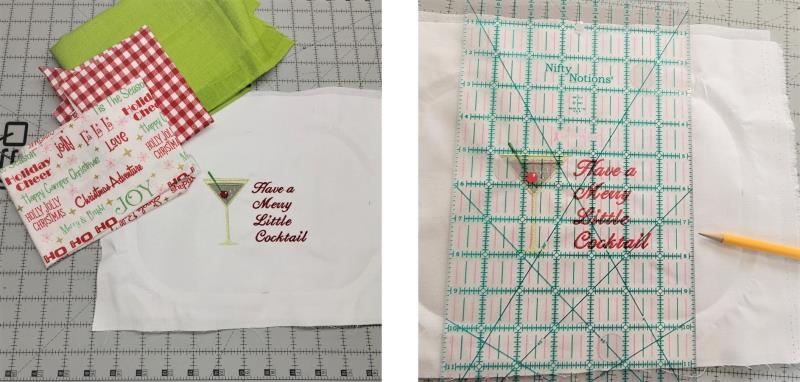
A fat quarter or scraps can be used for the right side of the mat and back. Adjust measurements given in these instructions if needed to fit fabric scraps. Using the pencil marks as a guide, measure 1 ¼” from the outer edges of the design.
(Click Image to Enlarge)
Step 6:
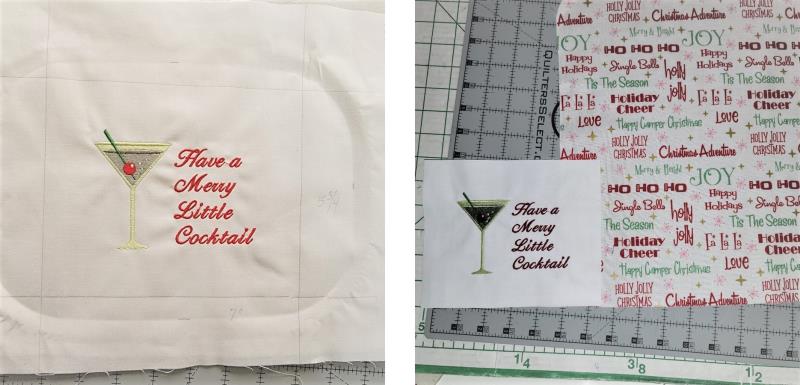
Now cut a piece of the fat quarter, or scrap, to measure 5.75” high by 5.25” wide for the right side of the piece.
(Click Image to Enlarge)
Step 7:
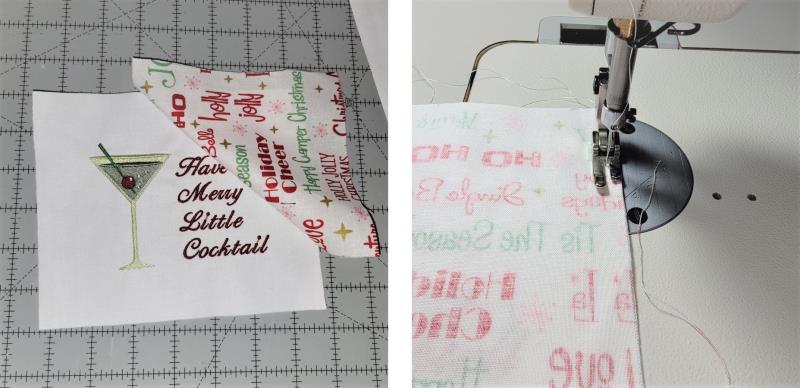
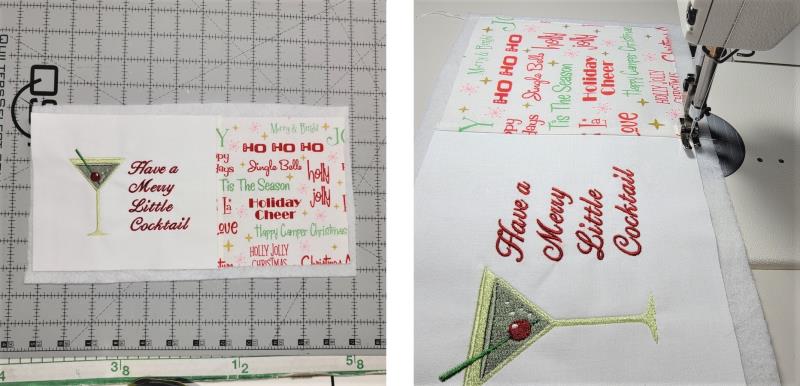
With right sides together, sew a ¼” seam stitching the pieces together.
(Click Image to Enlarge)
Step 8:
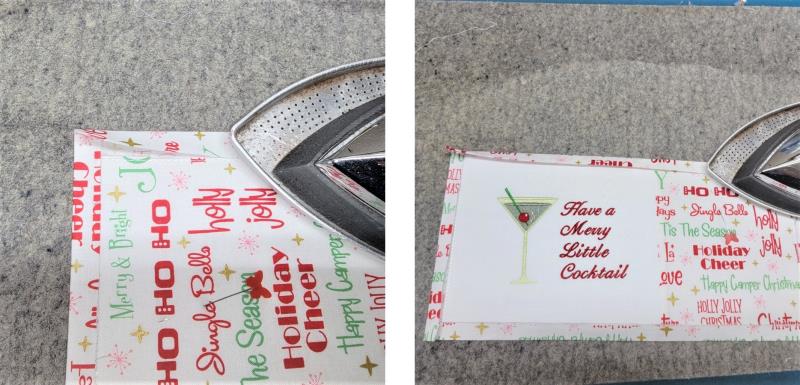
Set the seam and press it toward the right side. Cut the piece of batting slightly larger than the fabric; fuse it to the back of the fabric and then baste it in place right along the fabric edges.
(Click Image to Enlarge)
Step 9:
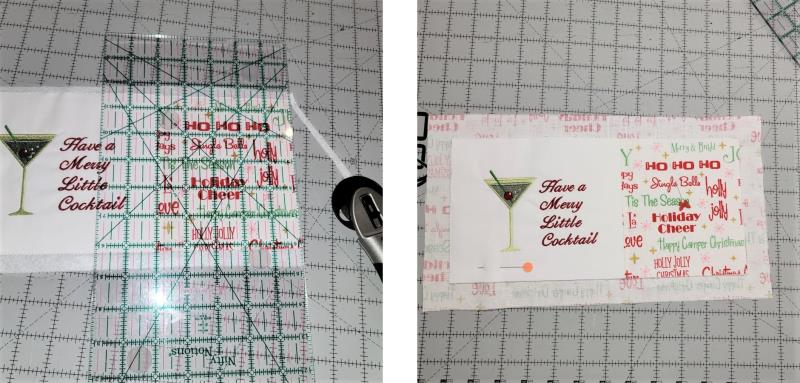
Trim the batting to match the fabric. Cut the backing fabric 13.75” x 7 5/8” (if the dimensions of the first two pieces were adjusted, just cut the backing 1” larger all the way round).
(Click Image to Enlarge)
Step 10:
Press the cut edge of the backing to meet the cut edge of the front fabrics. Fold over and press again, mitering the corners.
(Click Image to Enlarge)
Step 11:
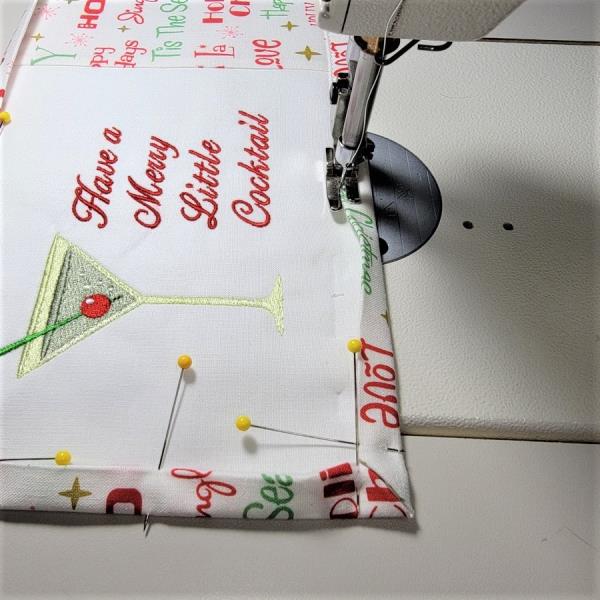
Stitch down the backing to the front along the folded edge of the fabric.
(Click Image to Enlarge)
Step 12:
If you do craft fairs, these would be great sellers. They would also make great hostess gifts as a set in a basket, and piece for your guests to take home for a memory of your great party.
Ramona Baird has been in the embroidery industry for over 23 years. She and her husband owned a commercial and retail embroidery store in Arizona for many years. She is an experienced digitizer having been mentored by award-winners Pat Williams and Lindee Goodall. Ramona is a contributor to “Creative Machine Embroidery” magazine having 5 covers to her credit. Ramona has worked for Wilcom America and served many years as Education Director for the American Sewing Guild. With a degree in fashion design, she is able to design and execute patterns which Pat Williams says are “out of the box” in creativity and application. Ramona likes to challenge the boundaries of embroidery and bring new and exciting designs, ideas, and projects to EmbroideryDesigns.com. She wants embroiderers of all levels to increase their skills and enjoyment in using their embroidery machine for gift-making and personal pleasure.