Border OptionsHugging border, circle, square, or rectangle — with a 3mm satin stitch.
Backing OptionsAvailable with iron-on, sew-on, or velcro backing.
Fast ShippingShipped quickly from the USA.
Free Online Tools
Powerful embroidery utilities that save time and prevent costly mistakes.
Stitch AssistantRECOMMENDED
Get the exact stabilizer, machine settings, needle, and thread color sequence for every embroidery design you purchase — based on that design's stitch density, dimensions, and color count.
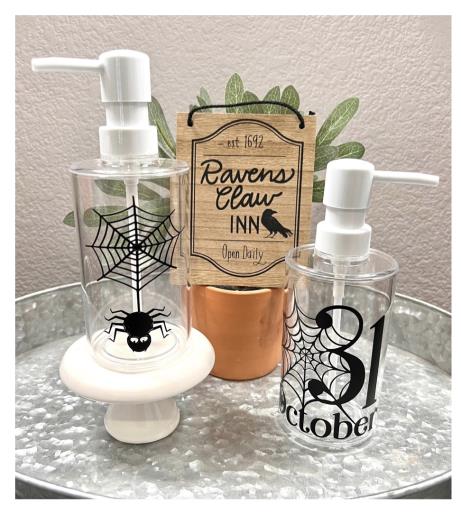
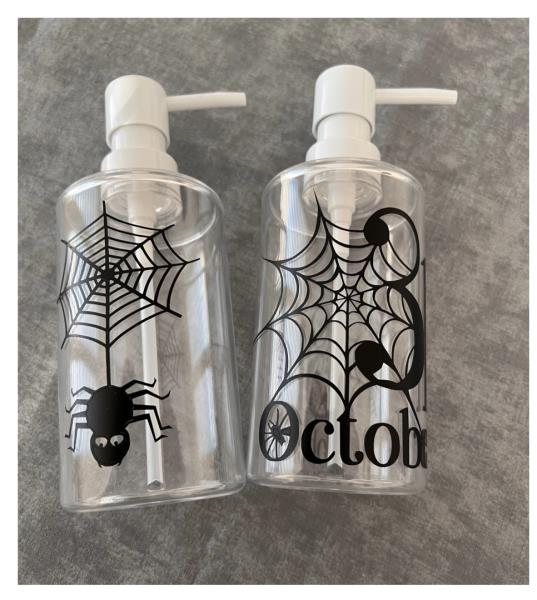
Create a uniquely spooky touch in your bathroom with these Halloween-themed soap pump dispensers. Featuring designs like spider webs and the date '31 October', these dispensers are perfect for the Halloween season. Step-by-step instructions are included.
Time stated of one hour is for completion of both soap dispensers. Must have basic knowledge of the use of cutting machine and how to navigate your machine’s software program’s design space to resize SVG designs to fit in your dispensers’ application area..
Step 1:
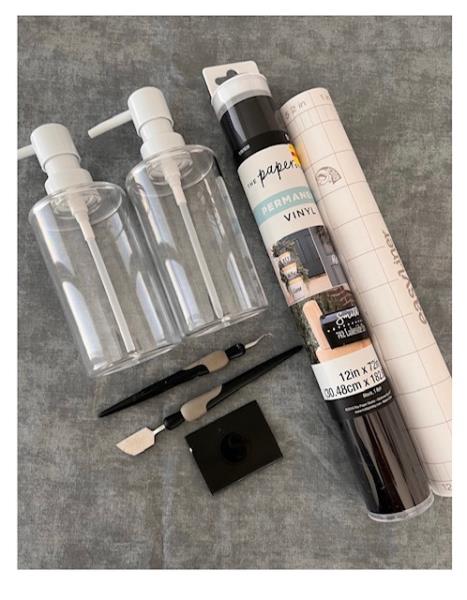
Gather all supplies and review instructions before beginning. Clean outside of your soap dispensers using rubbing alcohol. Wipe using a lint free towel. Allow to air dry.
(Click Image to Enlarge)
Step 2:
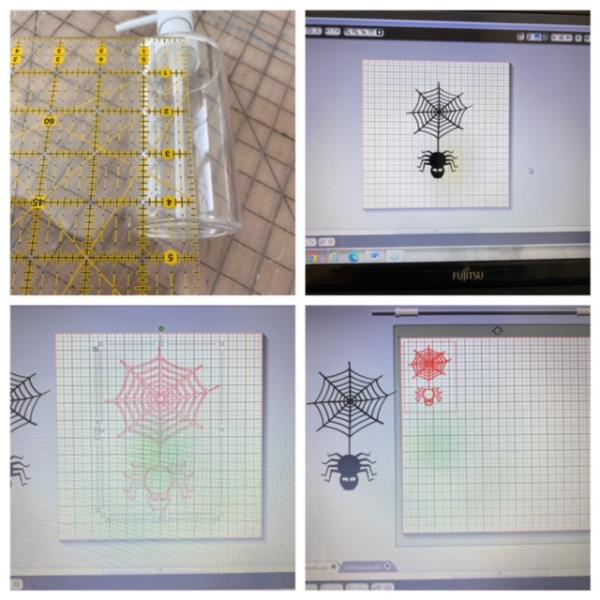
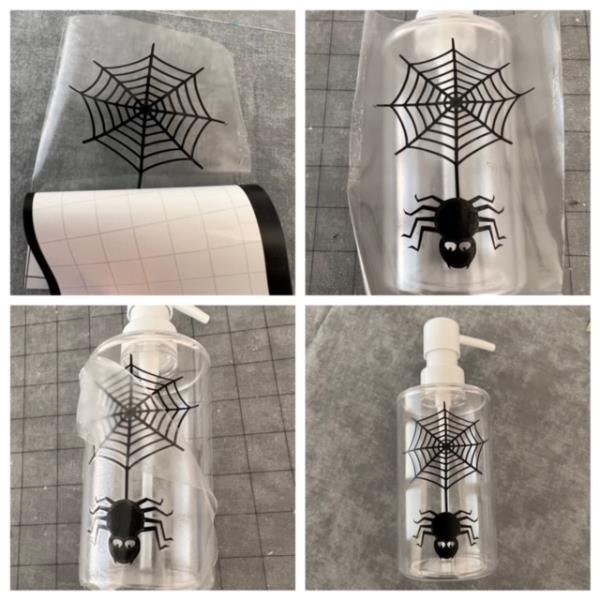
Bring design ( Halloween Spider) into your software program. Cut and resize to fit application area on your soap dispenser.
(Click Image to Enlarge)
Step 3:
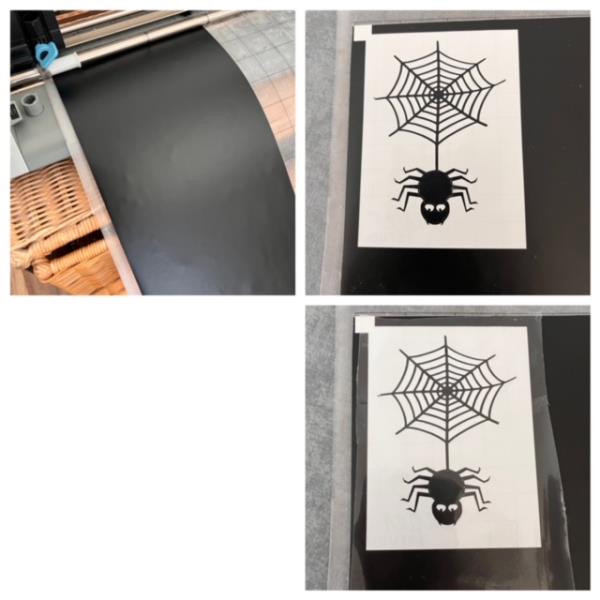
Once your design has been resized for your application area cut the design onto your vinyl . Weed excess vinyl from design for a decal. Cut a piece of transfer tape larger than your cut design and apply. Rub firmly for the cut design to adhere.
(Click Image to Enlarge)
Step 4:
Remove adhesive back. Center onto application area of pump dispenser. Once you’re happy with the center placement finger press down and carefully smooth onto dispenser. Slowly remove transfer tape. And you are done with your first soap dispenser. Repeat steps for the 2nd dispenser using the linked design 31 October.