Border OptionsHugging border, circle, square, or rectangle — with a 3mm satin stitch.
Backing OptionsAvailable with iron-on, sew-on, or velcro backing.
Fast ShippingShipped quickly from the USA.
Free Online Tools
Powerful embroidery utilities that save time and prevent costly mistakes.
Stitch AssistantRECOMMENDED
Get the exact stabilizer, machine settings, needle, and thread color sequence for every embroidery design you purchase — based on that design's stitch density, dimensions, and color count.
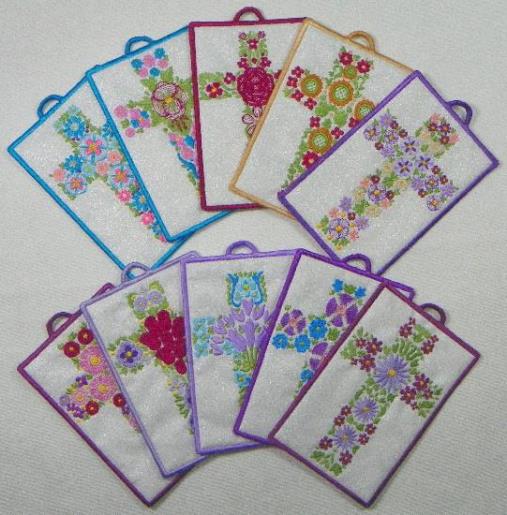
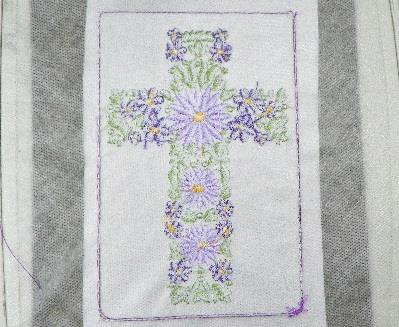
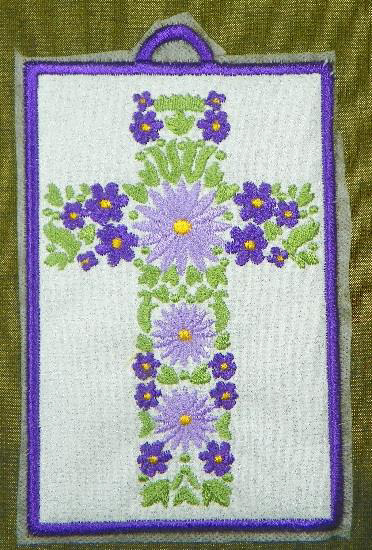
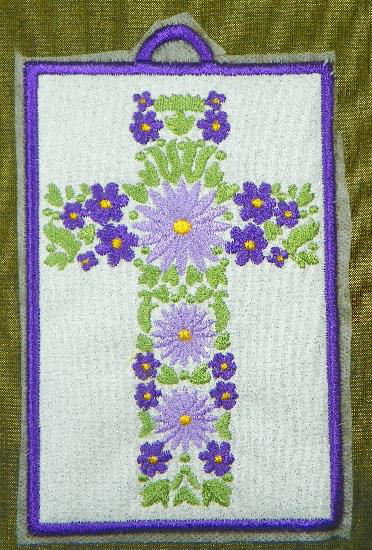
Create beautiful floral cross bookmarks in the hoop, perfect for marking your favorite passages. These colorful and intricate designs can be completed in under 30 minutes. Step-by-step instructions are included.
This is a collaboration between Artsy Knots and Holly. The copyrights to the digitizing & some images belongs to Holly
Step 1:
The color sequence chart below will be referred to throughout these instructions.
(Click Image to Enlarge)
Step 2:
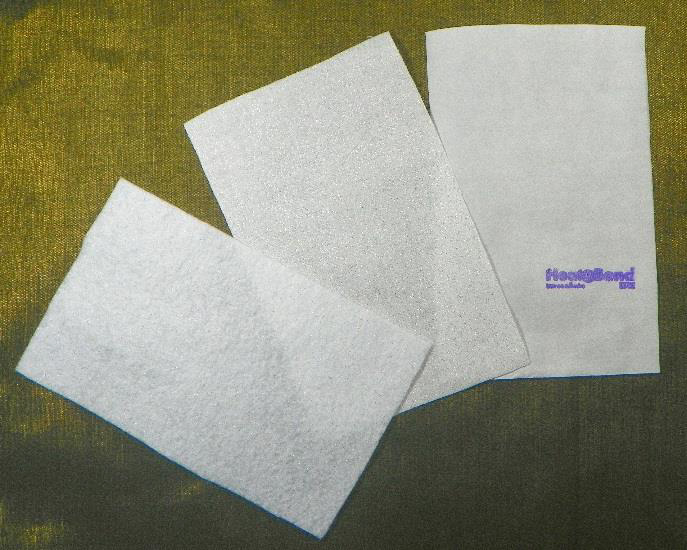
Cut three pieces 4.5 x 6.75 inches each:
a. 1 –from applique fabric
b. 1—from Heat-N-Bond
c. 1—from felt
Press the Heat-N-Bond to the back of the applique fabric.
(Click Image to Enlarge)
Step 3:
(Click Image to Enlarge)
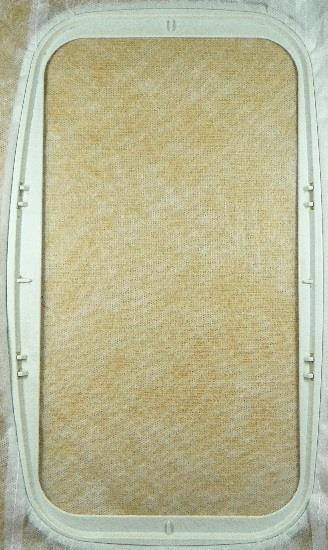
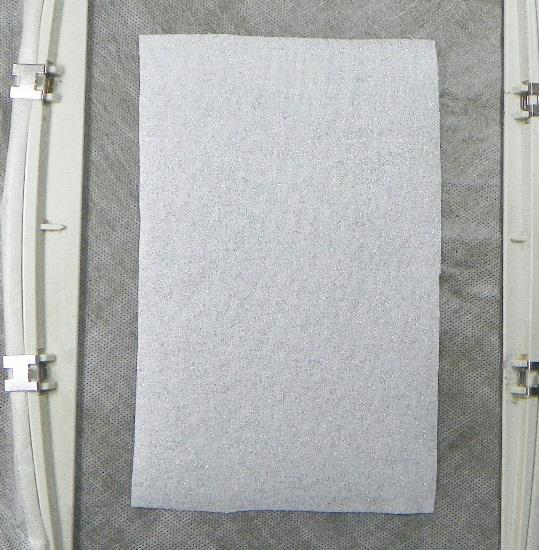
Hoop Water-Soluble stabilizer in 5 x 7 inch hoop.
Step 4:
(Click Image to Enlarge)
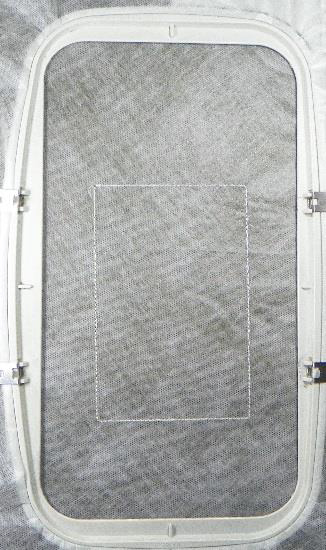
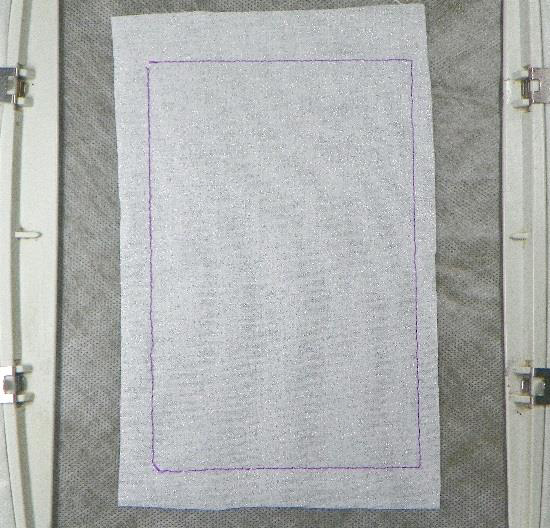
Place hoop in machine and stitch the first set of stitches (#1 in Color Sequence Chart). This will create the “placement stitches”.
Step 5:
Place the Heat-N-Bond backed fabric on top of the placement stitches (right side up-Heat-N-Bond side between the top applique fabric and the stabilizer).
(Click Image to Enlarge)
Step 6:
Stitch the tack-down stitches (#2 in the Color Sequence Chart). These stitches will secure the applique fabric to the stabilizer.
(Click Image to Enlarge)
Step 7:
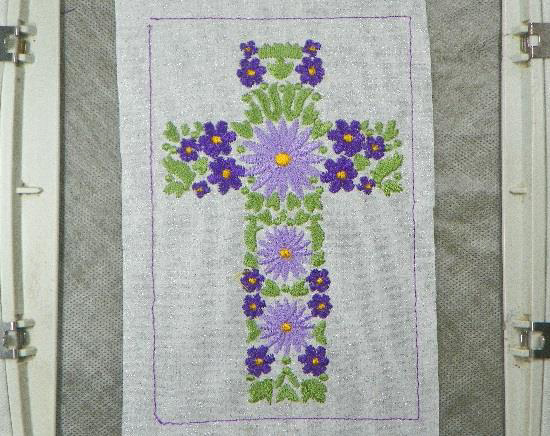
Stitch the design colors (# 3, #4, #5, & #6 in the Color Sequence Chart). It is best to cut jump stitches after each color has sewn so they will not get sewn down and be difficult -if not impossible-to cut. The nature of these designs require cutting many jump stitches.
(Click Image to Enlarge)
Step 8:
(Click Image to Enlarge)
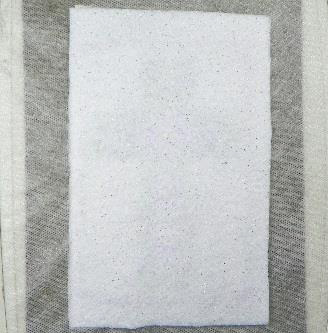
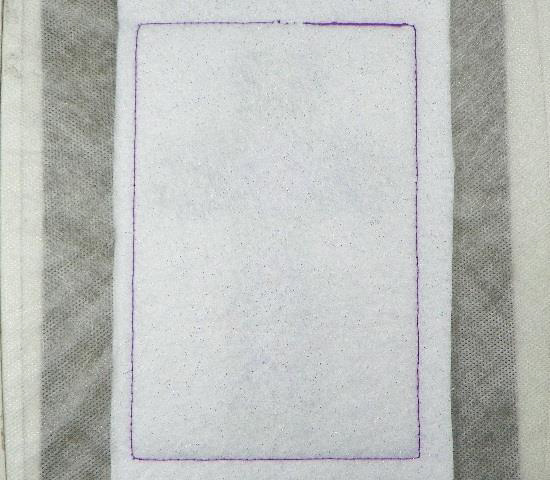
After color 6 has sewn, turn the hoop up-side down. Use temporary spray adhesive to attach the felt to the back of the design.
Step 9:
(Click Image to Enlarge)
Turn right-side up and hand press on a flat surface.
Step 10:
Return hoop to machine and sew the second tack- down stitches (#7 in the Color Sequence Chart). Make sure you use the same color thread for the tack-down stitches (machine thread and bobbin) that you will use for the satin border around the design.
(Click Image to Enlarge)
Step 11:
(Click Image to Enlarge)
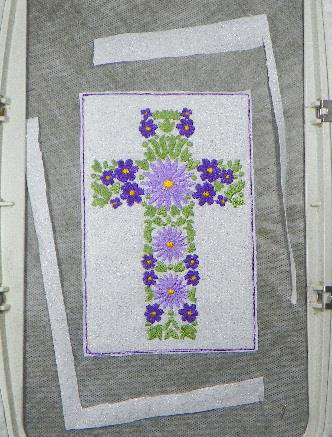
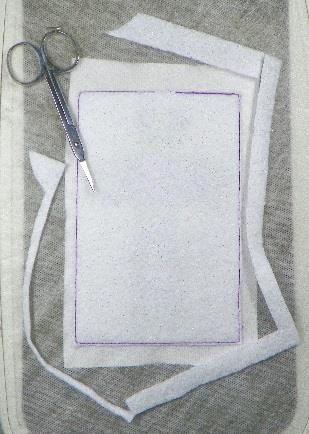
Remove the hoop from the machine and cut away the excess fabric from the front and the felt from the back.
Step 12:
(Click Image to Enlarge)
Take care not to cut the stitches.
Step 13:
(Click Image to Enlarge)
Return the hoop to the machine and sew the satin border around the design (#8 in the Color Sequence Chart).
Step 14:
(Click Image to Enlarge)
Remove the hoop from the machine and remove the design from the hoop. Cut around the design— leaving about 1⁄4 inch of the stabilizer outside the design.
Step 15:
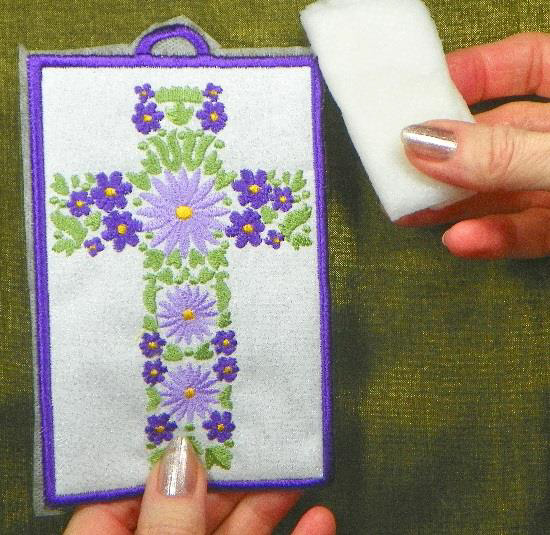
Remove the remaining 1⁄4 inch water-soluble stabilizer using a wet paper towel or a wet cloth.
(Click Image to Enlarge)
Step 16:
(Click Image to Enlarge)
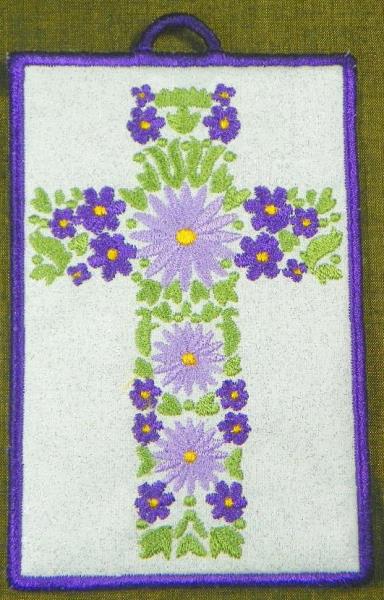
Allow the design to air dry. Your project is ready to hang or give as a gift. I like to tuck such items into cards I send. (Yes, some people do still send cards through the postal system.)