Border OptionsHugging border, circle, square, or rectangle — with a 3mm satin stitch.
Backing OptionsAvailable with iron-on, sew-on, or velcro backing.
Fast ShippingShipped quickly from the USA.
Free Online Tools
Powerful embroidery utilities that save time and prevent costly mistakes.
Stitch AssistantRECOMMENDED
Get the exact stabilizer, machine settings, needle, and thread color sequence for every embroidery design you purchase — based on that design's stitch density, dimensions, and color count.
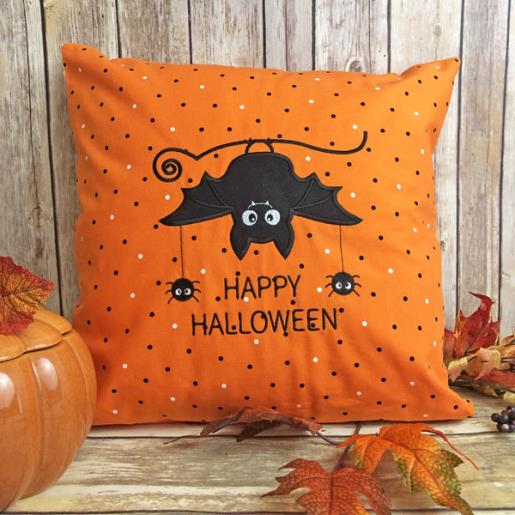
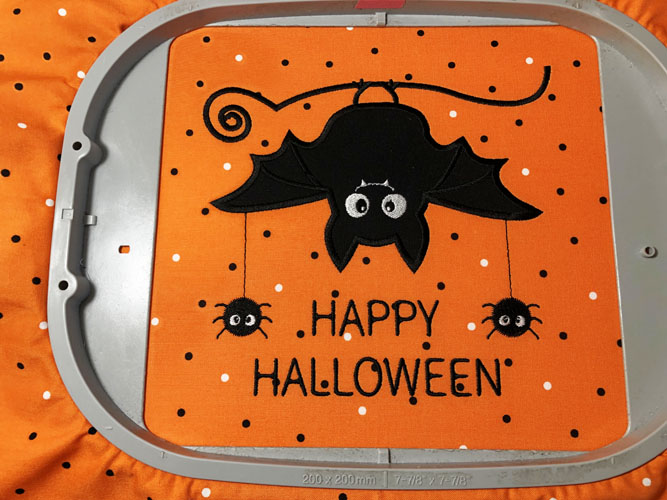
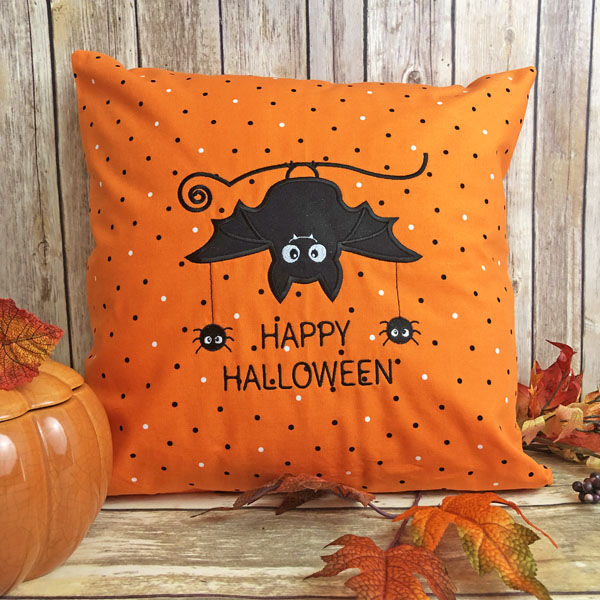
Create a fun and festive Halloween atmosphere with this Applique Halloween Bat Pillow. Featuring a cute bat design, it's perfect for adding a spooky touch to your home decor. Use electronic cutters with provided SVG and FCM files, or opt for the stitch and trim applique method. Step-by-step instructions are included.
When you purchase this design the website will automatically default to your file format necessary for your machine. Select “All file types” to access the FCM and SVG files as well as your embroidery format. If you have a Scan N Cut be sure to download the FCM file so that you can move the cutting sections around on your machine screen. The stitch and trim method can also be used to make this design. I am only familiar with the Scan N Cut, if you own a different type of cutting, machine please refer to their manual for how to cut the appliques.
Step 1:
Cut your applique piece to the size listed above in the materials list. Spray the applique fabric 3 or 4 time with spray starch. This greatly reduces raveling. Cut a piece of Heat N Bond Lite® to fit the applique and fuse to the back of the fabric following the manufacturer’s instructions.
(Click Image to Enlarge)
Step 2:
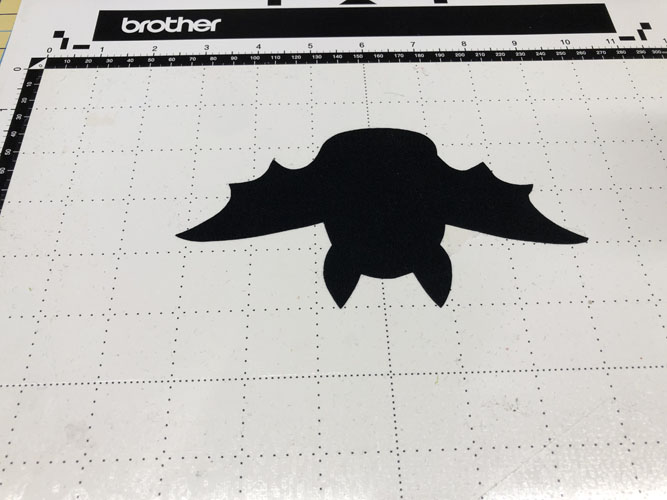
For those with electronic cutters arrange the applique fabrics on your mat. I leave the paper on the applique fabrics. Scan your mat into your cutting machine and move the cutting lines over the appropriate fabrics. Cut the appliques.
(Click Image to Enlarge)
Step 3:
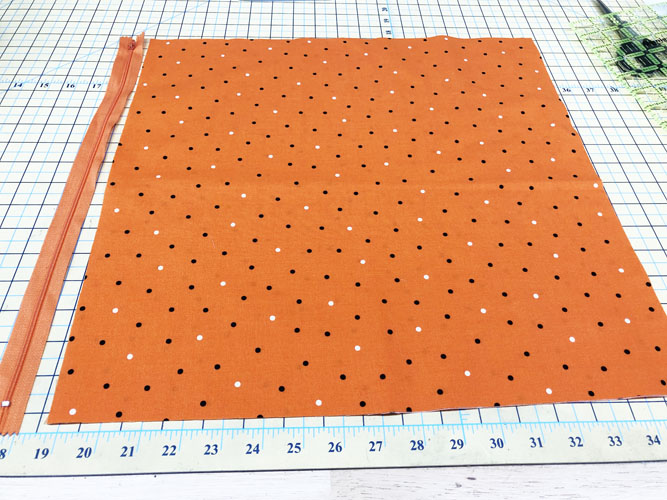
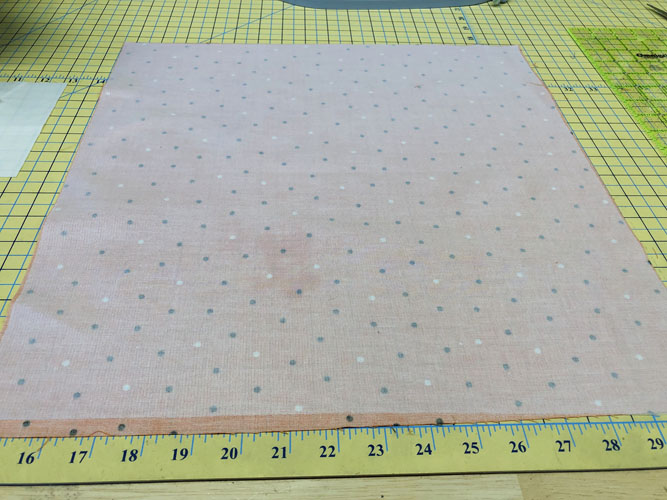
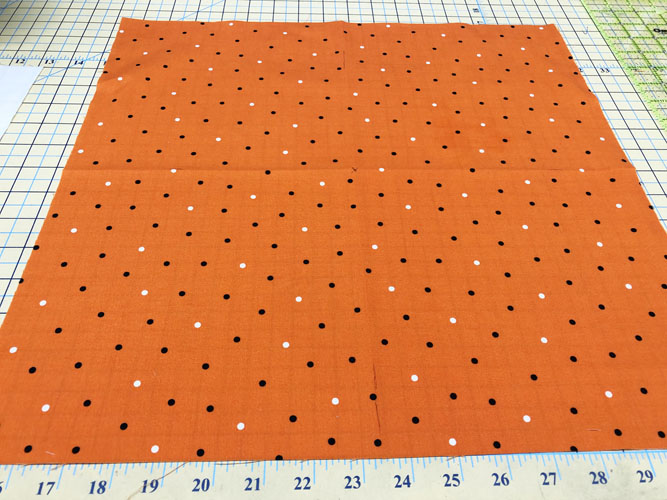
Cut 2 17” squares of the orange polka dot print fabric. Cut 1 17” square of Pellon Fusible Knit Interfacing is using an 8” x 8” hoop. If using a 12” x 8” hoop cut the fabrics and interfacing 24” x 17”.
(Click Image to Enlarge)
Step 4:
Fuse the interfacing to the back side of the pillow cover front following the manufacturer’s instructions.
(Click Image to Enlarge)
Step 5:
Fold the fabric horizontally and vertically and finger press to locate the center of the fabric.
(Click Image to Enlarge)
Step 6:
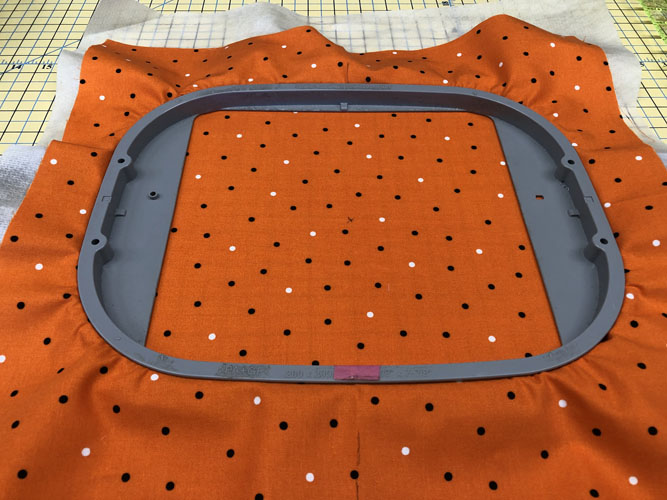
Tautly hoop the fabric with no-show stabilizer centering the middle of the fabric with the marks/folds with the marks on the hoop.
(Click Image to Enlarge)
Step 7:
(Click Image to Enlarge)
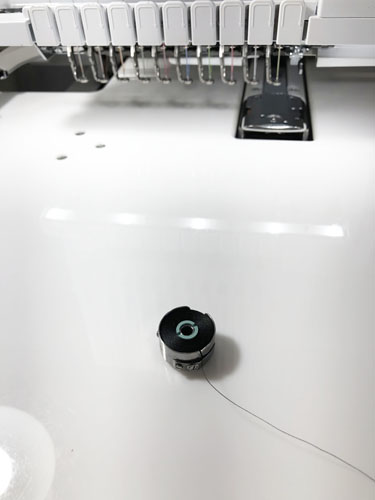
As most of the embroidery in this project is done with black thread, it is recommended that you load a black bobbin into your embroidery machine. Black embroidery always looks best when a black bobbin is used.
Step 8:
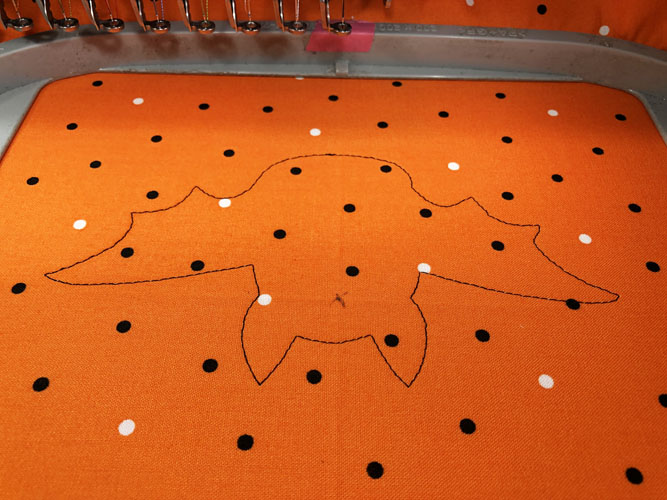
Run the first color stop (CS 1) as a placement line for the applique.
(Click Image to Enlarge)
Step 9:
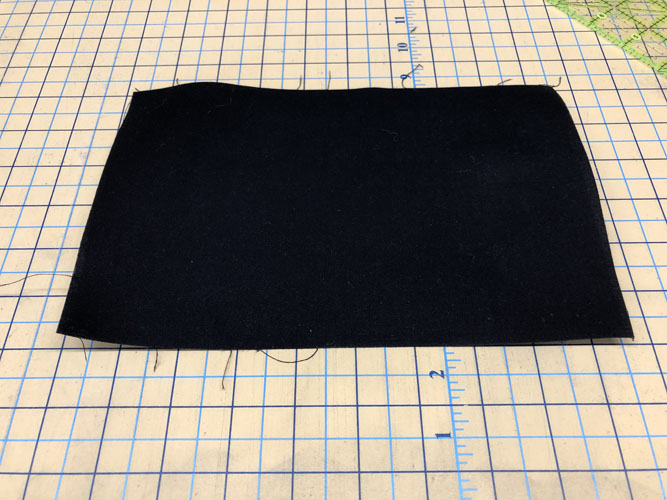
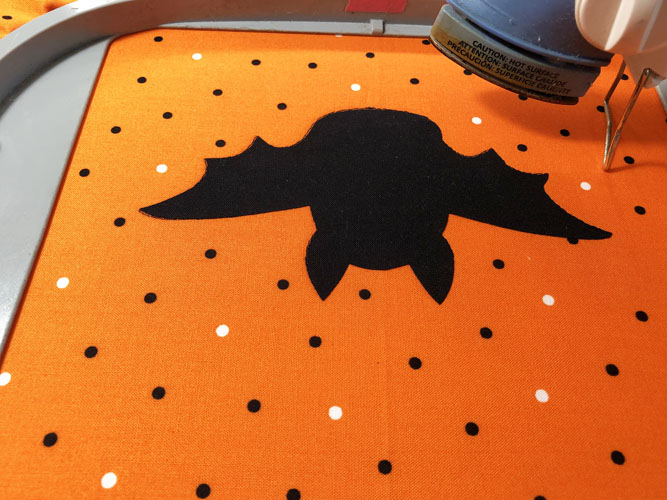
If using precut appliques remove the paper backing from the Heat N Bond Lite®, spritz the back of the applique with a little spray adhesive and position withing the placement lines. If using the stitch & trim method, remove the paper backing from the rectangle of black fabric, spritz the back of the fabric with spray adhesive and place the fabric over the placement lines so that the fabric exceeds the placement lines by ½” on all sides.
(Click Image to Enlarge)
Step 10:
The next CS will stitch the tack down stitches. These stitches are not necessary for the precut appliques but will let you know your applique is in the right place. For stitch & trim users, run this color stop in grey so that you will be able to see them to trim the applique right up next to the tack down lines. For all users, press the applique down with an applique iron.
(Click Image to Enlarge)
Step 11:
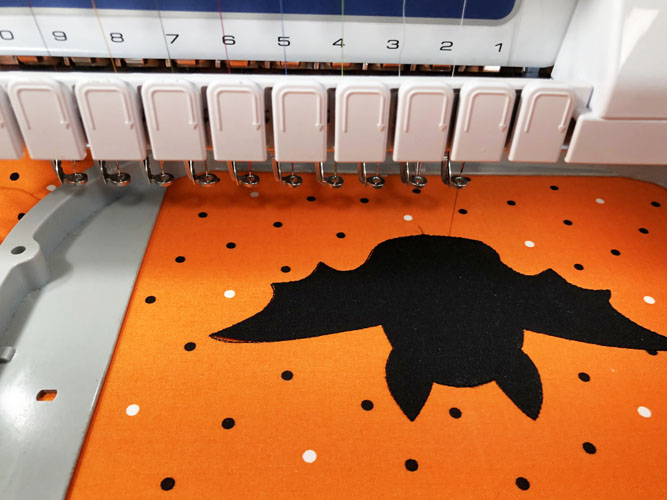
Follow the color chart to complete the embroidery.
(Click Image to Enlarge)
Step 12:
(Click Image to Enlarge)
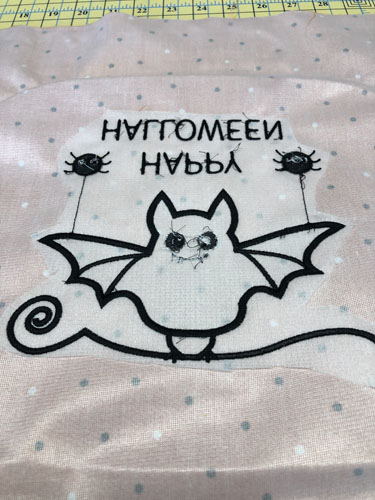
Trim the stabilizer around the design. 12” x 8” hoop users should now trim the front and back fabrics to 17” squares.
Step 13:
(Click Image to Enlarge)
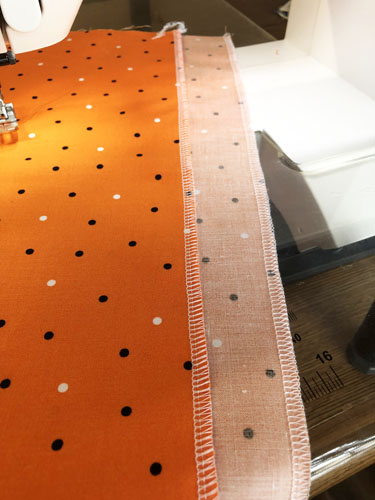
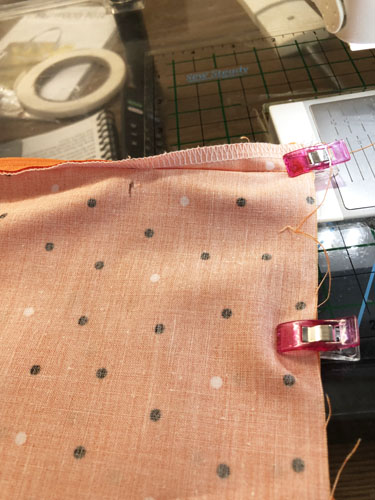
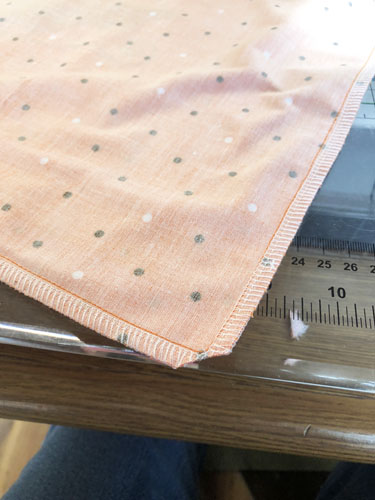
Clean finish the lower edge of both the front and back of the pillow cover by overcasting with a serger or zigzag on your sewing machine. Remember that the bat is hanging upside down so that you finish off the lower edge underneath the lettering.
Step 14:
(Click Image to Enlarge)
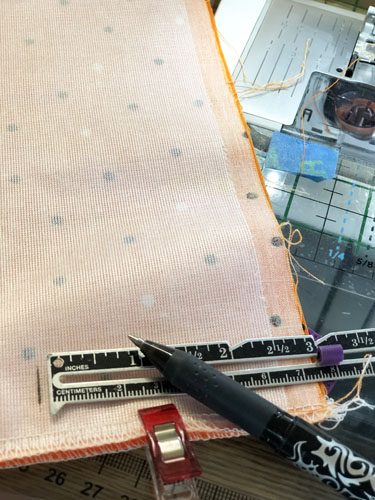
Place the front and back of the pillow cover right sides together. Make marks with a fabric pencil 3” from the top and bottom of the aligned overcast seams.
Step 15:
(Click Image to Enlarge)
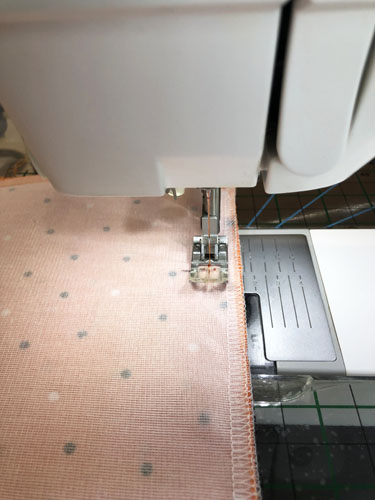
With ½” seam allowance stitch from the top of the fabric to the 3” mark with a 2.5mm stitch length; backstitch a few stitches and stitch up to the mark again. Leaving the needle down in the fabric change your stitch length to 4 to 5mm and stitch down to the mark 3” from the bottom of the fabric. With the needle down in the fabric change the stitch length back to 2.5mm. Backstitch as you start stitching these last three inches of seam.
Step 16:
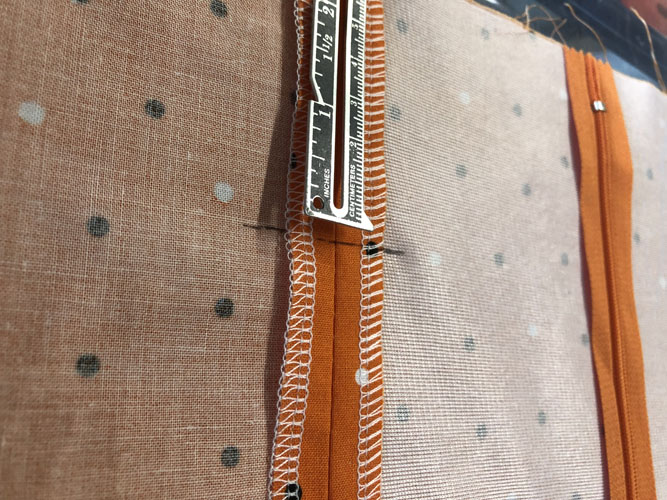
Press the seam open. Re-mark the lines 3” from each end.
(Click Image to Enlarge)
Step 17:
(Click Image to Enlarge)
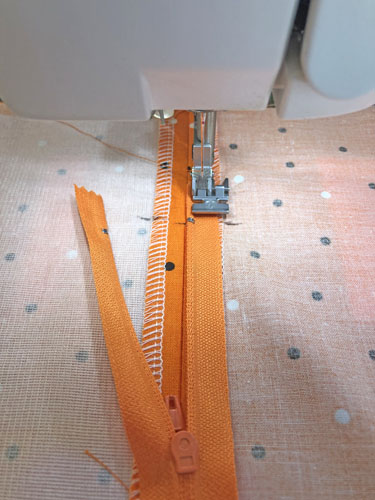
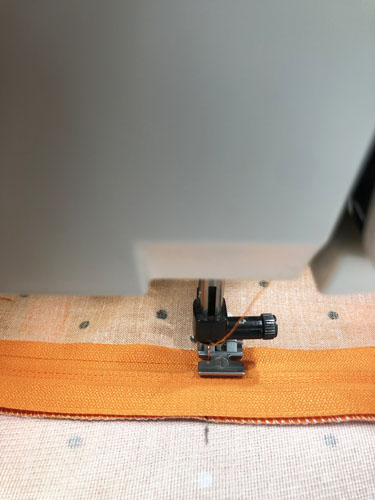
Put a zipper foot on your sewing machine. Place the zipper face down with the top zipper stop on your 3” mark on the open seam. Have the zipper opened about 3”. Placing the zipper teeth along the seam line and stitch from just above the zipper stop until just before you reach the zipper pull.
Step 18:
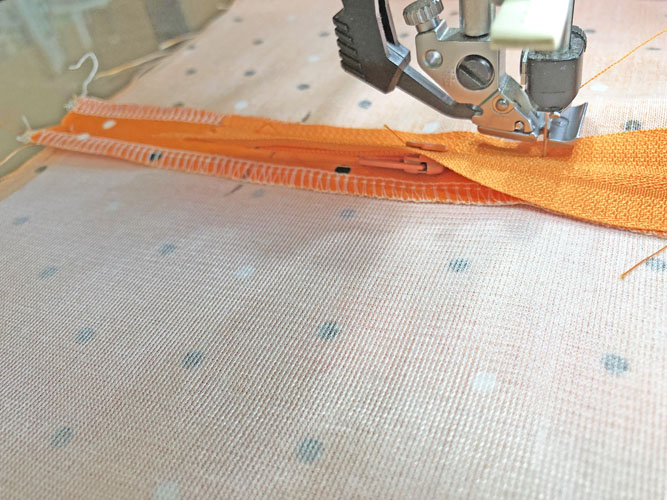
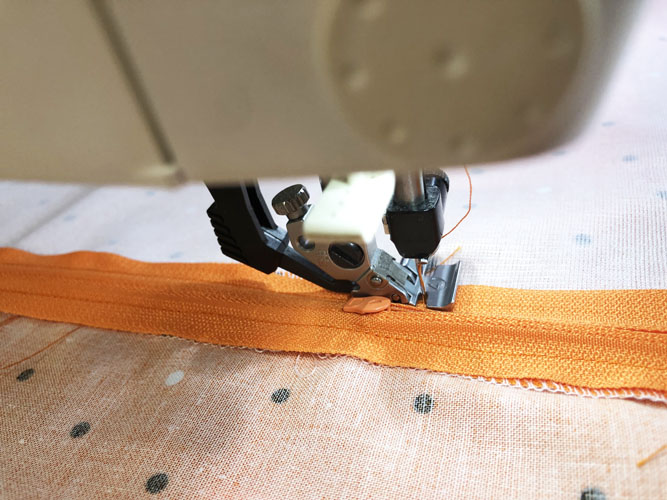
With the needle down in the fabric, raise the presser foot, pull the zipper pull behind the zipper foot; be sure to leave the zipper pull facing up.
(Click Image to Enlarge)
Step 19:
(Click Image to Enlarge)
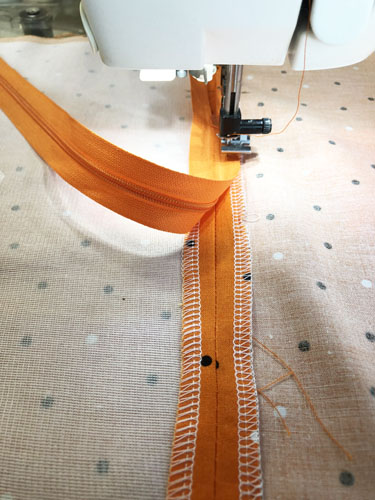
Continue stitching down the side of the zipper, making sure the zipper teeth stay aligned with the seam in the fabric, until you reach the end 3” marks.
Step 20:
(Click Image to Enlarge)
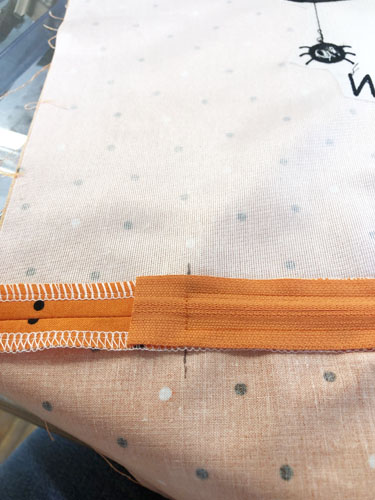
Pivot at the 3” mark and stitch right across the bottom of the zipper. You will have extra zipper hanging out from the stitching, that will be trimmed off in a moment.
Step 21:
Pivot on the other side of the zipper tape, when you reach the point of the zipper tab, once again with the needle down raise the presser foot and push the zipper pull down to the back of the zipper foot. Continuing stitching until you reach the top of the zipper stop; pivot and stitch over the top of the zipper; pivot and backstitch over your first beginning stitches.
(Click Image to Enlarge)
Step 22:
(Click Image to Enlarge)
Trim off the excess zipper about ½” below the bottom stitching.
Step 23:
(Click Image to Enlarge)
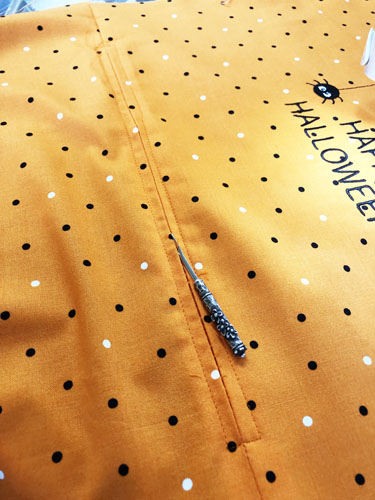
Use a seam ripper to open the basting stitches that cover the zipper. Use your fingers, a lint roller to remove all the little pieces of thread. Open your zipper about ½ way. Be sure to open the zipper or you will not be able to turn the pillow cover right side out.
Step 24:
(Click Image to Enlarge)
Align all edges of the pillow right sides together. Fold the edges of the seam where the zipper was put in together so that the fabric is flat. Stitch the three open sides of the pillow together with a ½” seam allowance, pivoting at the corners.
Step 25:
(Click Image to Enlarge)
Serge the edges of the pillow where the three sides were just sewn, trimming off to ¼”. Or, if you do not have a serger, trim the seams to ¼” and use a zigzag or overcast stitch to finish them. Trim off all 4 corners at an angle to facilitate turning. Use a point turner or other blunt tool to turn the pillow cover right side out. Press the pillow cover rolling the seams to the outside edges.
Step 26:
Insert the pillow form. Congratulations your Love Halloween Pillow is complete!
Award winning Digitizer, Embroidery Educator, Author and a Consultant to the Industry, Pat Williams has 30 years of experience in the embroidery industry. Pat has won multiple awards for her digitizing expertise including the 2007 Impressions Awards Grand Championship, Best of Show as well as the 1st and 2nd Place Awards. Pat’s love of digitizing has afforded her the opportunity to write numerous articles for Impressions magazine in the United States and Images Magazine in Europe. In 2001 Pat was named “Embroidery Educator of the Year.” For many years Pat taught digitizing seminars at the ISS Shows in Long Beach, CA and for Compucon software. She now resides in Tucson, AZ.