Border OptionsHugging border, circle, square, or rectangle — with a 3mm satin stitch.
Backing OptionsAvailable with iron-on, sew-on, or velcro backing.
Fast ShippingShipped quickly from the USA.
Free Online Tools
Powerful embroidery utilities that save time and prevent costly mistakes.
Stitch AssistantRECOMMENDED
Get the exact stabilizer, machine settings, needle, and thread color sequence for every embroidery design you purchase — based on that design's stitch density, dimensions, and color count.
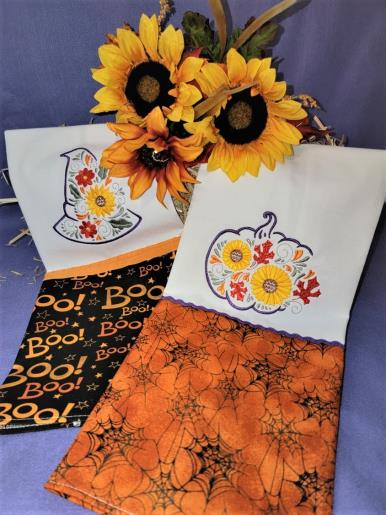
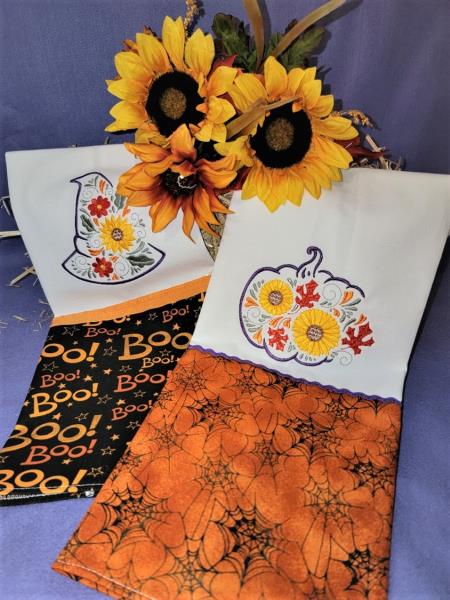
These beautifully crafted towels feature vibrant Halloween-themed floral designs, perfect for adding a festive touch to your kitchen or bathroom throughout the fall season. They blend seasonal motifs with practical use, making them a delightful addition to any home decor. Step-by-step instructions are included.
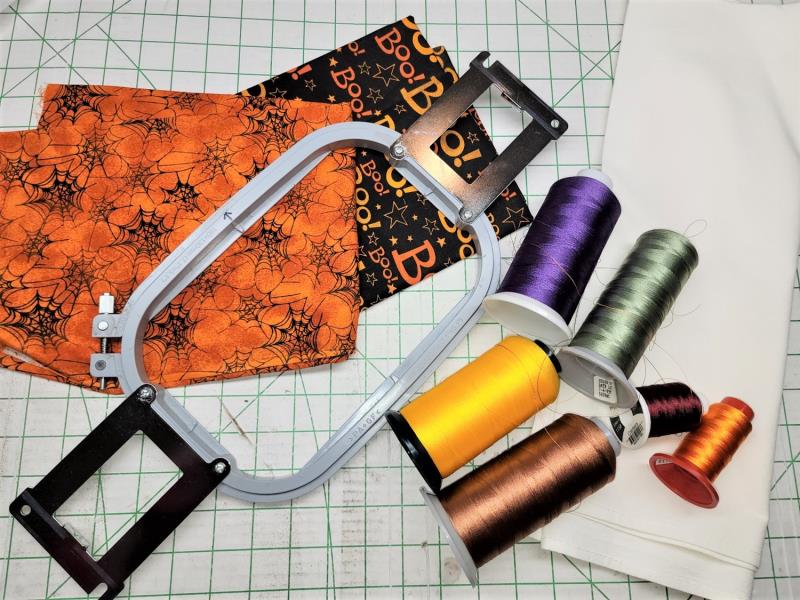
Read through the instructions thoroughly before beginning and assemble all the materials needed to complete the project. Coordinate the trim and embroidery threads with the Halloween fabrics. Print the paper template.
(Click Image to Enlarge)
Step 2:
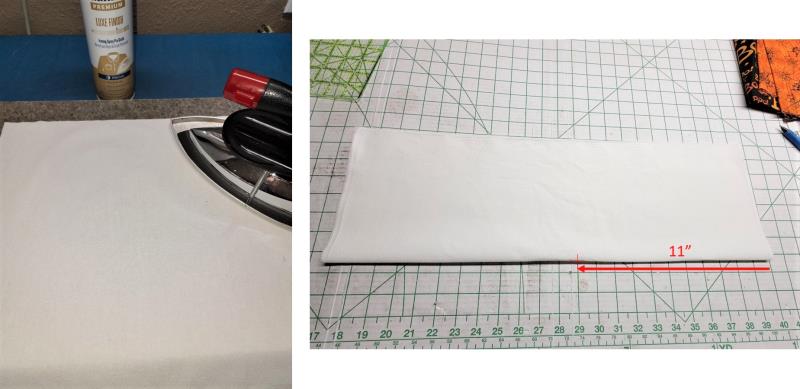
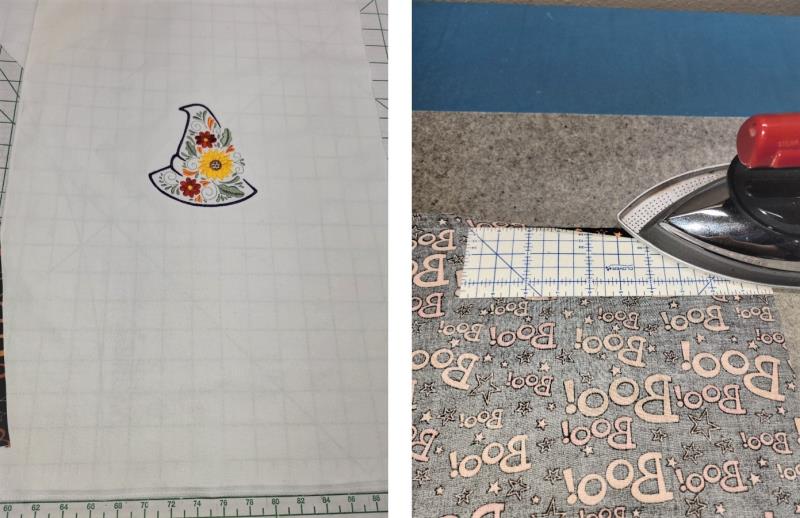
Cut and press the fabrics with starch. Fold the towel fabric in half lengthwise and place a mark 11” up from the bottom at the fold. This will be the center placement line for the embroidery.
(Click Image to Enlarge)
Step 3:
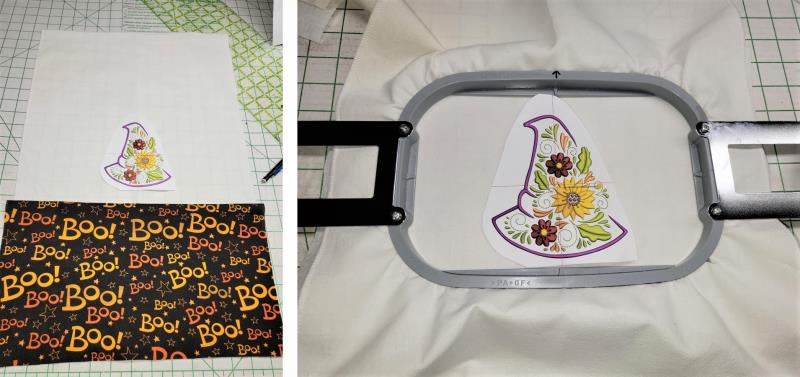
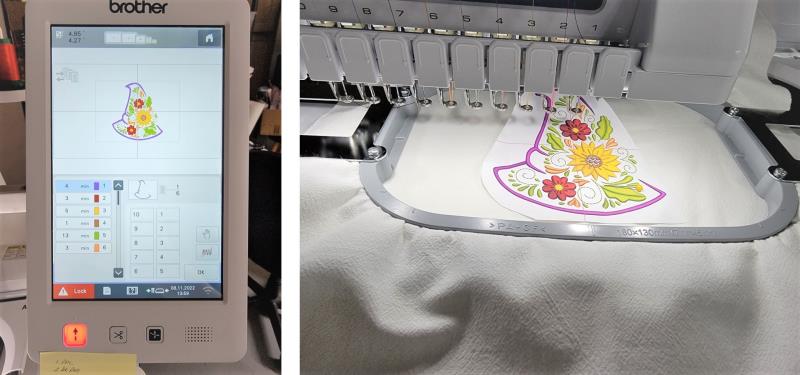
Place the paper template at the center mark. Check the Halloween fabric placement in relation to the design. Make any adjustments you’d like at this time. Hoop the fabric with stabilizer, centering the design.
(Click Image to Enlarge)
Step 4:
Load the design on the machine. Align the needle to the center mark on the template.
(Click Image to Enlarge)
Step 5:
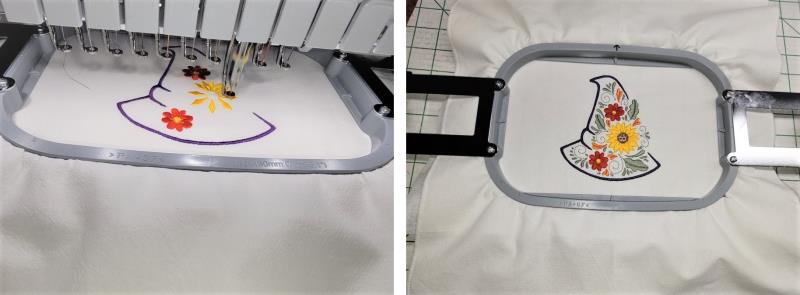
Stitch the design following the color sequence.
(Click Image to Enlarge)
Step 6:
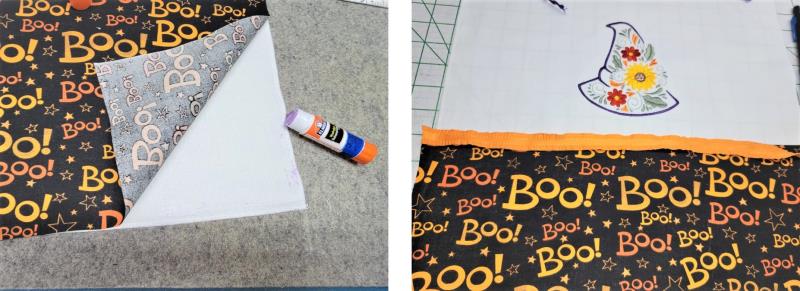
Remove the fabric from the hoop and trim the stabilizer. Press under ¼” at the top edge of the Halloween fabric.
(Click Image to Enlarge)
Step 7:
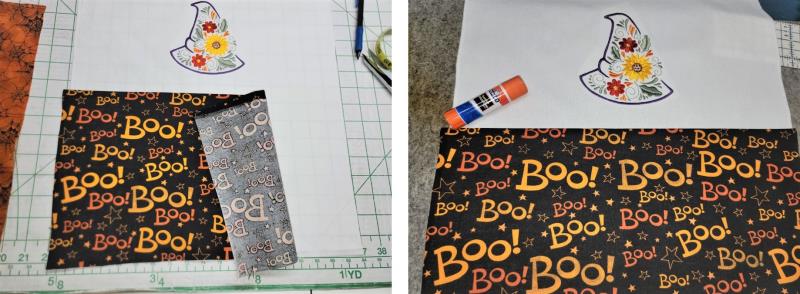
Position the fabric below the design matching the side and bottom cut edges of the Halloween fabric with the same edges on the towel. Use a glue stick to help hold the fabric in position.
(Click Image to Enlarge)
Step 8:
Place some glue on the sides and bottom, too. Cut the trim about an inch longer than needed.
(Click Image to Enlarge)
Step 9:
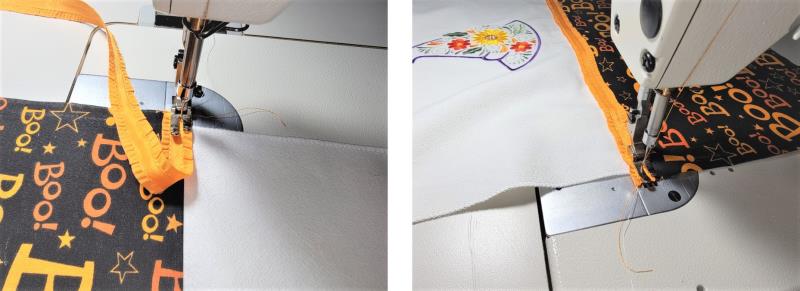
Align the trim at the top edge of the Halloween fabric. Stitch on the trim catching the folded edge of the fabric, using the matching thread color.
(Click Image to Enlarge)
Step 10:
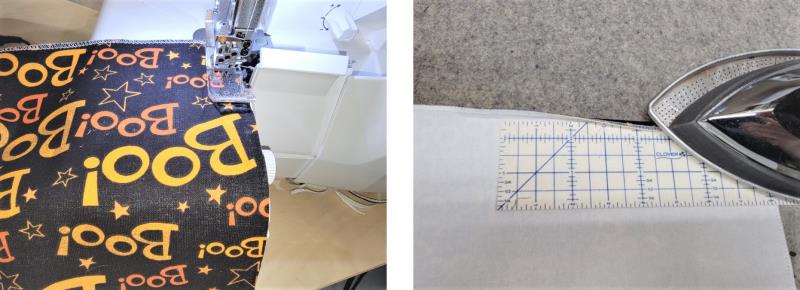
If using a serger to finish the edges, serge around all the edges at this point. Turn under the serged edges ¼”. If not using a serger, double fold the edges ¼” and press.
(Click Image to Enlarge)
Step 11:
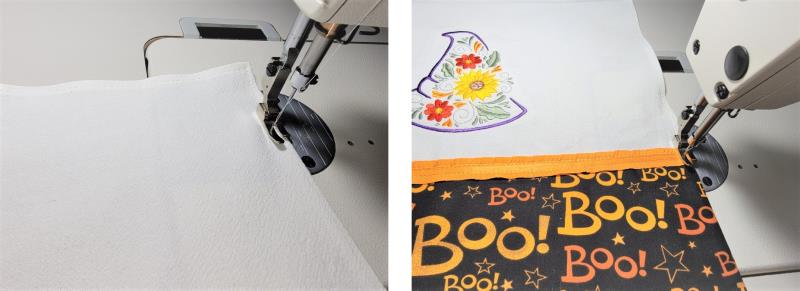
From the right side of the fabric, top stitch around all the edges scant ¼” with the white thread.
(Click Image to Enlarge)
Step 12:
Press the towel. Repeat the steps to complete any other towels using the designs in the list and coordinating fabrics. These make great housewarming gifts and sales for bazaars and craft fairs. Thank you for purchasing the designs!
Ramona Baird has been in the embroidery industry for over 23 years. She and her husband owned a commercial and retail embroidery store in Arizona for many years. She is an experienced digitizer having been mentored by award-winners Pat Williams and Lindee Goodall. Ramona is a contributor to “Creative Machine Embroidery” magazine having 5 covers to her credit. Ramona has worked for Wilcom America and served many years as Education Director for the American Sewing Guild. With a degree in fashion design, she is able to design and execute patterns which Pat Williams says are “out of the box” in creativity and application. Ramona likes to challenge the boundaries of embroidery and bring new and exciting designs, ideas, and projects to EmbroideryDesigns.com. She wants embroiderers of all levels to increase their skills and enjoyment in using their embroidery machine for gift-making and personal pleasure.