Border OptionsHugging border, circle, square, or rectangle — with a 3mm satin stitch.
Backing OptionsAvailable with iron-on, sew-on, or velcro backing.
Fast ShippingShipped quickly from the USA.
Free Online Tools
Powerful embroidery utilities that save time and prevent costly mistakes.
Stitch AssistantRECOMMENDED
Get the exact stabilizer, machine settings, needle, and thread color sequence for every embroidery design you purchase — based on that design's stitch density, dimensions, and color count.
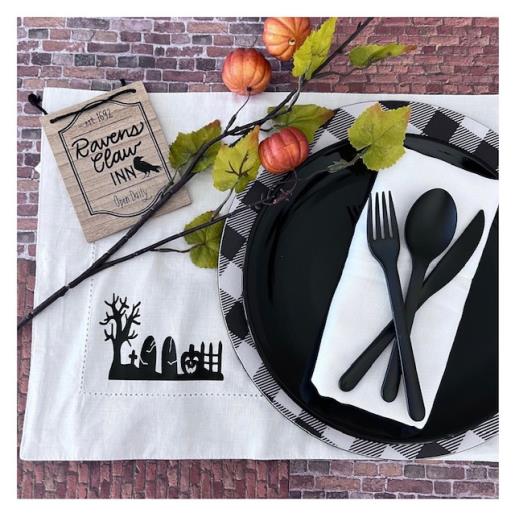
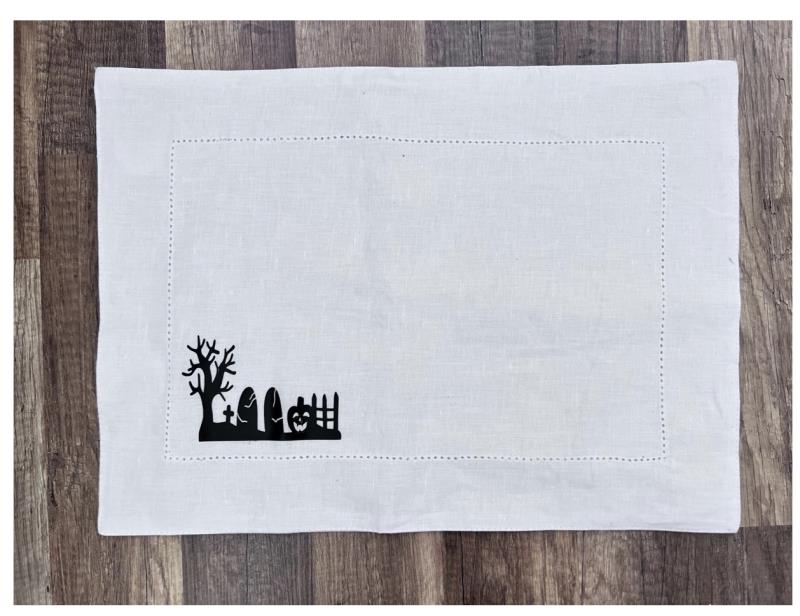
Enhance your Halloween table setting with this spooky graveyard-themed placemat. Perfect for adding a touch of eerie charm to your dining experience, it features iconic Halloween symbols. Step-by-step instructions are included.
Store purchased linen placemats make this a great beginner tutorial for those new cutting machine owners that are looking for a fun and easy project. Basic knowledge of a cutting machine and how to weed design cut vinyl for a decal is required. This tutorial focuses on how to size the SVG design for the application area of your placemat and mirror image before cutting design onto the vinyl. Heat transfer vinyl needs to be mirrored so that the cut design is facing right side up when applied. Time stated for this tutorial is for one placemat. Make additional placemats to complete a set of four or for as many needed.
Step 1:
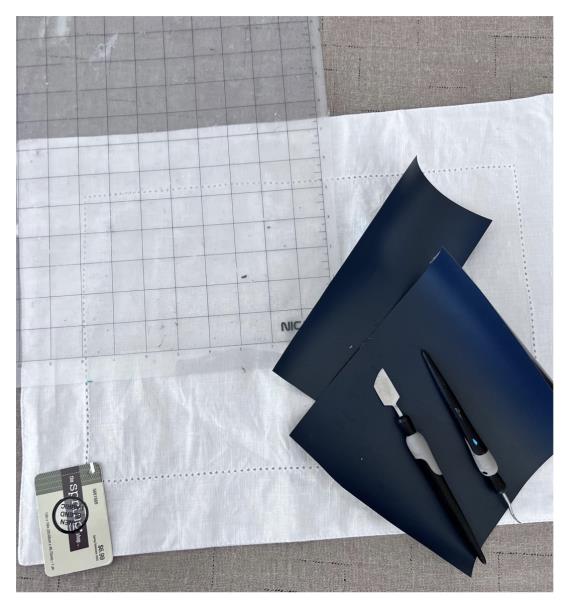
Gather all supplies and review instructions before beginning
(Click Image to Enlarge)
Step 2:
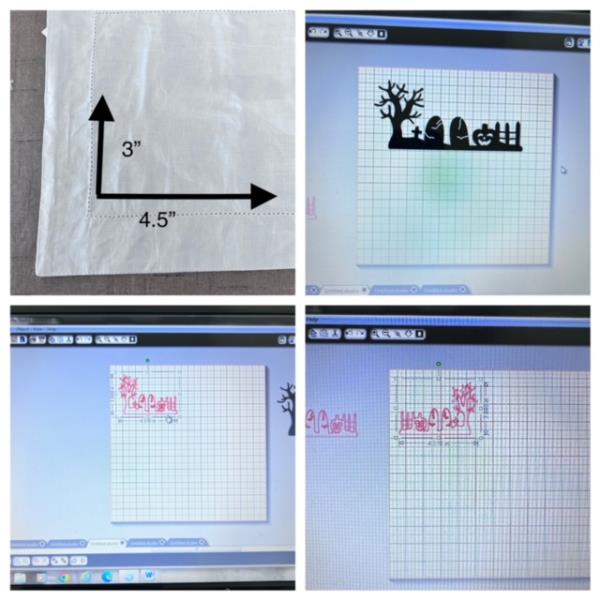
Measure the height and width bottom left hand corner of your placemat for the decal application area . The design should be visible when adding a place setting onto your placemat. Design for this tutorial was resized 3” x 4.5” Bring SVG design into your cutting machine’s program design space. Cut and resize design based on your measurement of your placemat application area. Mirror image. Refer to your cutting machine’s instruction manual if needed.
(Click Image to Enlarge)
Step 3:
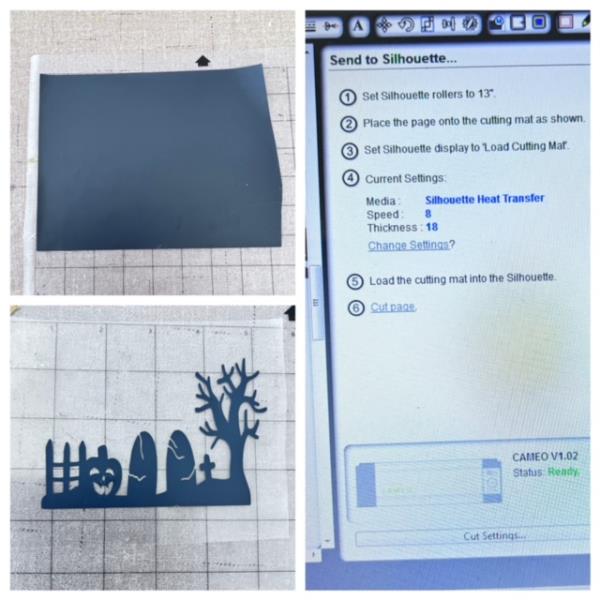
Prepare your cutting mat with your HTV vinyl. Place shiny side down onto cutting mat. Load mat into your cutting machine. Adjust your cutting machine’s settings to cut HTV. Test cut. Make any needed or necessary adjustments. Cut vinyl. Cutting complete. Remove mat. Weed cut design of any unwanted vinyl for a decal.
(Click Image to Enlarge)
Step 4:
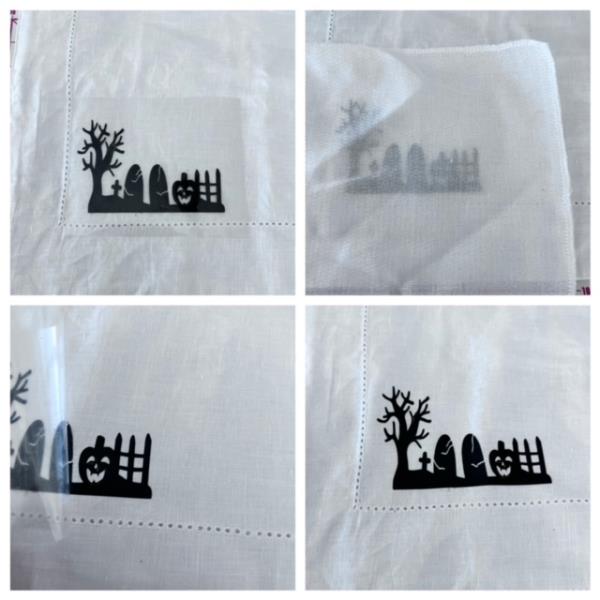
Center decal onto application area of placemat. Shiny side up. Refer to your HTV’s product application method. Heat transfer press decal onto placemat ( use your pressing cloth to place on top of plastic sheet ) When removing the plastic sheet if the decal comes up place back down and press for an additional 2 -3 minutes. Carefully remove plastic sheet and you are done! Great job! Make additional placemats using the same SVG design or look on the ED website for other designs to complete a set.