Border OptionsHugging border, circle, square, or rectangle — with a 3mm satin stitch.
Backing OptionsAvailable with iron-on, sew-on, or velcro backing.
Fast ShippingShipped quickly from the USA.
Free Online Tools
Powerful embroidery utilities that save time and prevent costly mistakes.
Stitch AssistantRECOMMENDED
Get the exact stabilizer, machine settings, needle, and thread color sequence for every embroidery design you purchase — based on that design's stitch density, dimensions, and color count.
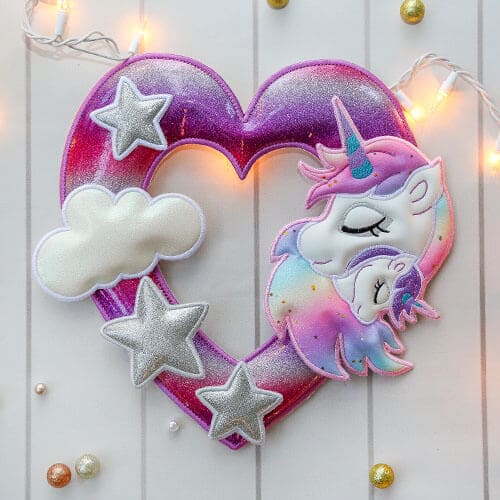
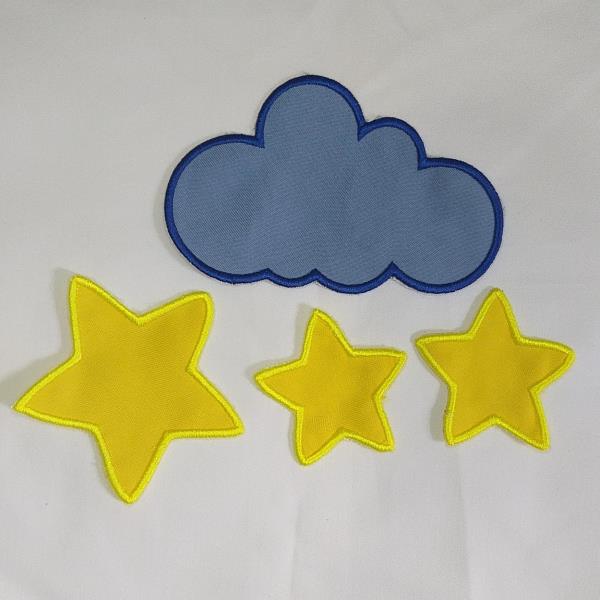
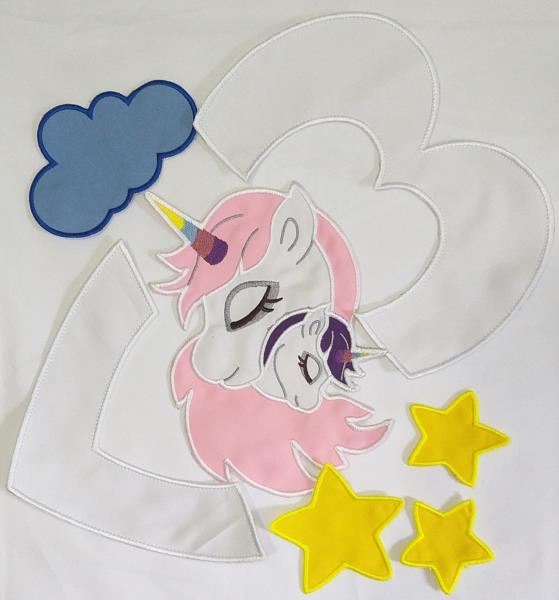
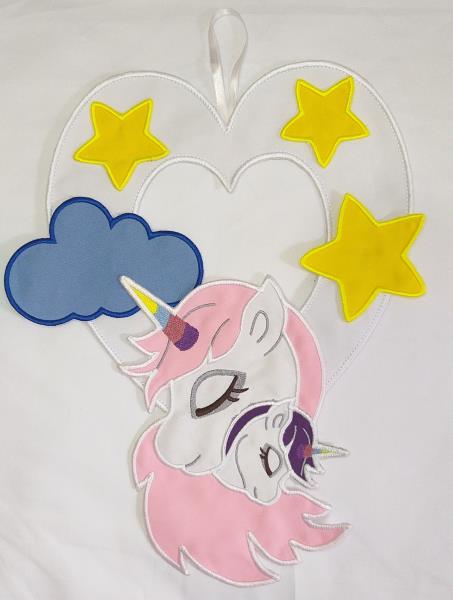
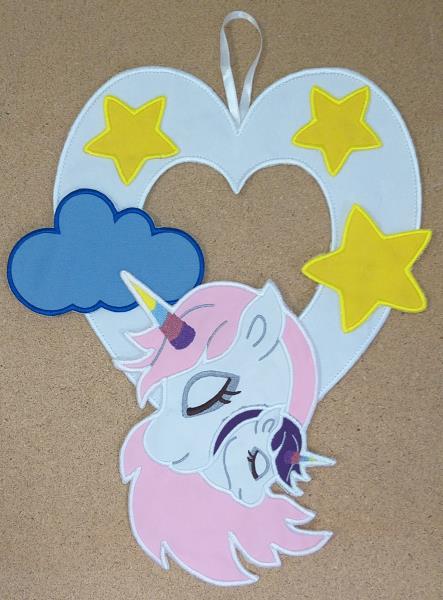
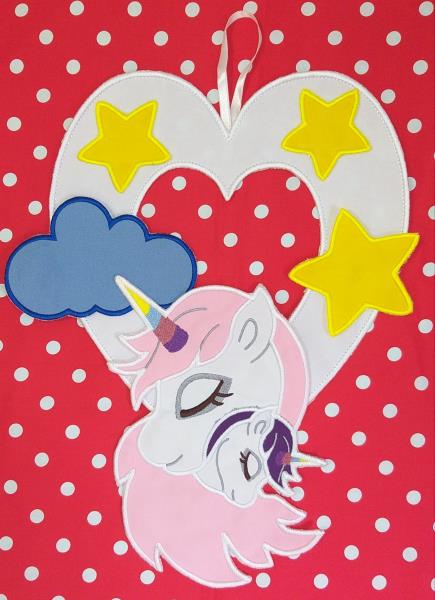
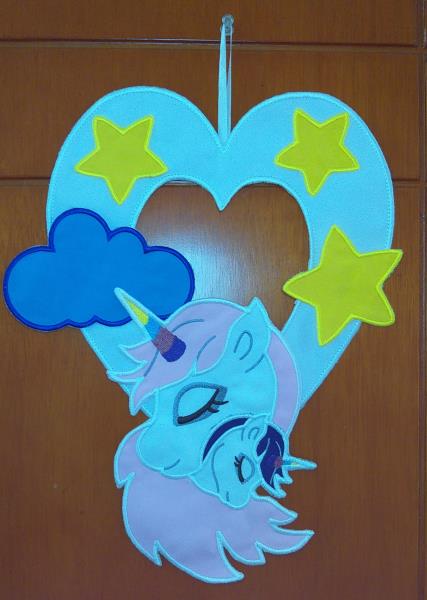
Create a magical ITH unicorn heart featuring delicate clouds and twinkling stars. This enchanting piece is crafted with fabric and wadding, perfect for adding a whimsical touch to any room. Complete this charming project in under 60 minutes. Step-by-step instructions are included.
Step
of
ITH Unicorn Heart with Clouds and Stars
By Sew Chic
This is a collaboration between ITH Boutique and Laura Workshop. The copyrights to the digitizing & some images belongs to Laura
Step 1:
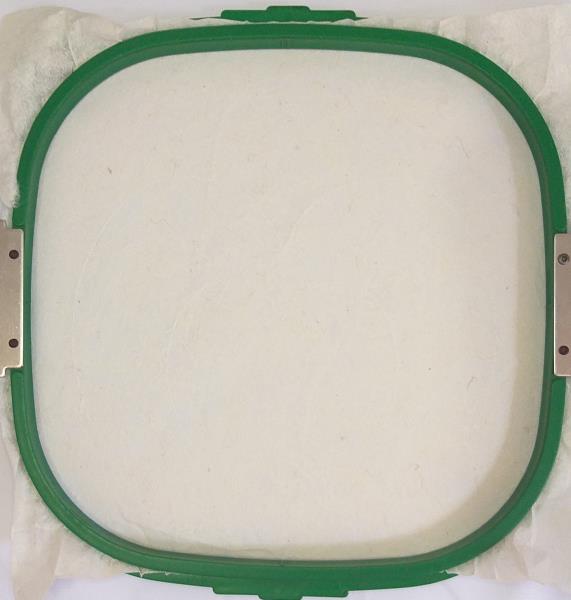
For the Hanging above part tautly hoop 2.5-ounce cutaway stabilizer in your embroidery hoop and run color-stop 1 as a placement line.
(Click Image to Enlarge)
Step 2:
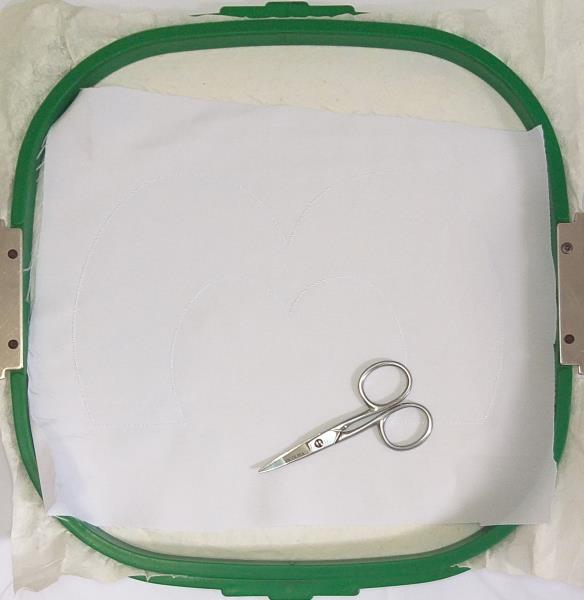
Remove the hoop from the machine, do not unhoop. Cover the placement line with wadding. Cover the wadding with white fabric and run color-stop 2 through color-stop 4 to fix the fabric.
(Click Image to Enlarge)
Step 3:
Cut off the excess fabric.
(Click Image to Enlarge)
Step 4:
Run color-stop 5.
(Click Image to Enlarge)
Step 5:
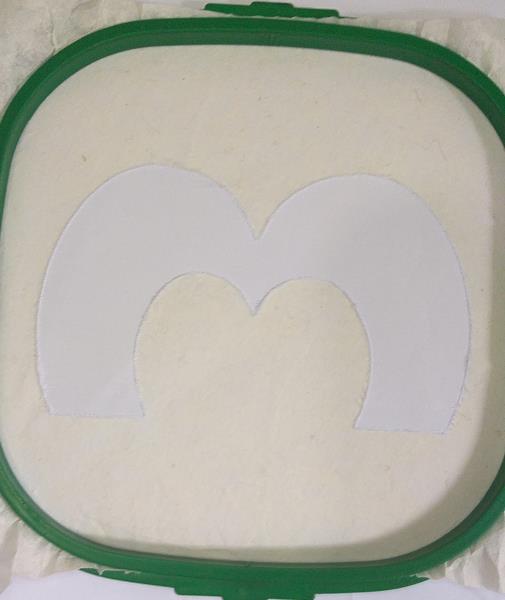
Remove the project from the hoop and cut out the outline of the design with sharp scissors, and save it for later.
(Click Image to Enlarge)
Step 6:
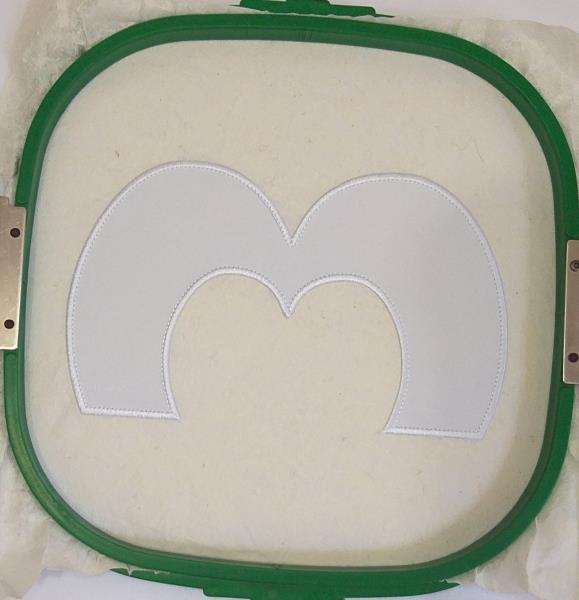
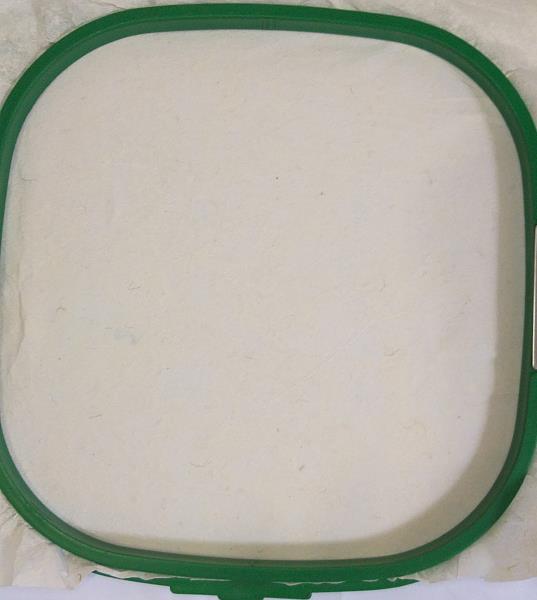
For the Hanging below part tautly hoop 2.5-ounce cutaway stabilizer in your embroidery hoop and run color-stop 1 as a placement line.
(Click Image to Enlarge)
Step 7:
Remove the hoop from the machine, do not unhoop. Cover the placement line with wadding. Cover the wadding with white fabric and run color-stop 2 and 3 to fix the fabric.
(Click Image to Enlarge)
Step 8:
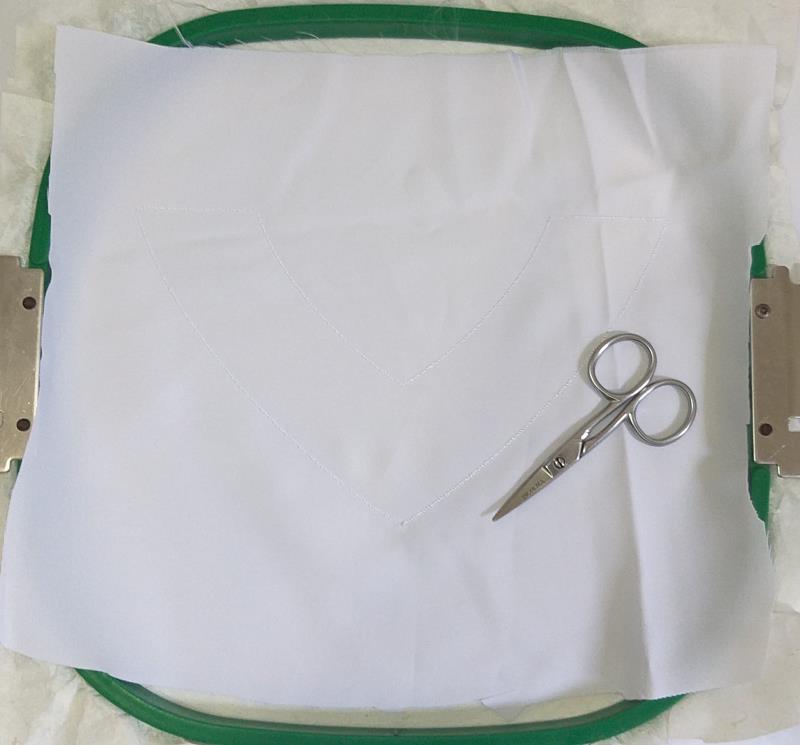
Cut off the excess fabric.
(Click Image to Enlarge)
Step 9:
Cut off the excess fabric.
(Click Image to Enlarge)
Step 10:
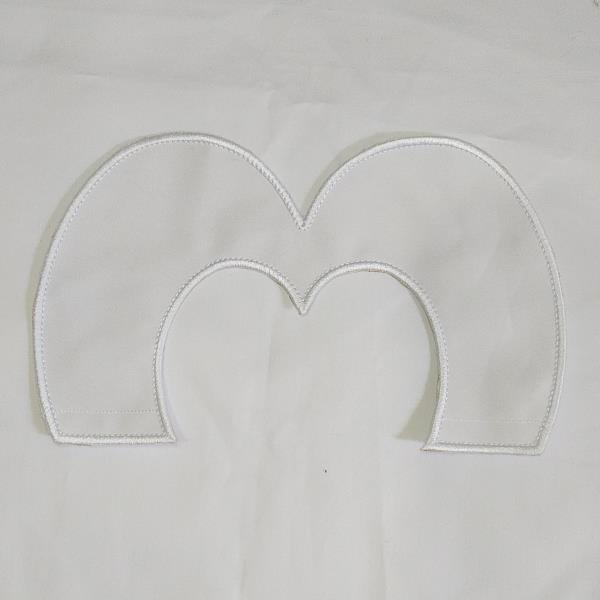
Remove the project from the hoop and cut out the outline of the design with sharp scissors, and save it for later.
(Click Image to Enlarge)
Step 11:
For the Cloud and stars tautly hoop 2.5-ounce cutaway stabilizer in your embroidery hoop and run color-stop 1 as a placement line.
(Click Image to Enlarge)
Step 12:
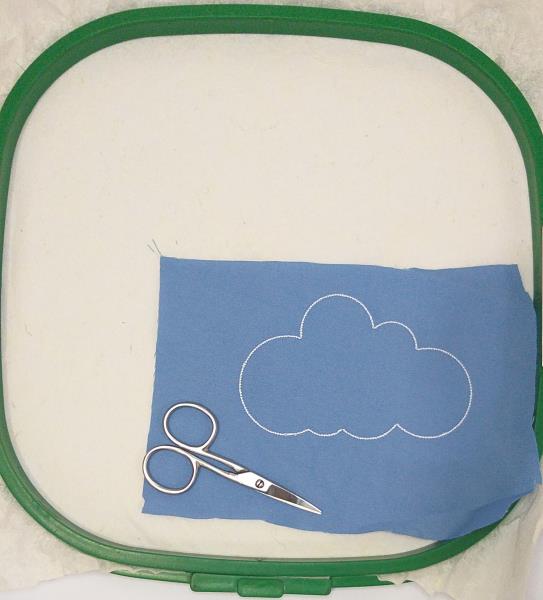
Remove the hoop from the machine, do not unhoop. Cover the placement line with wadding. Cover the wadding with blue fabric and run color-stop 2 and 3 to fix the fabric.
(Click Image to Enlarge)
Step 13:
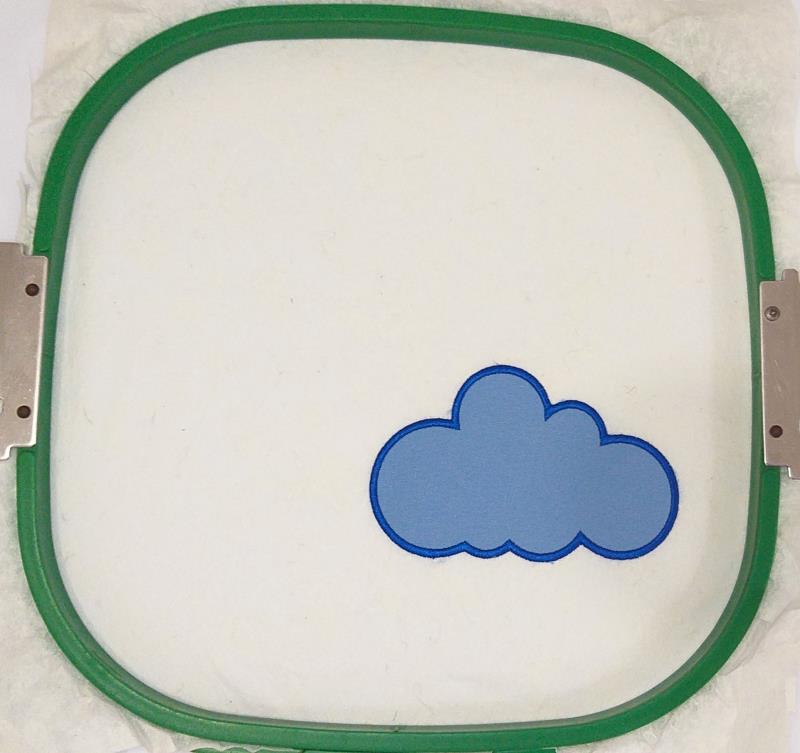
Cut off the excess fabric and run color-stop 4.
(Click Image to Enlarge)
Step 14:
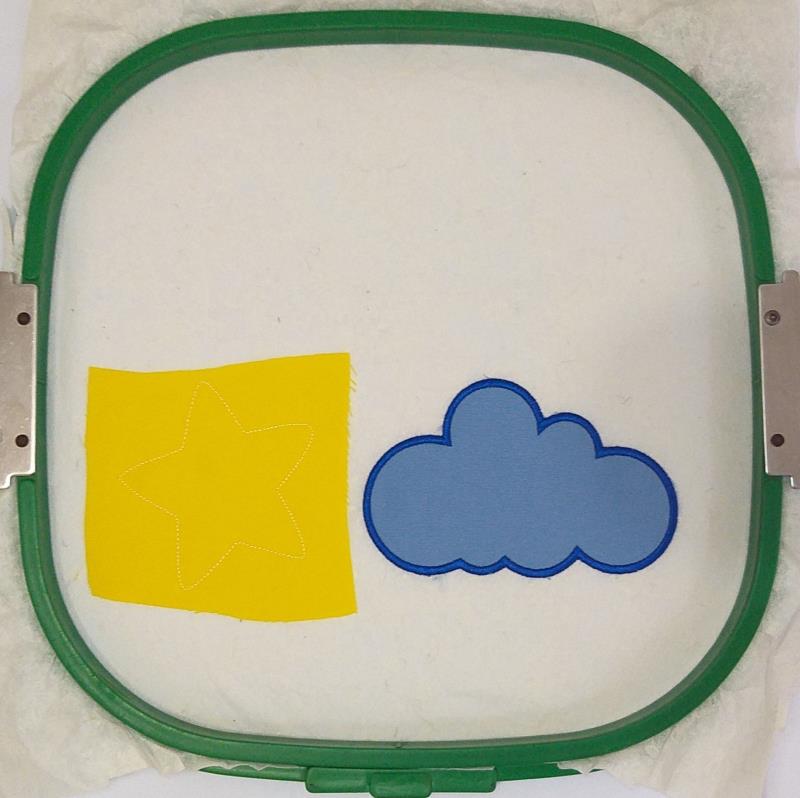
Repeat the same process this time with the star using yellow fabric.
(Click Image to Enlarge)
Step 15:
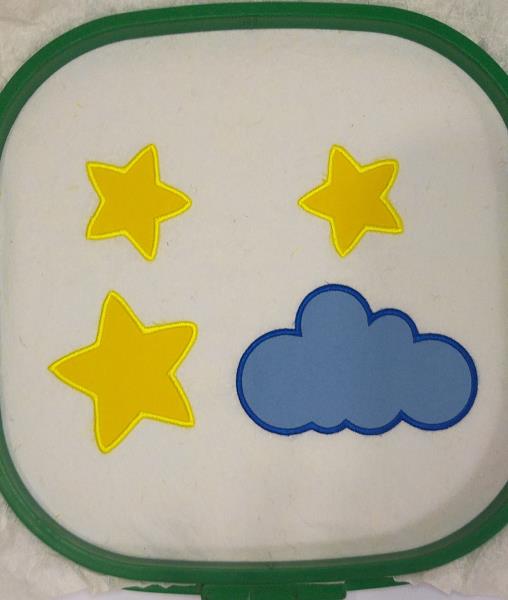
Repeat the same process until the embroidery is complete.
(Click Image to Enlarge)
Step 16:
Remove the project from the hoop and cut out the outline of the design with sharp scissors, and save it for later.
(Click Image to Enlarge)
Step 17:
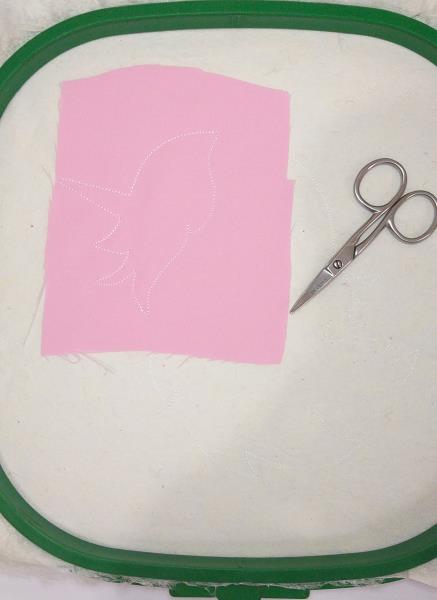
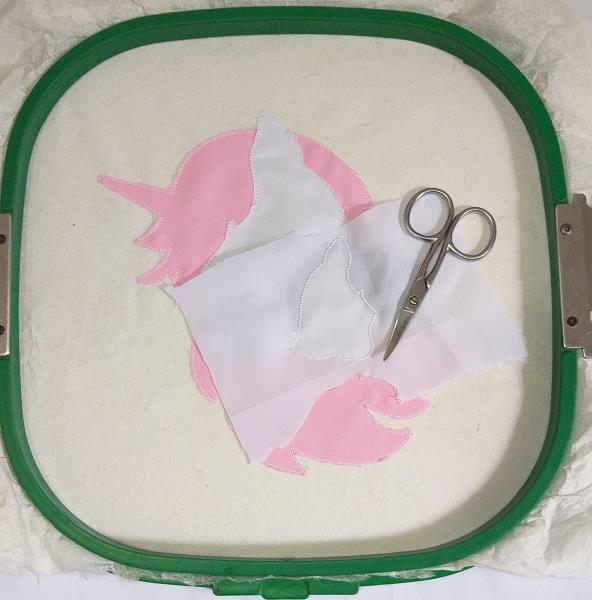
For the Unicorn tautly hoop 2.5-ounce cutaway stabilizer in your embroidery hoop, run color-stop 1 through color-stop 4 as a placement line. Remove the hoop from the machine, do not unhoop. Cover the placement line with wadding. Cover the wadding with pink fabric and run color-stop 5 to fix the fabric.
(Click Image to Enlarge)
Step 18:
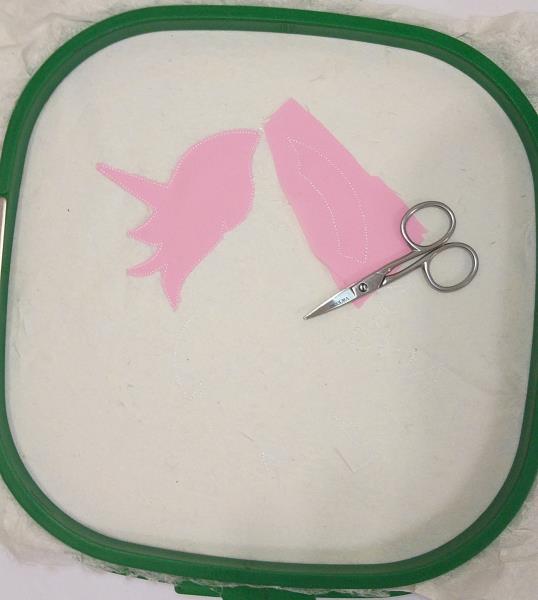
Cut off the excess fabric and run color-stop 6 as a placement line. Remove the hoop from the machine, do not unhoop. Cover the placement line with wadding. Cover the wadding with pink fabric and run color-stop 7 to fix the fabric.
(Click Image to Enlarge)
Step 19:
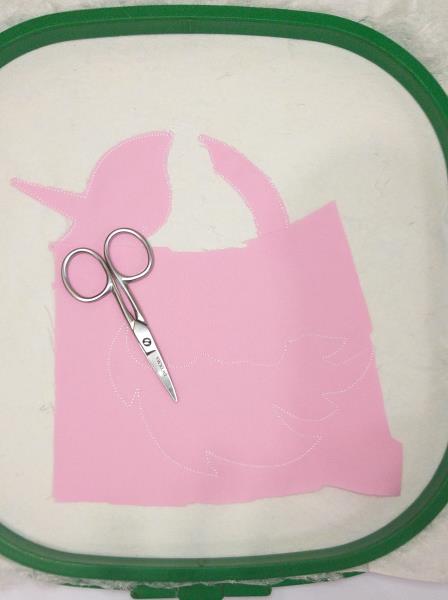
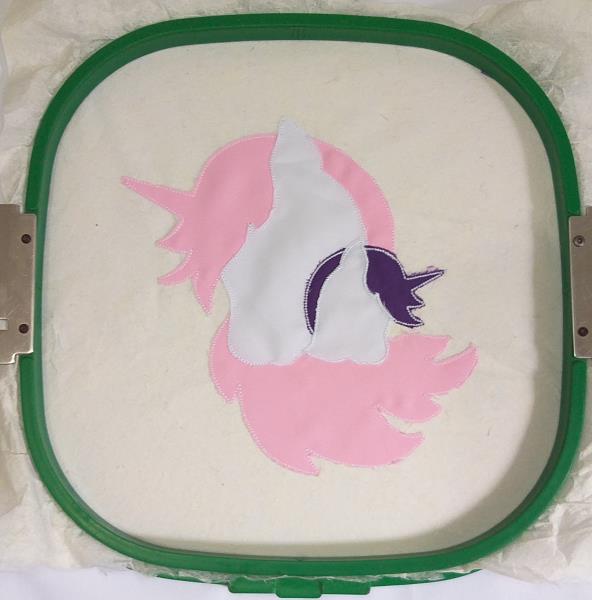
Cut off the excess fabric and run color-stop 8 as a placement line. Remove the hoop from the machine, do not unhoop. Cover the placement line with wadding. Cover the wadding with pink fabric and run color-stop 9 to fix the fabric.
(Click Image to Enlarge)
Step 20:
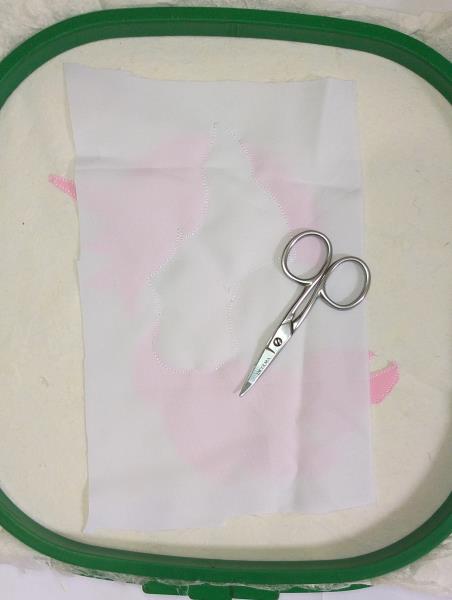
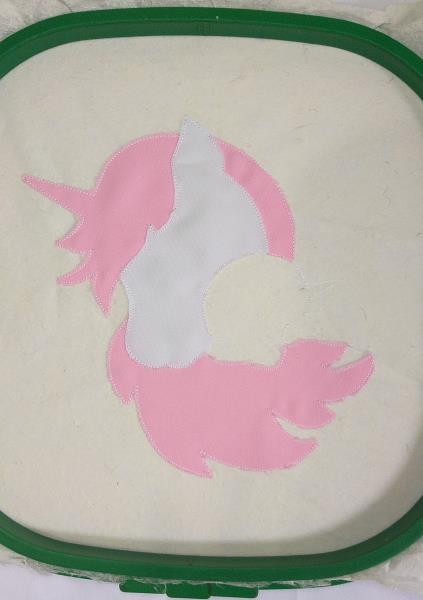
Cut off the excess fabric and run color-stop 10 as a placement line. Remove the hoop from the machine, do not unhoop. Cover the placement line with wadding. Cover the wadding with white fabric and run color-stop 11 to fix the fabric.
(Click Image to Enlarge)
Step 21:
Cut off the excess fabric.
(Click Image to Enlarge)
Step 22:
(Click Image to Enlarge)
Run color-stop 12 as a placement line. Remove the hoop from the machine, do not unhoop. Cover the placement line with wadding. Cover the wadding with white fabric and run color-stop 13 to fix the fabric.
Step 23:
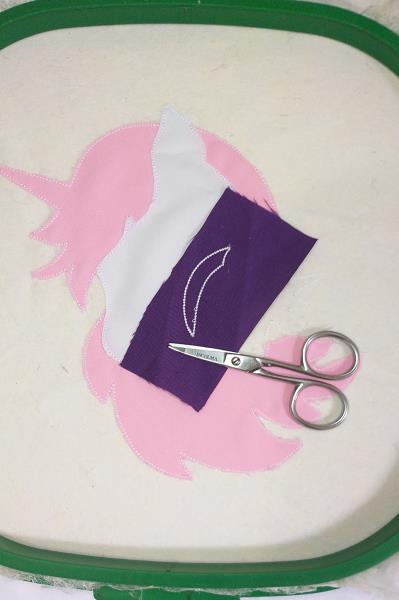
Cut off the excess fabric and run color-stop 14 as a placement line. Remove the hoop from the machine, do not unhoop. Cover the placement line with wadding. Cover the wadding with white fabric and run color-stop 15 to fix the fabric.
(Click Image to Enlarge)
Step 24:
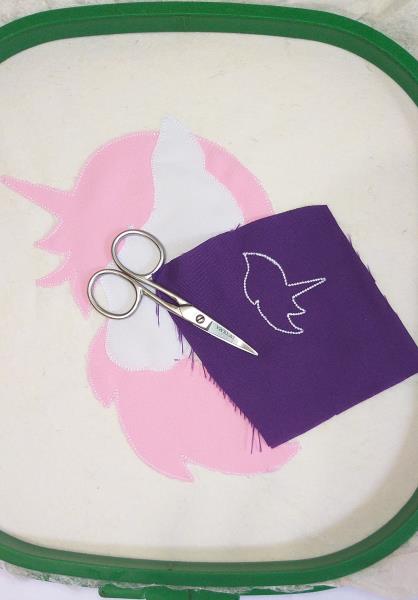
Cut off the excess fabric and run color-stop 16 as a placement line. Remove the hoop from the machine, do not unhoop. Cover the placement line with wadding. Cover the wadding with white fabric and run color-stop 17 to fix the fabric
(Click Image to Enlarge)
Step 25:
Cut off the excess fabric
(Click Image to Enlarge)
Step 26:
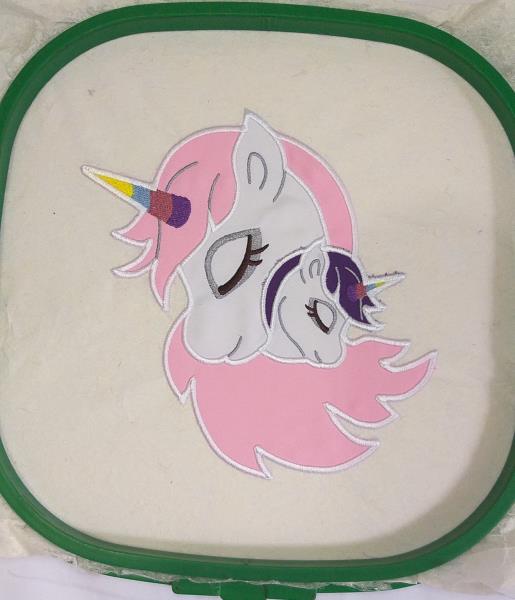
Run color-stop 1 through color-stop 4 to complete the embroidery.
(Click Image to Enlarge)
Step 27:
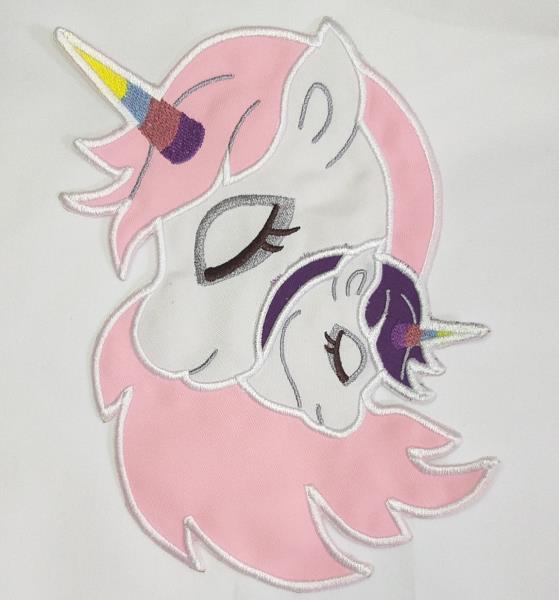
Remove the project from the hoop and cut out the outline of the design with sharp scissors.
(Click Image to Enlarge)
Step 28:
With the help of a needle and thread or some type of textile glue, join the pieces as they are arranged in the image.
Use colored ribbon as a complementary decoration.
Have fun doing this beautiful project.