Border OptionsHugging border, circle, square, or rectangle — with a 3mm satin stitch.
Backing OptionsAvailable with iron-on, sew-on, or velcro backing.
Fast ShippingShipped quickly from the USA.
Free Online Tools
Powerful embroidery utilities that save time and prevent costly mistakes.
Stitch AssistantRECOMMENDED
Get the exact stabilizer, machine settings, needle, and thread color sequence for every embroidery design you purchase — based on that design's stitch density, dimensions, and color count.
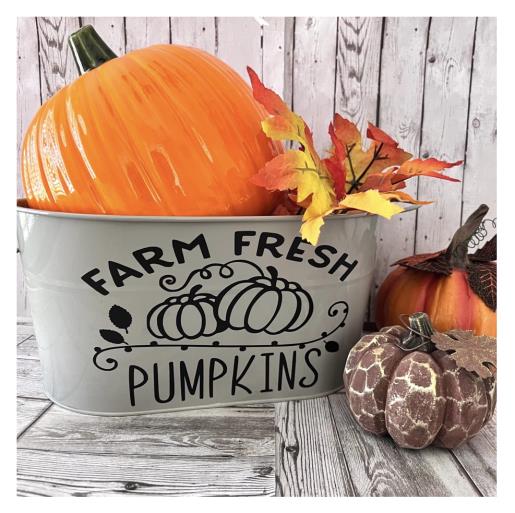
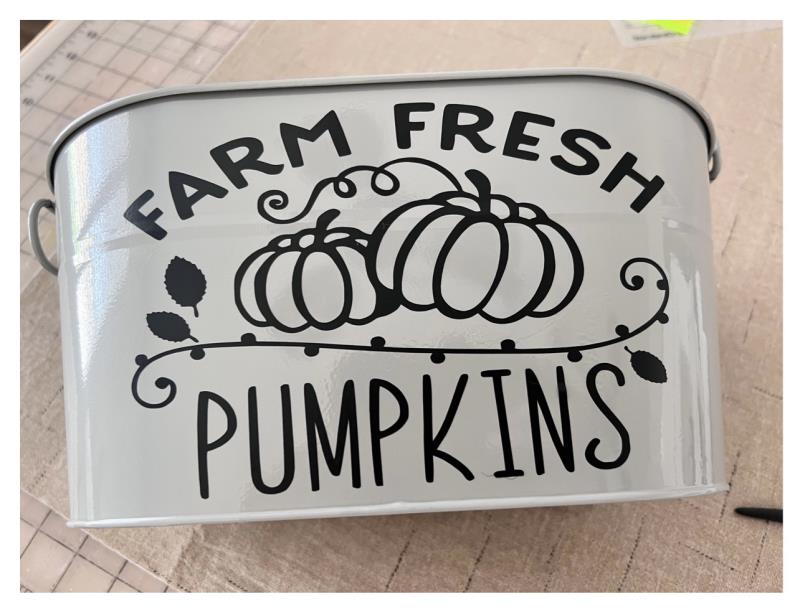
This Farm Fresh Pumpkin Container adds a charming autumn touch to your home decor. Ideal for displaying seasonal items, it brings a cozy fall vibe to any space. Step-by-step instructions are included.
Create a farmhouse inspired Farm Fresh Pumpkin Container using one color of vinyl. Container used in this tutorial is of medium size with a rectangular mouth. Simple step by step instructions for the cutting machine beginner in mind and of which you can apply the instructions to different sized containers by adjusting the design size to fit the application area. This is a beginner project tutorial of which you will need the basic knowledge of the use of a cutting machine and how to cut vinyl, weed for a decal and apply to a surface area using transfer tape.
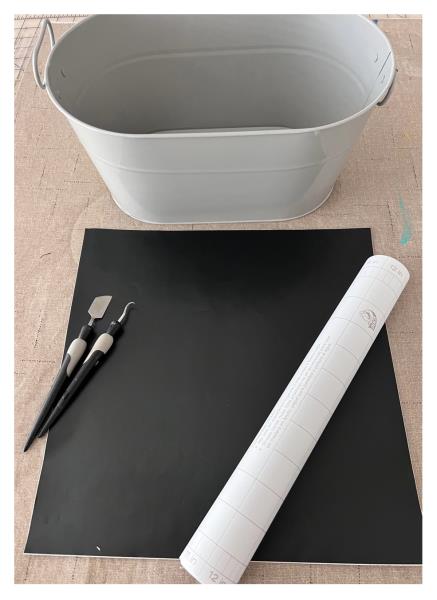
Step 1:
Gather all supplies and review instructions before beginning
(Click Image to Enlarge)
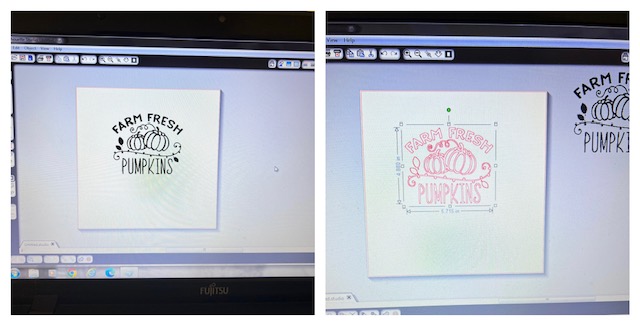
Step 2:
Bring the SVG design file into you cutting machine’s design space and cut.
(Click Image to Enlarge)
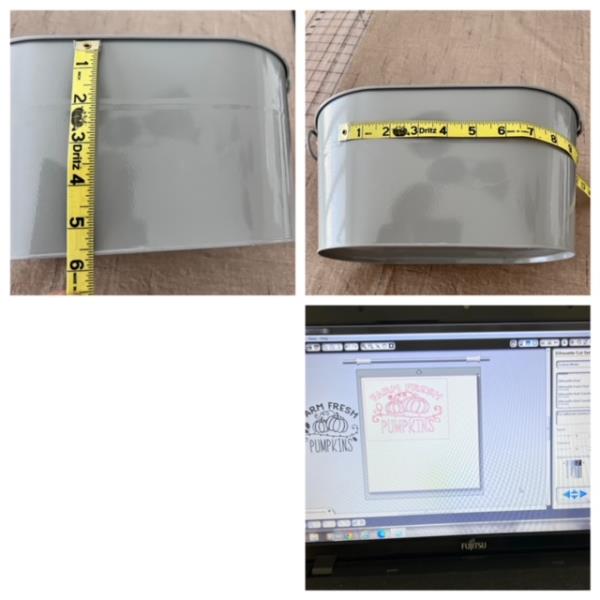
Step 3:
Size up the application area on your container and resize the SVG design to fit. Adjust your settings to cut adhesive back vinyl. Refer to your cutting machine's instruction manual if needed.
(Click Image to Enlarge)
Step 4:
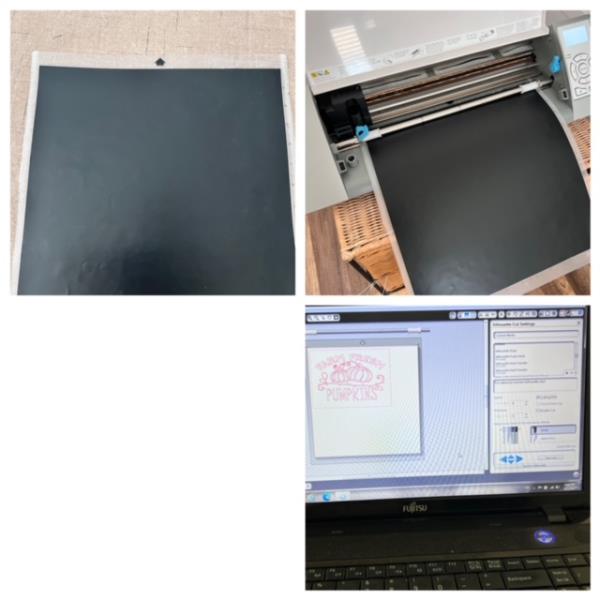
Prepare cutting mat with the black vinyl. Load mat into your machine. Adjust your cut settings for adhesive back vinyl. Refer to your cutting machine's instruction manual. Cut vinyl.
(Click Image to Enlarge)
Step 5:
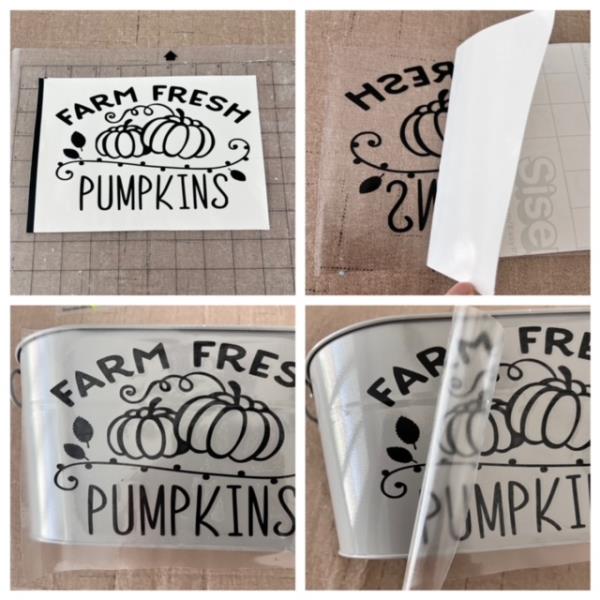
Cutting complete. Unload mat and weed vinyl for a decal by removing all unwanted vinyl. Apply transfer tape to cover the cut design. Remove adhesive back and apply to application area on your container. Finger press and smooth out any bubbles. Slowly remove transfer tape.
(Click Image to Enlarge)
Step 6:
And you are done! Pretty easy! Why not challenge yourself using this simple design and cut the pumpkins using an orange vinyl. Refer to your manual on how to cut multiple color vinyl. You got this!