Border OptionsHugging border, circle, square, or rectangle — with a 3mm satin stitch.
Backing OptionsAvailable with iron-on, sew-on, or velcro backing.
Fast ShippingShipped quickly from the USA.
Free Online Tools
Powerful embroidery utilities that save time and prevent costly mistakes.
Stitch AssistantRECOMMENDED
Get the exact stabilizer, machine settings, needle, and thread color sequence for every embroidery design you purchase — based on that design's stitch density, dimensions, and color count.
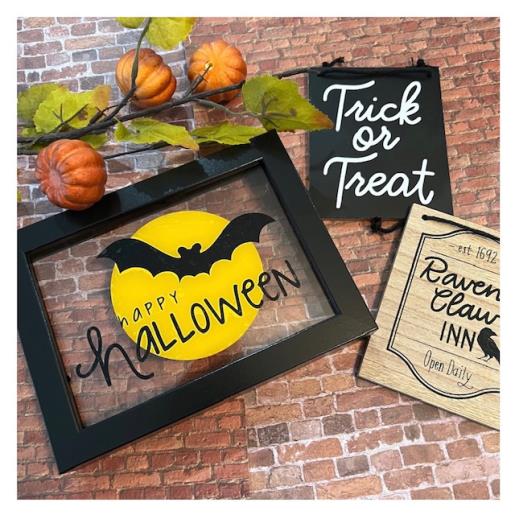
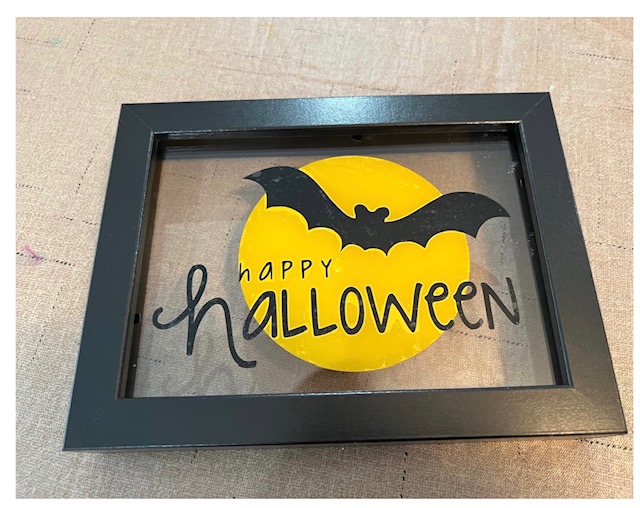
Create a festive Halloween atmosphere with this table sign set, featuring a framed 'Happy Halloween' design. Perfect for adding seasonal charm to your table setup. Step-by-step instructions are included.
This tutorial will guide you on how to cut multi color designs and layer for an individual design for those cutting machine’s software that do not have the color cut option and are not able to use SVG designs but able to use PNG or DXF . Ensure that the vinyl you select is the same color on both sides as the vinyl is applied to the back of the frame glass and using reverse layering for application.
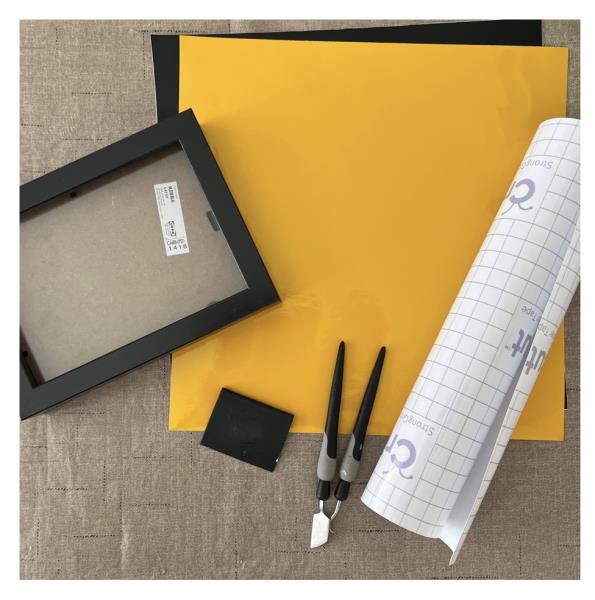
Step 1:
Gather all supplies and review instructions before beginning.
(Click Image to Enlarge)
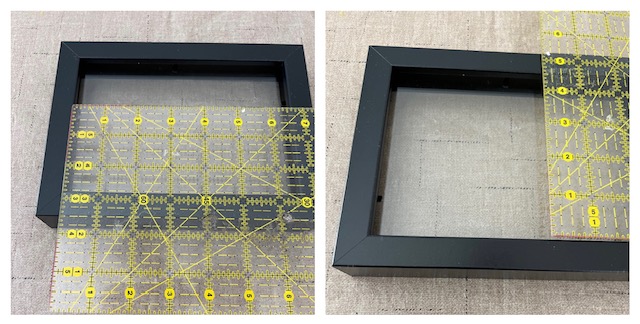
Step 2:
Measure glass from inside of frame. Width and height. Frame used in this tutorial measured 4.5” x 6.5”.
(Click Image to Enlarge)
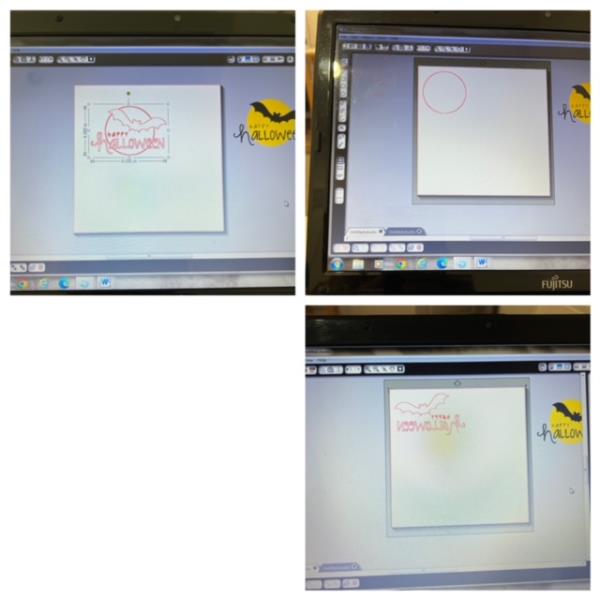
Step 3:
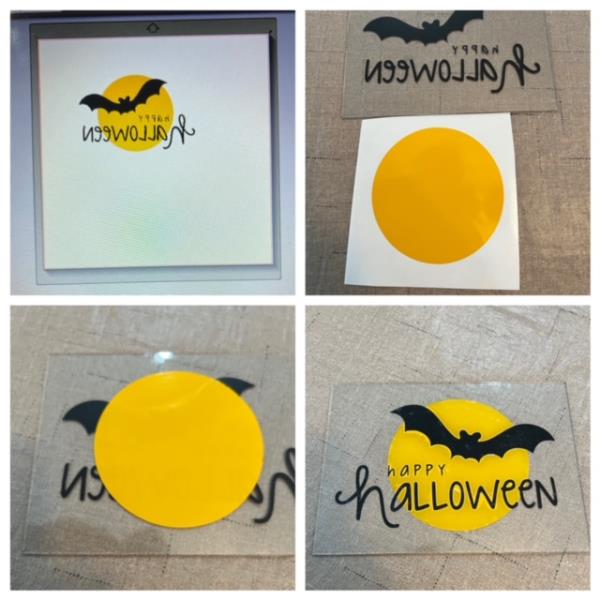
Bring design into your machine’s design space. Cut design and resize to fit your frame’s application area. Design was resized to 4” x 6 “ Duplicate design for each color that is in the design. This design has two colors. You will be working two design space pages. Delete the moon from one of the design space pages and from the other the bat and the wording. Reverse images as the cut vinyl will be placed onto the back of the glass.
(Click Image to Enlarge)
Step 4:
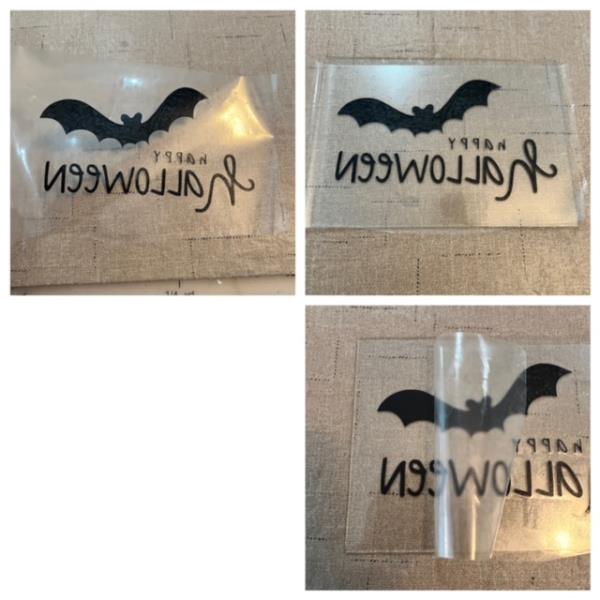
Apply transfer tape to bat/wording decal . Ensure that frame glass is clean and free of smudges. Remove adhesive back from bat/wording decal. Center and apply decal onto the frame glass. Apply and finger press to secure and smooth out any bubbles. Remove transfer tape.
(Click Image to Enlarge)
Step 5:
Peel off the moon decal from the adhesive back and position on top of bat/word decal. If needed refer to design picture to help with positioning. ( Tip: flip picture of design for reference for less confusion when applying). Smooth out bubbles. Place glass back into frame, smooth side up and secure.