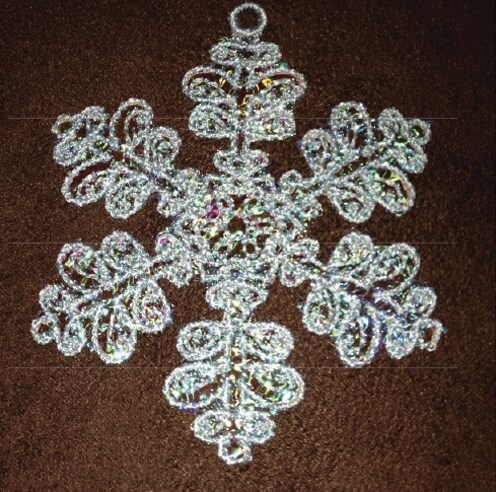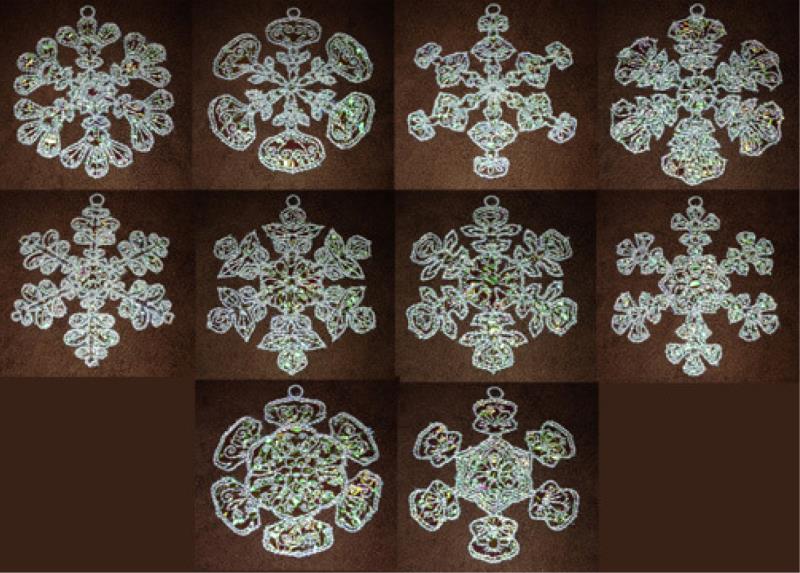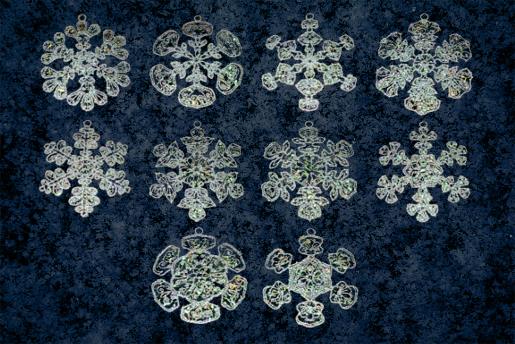
Mylar Snowflake Ornaments

Mylar Snowflake Ornaments Embroidery Project

By   Sew Chic   on   July 06, 2022
  • SKILL LEVELBeginner
  • TIME REQUIRED00:30
Description

Create stunning Mylar snowflakes perfect for decorating your Christmas tree or windows. These intricate designs can be easily hung with ribbon or fishing line. Step-by-step instructions are included.

Step of

Materials

Project Preview Video

Materials
  • Water-soluble Stabilizer (fabric type)
  • Embroidery thread with the same color on your bobbin

  • Designs used in this project
  • https://www.embroiderydesigns.com/productdetails/artsy-knots/packs/1/akdp1118
  • https://www.embroiderydesigns.com/productdetails/artsy-knots/designs/1/akh1291
  • https://www.embroiderydesigns.com/productdetails/artsy-knots/designs/1/akh1292
  • https://www.embroiderydesigns.com/productdetails/artsy-knots/designs/1/akh1293
  • https://www.embroiderydesigns.com/productdetails/artsy-knots/designs/1/akh1294
  • https://www.embroiderydesigns.com/productdetails/artsy-knots/designs/1/akh1295
  • https://www.embroiderydesigns.com/productdetails/artsy-knots/designs/1/akh1296
  • https://www.embroiderydesigns.com/productdetails/artsy-knots/designs/1/akh1297
  • https://www.embroiderydesigns.com/productdetails/artsy-knots/designs/1/akh1298
  • https://www.embroiderydesigns.com/productdetails/artsy-knots/designs/1/akh1299
  • https://www.embroiderydesigns.com/productdetails/artsy-knots/designs/1/akh1300


  • Final Product: What You Will Create


    Preface:

    This is a collaboration between ITH Boutique and Holly Workshop. The copyrights to the digitizing and some images belongs to Holly


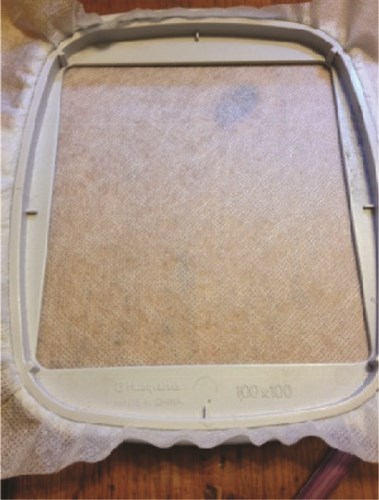
    Step 1:

    Hoop your Water-soluble stabilizer

    (Click Image to Enlarge)


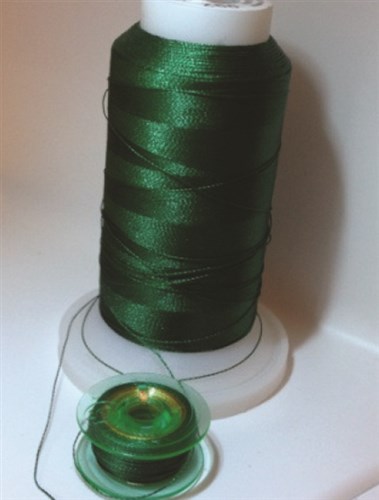
    Step 2:

    Wind the same thread on your bobbin as you are using as your top thread

    (Click Image to Enlarge)


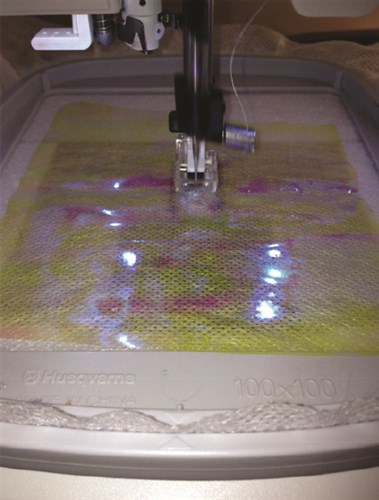
    Step 3:

    Place your mylar and let the stitching begin

    (Click Image to Enlarge)


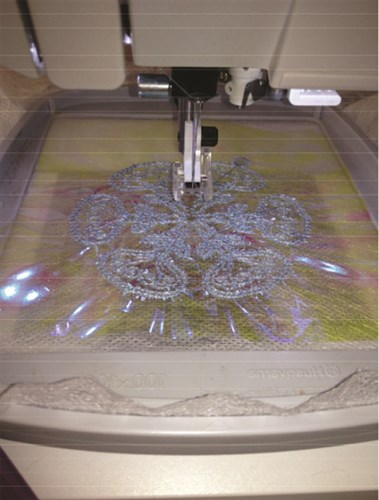
    Step 4:

    Finished snowflake

    (Click Image to Enlarge)


    Step 5:

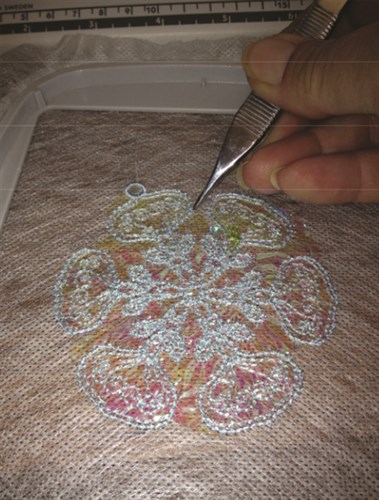
    Remove hoop from machine and carefully remove mylar around the design. For the little pieces I use tweezers and remove as much as I can while still in the hoop.

    (Click Image to Enlarge)


    Step 6:

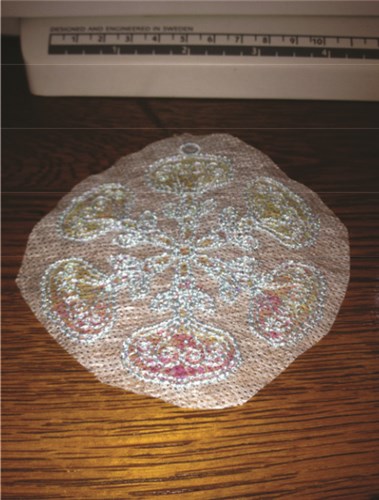
     Cut the stabilizer close to the design

    (Click Image to Enlarge)


    Step 7:

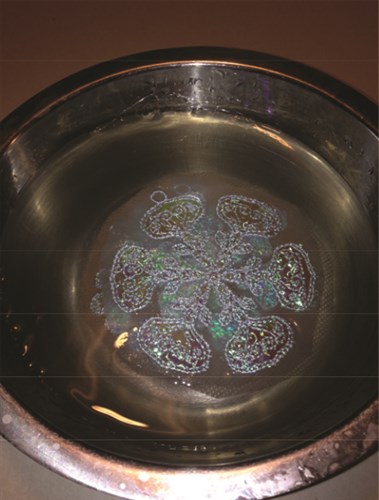
    Soak the design in water to remove the water soluble stabilizer. After soaking, gently blot the excess moisture and lay flat to dry.

    (Click Image to Enlarge)


    Step 8:

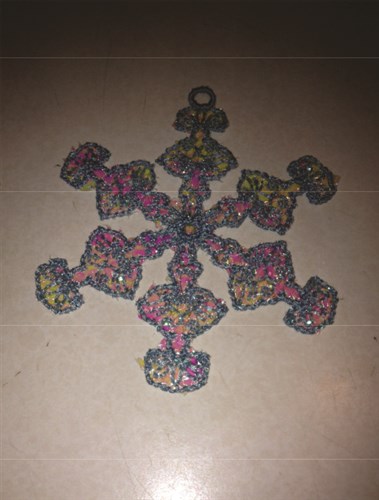
    Once completely dry you can remove the little mylar pieces easy with a tweezers or clip it with some small clippers

    (Click Image to Enlarge)


    Step 9:

    And voila, your snowflake is ready to use either with a ribbon on your Christmas tree or you can hang them in your windows with some fishing line


    Step 10:

    Enjoy!!

    (Click Image to Enlarge)

    Meet the Author: Sew Chic
    Sew Chic
    Embroidery Enthusiast
    More From This Author
    Link is Broken, Please check the URL
    Exclusive Embroidery Offers!
    Copyright © {{ currentDate | date:'yyyy'}} - EmbroideryDesigns.com
    GET 50% OFF! ×