Border OptionsHugging border, circle, square, or rectangle — with a 3mm satin stitch.
Backing OptionsAvailable with iron-on, sew-on, or velcro backing.
Fast ShippingShipped quickly from the USA.
Free Online Tools
Powerful embroidery utilities that save time and prevent costly mistakes.
Stitch AssistantRECOMMENDED
Get the exact stabilizer, machine settings, needle, and thread color sequence for every embroidery design you purchase — based on that design's stitch density, dimensions, and color count.
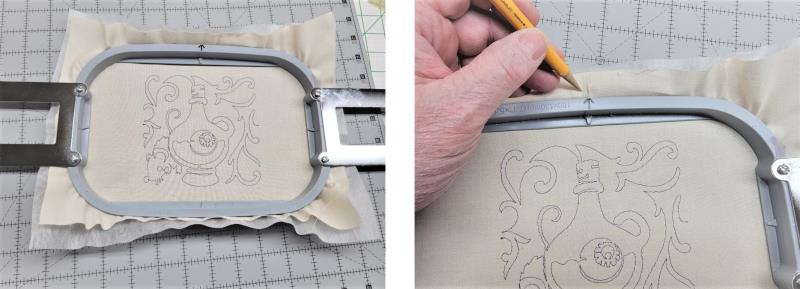
Read through the instructions thoroughly before beginning and assemble all the materials needed to complete the project. Read the directions on the fabric crayons for use and setting the color into the fabric. Hoop a layer of fibrous water-soluble stabilizer with one piece of cotton fabric. For this project, muslin was used. Stitch the chosen design. To aid in trimming, make a mark outside of the hoop, on the fabric, on all four sides. This will aid in trimming the fabric.
(Click Image to Enlarge)
Step 2:
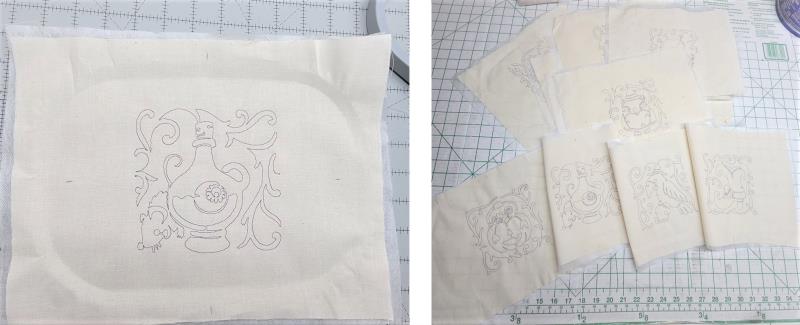
Remove the fabric from the hoop and press. Hoop and stitch all the desired designs to make mug rugs. Rinse the stabilizer from each piece and let the fabric dry. Press the pieces. Do not use any spray starch because it may interfere with the color sinking into the fabric.
(Click Image to Enlarge)
Step 3:
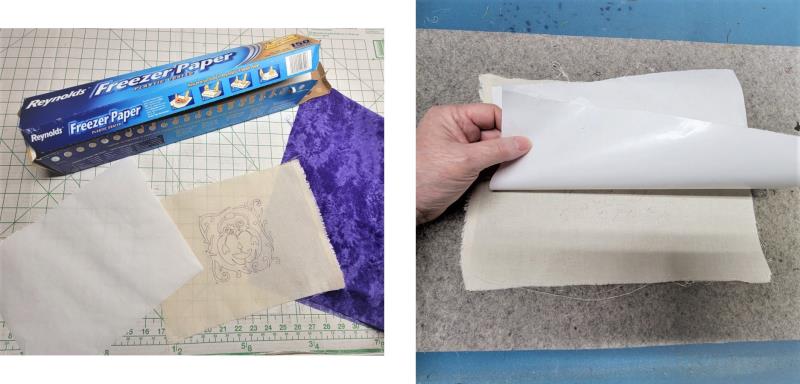
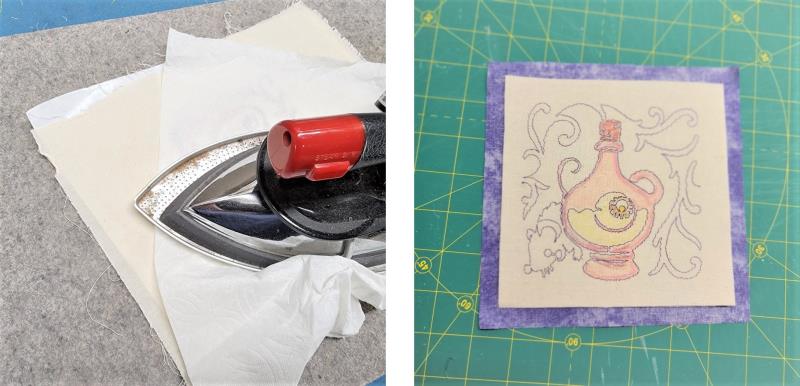
To help stabilize the fabric for color, cut a piece of freezer paper and place the shiny (waxy) side against the back of the embroidered fabric and press it on.
(Click Image to Enlarge)
Step 4:
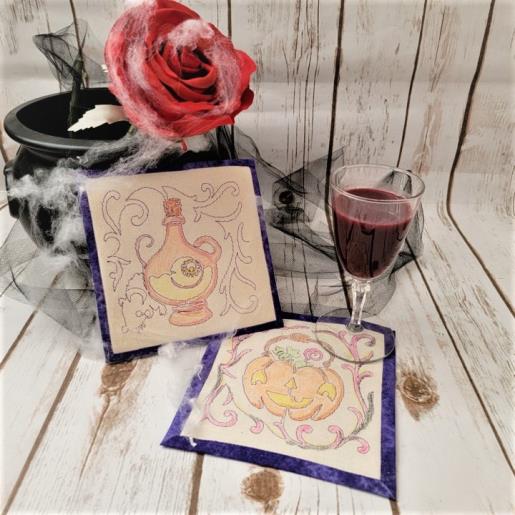
Color the fabric as desired and then set the wax into the fabric following the crayon instructions. Trim the embroidery to 6” square and cut the backing fabric 7” square.
(Click Image to Enlarge)
Step 5:
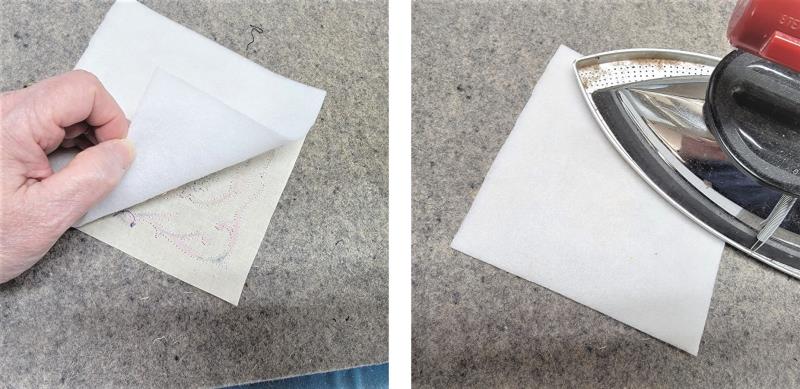
Cut a 6” square of fusible batting and fuse it to the back of the embroidery.
(Click Image to Enlarge)
Step 6:
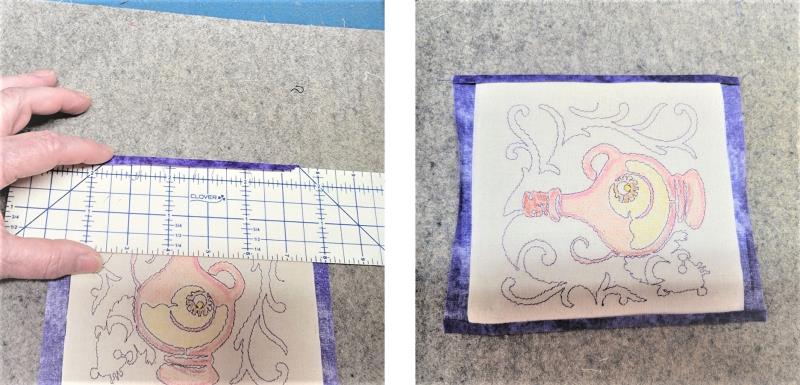
Place the 7” square wrong side up and center the 6” embroidered square over it. Press down all sides ¼”, and then fold and press another ¼” all around.
(Click Image to Enlarge)
Step 7:
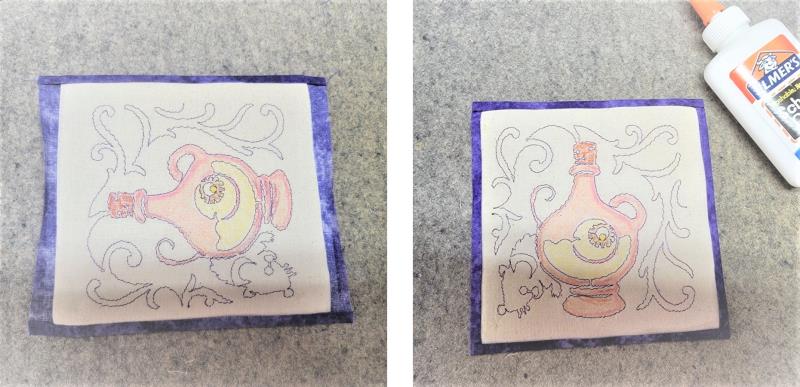
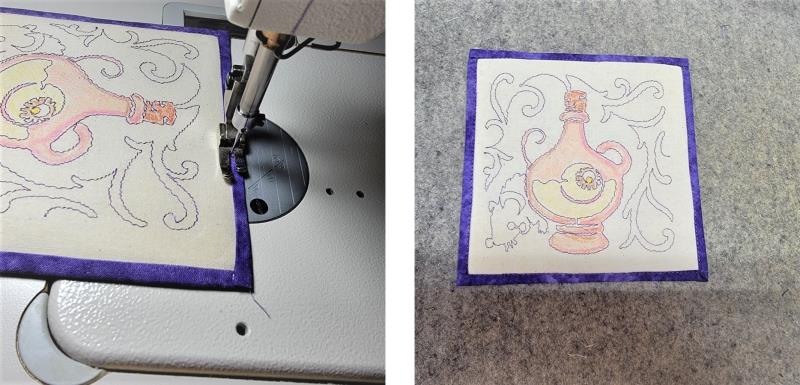
Use glue, pins, or clips to hold the folded edges in place.
(Click Image to Enlarge)
Step 8:
Edge stitch the folded edges in place.
(Click Image to Enlarge)
Step 9:
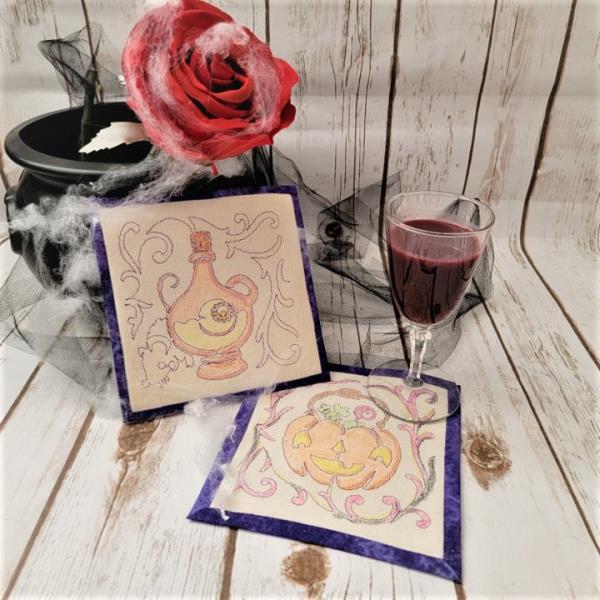
Thank you for purchasing the Cute Halloween designs. These may be used as quilting squares, too!
Ramona Baird has been in the embroidery industry for over 23 years. She and her husband owned a commercial and retail embroidery store in Arizona for many years. She is an experienced digitizer having been mentored by award-winners Pat Williams and Lindee Goodall. Ramona is a contributor to “Creative Machine Embroidery” magazine having 5 covers to her credit. Ramona has worked for Wilcom America and served many years as Education Director for the American Sewing Guild. With a degree in fashion design, she is able to design and execute patterns which Pat Williams says are “out of the box” in creativity and application. Ramona likes to challenge the boundaries of embroidery and bring new and exciting designs, ideas, and projects to EmbroideryDesigns.com. She wants embroiderers of all levels to increase their skills and enjoyment in using their embroidery machine for gift-making and personal pleasure.














































 Bags & ZippersIn-the-hoop bags, pouches & zipper projects
 Mug Rugs & CoastersQuick gift-ready mug rugs & coasters
 Quilts & Quilt BlocksIn-the-hoop quilt blocks & layouts
 Kitchen & DiningPlacemats, trivets & kitchen ITH projects
 Home DecorDecor accents you stitch entirely in the hoop
 OrnamentsHoliday & keepsake in-the-hoop ornaments
 ED.com StabilizersOur in-house stabilizers for every project (7 Stabilizers Available)
 Sulky StabilizersSulky stabilizers for every project (100+ Stabilizers Available)
 Madeira StabilizersMadeira stabilizers for every project (75+ Stabilizers Available)
 View All StabilizersView all stabilizers (200+ Stabilizers Available)


