Border OptionsHugging border, circle, square, or rectangle — with a 3mm satin stitch.
Backing OptionsAvailable with iron-on, sew-on, or velcro backing.
Fast ShippingShipped quickly from the USA.
Free Online Tools
Powerful embroidery utilities that save time and prevent costly mistakes.
Stitch AssistantRECOMMENDED
Get the exact stabilizer, machine settings, needle, and thread color sequence for every embroidery design you purchase — based on that design's stitch density, dimensions, and color count.
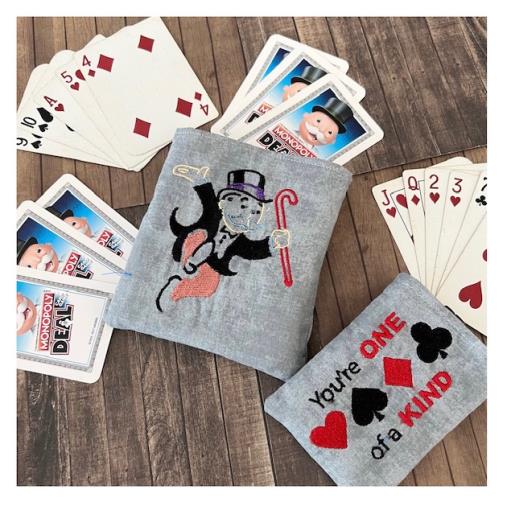
Create a unique applique fabric holder for your playing cards, featuring playful card-themed designs. Perfect for game nights or as a personalized gift for card enthusiasts. Step-by-step instructions are included.
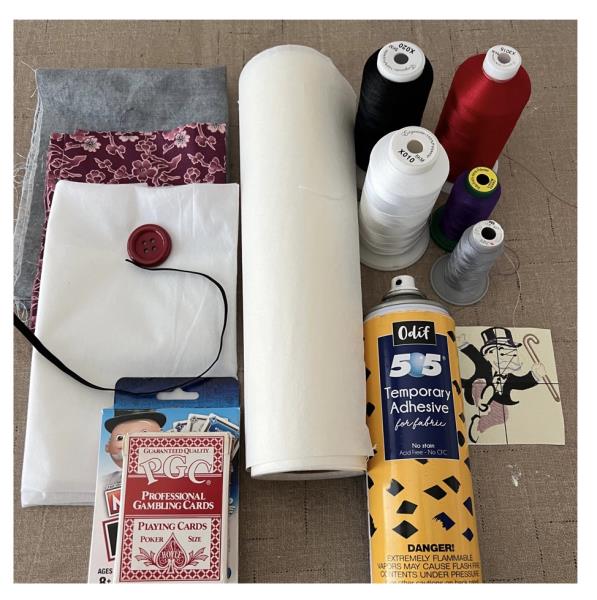
Gather all supplies and review instructions before beginning. Print out embroidery design paper template.
(Click Image to Enlarge)
Step 2:
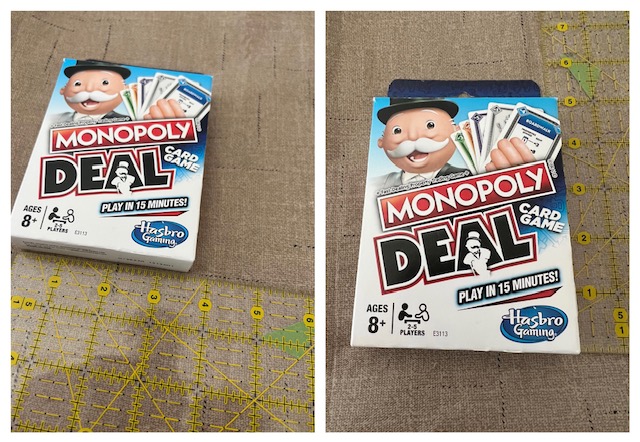
Measure your game card box. Add additional 1” for the width and 1/2” for length. 1/4” seam allowance is used for construction unless otherwise stated.
(Click Image to Enlarge)
Step 3:
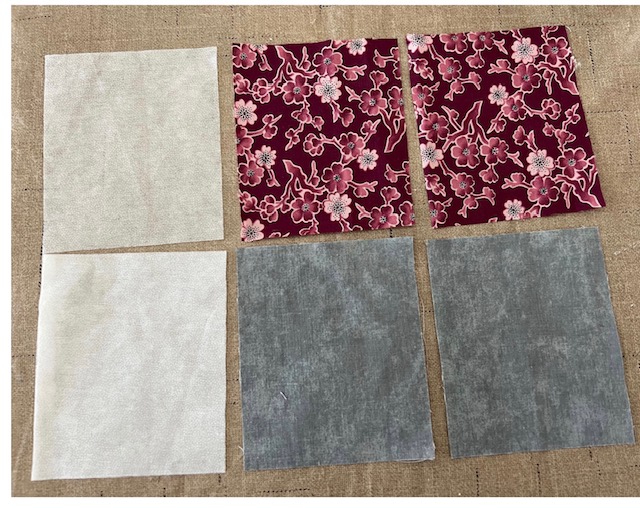
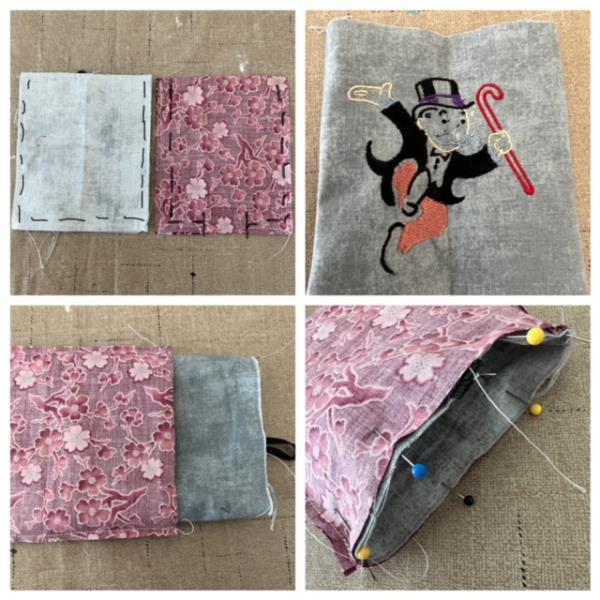
Cut two pieces fusible interfacing, outer and lining fabric according to your measurements. Iron press fusible interfacing to wrong side of outer fabric. Refer to manufacturer’s instructions.
(Click Image to Enlarge)
Step 4:
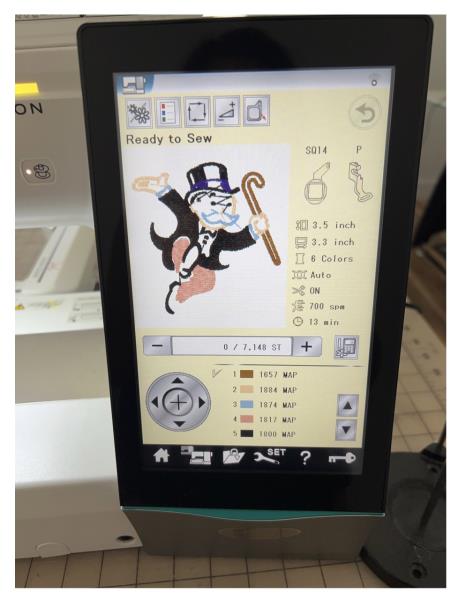
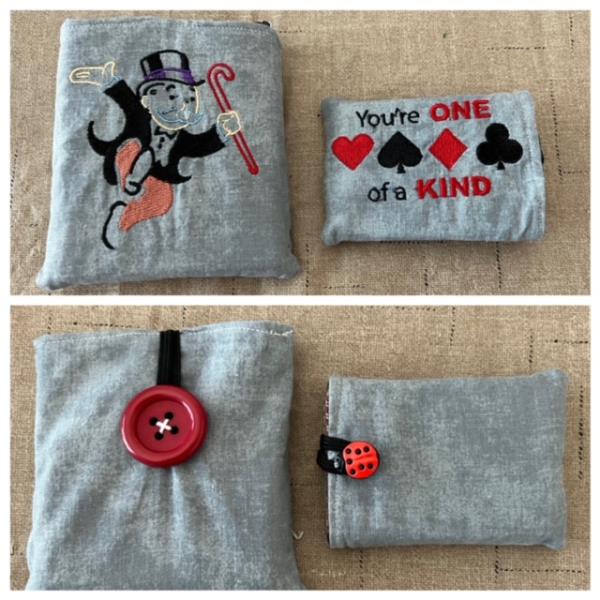
Load embroidery design file into your machine. If you are using a deck of cards for your fabric card holder use the linked design One of A Kind. Refer to step #11 picture for a placement. The Monopoly Man design file was used for a monopoly card game for this tutorial.
(Click Image to Enlarge)
Step 5:
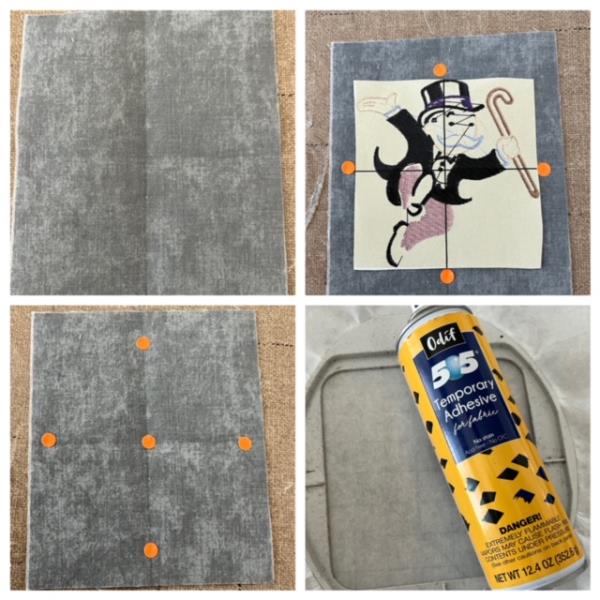
Quarter fold one of the outer cut fabric piece for a folded crosshair. Finger press. Center place paper design template atop and mark all sides/top/bottom axis points. Hoop a piece of stabilizer. Lightly spray temporary adhesive spray directly onto stabilizer.
(Click Image to Enlarge)
Step 6:
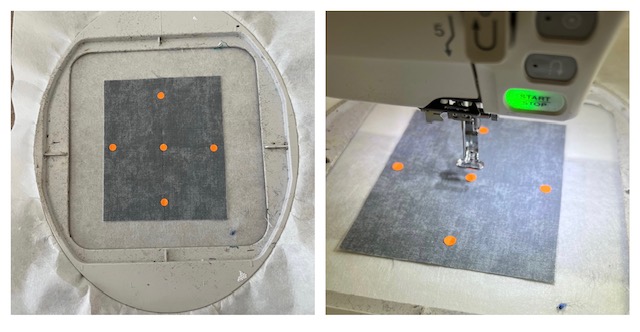
Center on to stabilizer matching axis points to your built in hoop markings. Finger press to secure. Attach hoop to machine. Confirm center needle placement. Make any necessary adjustments. Begin the embroidery stitch out. Refer to design file thread color chart or your choice of thread colors.
(Click Image to Enlarge)
Step 7:
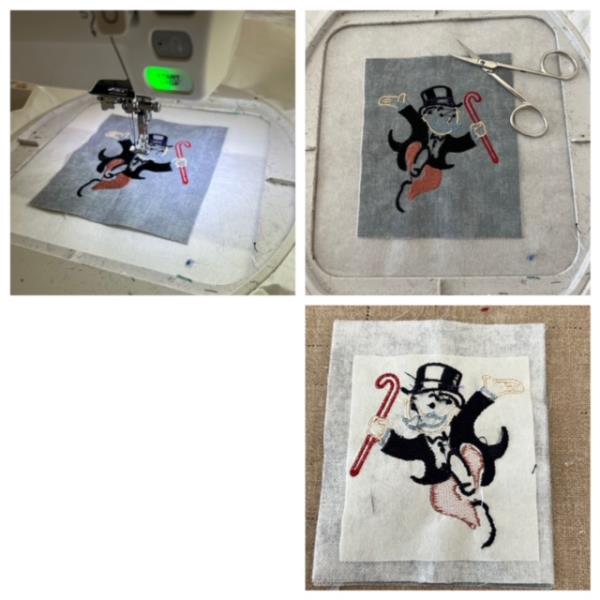
Stitch out complete. Detach hoop. Cut and trim all jump stitches and loose thread ends. Remove from hoop . Cut away stabilizer approx. ¼” from design.
(Click Image to Enlarge)
Step 8:
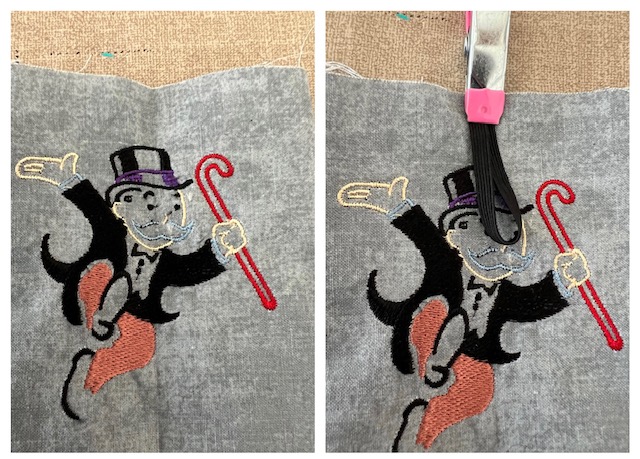
Cut a piece of elastic 4” in length. Find center of embroidered outer panel by folding in half vertically. Make a loop with elastic and center at top edge. Stitch in place with a back and forth stitch to secure.
(Click Image to Enlarge)
Step 9:
Construction of holder
Place outer panels right sides together. Stitch both sides and bottom using ¼” seam allowance. Repeat with lining pieces but leave an opening at bottom for turning. Turn outer card holder right side out. Push out corners. Do not turn lining right side out. Slip outer holder into lining right sides together. Matching up top edges and side seams. Pin in place and stitch all around top edge using ¼” seam allowance. Ensure elastic loop is down and sandwiched in between outer and lining.
(Click Image to Enlarge)
Step 10:
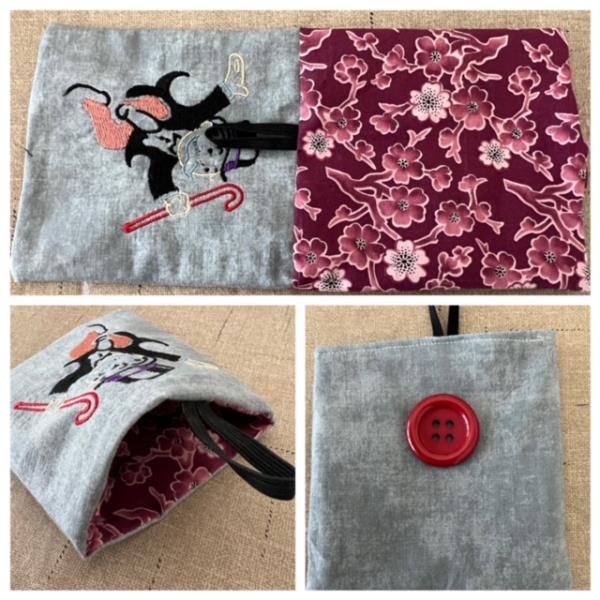
Pull outer through opening in lining.. Push out corners. Iron press. Stitch opening close with a scant 1/8” seam allowance. Push lining down into outer holder. Topstitch all around top edge. Attach button approximately 1 ½” - 2" down from top edge.
(Click Image to Enlarge)
Step 11:
And you are DONE! Great job! Look for other designs on the ED website for making of additional Fabric Game Cards holder for game card specific.