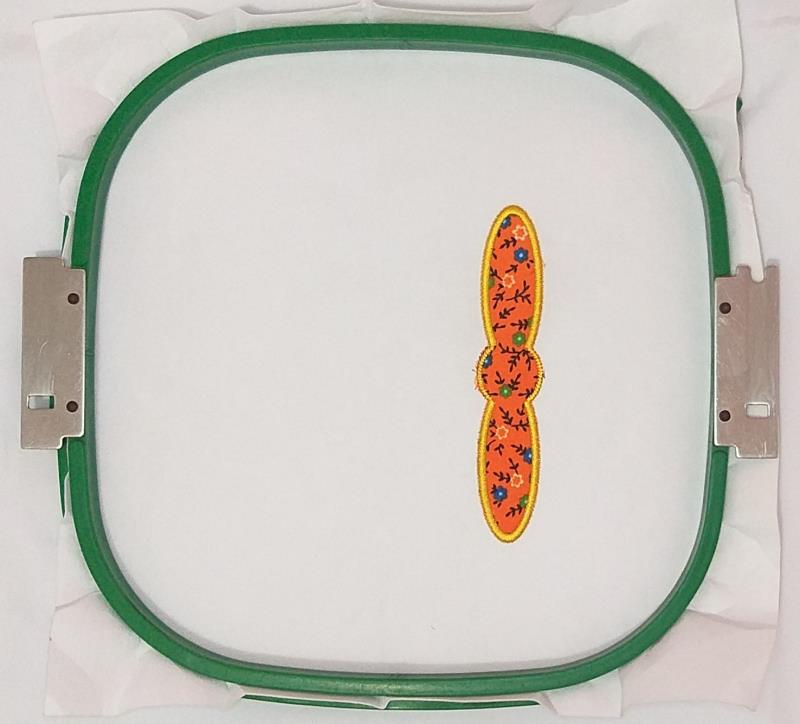
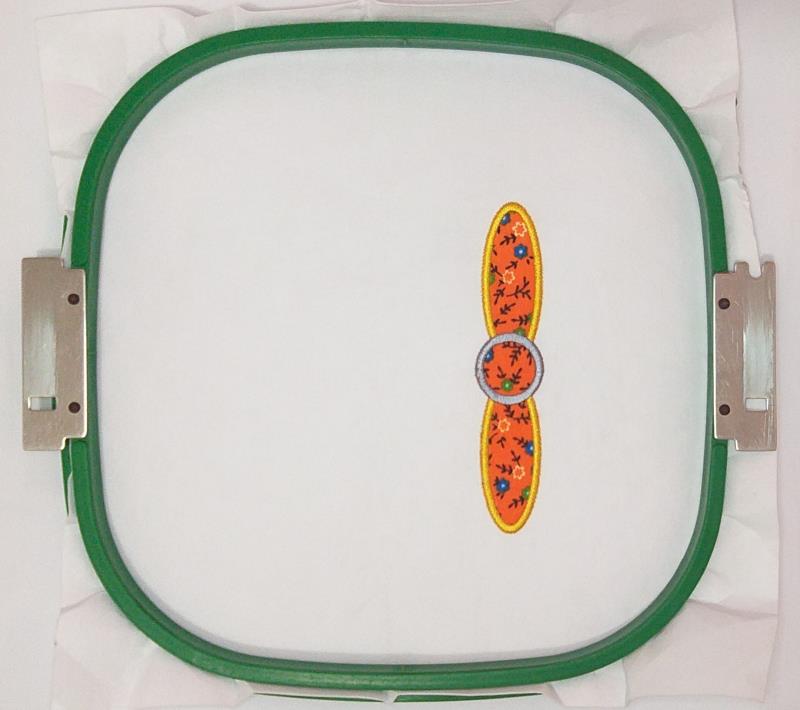
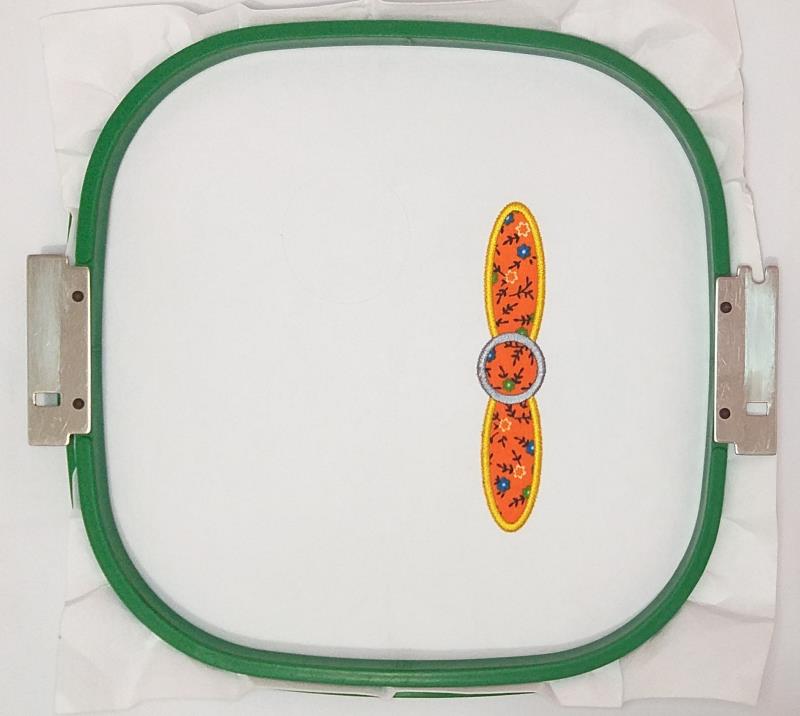
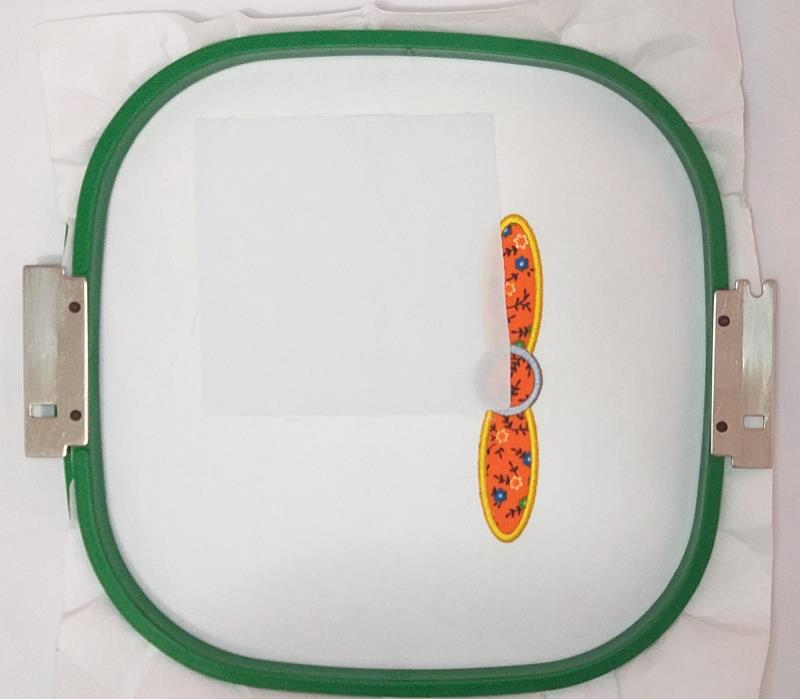
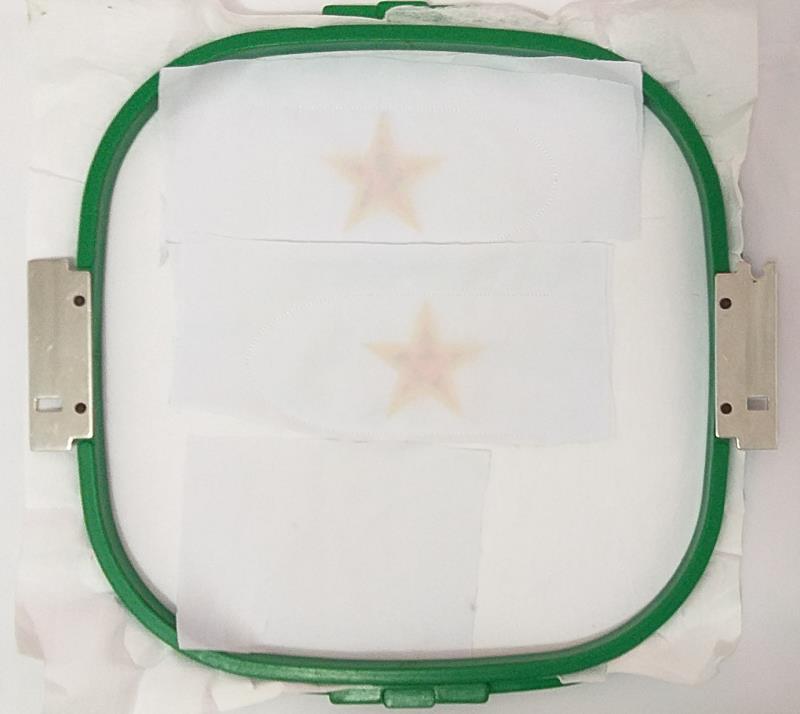
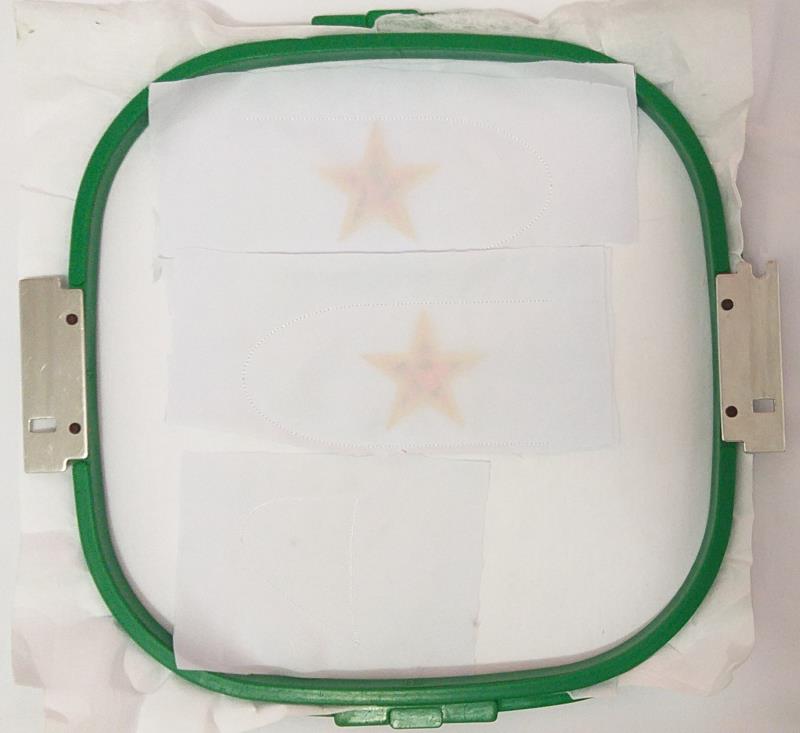
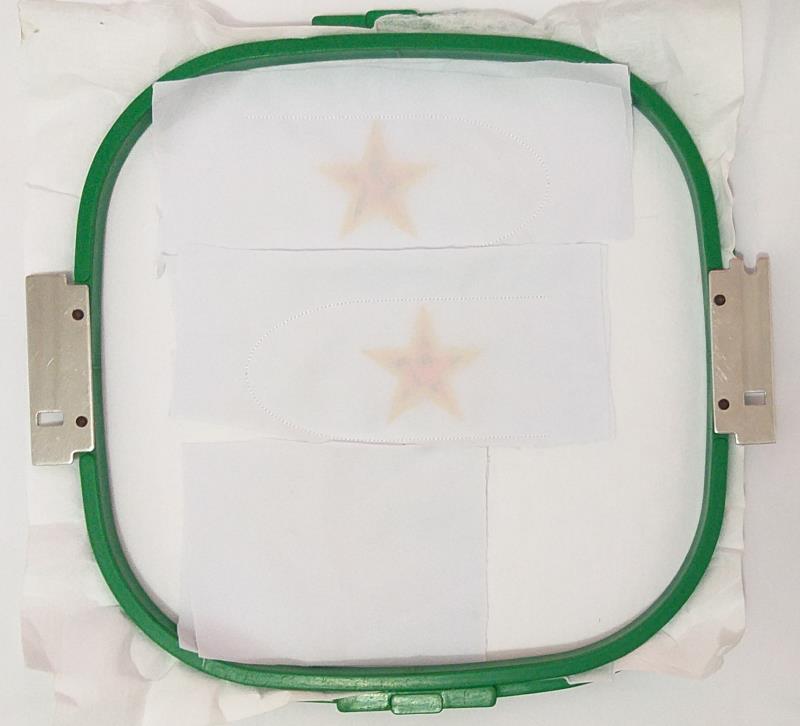
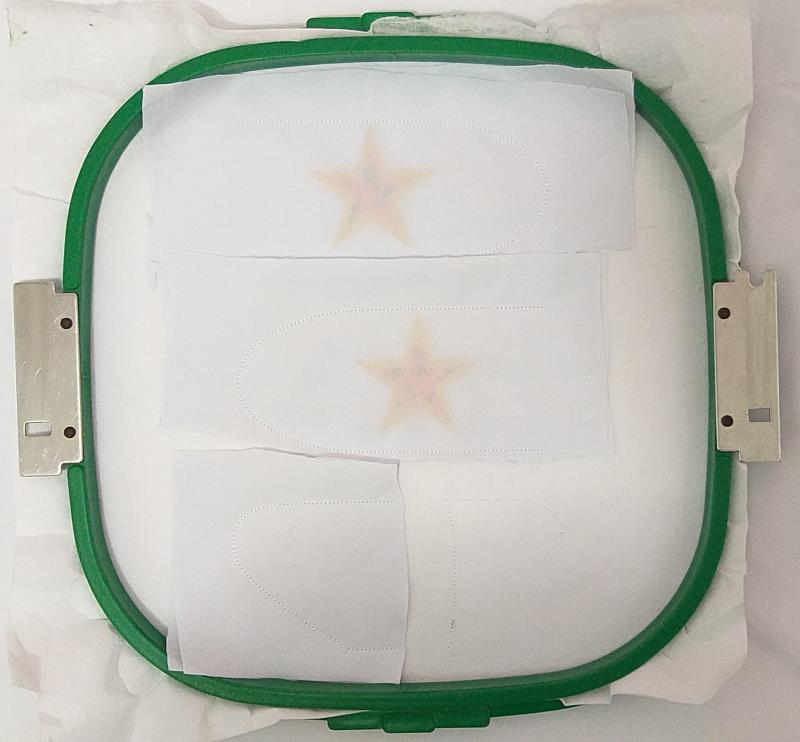
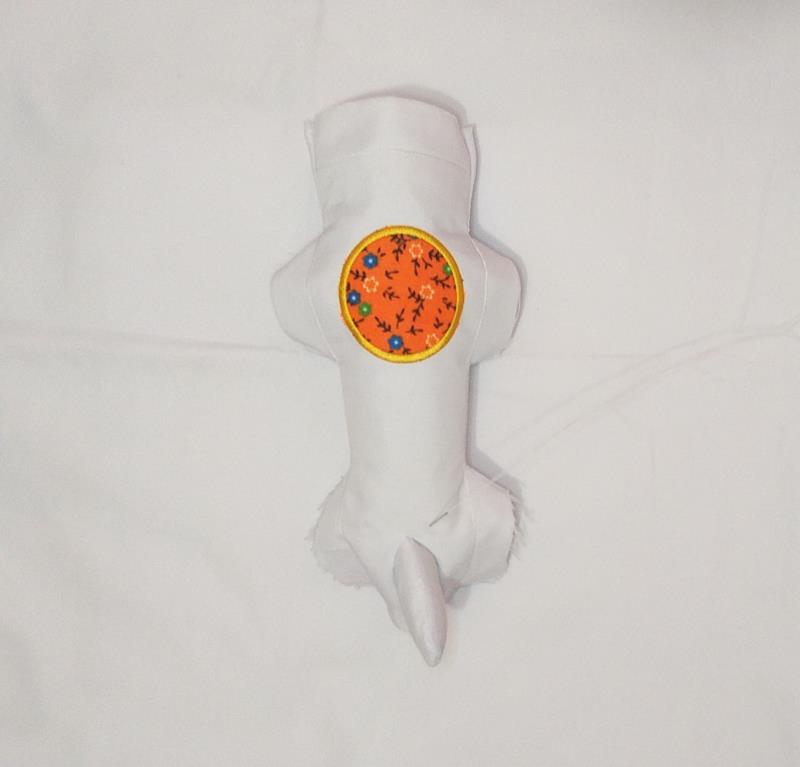
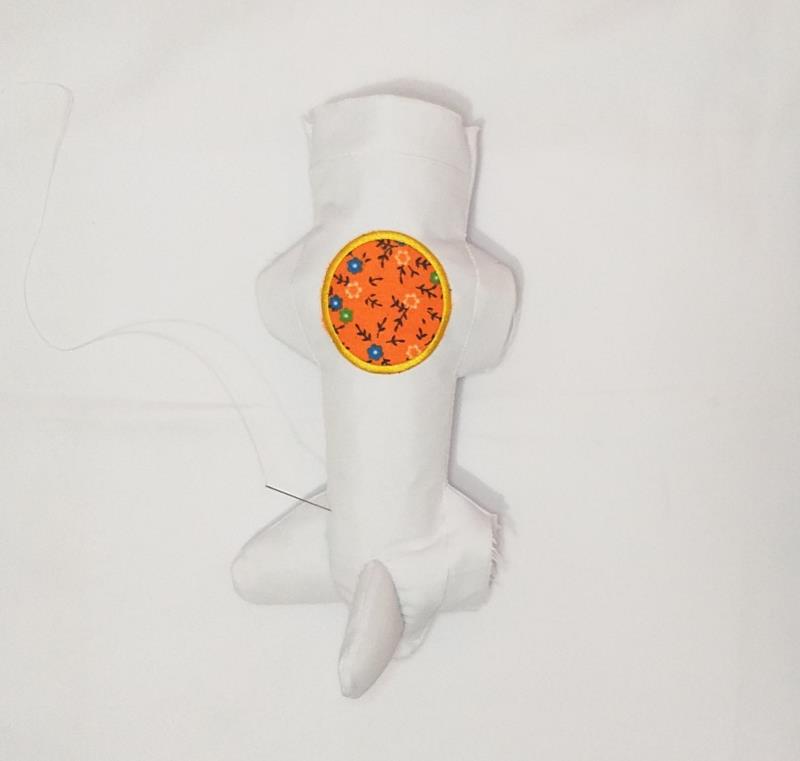
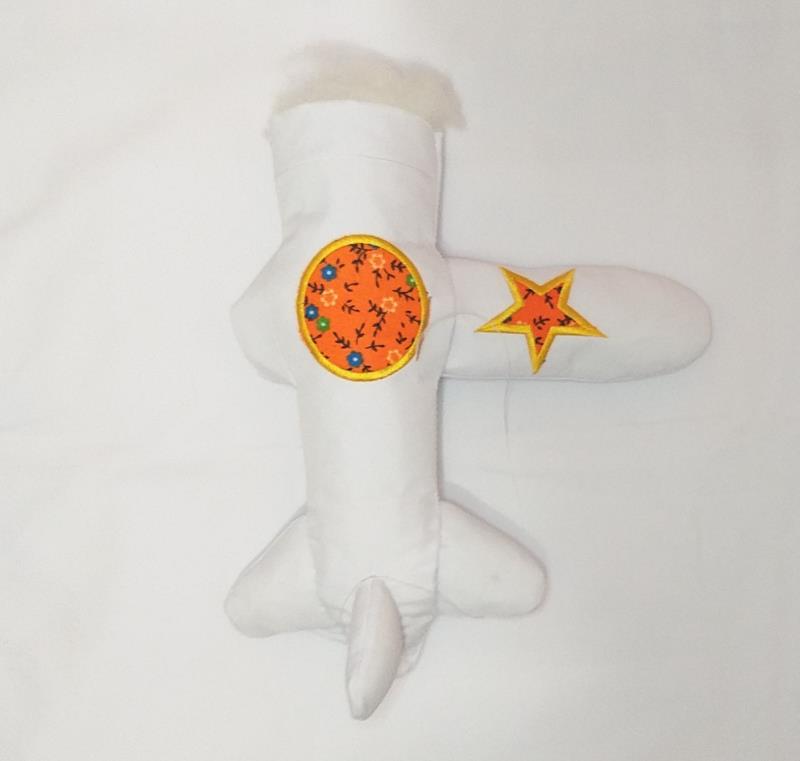
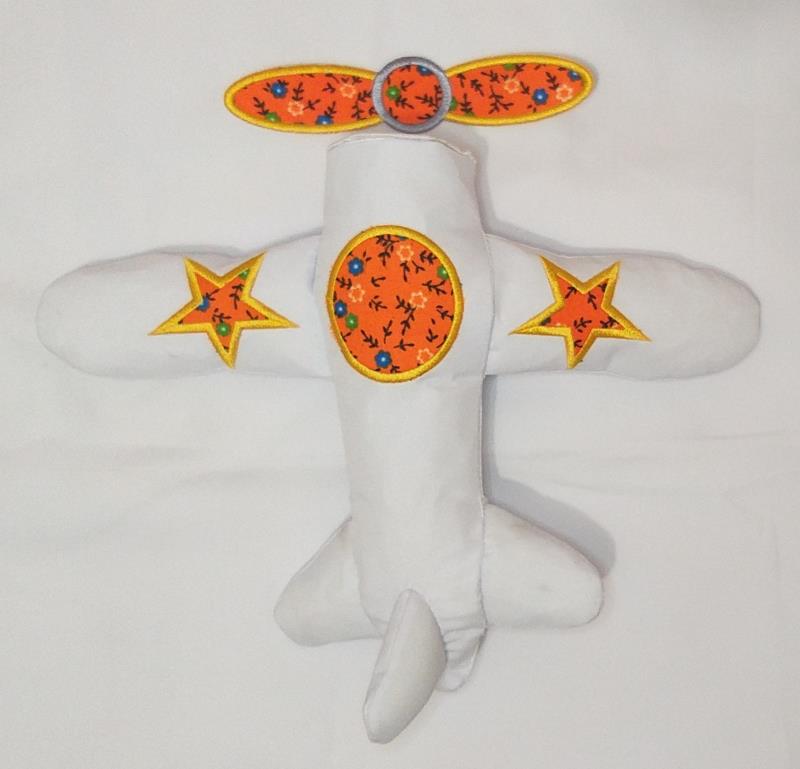
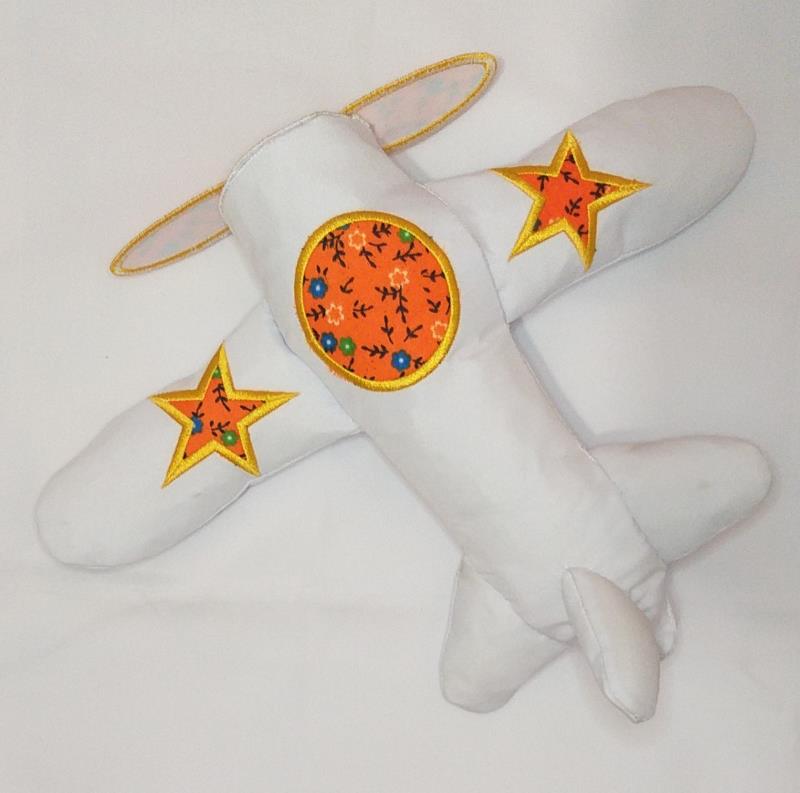
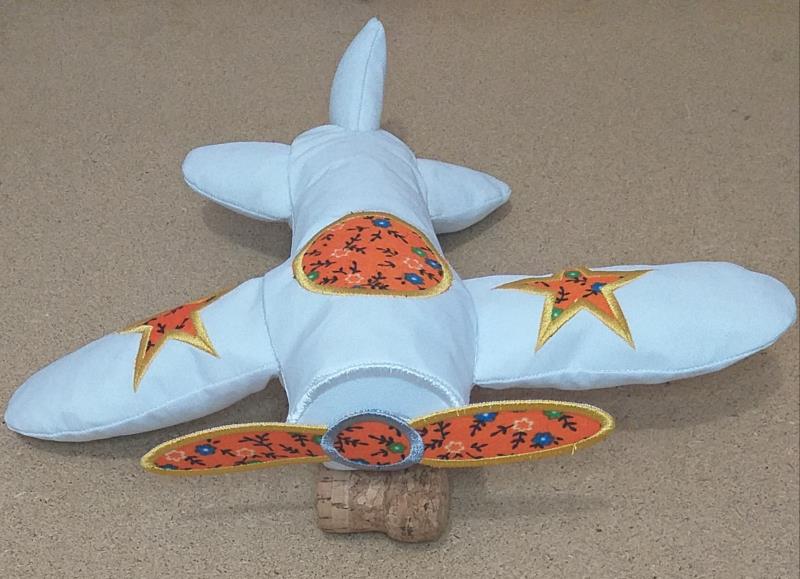
ITH Fabric Airplane Decoration
Zoom Watch Video View Larger
View Project Instructions
ITH Fabric Airplane Decoration Embroidery Project
Description
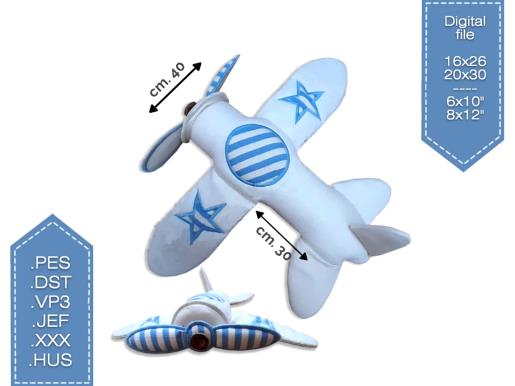
Create a charming fabric airplane decoration with this In The Hoop project. This airplane is designed to add a touch of fun to any room and can be completed in under 40 minutes. Step-by-step instructions are included.
Jump to
ITH Fabric Airplane Decoration
By Sew Chic
Materials
Print Materials
Materials 6” x 10” embroidery hoop.
White, and printed cloth Fabric Sheets Pcs.
2.5-ounce Cut-away Stabilizer.
Repositionable adhesive spray
Needle and white thread
Fabric scissors
Wadding
Designs used in this project
Final Product: What you will create
This is a collaboration between ITH Boutique and Laura Workshop. The copyrights to the digitizing and some images belongs to Laura
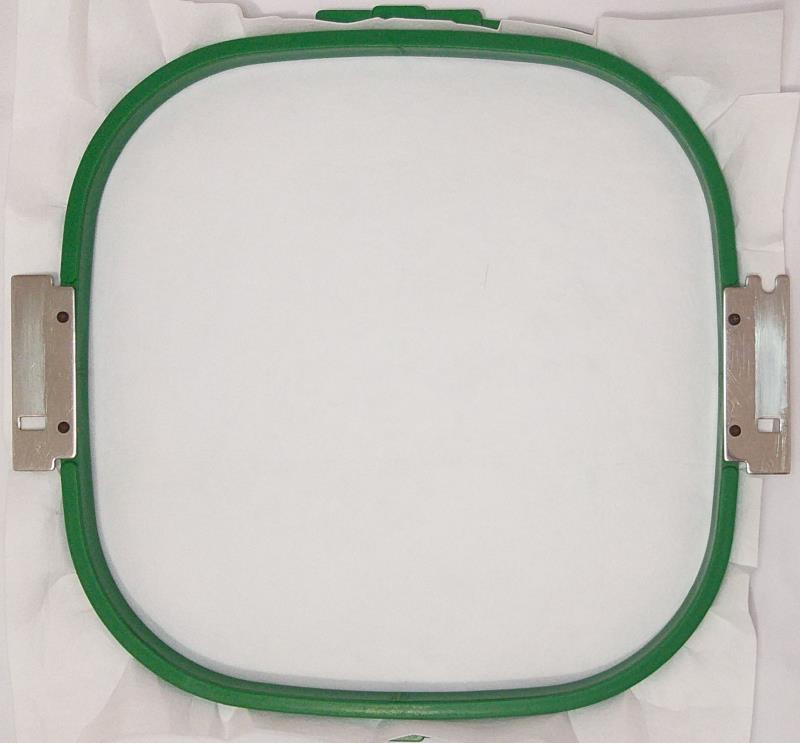
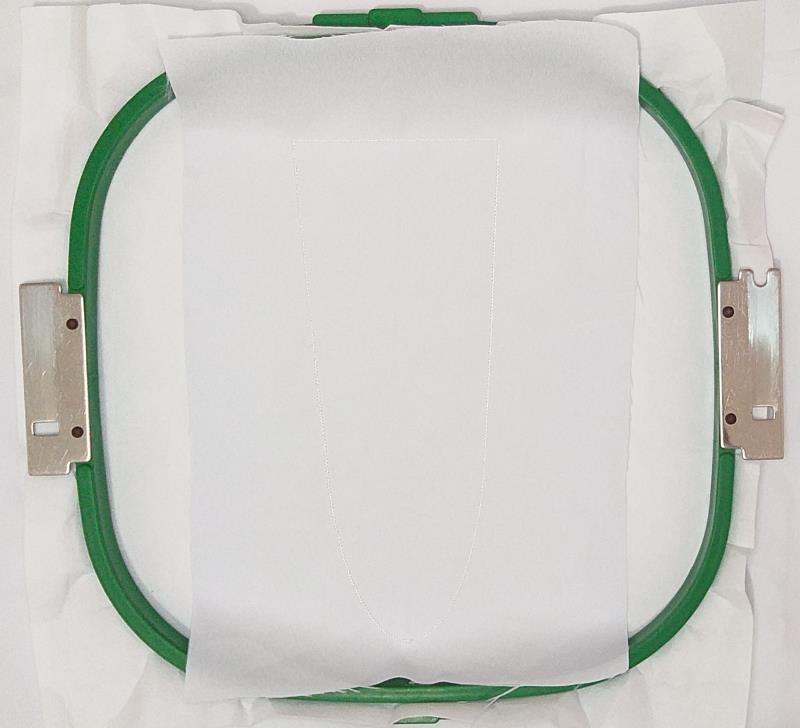
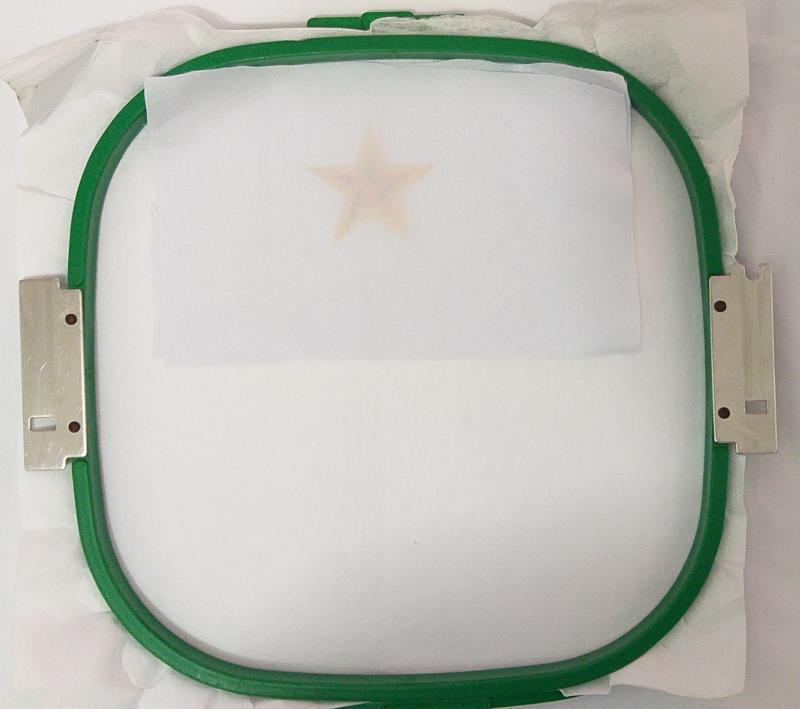
Step 1: For the Airplane Body tautly hoop 2.5-ounce cutaway stabilizer in your embroidery hoop.
(Click Image to Enlarge)
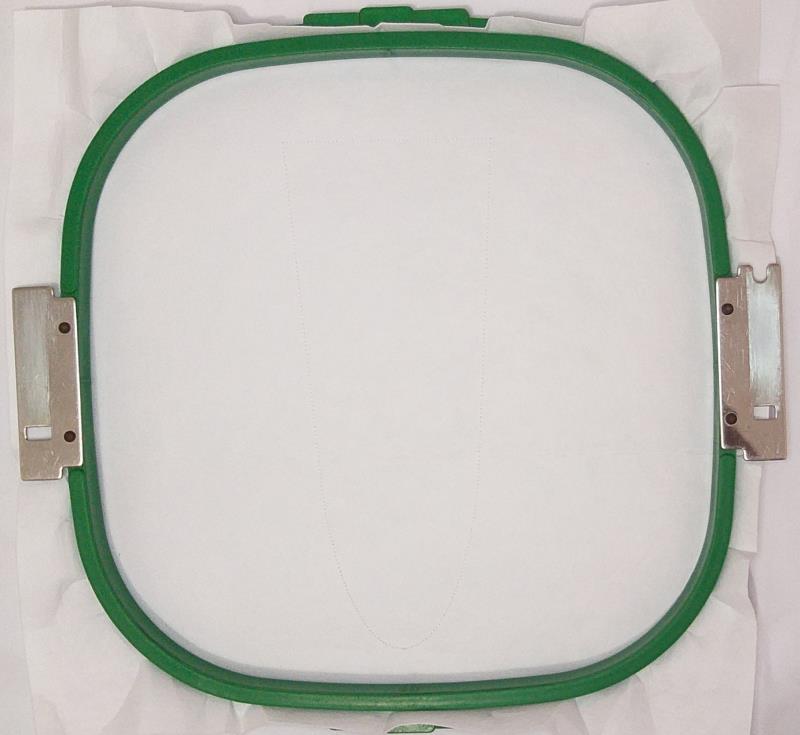
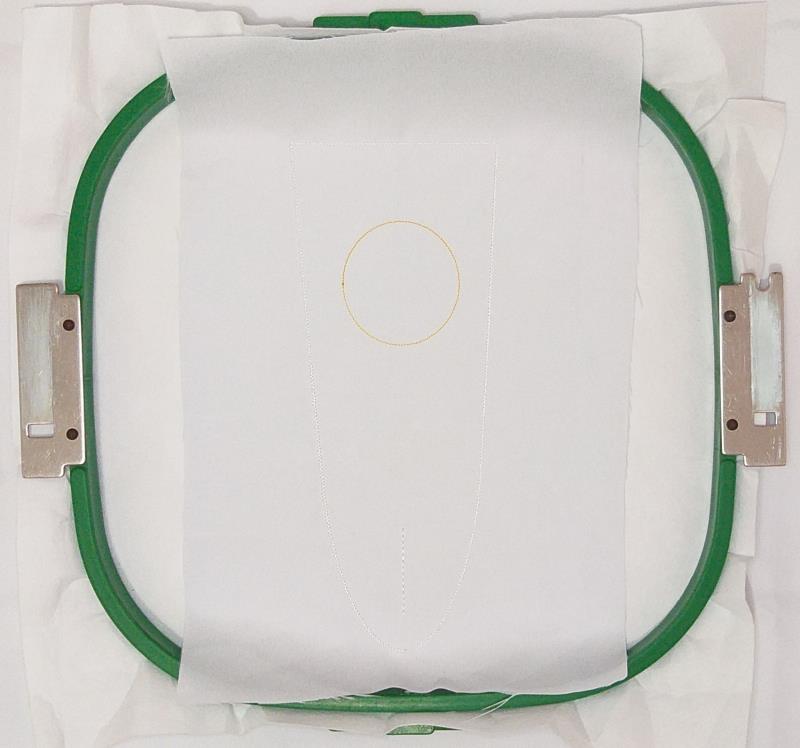
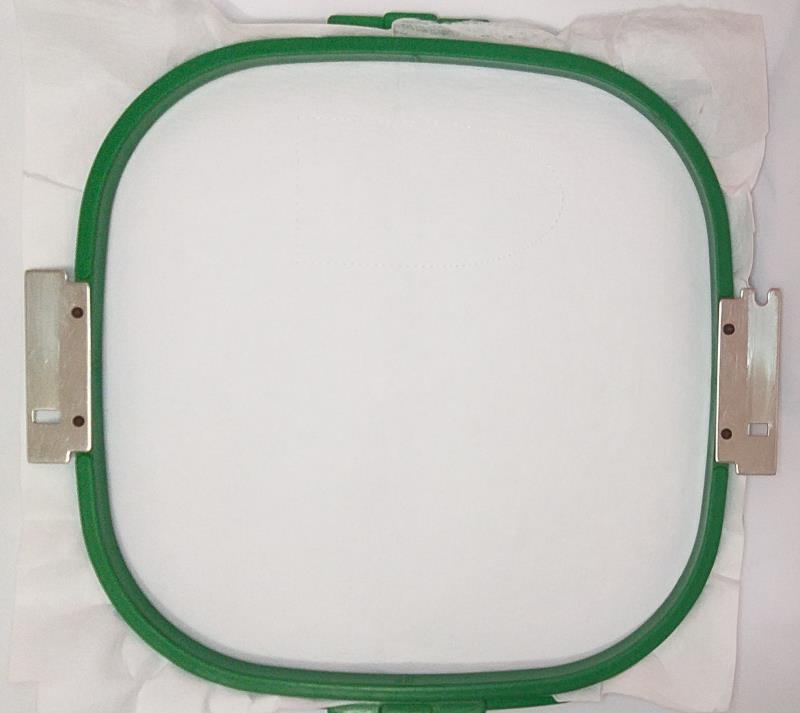
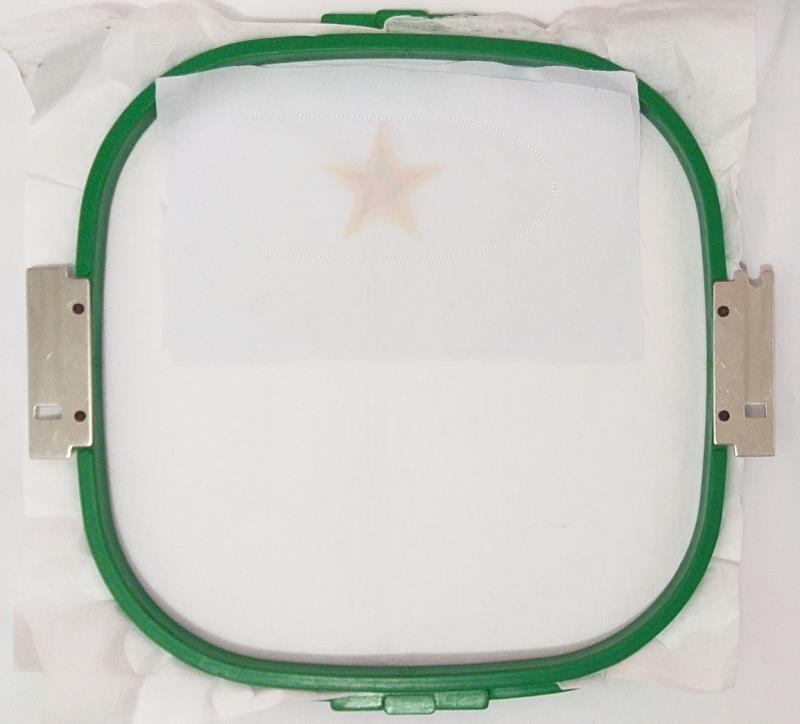
Step 2: Run the 1st color-stop as a placement line.
(Click Image to Enlarge)
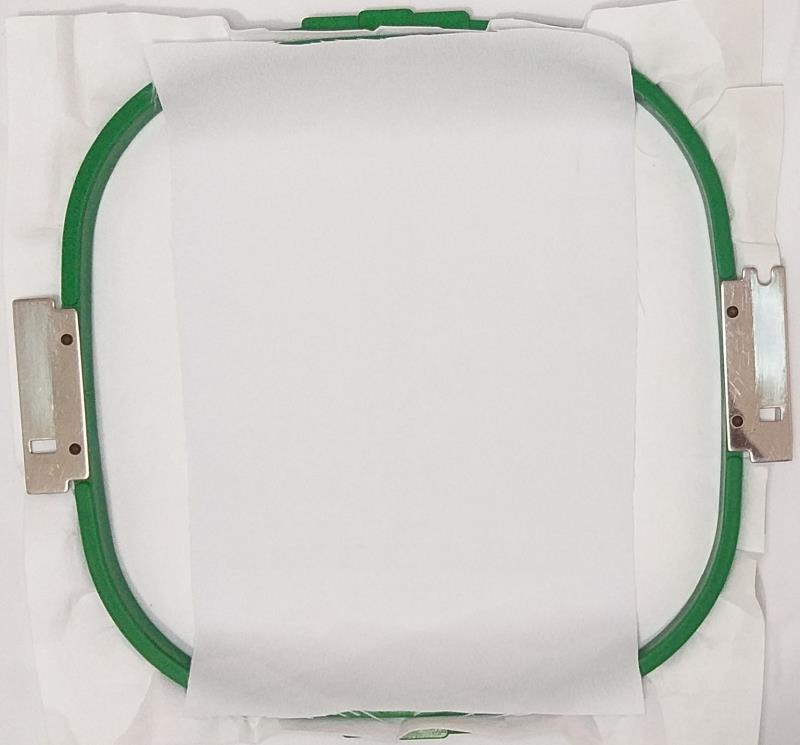
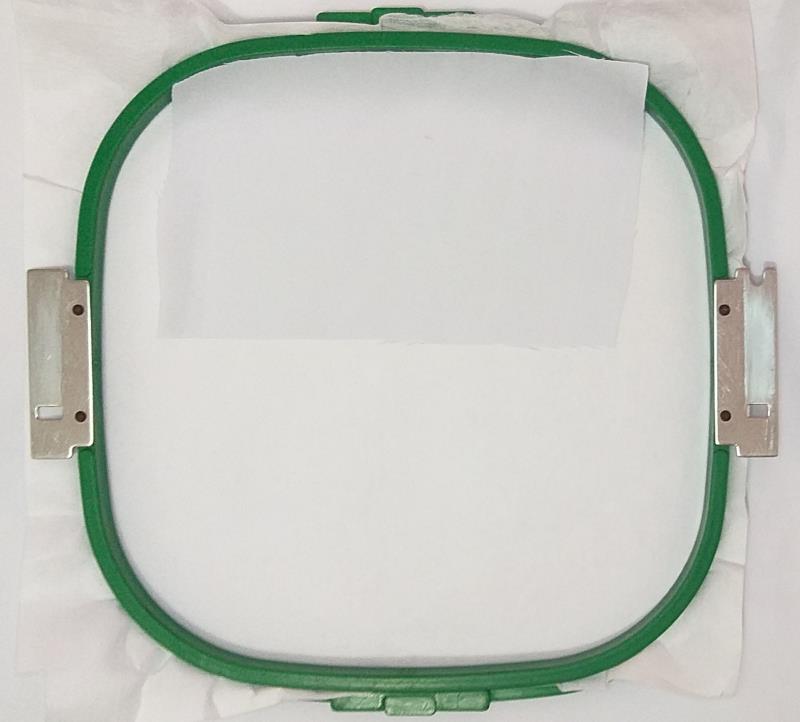
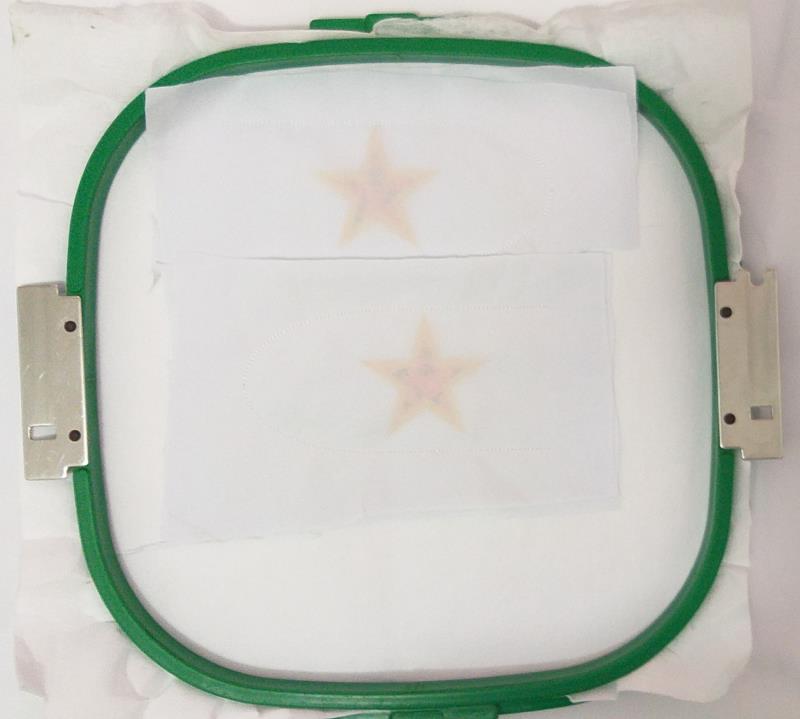
Step 3: Remove the hoop from the machine, do not unhoop. Cover the placement line with white fabric.
(Click Image to Enlarge)
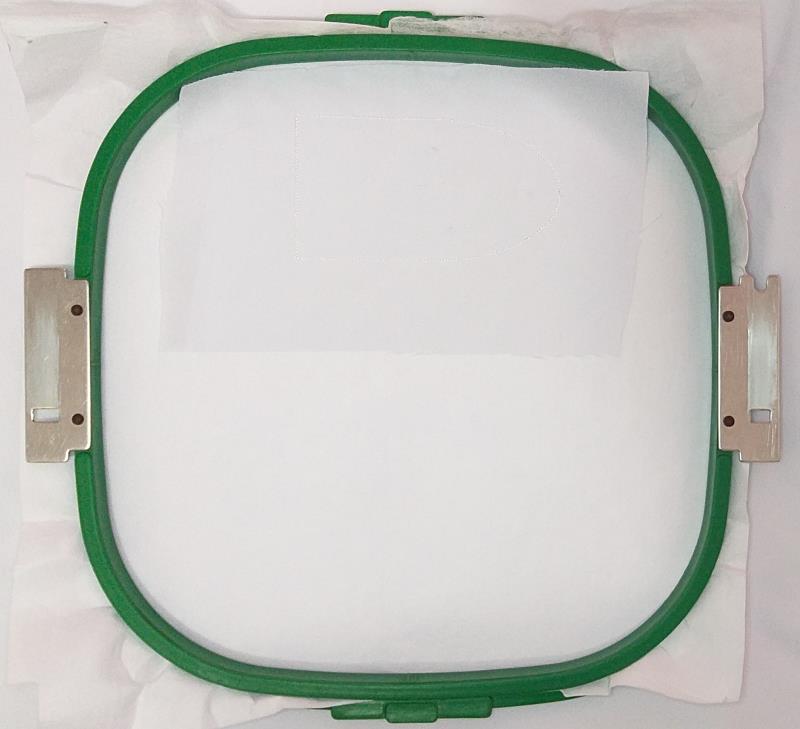
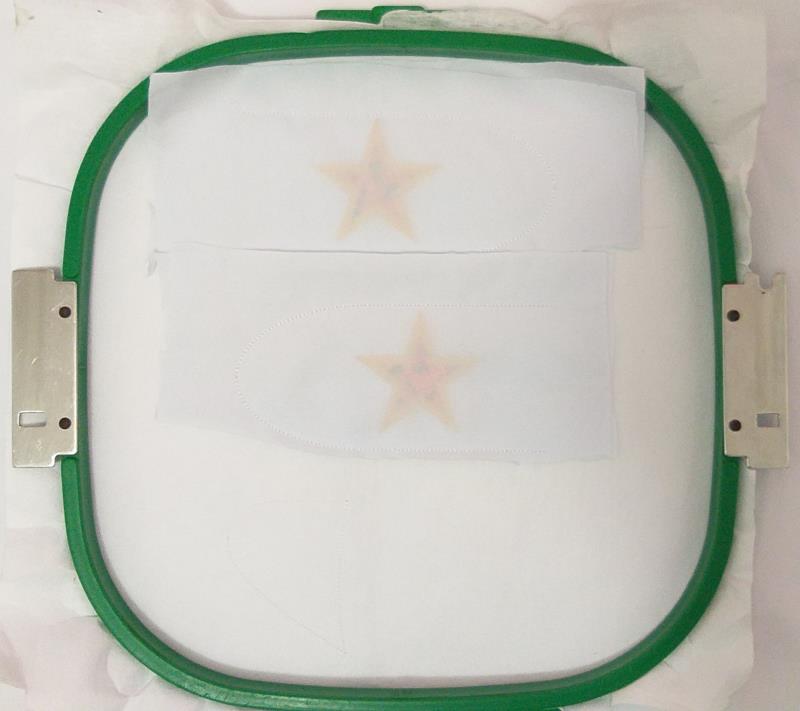
Step 4: Run color-stop 2 to fix the fabric.
(Click Image to Enlarge)
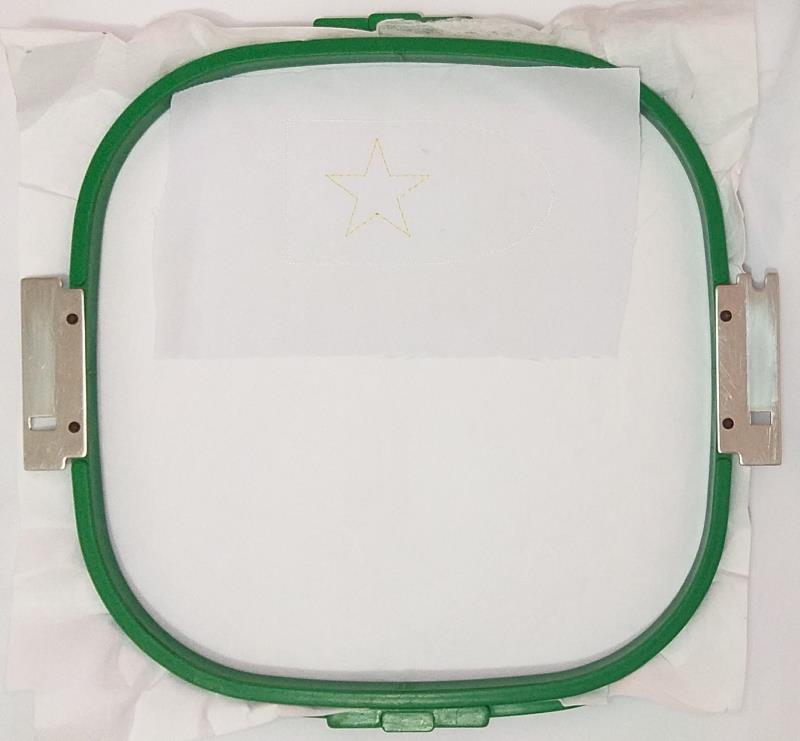
Step 5: Run color-stop 3 and color-stop 4 as a placement line.
(Click Image to Enlarge)
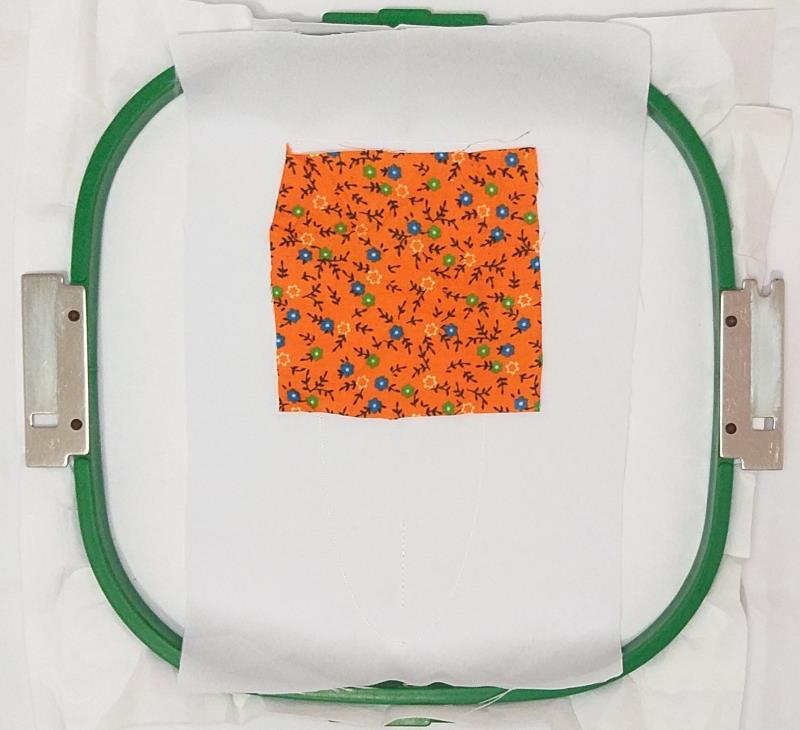
Step 6: Remove the hoop from the machine, do not unhoop. Cover the placement line of the color-stop 4 with printed cloth fabric.
(Click Image to Enlarge)
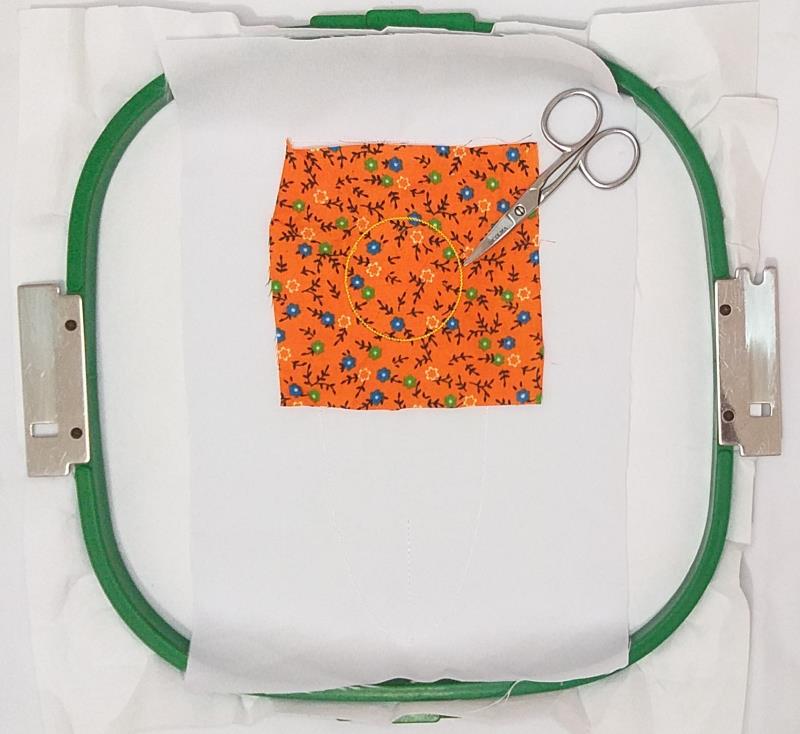
Step 7: Run color-stop 5 to fix the fabric.
(Click Image to Enlarge)
Step 8: Remove the hoop from the machine, do not unhoop. Cut off the excess fabric.
(Click Image to Enlarge)
Step 9: (Click Image to Enlarge)
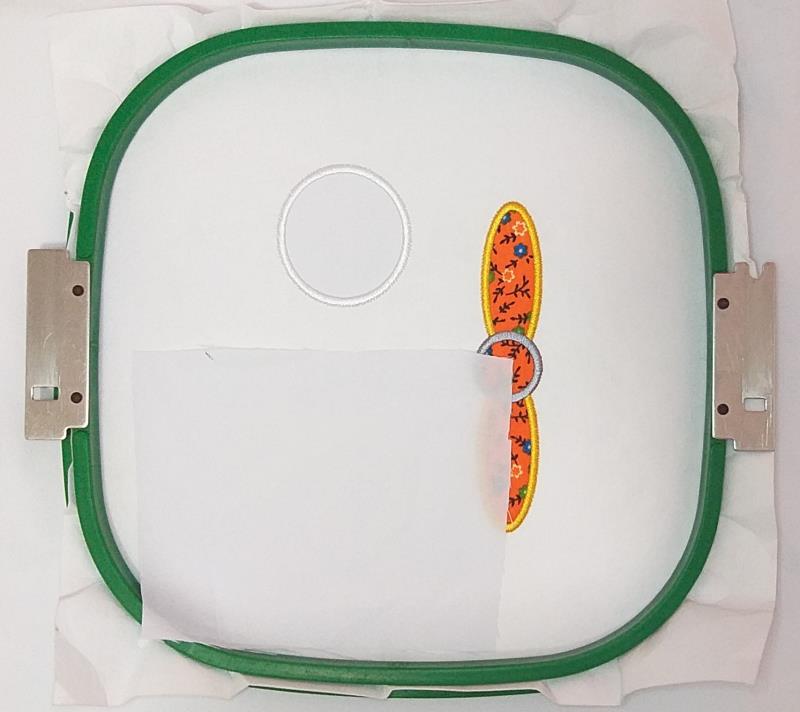
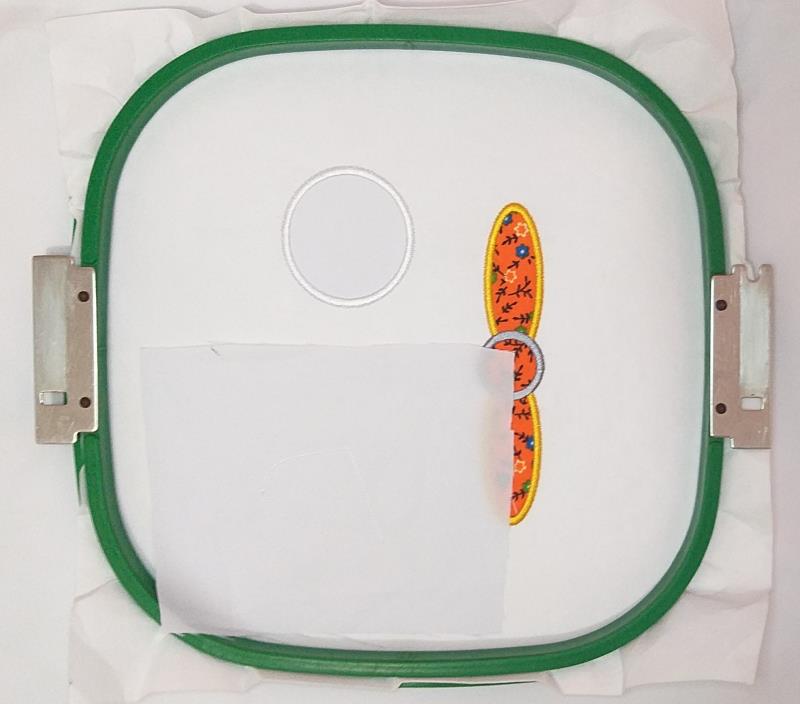
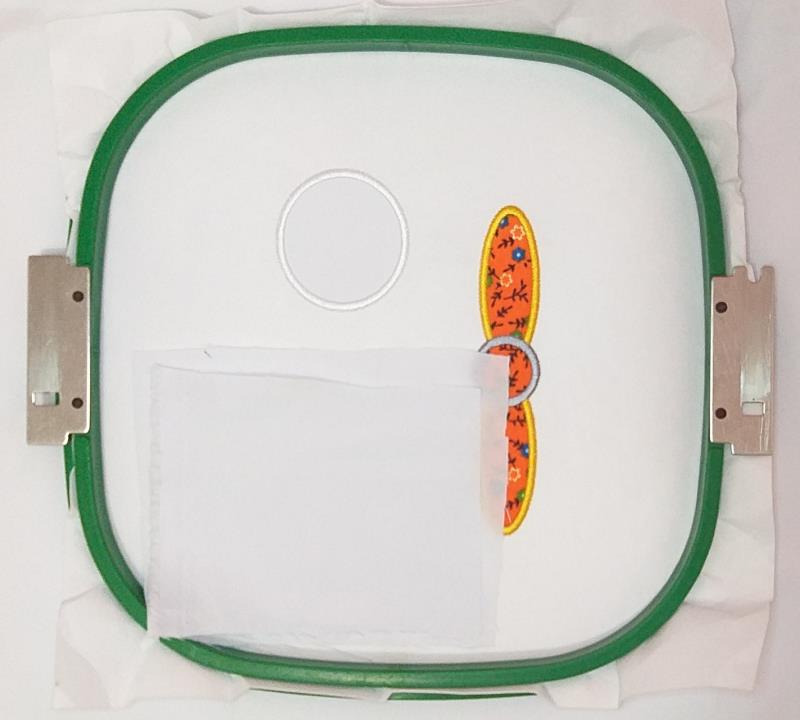
Step 10: Spray Repositionable adhesive on a square of white fabric and cover almost the whole hoop with it.
(Click Image to Enlarge)
Step 11: Run color-stop 7 to fix the fabric.
(Click Image to Enlarge)
Step 12: Remove the project from the hoop.
(Click Image to Enlarge)
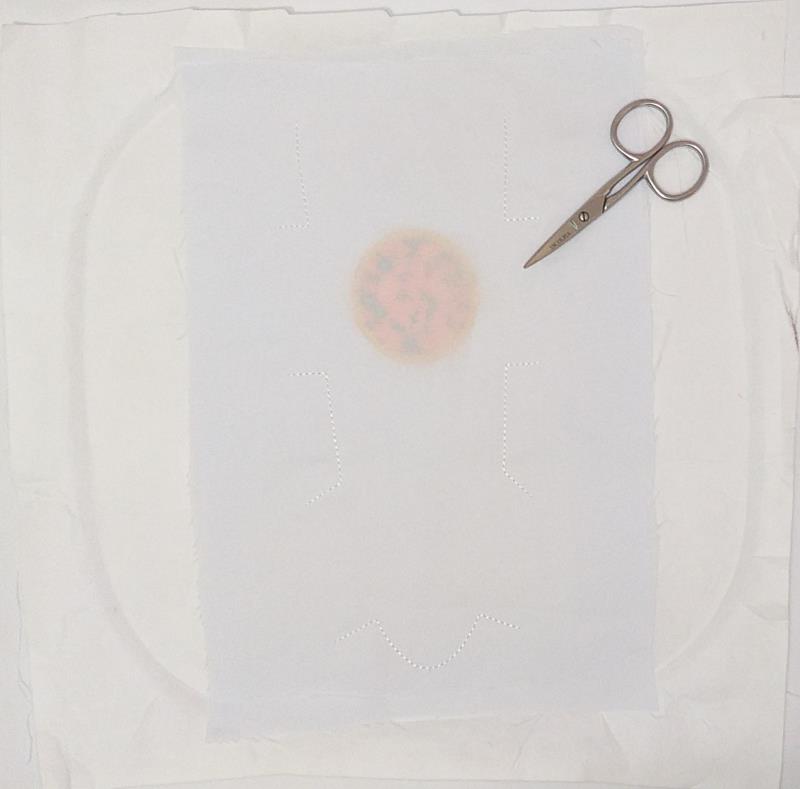
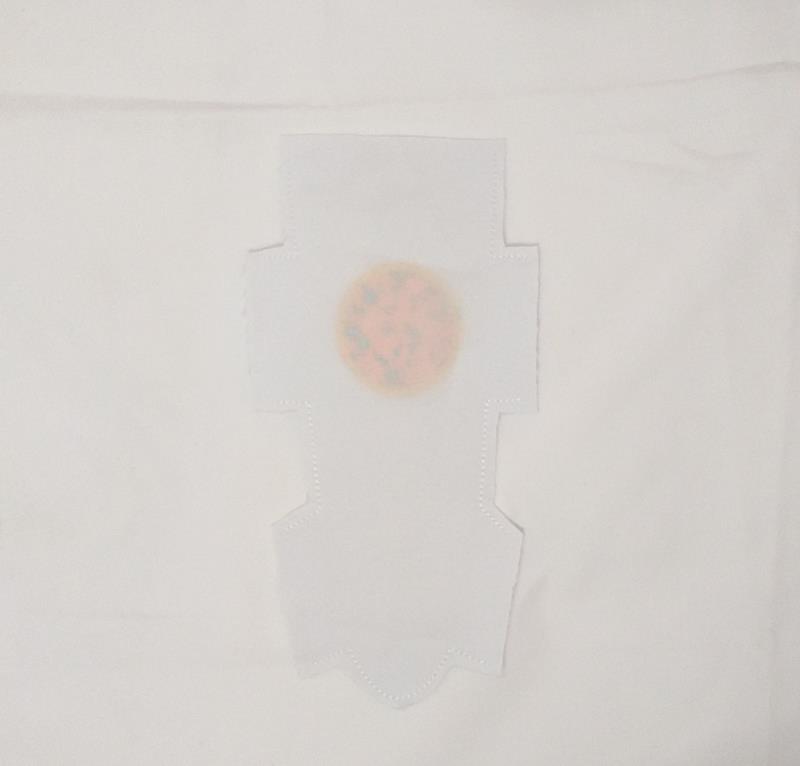
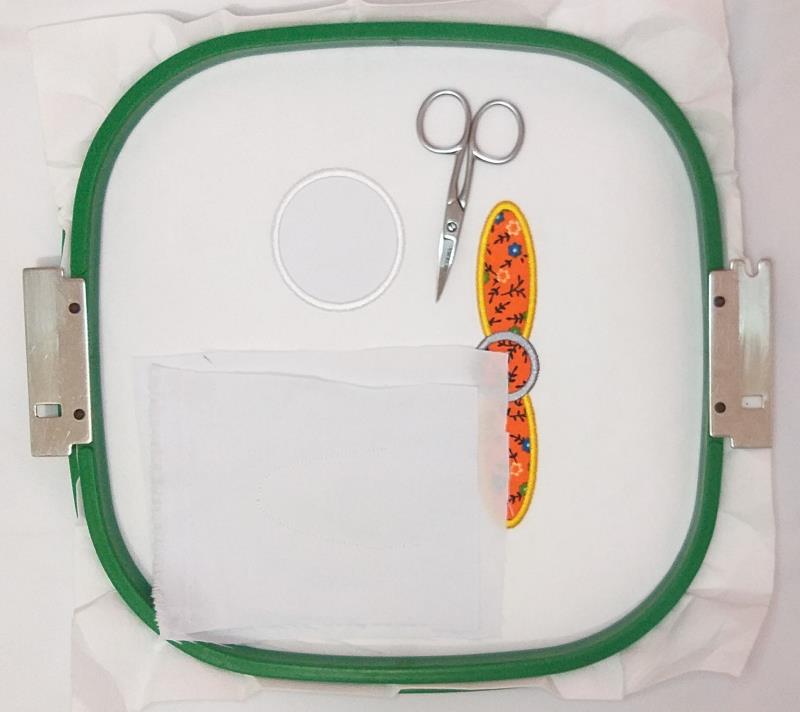
Step 13: Cut out the outline of the design with sharp scissors, leaving a homogeneous margin.
(Click Image to Enlarge)
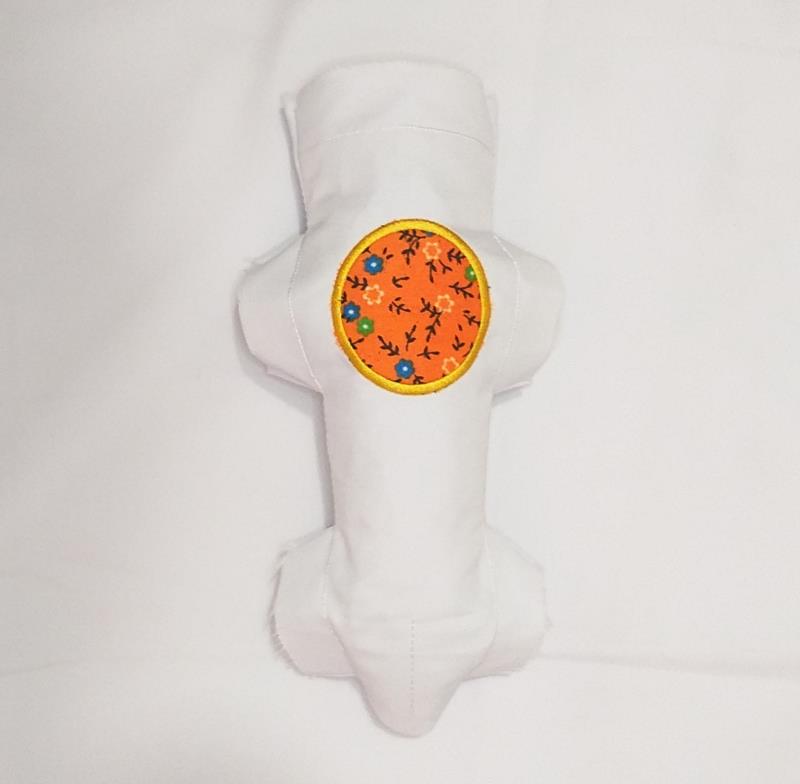
Step 14: Flip it over like socks and stuff with wadding.
(Click Image to Enlarge)
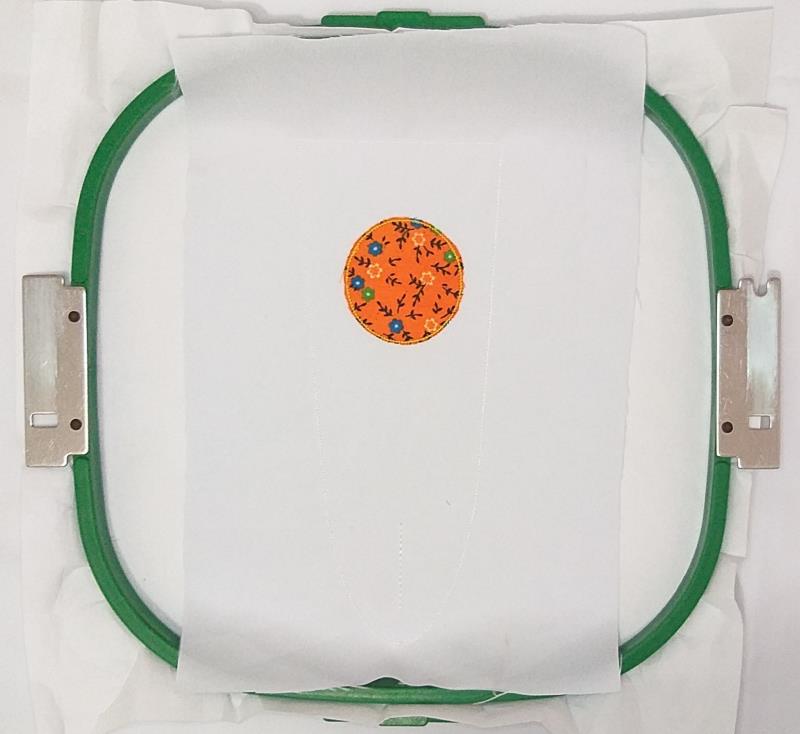
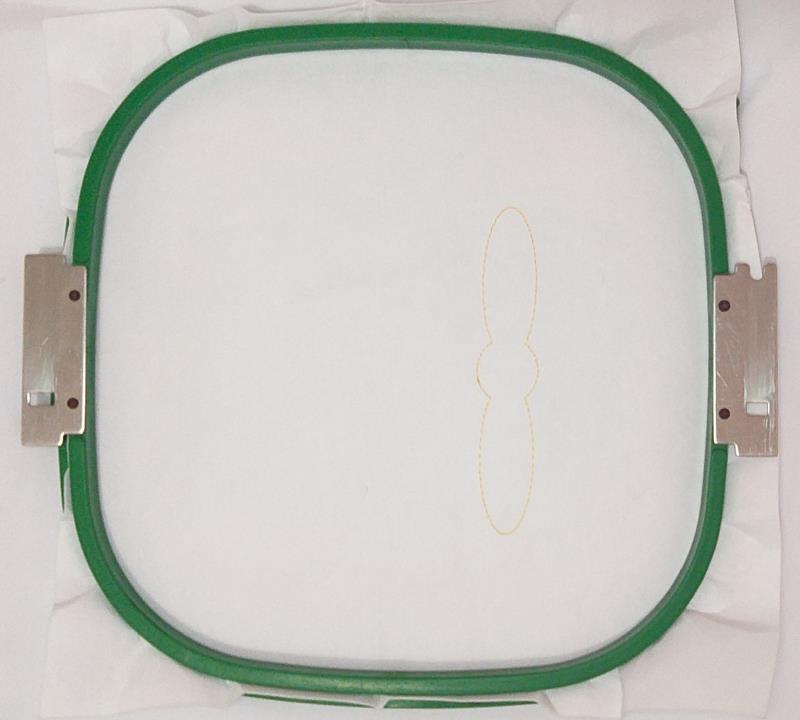
Step 15: For the Propeller tautly hoop 2.5-ounce cutaway stabilizer in your embroidery hoop.
(Click Image to Enlarge)
Step 16: Run the 1st color-stop as a placement line.
(Click Image to Enlarge)
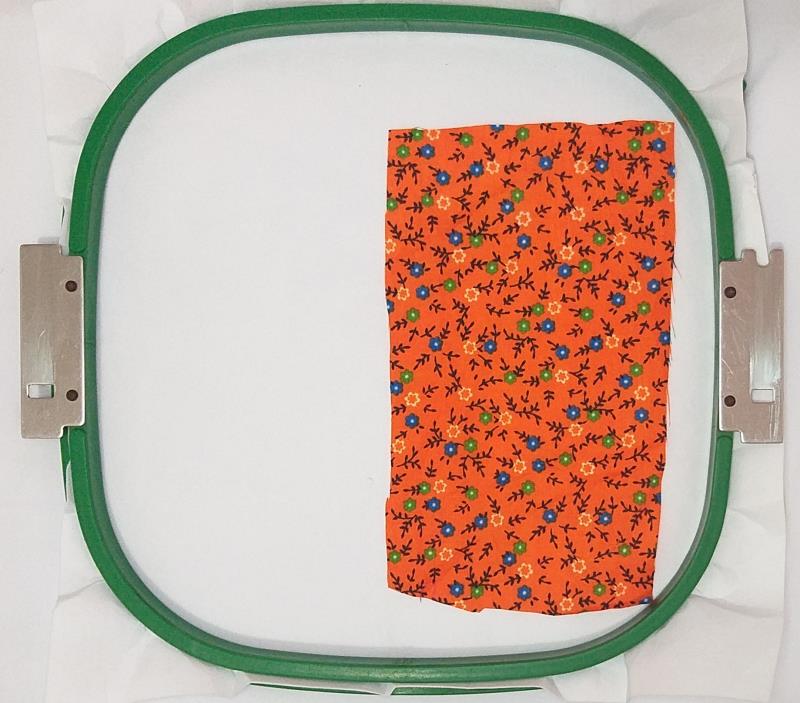
Step 17: Remove the hoop from the machine, do not unhoop. Cover the placement line with printed cloth fabric.
(Click Image to Enlarge)
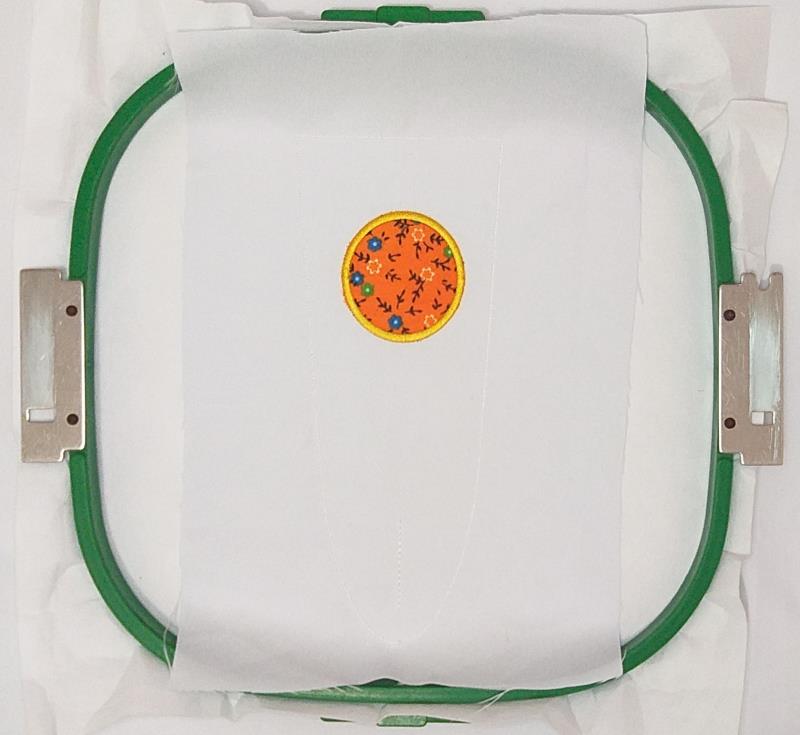
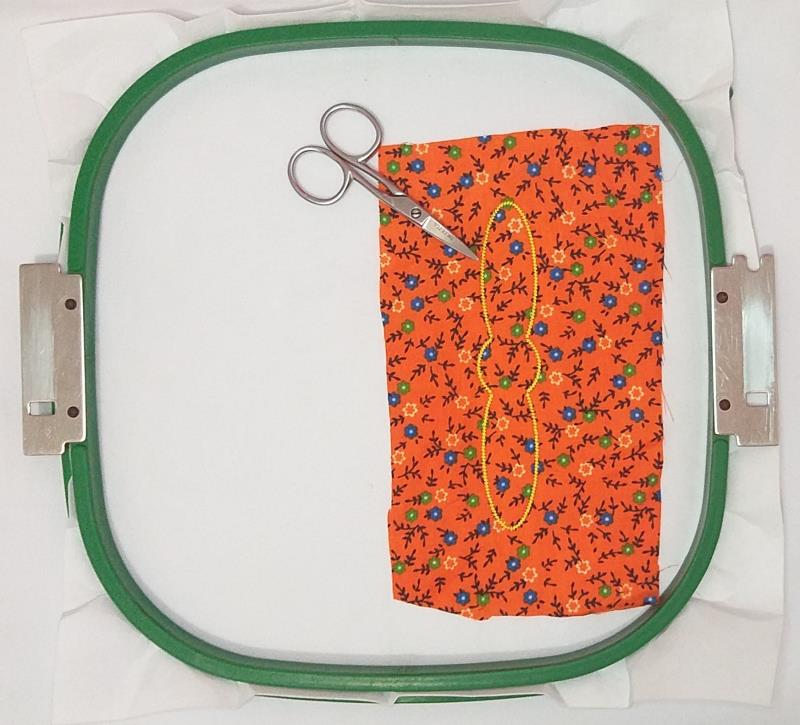
Step 18: Run color-stop 2 to fix the fabric.
(Click Image to Enlarge)
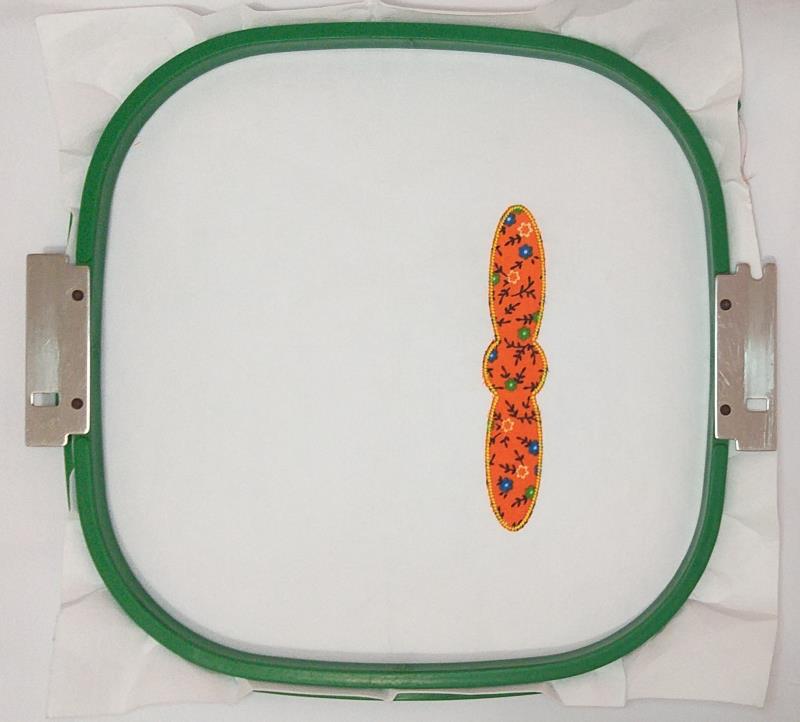
Step 19: Remove the hoop from the machine, do not unhoop. Cut off the excess fabric.
(Click Image to Enlarge)
Step 20: Run color-stop 3 and color-stop 4.
(Click Image to Enlarge)
Step 21: (Click Image to Enlarge)
Step 22: Run color-stop 6 as a placement line.
(Click Image to Enlarge)
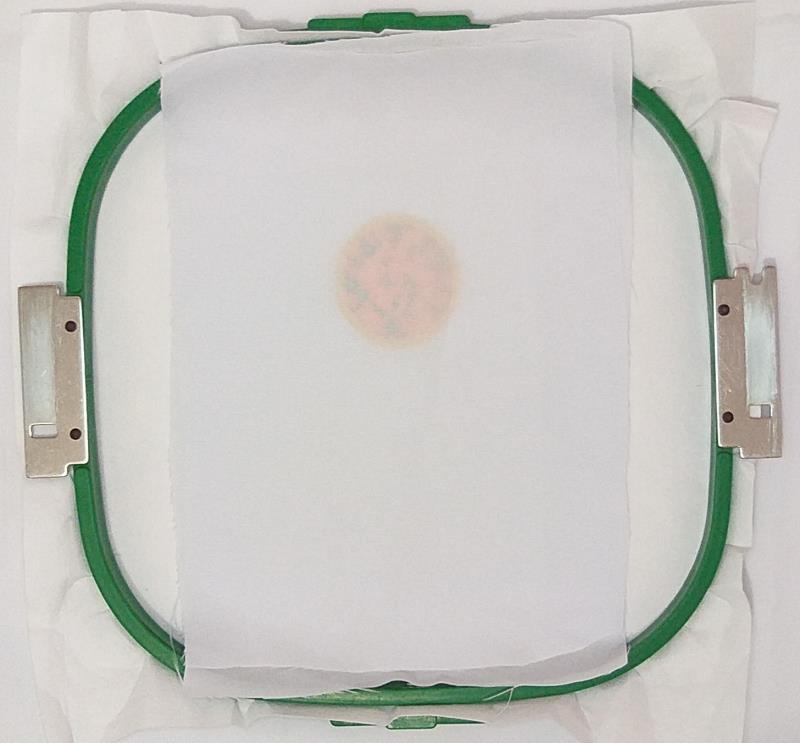
Step 23: Remove the hoop from the machine, do not unhoop. Cover the placement line with white fabric.
(Click Image to Enlarge)
Step 24: Run color-stop 7 to fix the fabric.
(Click Image to Enlarge)
Step 25: Remove the hoop from the machine, do not unhoop. Cut off the excess fabric.
(Click Image to Enlarge)
Step 26: Run color-stop 8 and color-stop 9.
(Click Image to Enlarge)
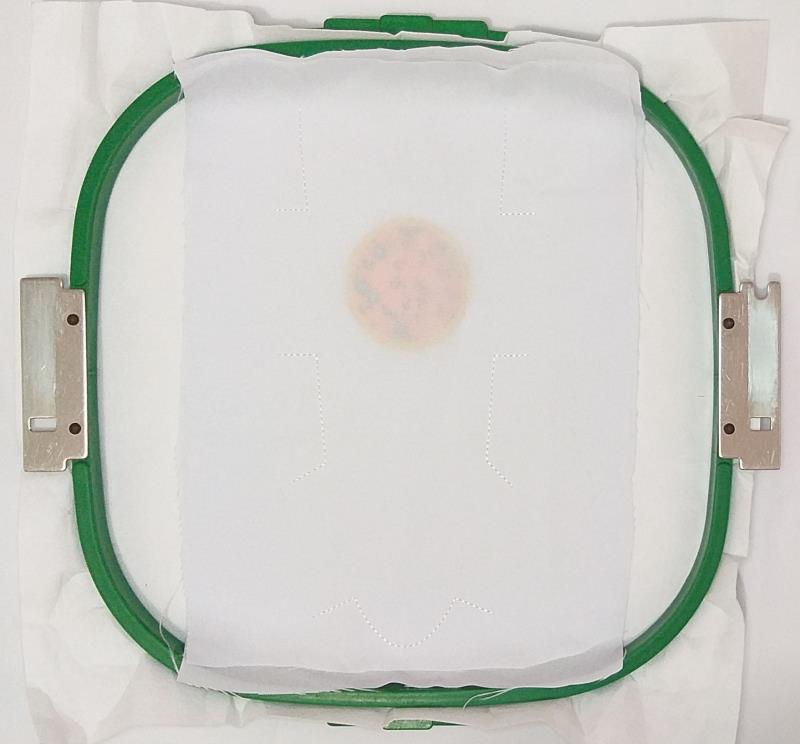
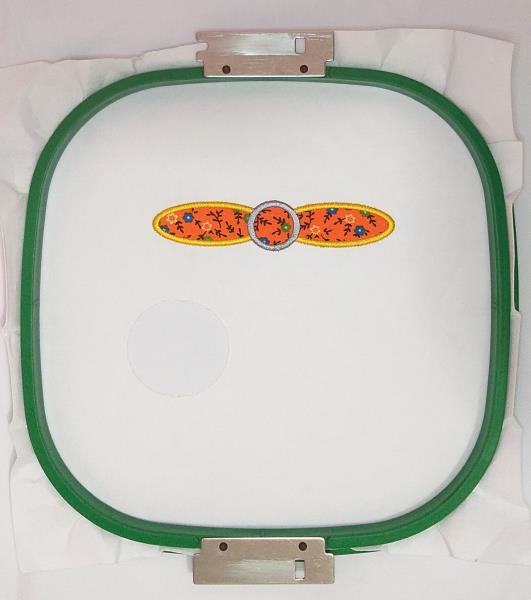
Step 27: Run color-stop 10 as a placement line.
(Click Image to Enlarge)
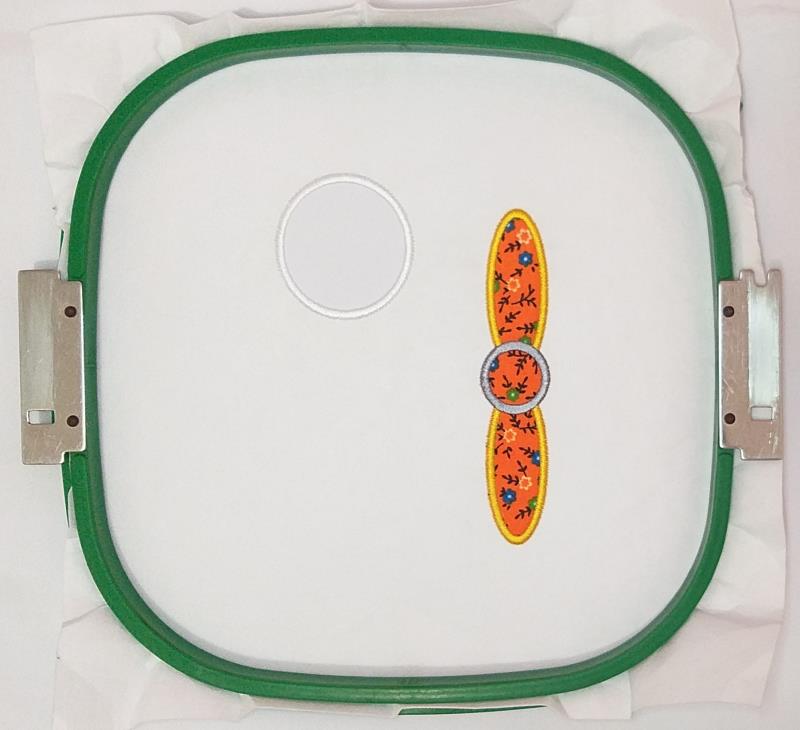
Step 28: Remove the hoop from the machine, do not unhoop. Cover the placement line with white fabric.
(Click Image to Enlarge)
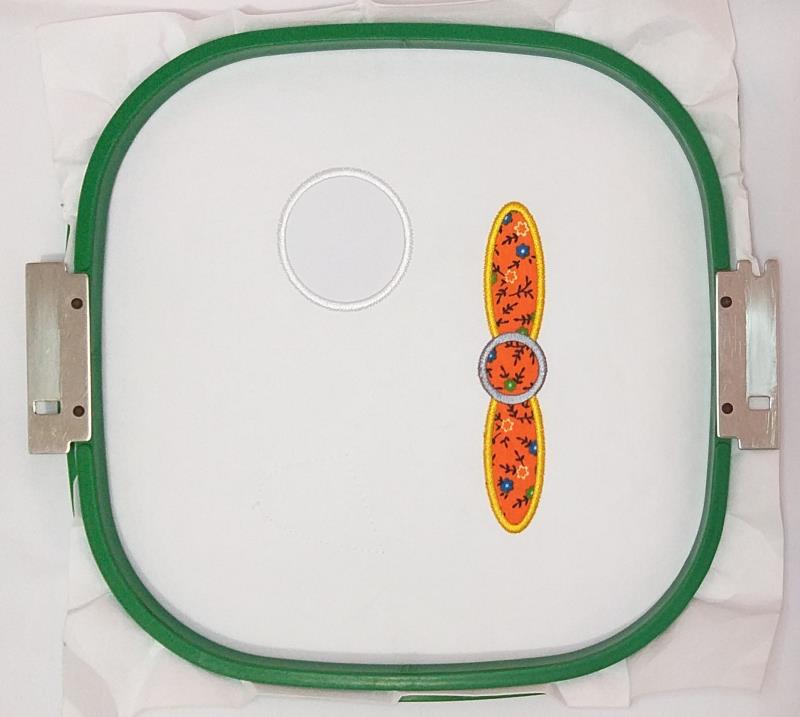
Step 29: Run color-stop 7 to fix the fabric.
(Click Image to Enlarge)
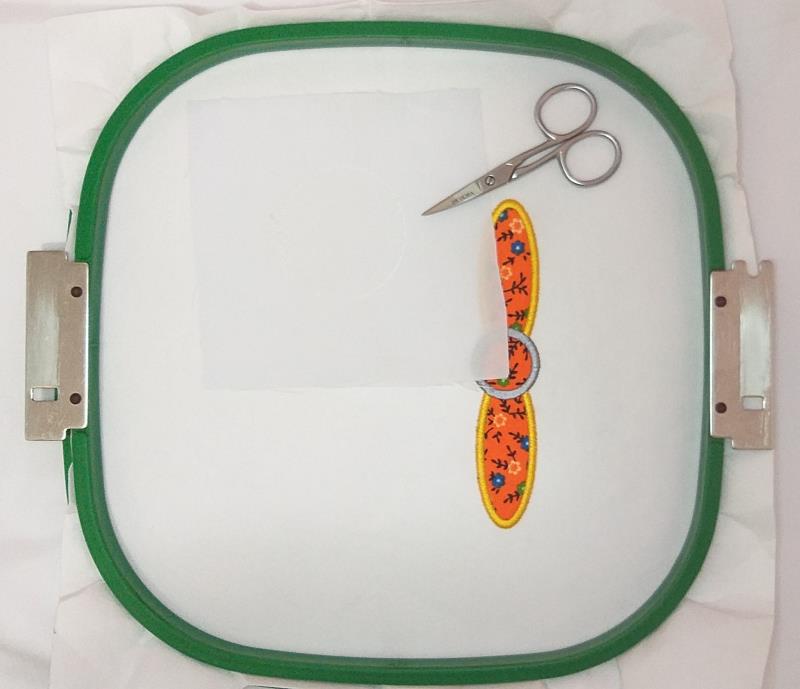
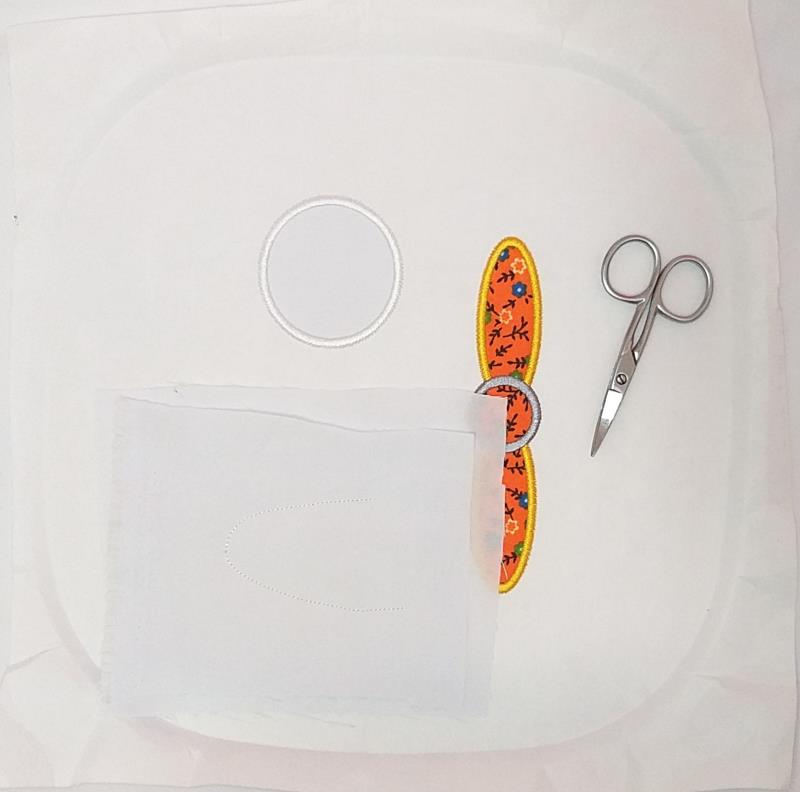
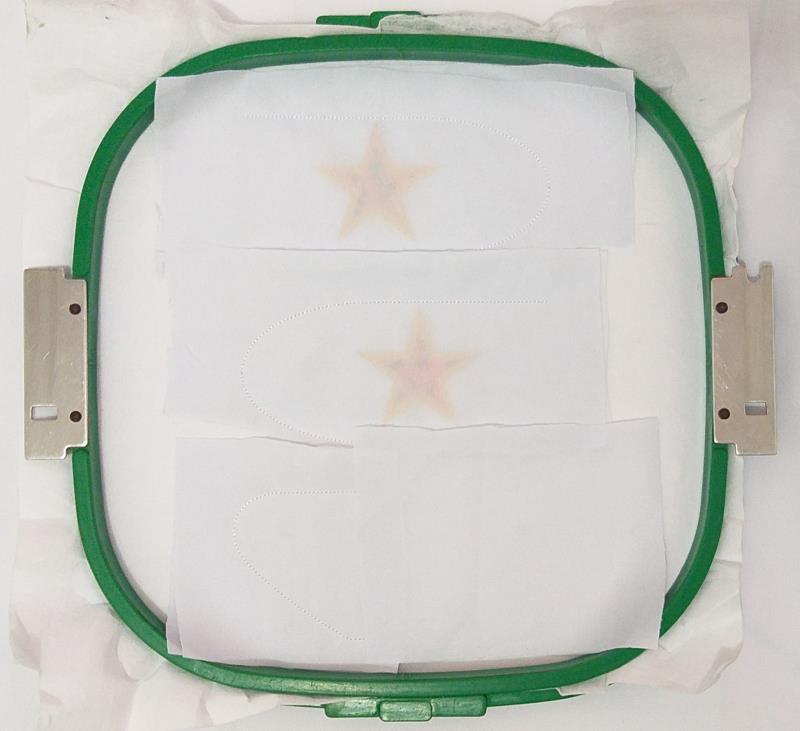
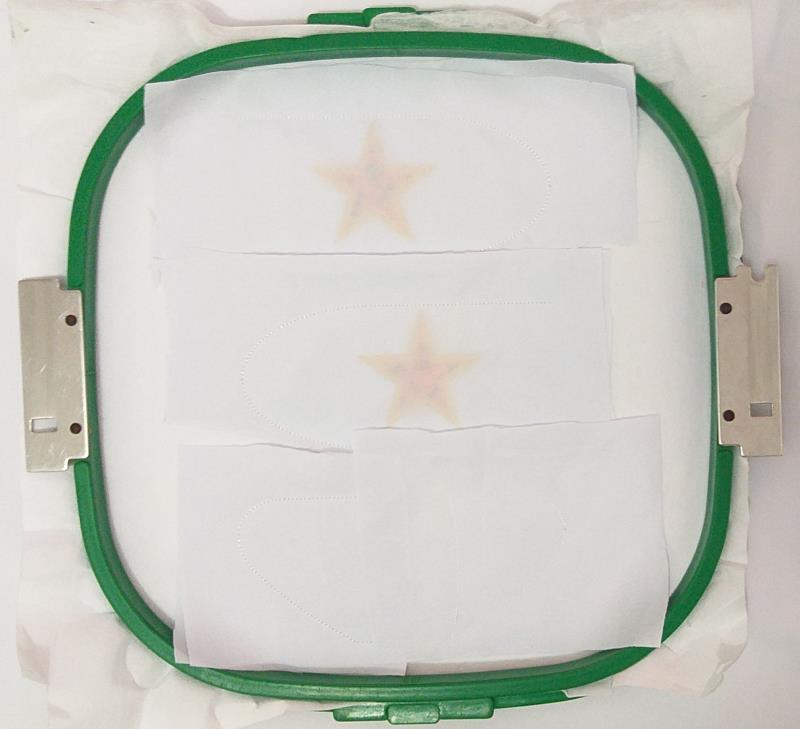
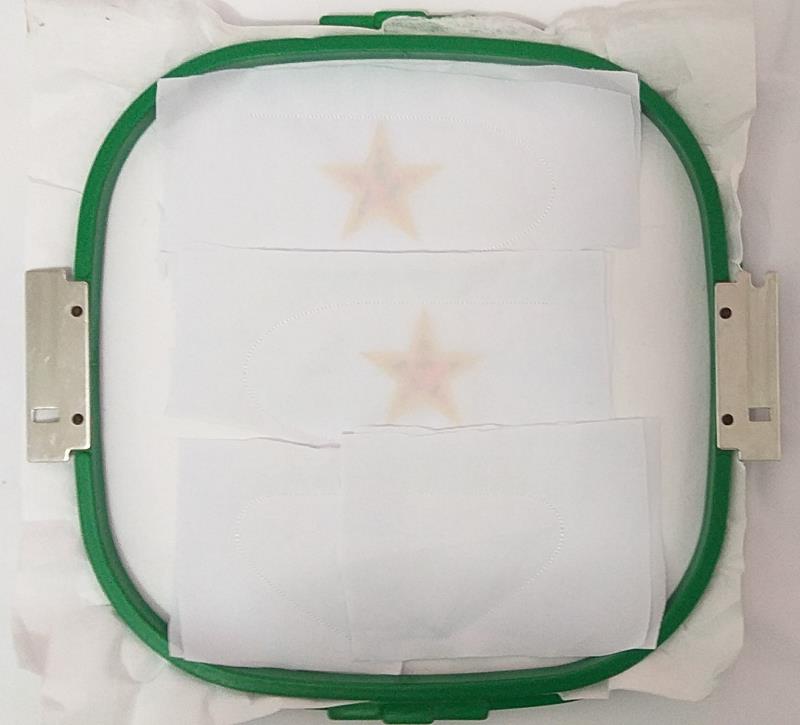
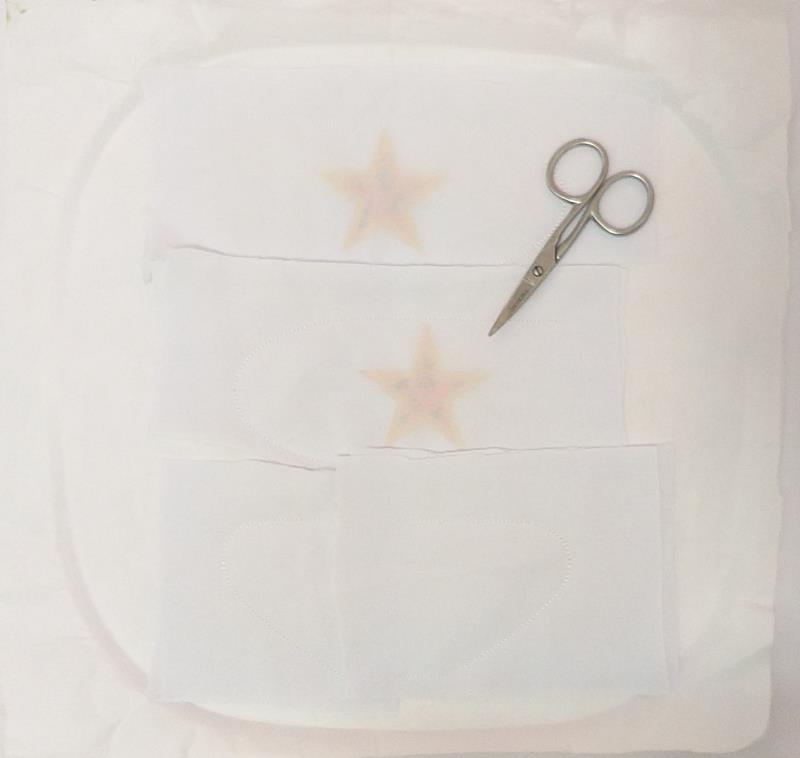
Step 30: Cut a rectangle of white fabric and put it over again.
(Click Image to Enlarge)
Step 31: Run color-stop 12 to fix the fabric.
(Click Image to Enlarge)
Step 32: Remove the project from the hoop.
(Click Image to Enlarge)
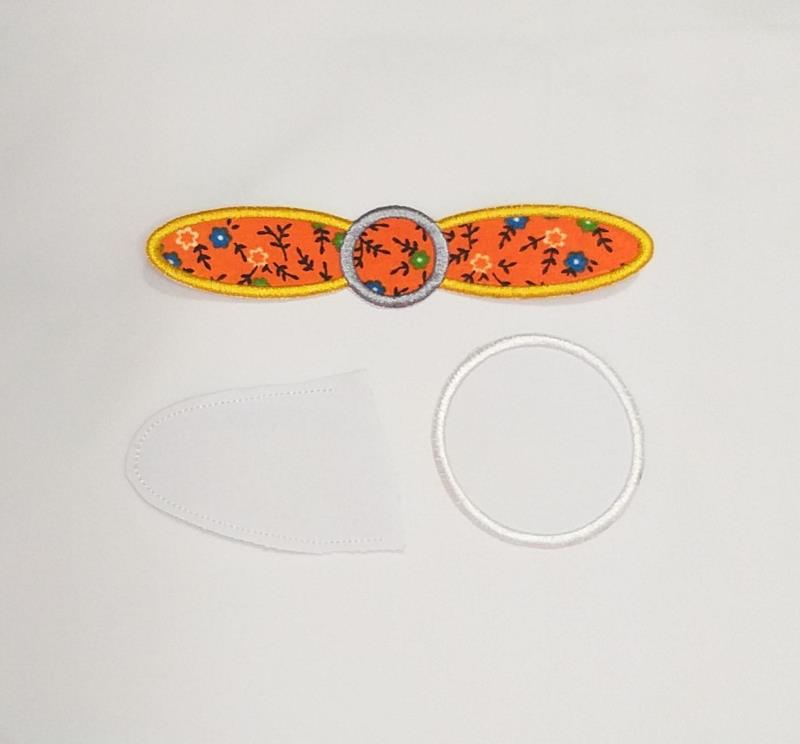
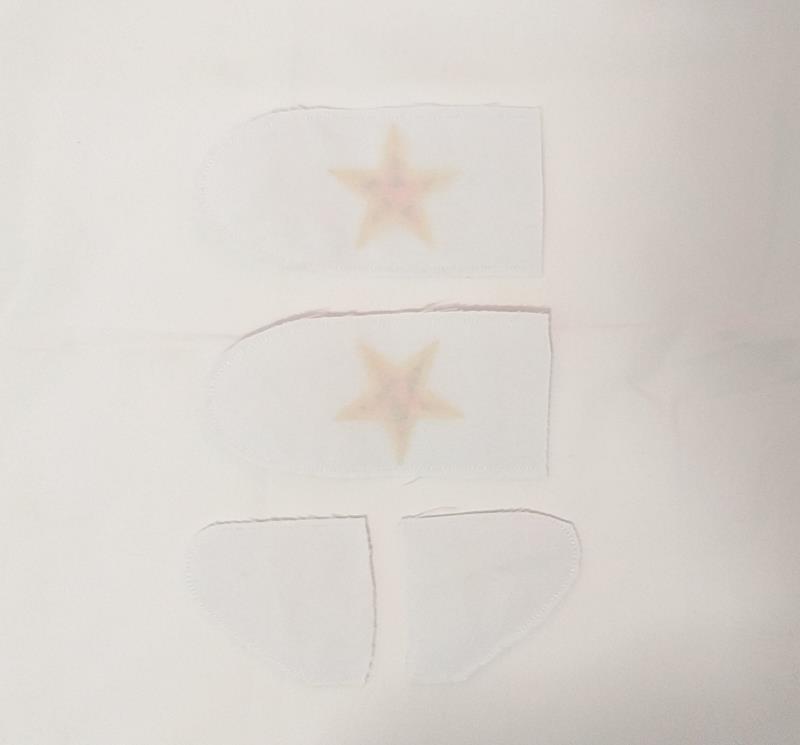
Step 33: Cut out the outline of the design with sharp scissors, leaving a homogeneous margin in the last piece.
(Click Image to Enlarge)
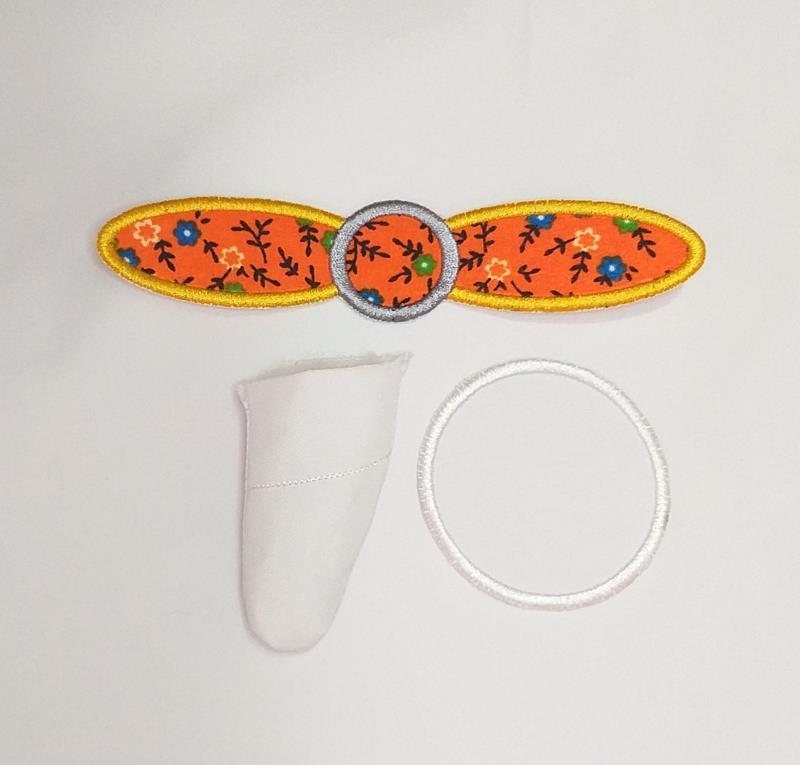
Step 34: Take the last piece, flip it over like a sock and stuff it with wadding.
(Click Image to Enlarge)
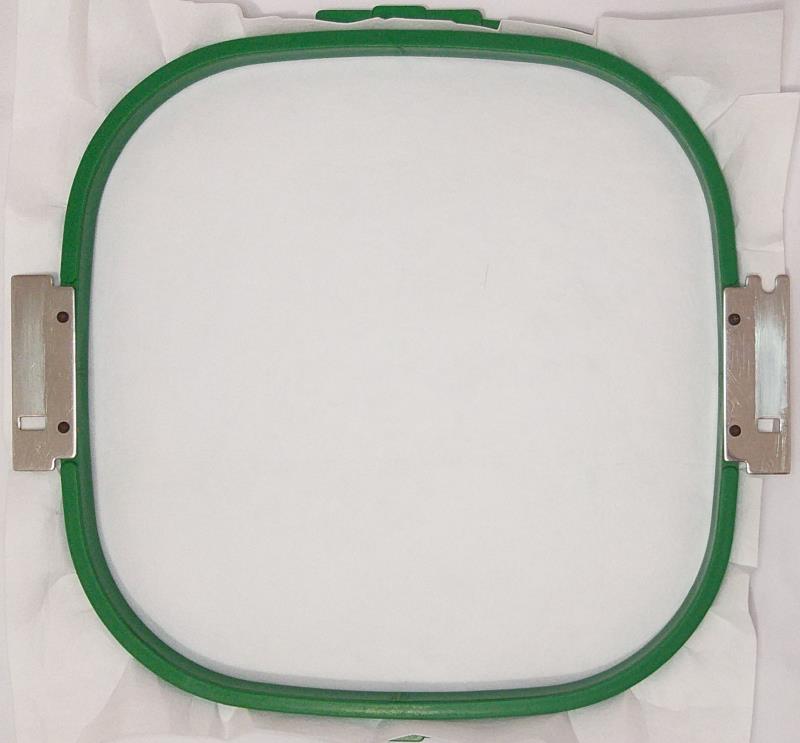
Step 35: For the Airplane Wings tautly hoop 2.5-ounce cutaway stabilizer in your embroidery hoop.
(Click Image to Enlarge)
Step 36: Run the 1st color-stop as a placement line.
(Click Image to Enlarge)
Step 37: Remove the hoop from the machine, do not unhoop. Cover the placement line with white fabric.
(Click Image to Enlarge)
Step 38: Run color-stop 2 to fix the fabric.
(Click Image to Enlarge)
Step 39: Run color-stop 3 as a placement line.
(Click Image to Enlarge)
Step 40: Remove the hoop from the machine, do not unhoop. Cover the placement line with printed cloth fabric.
(Click Image to Enlarge)
Step 41: Run color-stop 4 to fix the fabric.
(Click Image to Enlarge)
Step 42: Remove the hoop from the machine, do not unhoop. Cut off the excess fabric.
(Click Image to Enlarge)
Step 43: (Click Image to Enlarge)
Step 44: Cut a rectangle of white fabric and put it over again.
(Click Image to Enlarge)
Step 45: Run color-stop 6 to fix the fabric.
(Click Image to Enlarge)
Step 46: For the next wing, follow the color stop repeating the same indications from step 36 to 45
(Click Image to Enlarge)
Step 47: Run color-stop 13 as a placement line.
(Click Image to Enlarge)
Step 48: Remove the hoop from the machine, do not unhoop. Cover the placement line with white fabric.
(Click Image to Enlarge)
Step 49: Run color-stop 14 to fix the fabric.
(Click Image to Enlarge)
Step 50: Cut a rectangle of white fabric and put it over again and run color-stop 15 to fix the fabric.
(Click Image to Enlarge)
Step 51: Run color-stop 16 as a placement line.
(Click Image to Enlarge)
Step 52: Remove the hoop from the machine, do not unhoop. Cover the placement line with white fabric.
(Click Image to Enlarge)
Step 53: Run color-stop 17 to fix the fabric.
(Click Image to Enlarge)
Step 54: Cut a rectangle of white fabric and put it over again and run color-stop 18 to fix the fabric.
(Click Image to Enlarge)
Step 55: Remove the project from the hoop.
(Click Image to Enlarge)
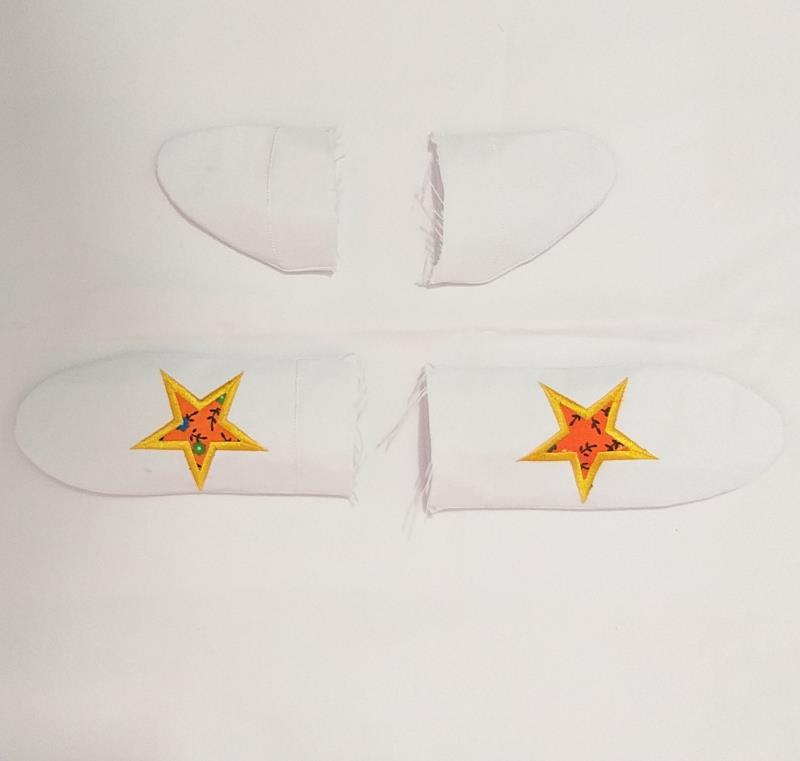
Step 56: Cut out the outline of the design with sharp scissors, leaving a homogeneous margin.
(Click Image to Enlarge)
Step 57: flip them over like socks and stuff them with wadding.
(Click Image to Enlarge)
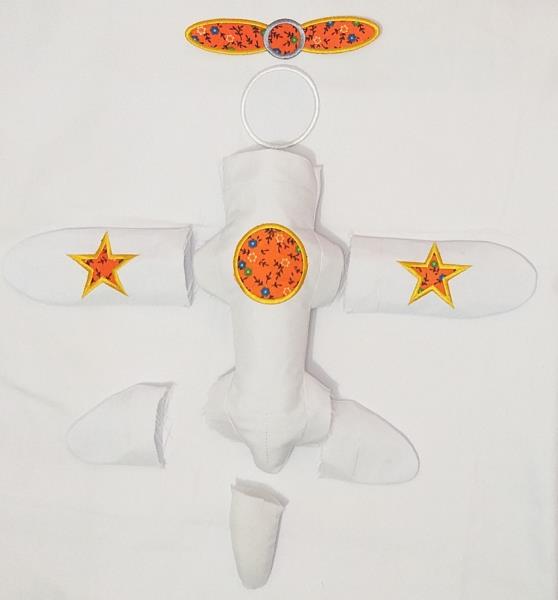
Step 58: Now we will proceed to put the pieces together.
(Click Image to Enlarge)
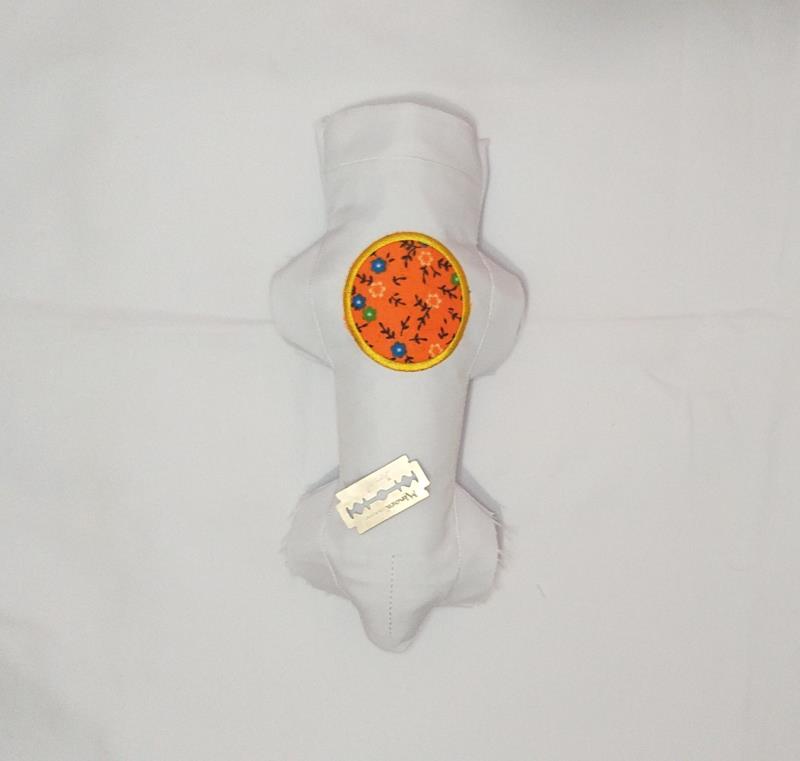
Step 59: With the help of a razor blade or a cutter, we open an incision following the indicated line.
(Click Image to Enlarge)
Step 60: We introduce the spoiler and with the help of a needle and thread, we join it with the body of the airplane.
(Click Image to Enlarge)
Step 61: We will follow the same steps with the rear wings
(Click Image to Enlarge)
Step 62: And in the same way with the main wings.
(Click Image to Enlarge)
Step 63: Finally in the upper part we fix the propeller.
(Click Image to Enlarge)
Step 64: Have fun doing this beautiful project.
(Click Image to Enlarge)
Step 65: This is a collaboration between ITH Boutique and Laura Workshop. The copyrights to the digitizing and some images belongs to Laura (Click Image to Enlarge)
Feedback
Please Login to Submit a Feedback
Invalid Characters, Please enter a valid Comment
Please enter a valid Comment
LOG IN
Submit
Link is Broken, Please check the URL