Border OptionsHugging border, circle, square, or rectangle — with a 3mm satin stitch.
Backing OptionsAvailable with iron-on, sew-on, or velcro backing.
Fast ShippingShipped quickly from the USA.
Free Online Tools
Powerful embroidery utilities that save time and prevent costly mistakes.
Stitch AssistantRECOMMENDED
Get the exact stabilizer, machine settings, needle, and thread color sequence for every embroidery design you purchase — based on that design's stitch density, dimensions, and color count.
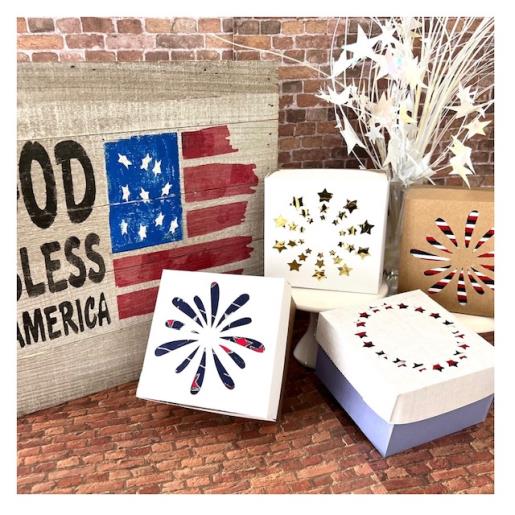
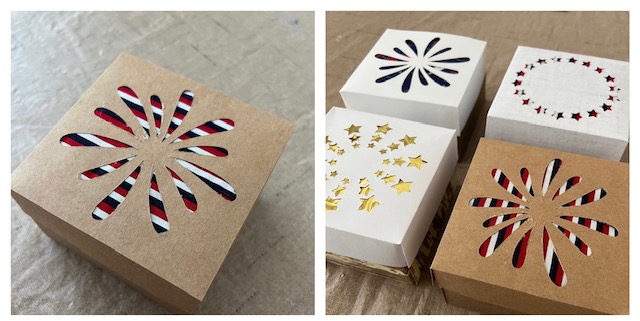
Celebrate with these Patriotic-themed treat boxes, perfect for holding sweet treats and small gifts. These boxes feature festive cut-out designs, adding a touch of flair to your holiday celebrations. Step-by-step instructions are included.
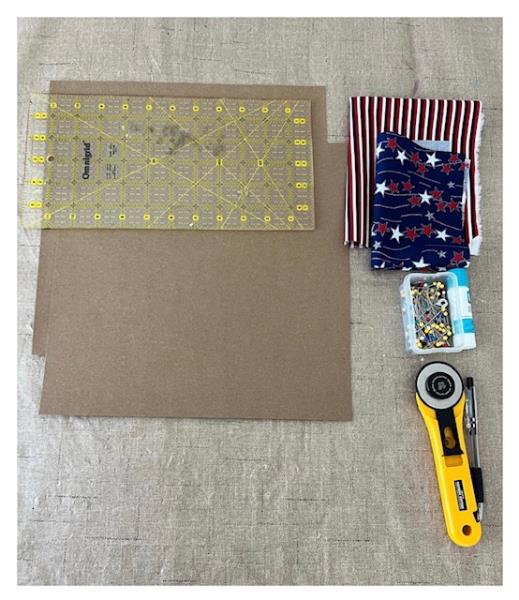
Gather all supplies and review instructions before beginning.
(Click Image to Enlarge)
Step 2:
Making the Box Top
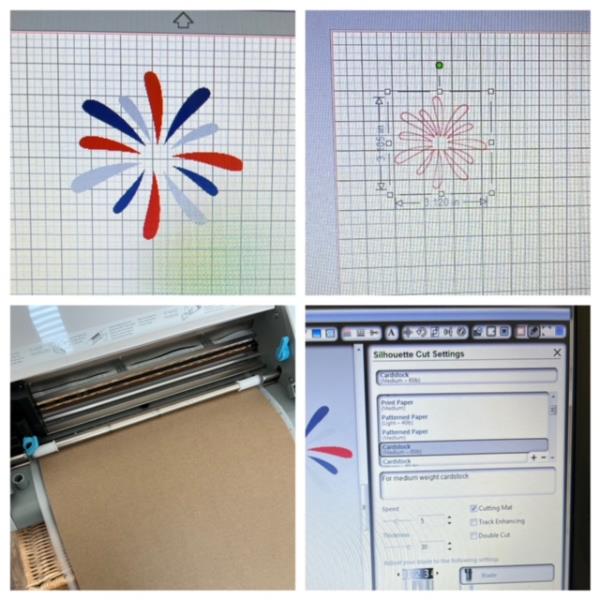
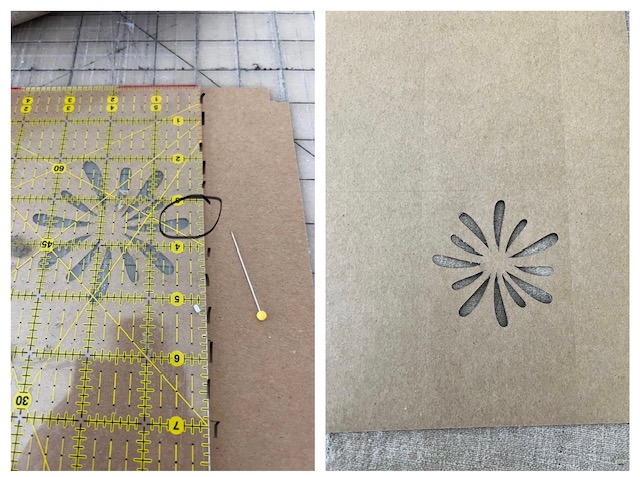
Bring into your cutting machine’s design board Fireworks design file . Cut and resize to a 3.1” x 3.1” squared design. Show grid on your design board and move cut design approx. 2” from top and side. Prepare your cutting mat with your cardstock. Insert into cutting machine. Adjust your cut settings. Cut design.
(Click Image to Enlarge)
Step 3:
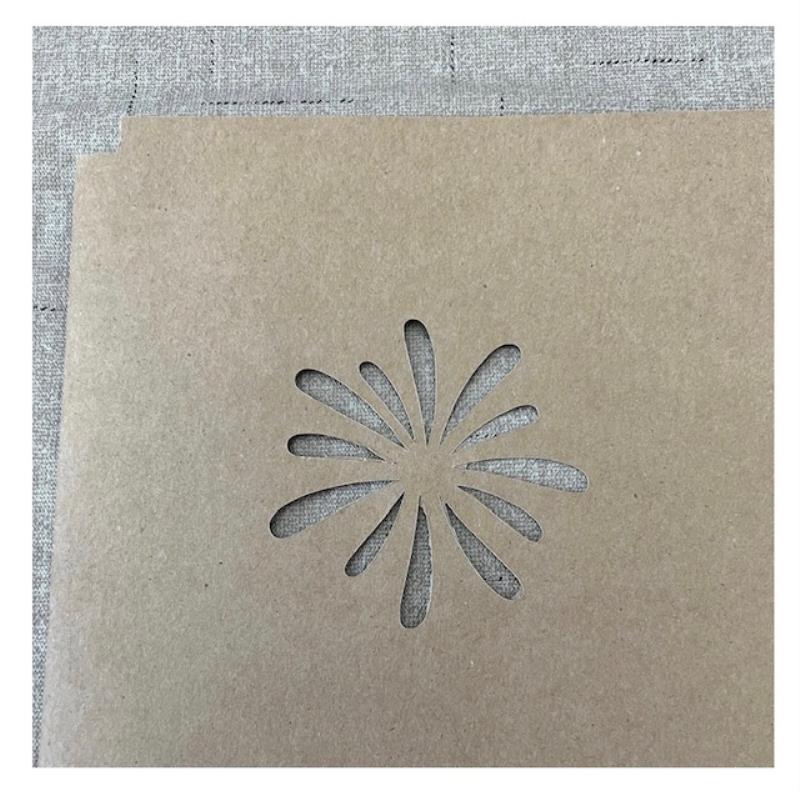
Remove mat from cutting machine. Weed cut cardstock for a stencil.
(Click Image to Enlarge)
Step 4:
Using your ruler measure ¼” away from edge of design and score to end edge of construction paper. Repeat for all sides of design creating a scored square. Score using a scoring tool or as in this tutorial a straight pin was used.
(Click Image to Enlarge)
Step 5:
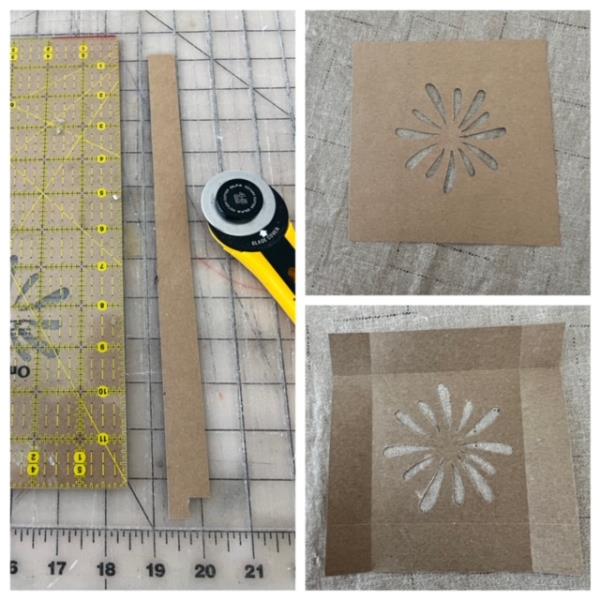
Trim/ Cut 1” from all sides scored lines. Fold each side on the scored lines
(Click Image to Enlarge)
Step 6:
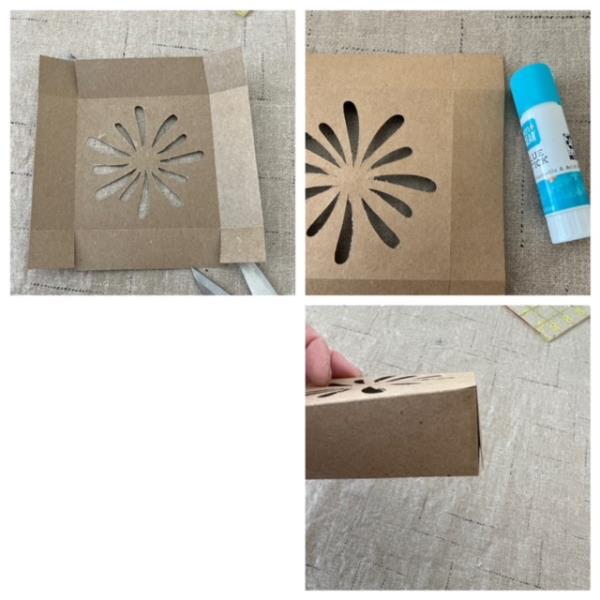
Cut corner wing tabs on scored lines as shown. Fold tabs and glue to inside of side box lid.
(Click Image to Enlarge)
Step 7:
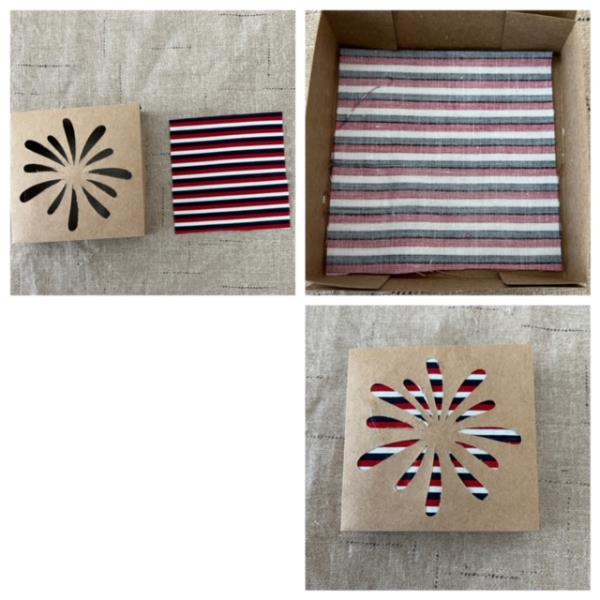
Cut a fabric piece to fit over design stencil and glue to inside top of lid. ( Optional: use foil tissue in place of fabric)
(Click Image to Enlarge)
Step 8:
Making the Box Bottom
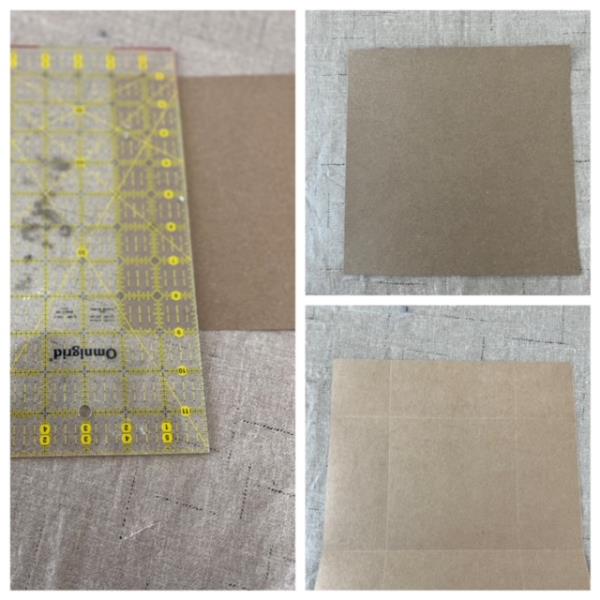
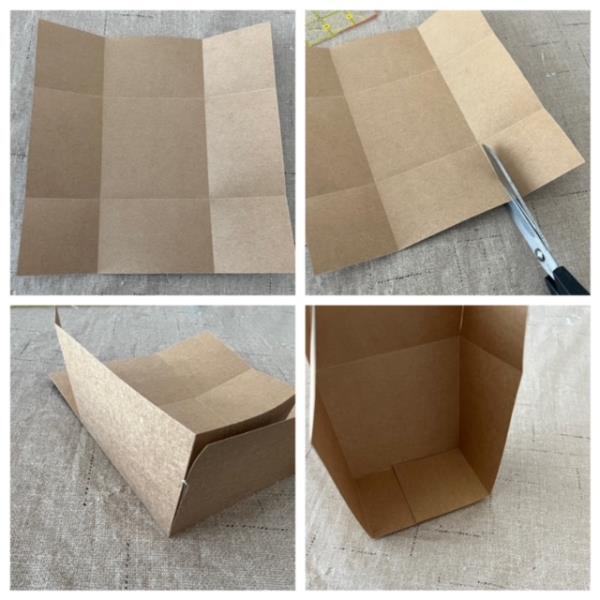
Using your 2nd sheet of construction paper cut an 8” x 8” square. Lightly score 2 1/4” in on all side edges.
(Click Image to Enlarge)
Step 9:
Fold on scored lines. Cut corner wing tabs as shown. Fold wings to the inside to form box and glue to secure in place.
(Click Image to Enlarge)
Step 10:
Place lid on box bottom and your Fireworks Treat Box is complete. Use the additional linked fireworks designs to make additional treat boxes! Way to Go! Happy Fourth! Opt: Use foiled tissue in place of fabric for a sparkled appearance.