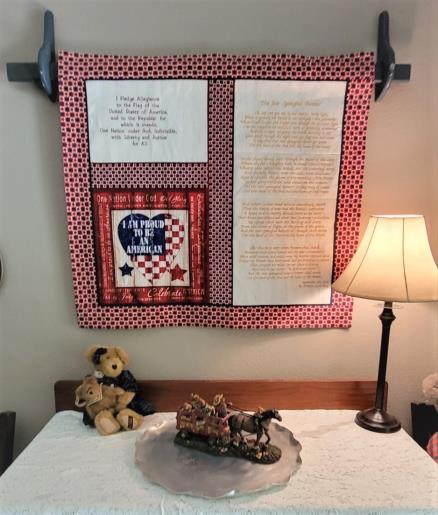
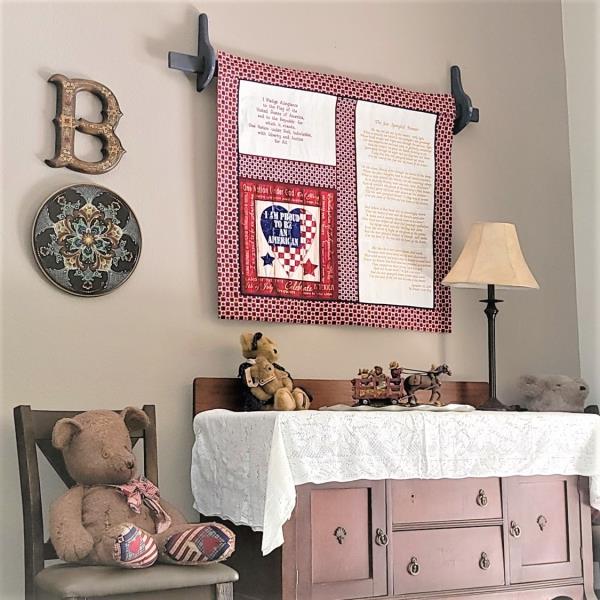
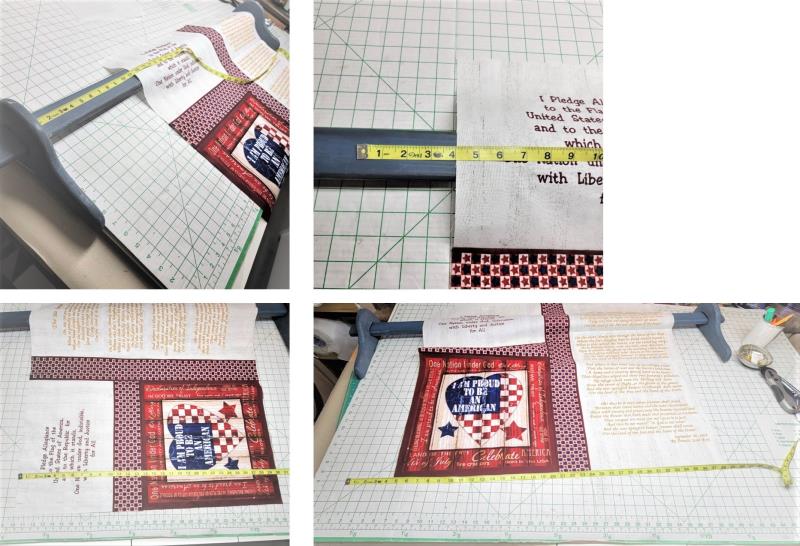
Step 1: | Read through the instructions thoroughly before beginning and assemble all the materials needed to complete the project. The size of the finished project really depends upon the size quilt hanger you have, with fabric dimensions adjusted to fit. The one used for the project was adjustable, with the finished project size being 40.75” wide and 36.5” long. However, printed panels vary in size so it is best to do all the embroidery first and then figure out how you will cut and center the printed panel, embroidery pieces, cut the border pieces to fit within the quilt frame, and also figure out the length of the flange strips. As the project was being assembled, the rule of “measure twice— or three times! —cut once avoided unnecessary waste of fabric to make everything fit together. All fabrics were measured and cut a little bit larger than needed and then trimmed down as the assembly was done. The left side cutting was based upon the panel width measurements. Step 4 is a diagram of the finished dimensions of what was used in this project, but again, you figure out how to cut and sew everything together so it fits your quilt frame and based upon the printed panel. Instead of a binding, the outer boarders were cut 2” wider and turned to the back side of the wallhanging for a nice clean edge. If you prefer, do binding instead. | 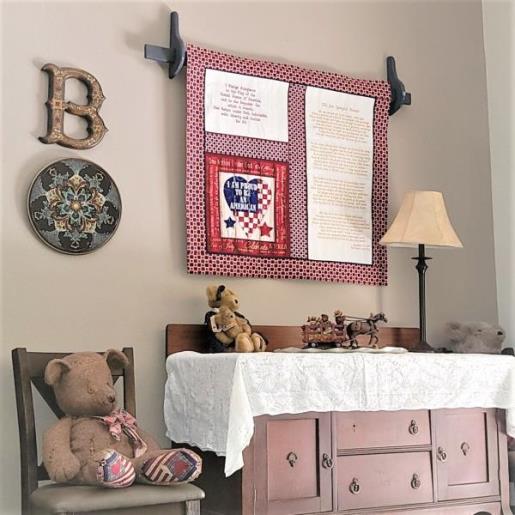 (Click Image to Enlarge) |
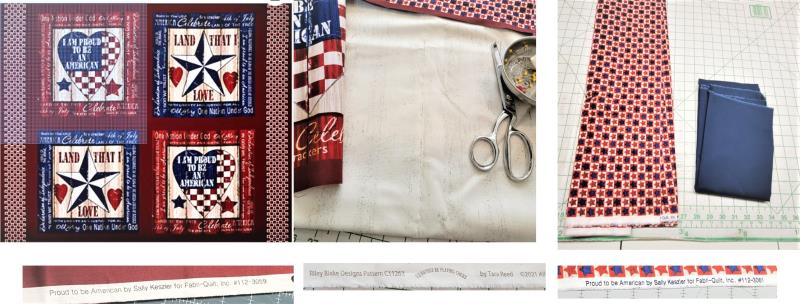
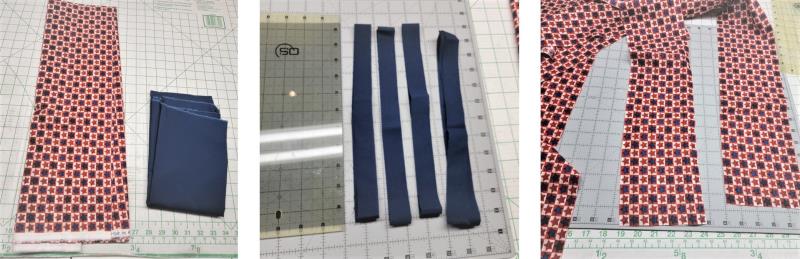
Step 2: | Here are the fabrics that were used. The one on the left comes as four fabric panels, with border fabric attached. The lower right panel was used in the project as were the star borders as the inside between the embroidery and the panel. The middle fabric was nice because it had a slight sketchy print to it that closely matched the background fabric of the panel; this fabric was used for all the embroidered sections. The star fabric in the photo on the right was part of the panel fabric collection. It was used for all the outside borders. As pieces are cut, be sure to interface them. The navy fabric was used for the flange around the inside portion of the project. | 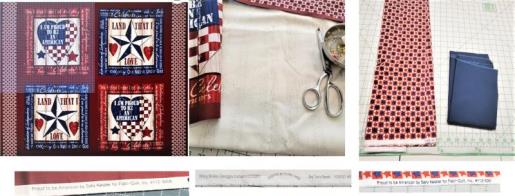 (Click Image to Enlarge) |
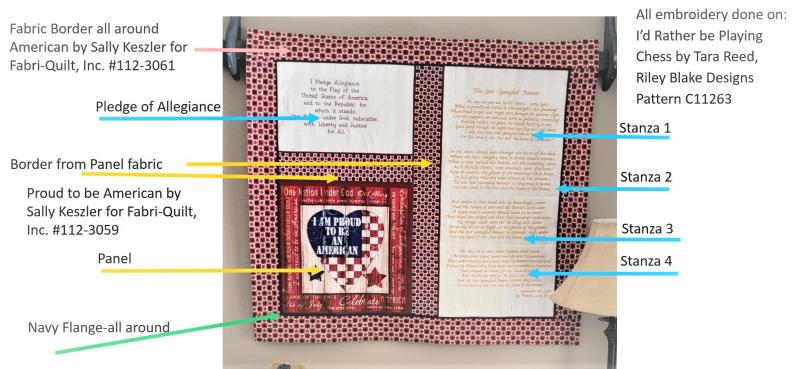
Step 3: | Here are the names of the fabrics and where they were used in the project. | 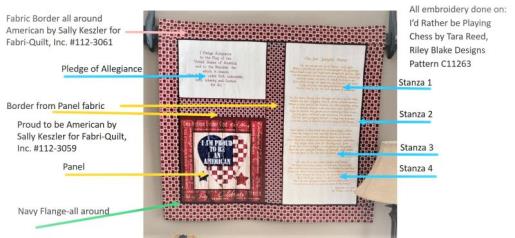 (Click Image to Enlarge) |
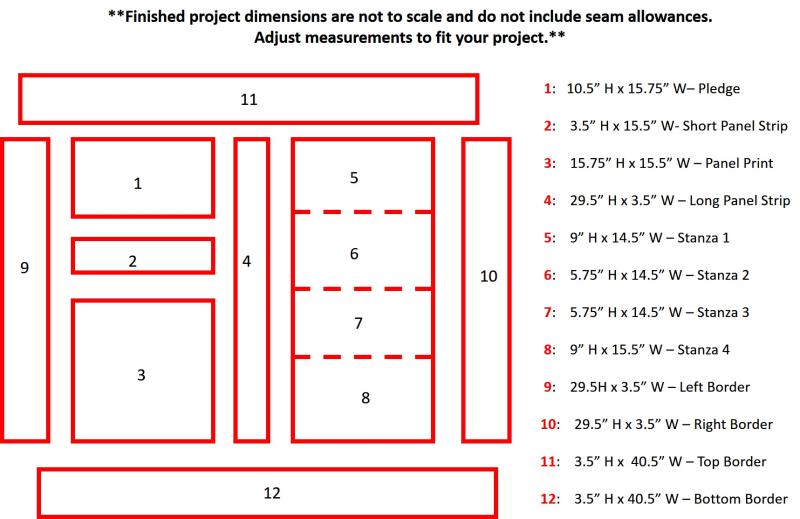
Step 4: | Here are the dimensions of the finished sizes of each section. Please refer to this chart as you are trimming down the sections and sewing everything together. Also use this chart to help you assess your own quilt hanger and how you have to alter the dimensions to fit the panel and fabrics you are using for your project. | 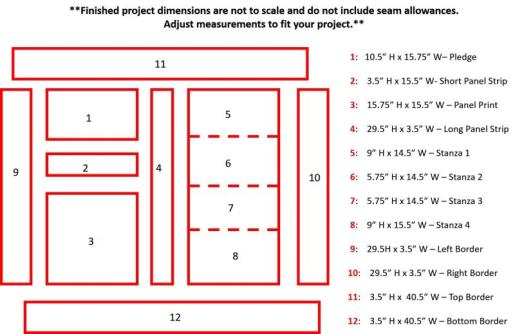 (Click Image to Enlarge) |
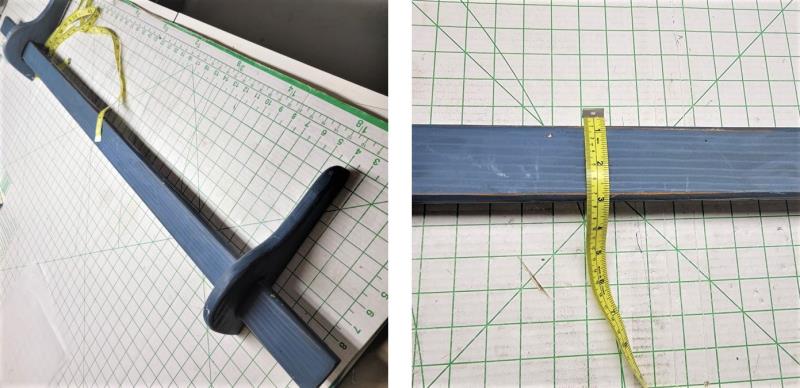
Step 5: | Begin by assessing the wall quilt hanger. Figure out the length, width of the hanging bar, and also any special characteristics such as with this hanger. The tops of the long end pieces attach to the wall. The bar is a good 6” below the top of the end pieces. Begin with the quilt hanger measurements for assessing your project, fabric measurements, and quilt sleeve. | 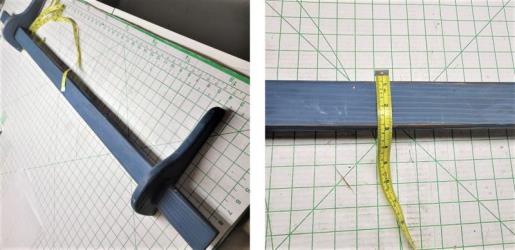 (Click Image to Enlarge) |
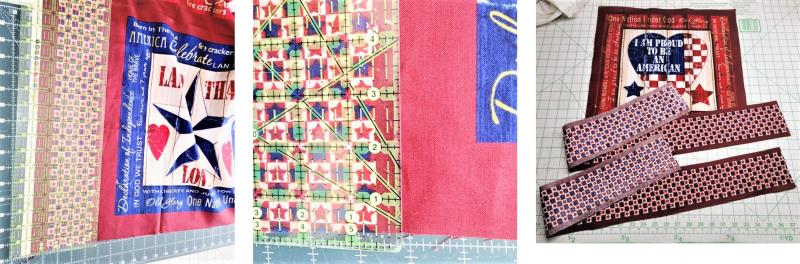
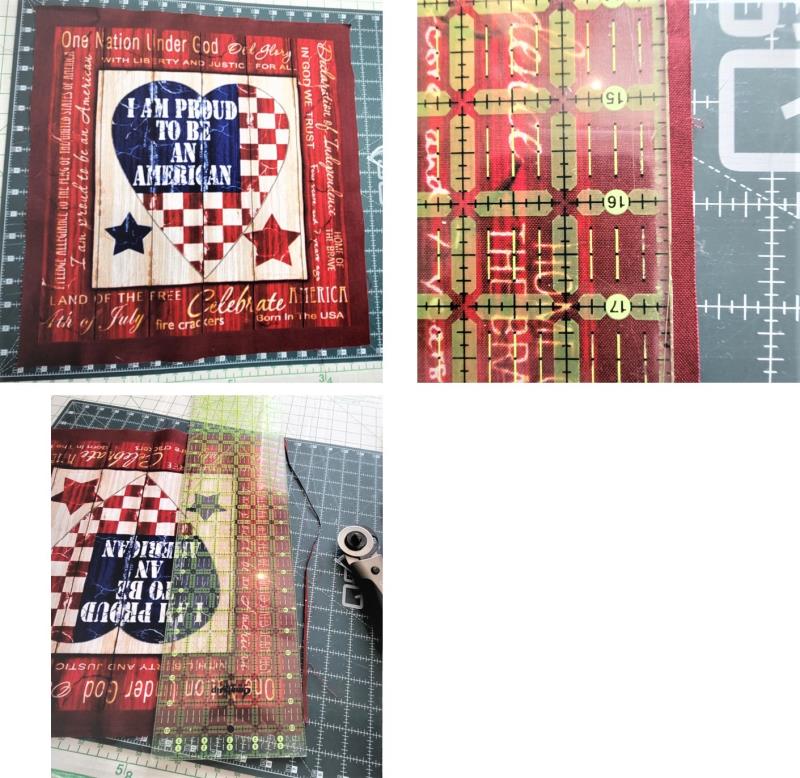
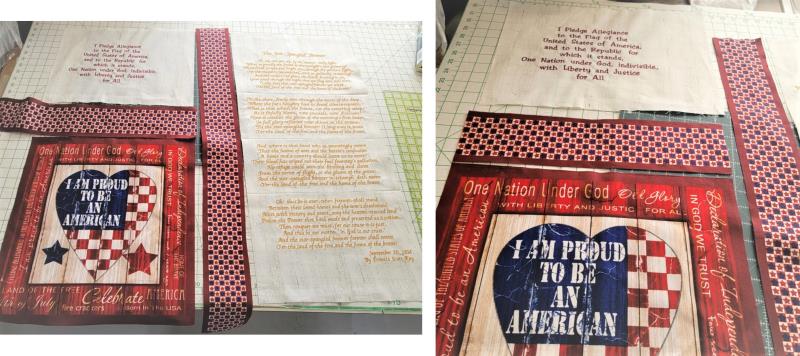
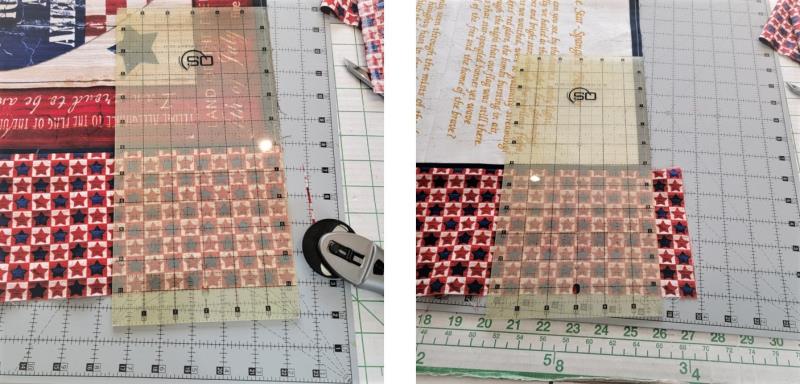
Step 6: | Begin by assessing the printed panel. Choose one of the blocks for the wallhanging. Trim the star sections from the panel, leaving 1/2” seam allowances along the outside edges of the strips. At this point, leave the border around the printed block so there is extra fabric to fussy cut in the final assembly. | 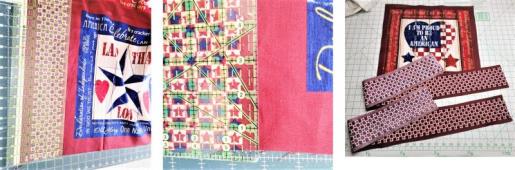 (Click Image to Enlarge) |
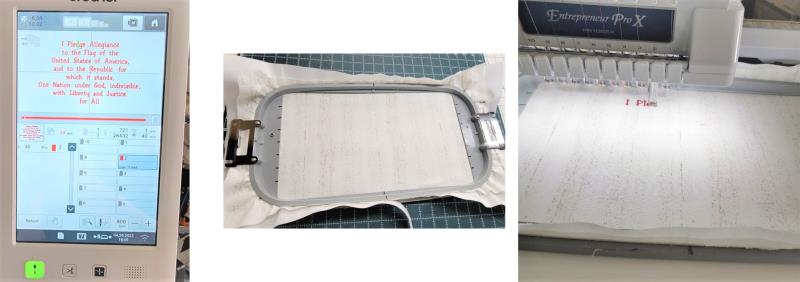
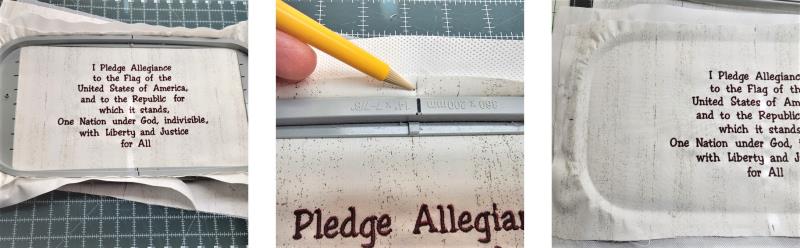
Step 7: | Load the Pledge design on the machine. Hoop one piece of the Riley Blake fabric in the hoop with a layer of tearaway stabilizer. Stitch the design with the chosen thread color. | 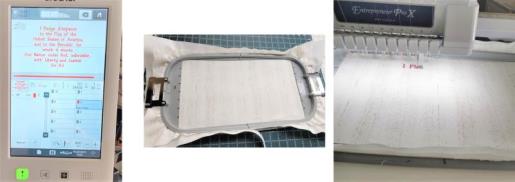 (Click Image to Enlarge) |
Step 8: | To aid in centering and trimming, on the outer edge of the fabric make little tick marks at the top, bottom, and sides using the marks on the hoop. Remove the fabric from the hoop and remove the excess stabilizer. Press out any hoop marks and set the piece aside until needed. | 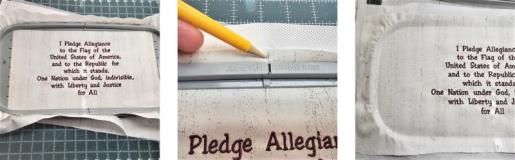 (Click Image to Enlarge) |
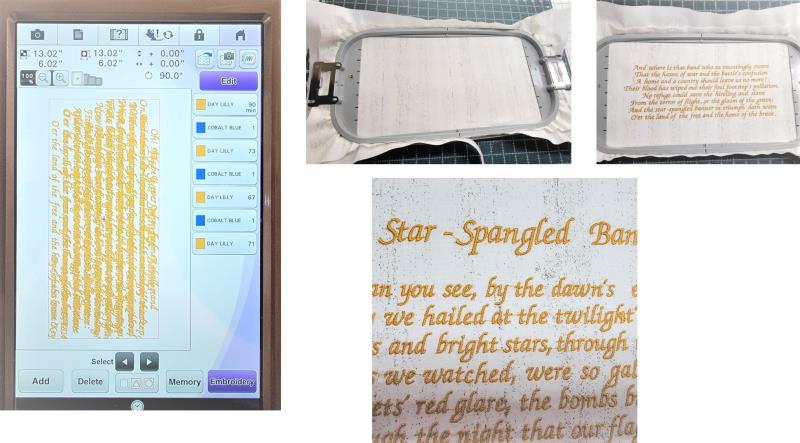
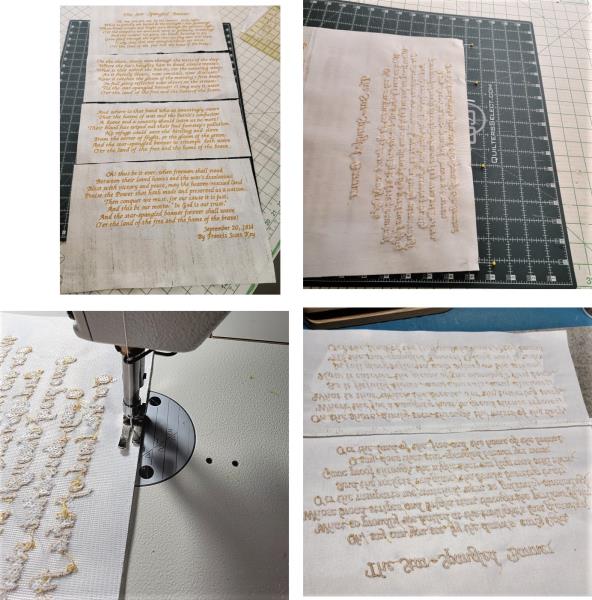
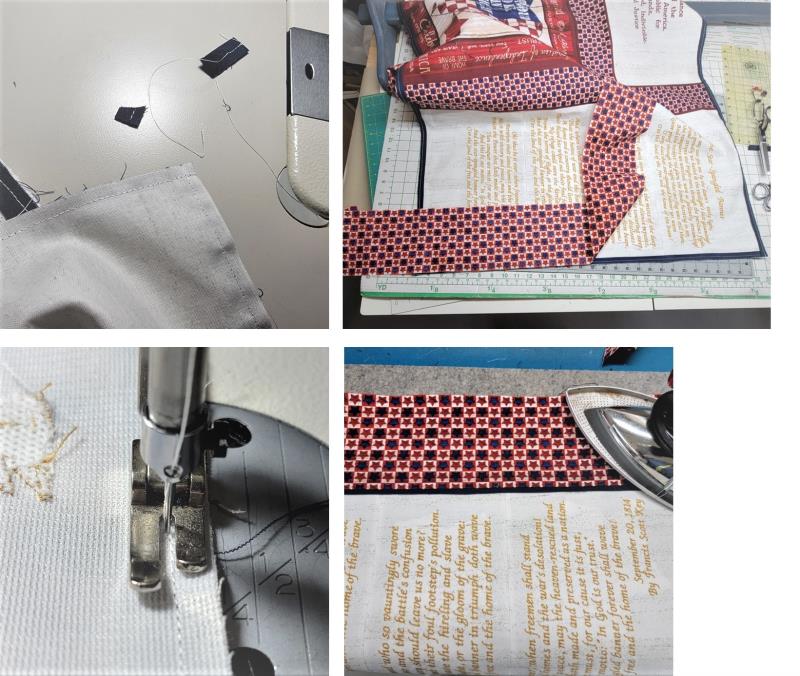
Step 9: | Load The Star-Spangled Banner design on the machine. This design has all four stanzas of the song in one file, making it a fairly large file. However, between each stanza there is a color stop that is not sewn, allowing for rehooping. Also, each stanza takes about an hour to stitch so if you need to break the stitching up into four sewing sessions it is easily done. Just completely sew out a stanza, leave the design on the machine, turn the machine off, and pick up with the next stanza when you return for the next stitching session. To stitch each stanza, hoop a piece of the interfaced Riley Blake fabric with tearaway stabilizer, stitch the stanza, place the hash marks along the hoop to aid in alignment, remove the fabric, and remove the excess stabilizer. All the words do have trims digitized after them; however, some machine settings are set so that closely aligned objects (words) carry a jump stitch instead of trimming. If there are any jump stitches, just trim them. It easiest done while the fabric is still in the hoop. | 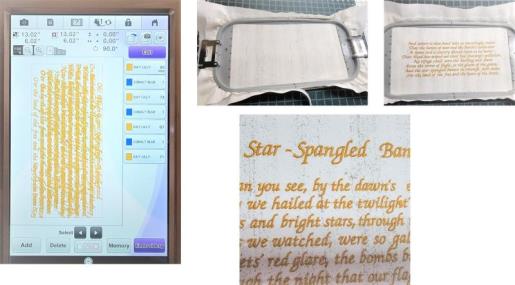 (Click Image to Enlarge) |
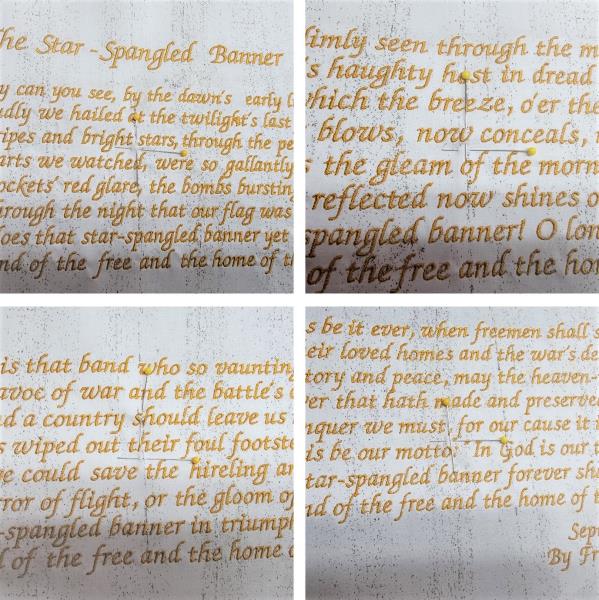
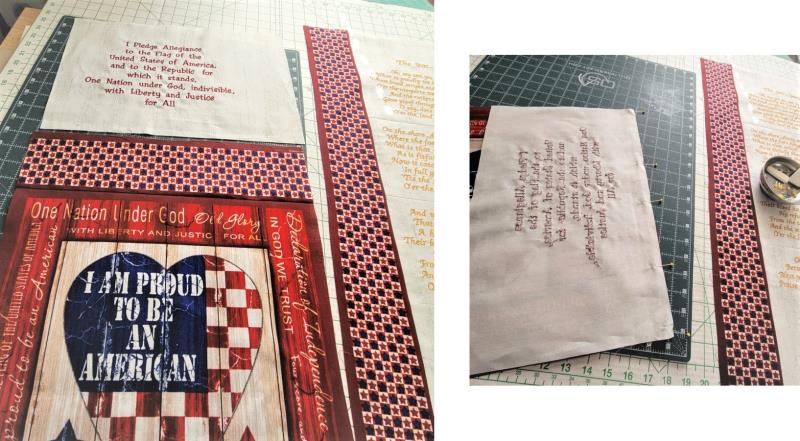
Step 10: | After all the stanzas are stitched, use the four hash marks at the top, bottom, and sides to find the center of the stitched pieces and place pins. The pins, along with the hash marks, will aid in trimming. | 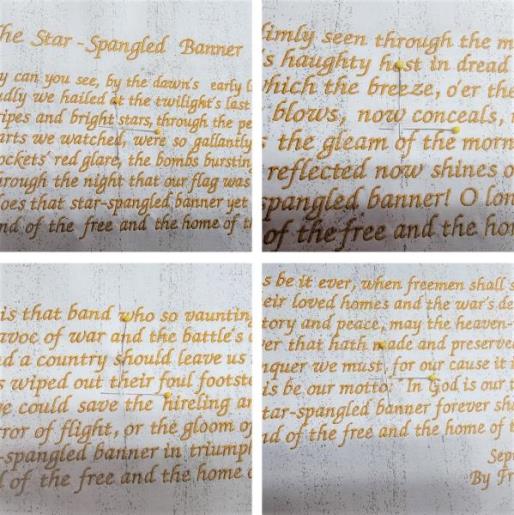 (Click Image to Enlarge) |
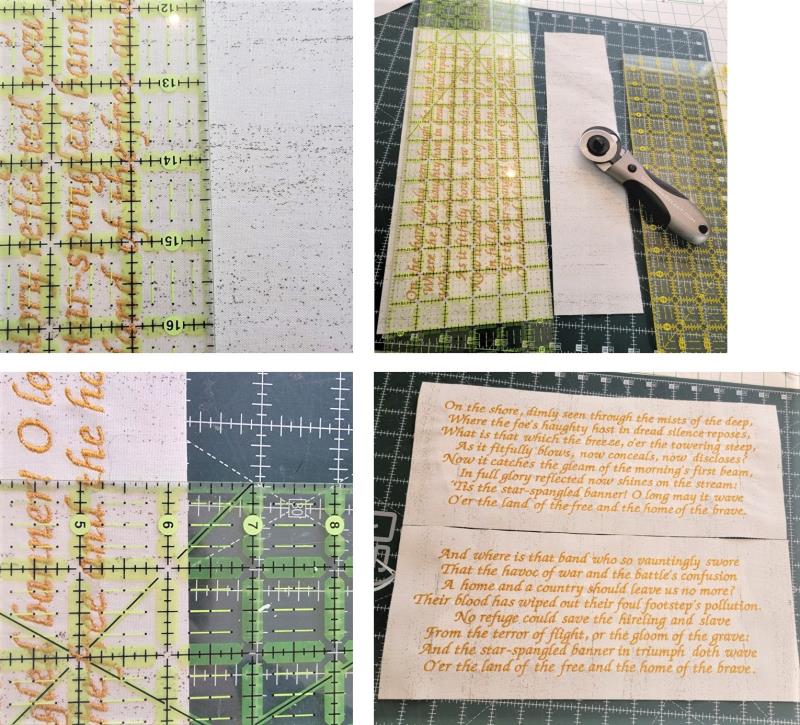
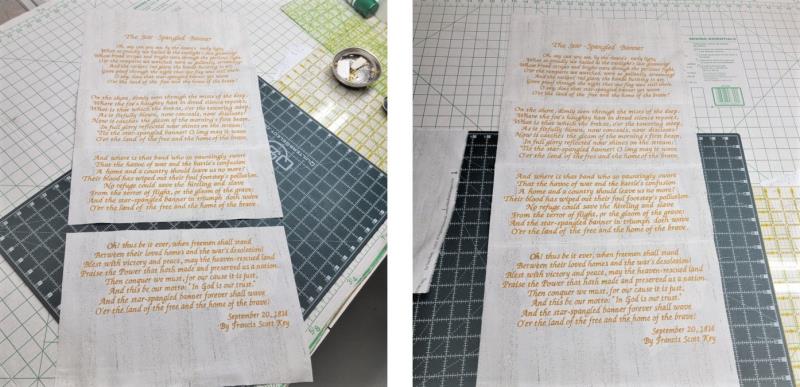
Step 11: | For these steps where measurements are needed, refer to Step 4. Trimming is done for the second and third stanzas first; these are the same size when trimmed. | 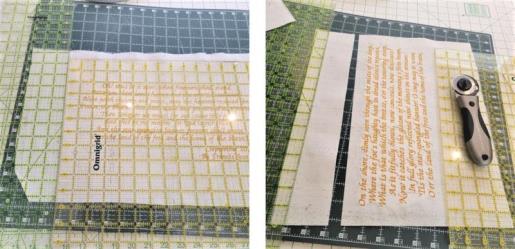 (Click Image to Enlarge) |
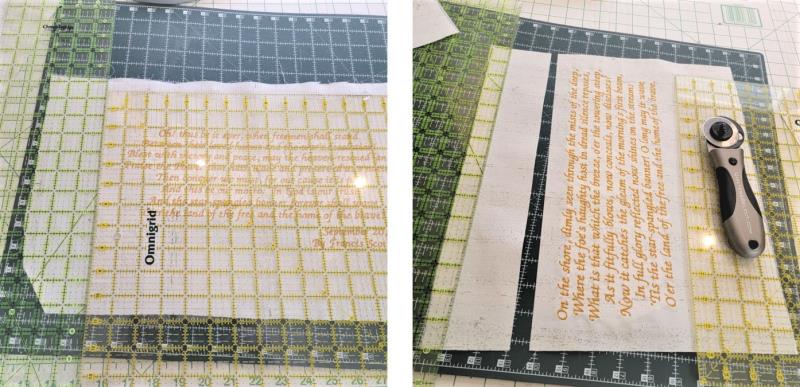
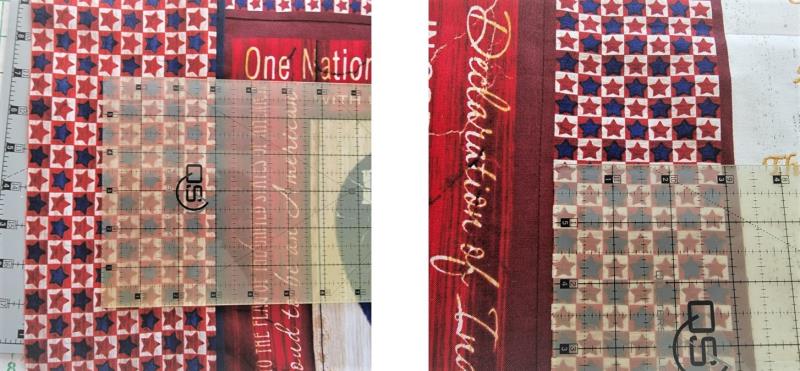
Step 12: | Using the pins and hash parks, trim the width first. Don’t forget to add ¼” seam allowances. To keep the stanzas in order, along the edge, write the stanza number. | 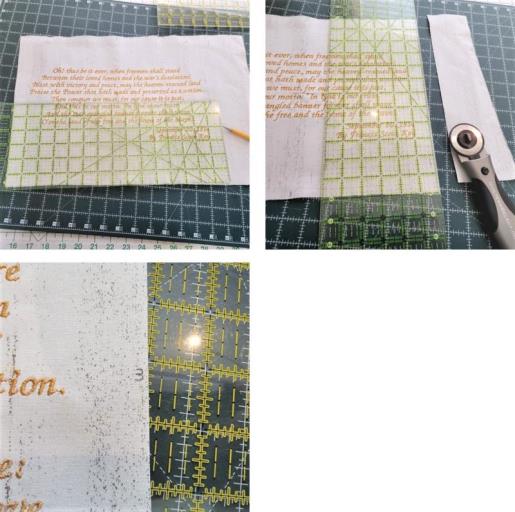 (Click Image to Enlarge) |
Step 13: | Now trim the height of the second and third stanza panels. In addition to squaring up, be sure the bottom edges of letters align with the marks on the ruler. | 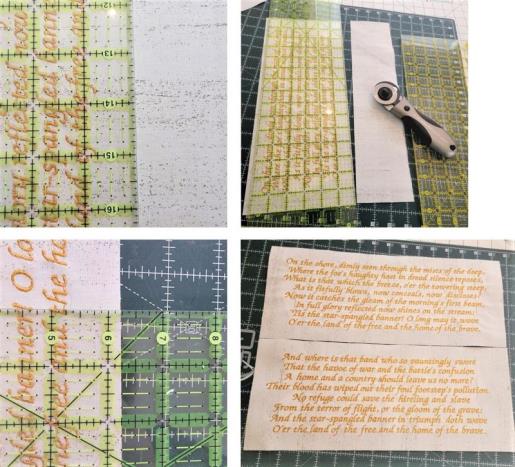 (Click Image to Enlarge) |
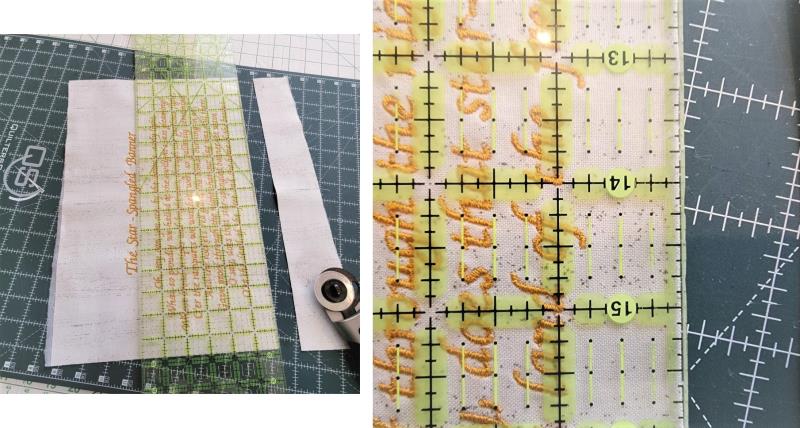
Step 14: | For the first stanza, cut the bottom edge ¾”below the lowest edge of the last row of stitching. | 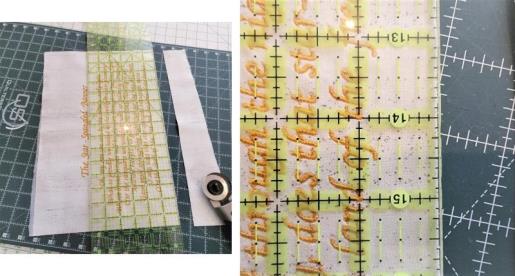 (Click Image to Enlarge) |
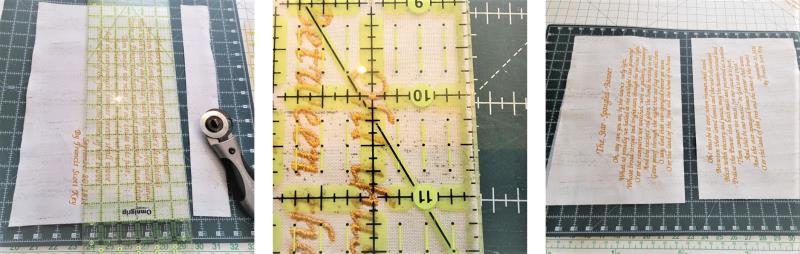
Step 15: | For the last stanza, cut the top edge ¾”above the top edge of the first row. Do not trim the top edge of the first stanza or the bottom edge of the fourth stanza yet as they may have to be adjusted in the final sewing phase. | 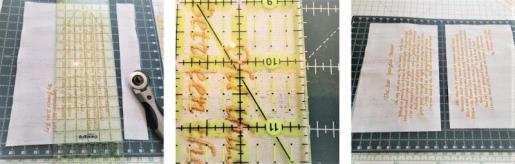 (Click Image to Enlarge) |
Step 16: | By using these measurements between the stanzas, when the pieces are sewn together, they stanzas will have even spacing. Place the bottom of the second and top edge of the third stanzas, right sides together, and stitch. Press the seam open. | 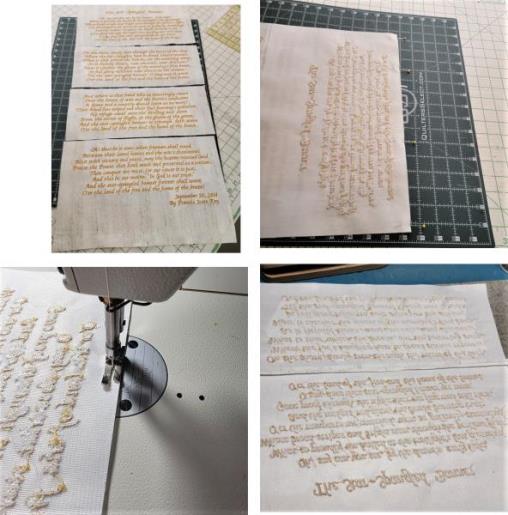 (Click Image to Enlarge) |
Step 17: | Sew the first and last stanzas to the top and bottom of the pieces just sewn; press the seams open. Set this embroidered section aside. | 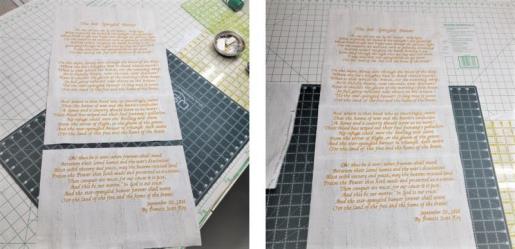 (Click Image to Enlarge) |
Step 18: | Square up the block panel. There is a definable outer edge along the panel; using this edge, cut ¾” away from the edge. Repeat for the other three sides. | 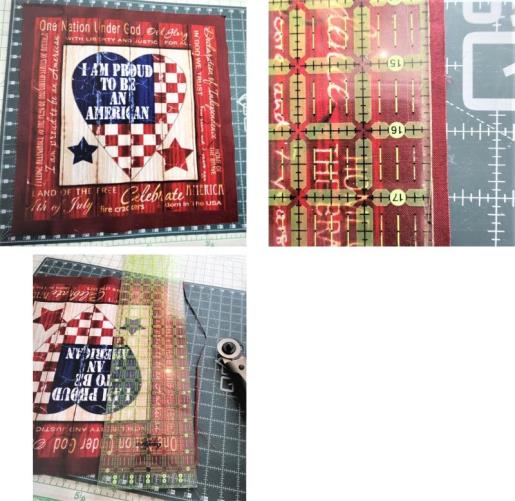 (Click Image to Enlarge) |
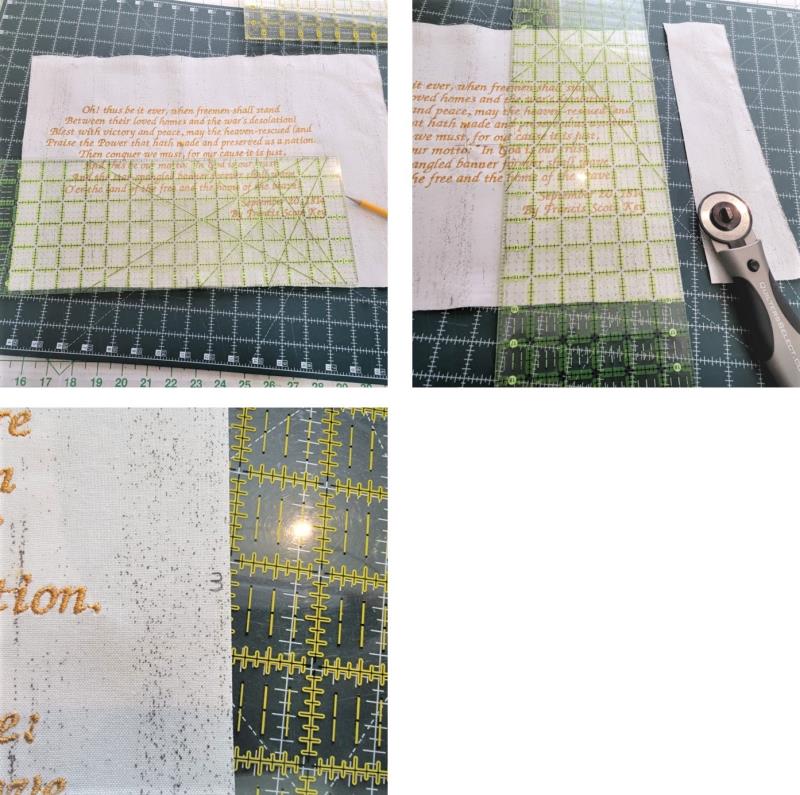
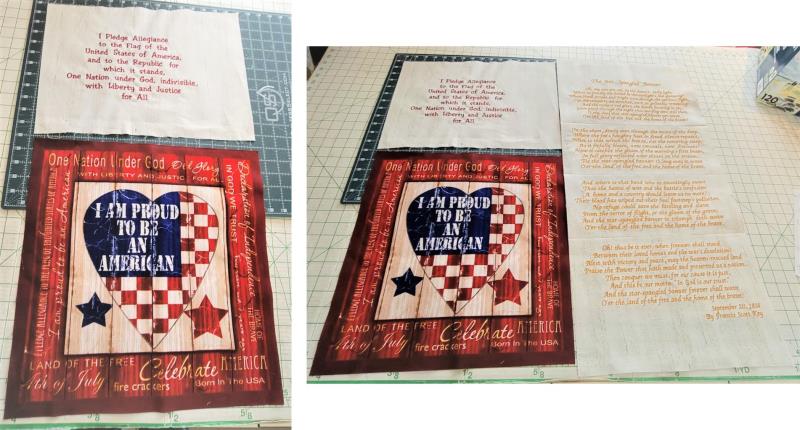
Step 19: | The Pledge fabric width should match the width of the panel block. Using the marks made on the fabric, center and trim the width of the Pledge embroidered panel to match the width of the printed panel. | 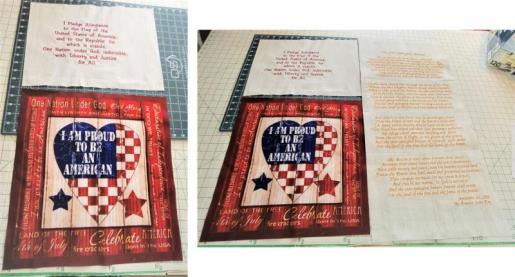 (Click Image to Enlarge) |
Step 20: | Using the star borders cut off the panel, one will be sewn to the left of The Star-Spangled Banner, and one between the printed panel block and Pledge. Cut one border piece the length of the right The Star-Spangled Banner embroidered and sewn panel, and the second star border piece slightly longer than the width of the panel/Pledge sections. | 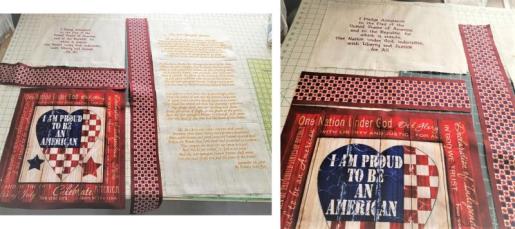 (Click Image to Enlarge) |
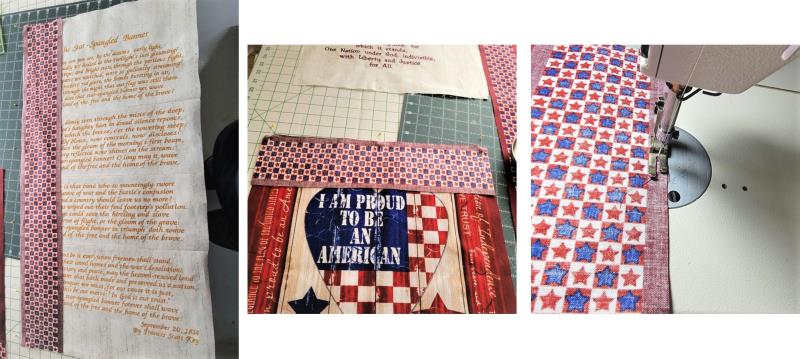
Step 21: | With right sides together, pin the long border to the left side of The Star-Spangled Banner panel, pin, and stitch, pressing the seam to the border. Pin the short border, right side together, over the top of the block. Pin, stitch, and press the seam toward the border. | 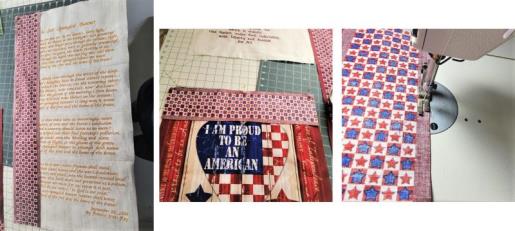 (Click Image to Enlarge) |
Step 22: | With right sides together, pin the bottom of the Pledge to the top of the short border | 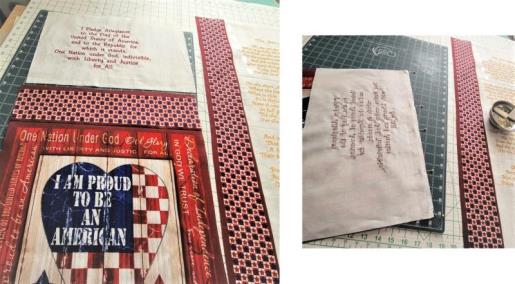 (Click Image to Enlarge) |
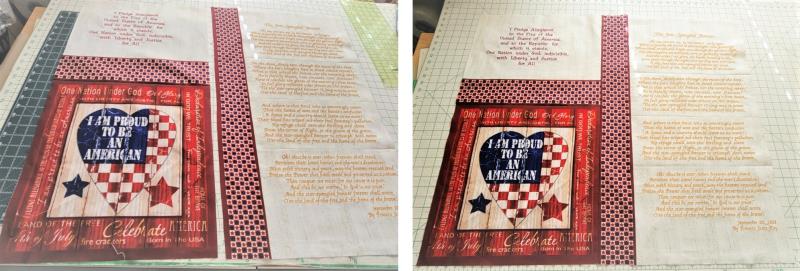
Step 23: | and stitch the sections together. Now here is where some measuring and figuring is needed. The right panel needs to be centered and aligned to the left so that the top and bottom blank areas of the right panel are the same. Measure and cut. Stitch the right section to the left and press the seam to the border. At this point, the main sections should be squared up, and all the embroidered sections centered. Now is to figure out the borders and add the navy flange. | 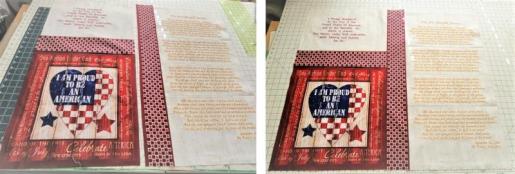 (Click Image to Enlarge) |
Step 24: | Using the measurements taken on the quilt hanger, figure out how wide the borders should be; add 2 ¼” for the seam allowance and turning back to finish the wallhanging. For this project, the borders were cut 5.75” wide by the length measurements. The side borders were sewn on first, and then the top and bottom added. | 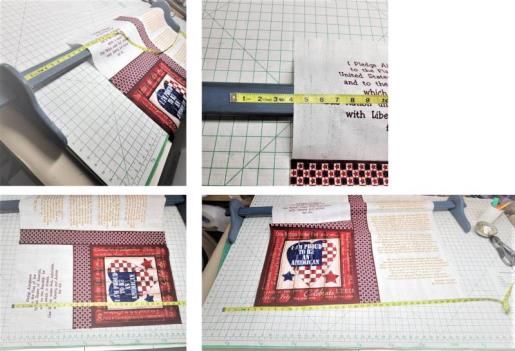 (Click Image to Enlarge) |
Step 25: | Cut the border strips and then cut the flange pieces. The flange strips were cut 2” longer that the length needed by 1” wide. | 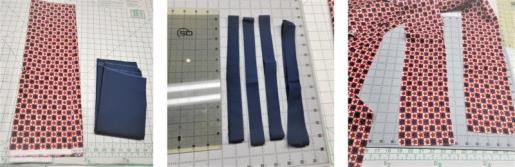 (Click Image to Enlarge) |
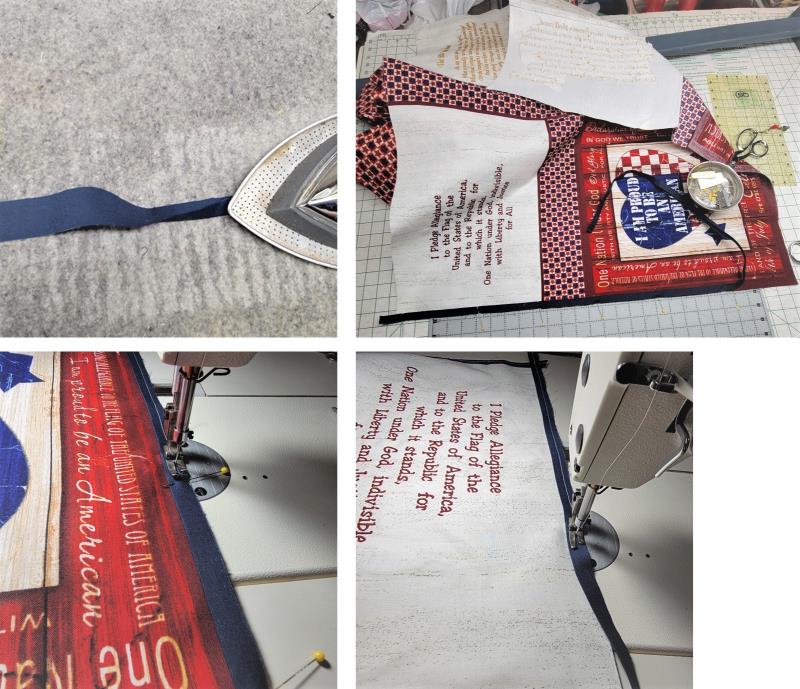
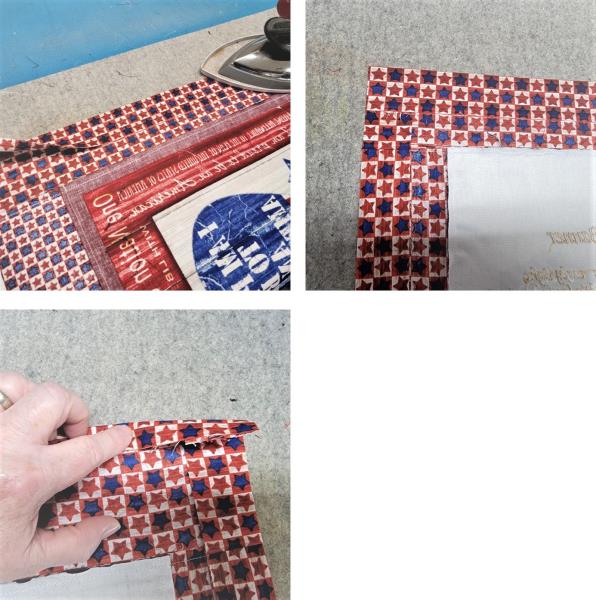
Step 26: | The flange pieces are basted on first. Fold the flange pieces in half lengthwise and press. Pin one flange strip to each side and pin in place. Using a ¼” seam allowance, baste the flanges in place. Pin and baste the top and bottom flange pieces in place. | 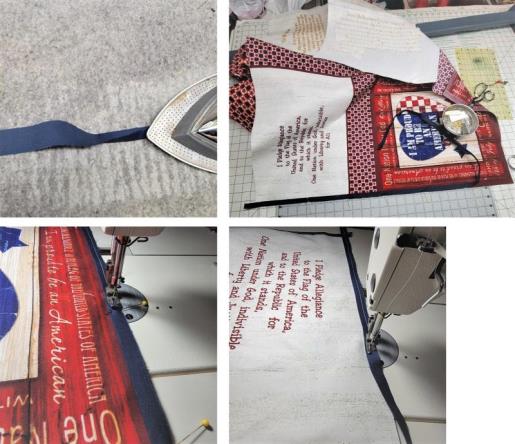 (Click Image to Enlarge) |
Step 27: | Trim the flange pieces at each corner. Now is time to sew on the left and right border sections. With right sides together, pin the border sections sides and sew them on from the wrong side so that the basting line can be used as a guide for stitching. Keep the needle just to the left of the basting line as the borders are being sewn. Press the seams toward the borders. | 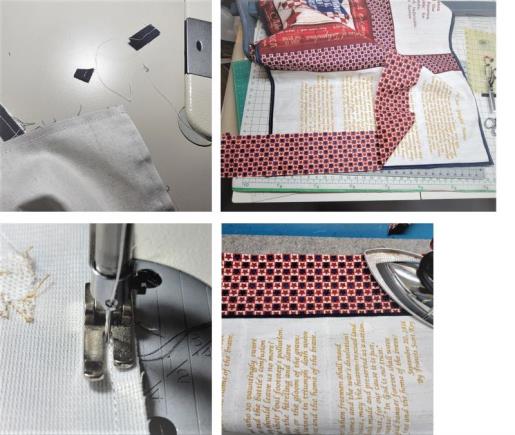 (Click Image to Enlarge) |
Step 28: | Trim the top and bottom edges of the side borders even with the top and bottom of the wallhanging. Repeat sewing on the top and bottom borders, pressing, and trimming. | 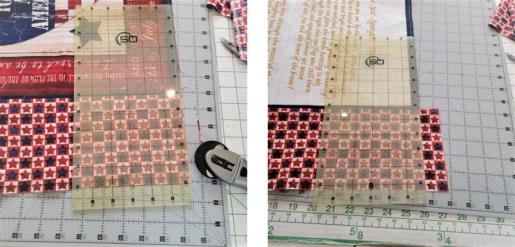 (Click Image to Enlarge) |
Step 29: | If any fudging is needed for the width or length of the piece, the borders are the final place to do it. For this project, a line of stars was followed to be folded back, making the width of the border about 3.5” to fit within the quilt hanger. | 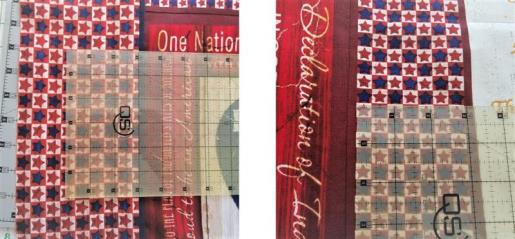 (Click Image to Enlarge) |
Step 30: | Press back the determined amount around all edges which for the project was 2”, and press. Meeting the outer cut edge to the pressed fold, press again, creating a double fold. | 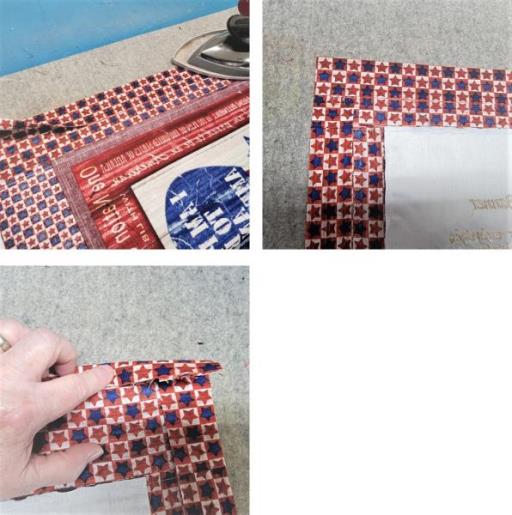 (Click Image to Enlarge) |
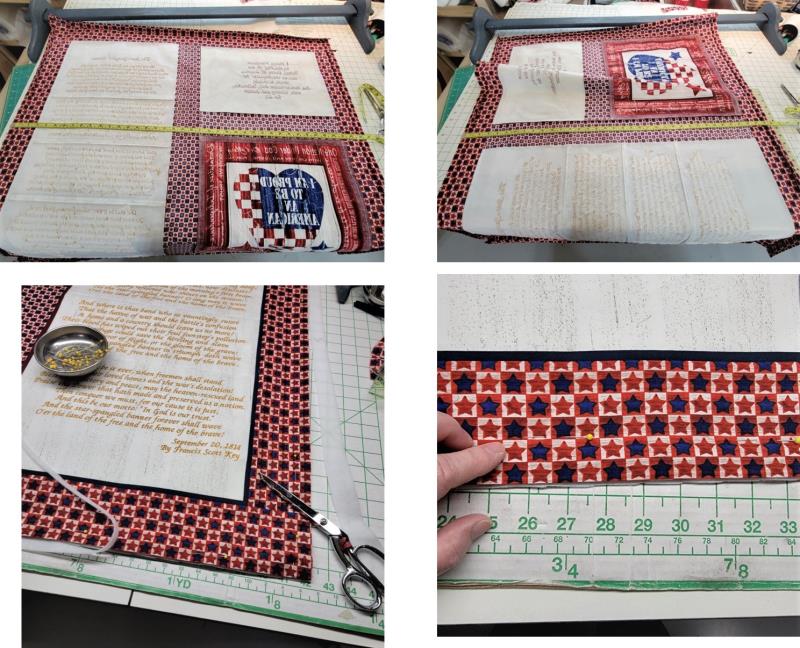
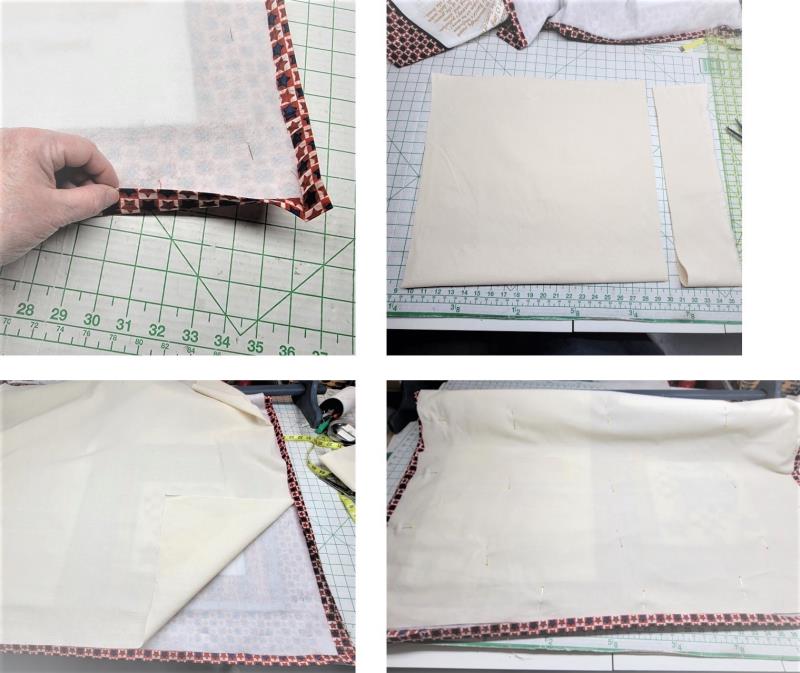
Step 31: | Cut the batting. Measure from outer folded edges the width and length. Cut the batting about 1” wider around all edges. Lay the batting on the cutting table and then center the wallhanging over the batting. Pin the wallhanging to the batting along the outer edges of the border. | 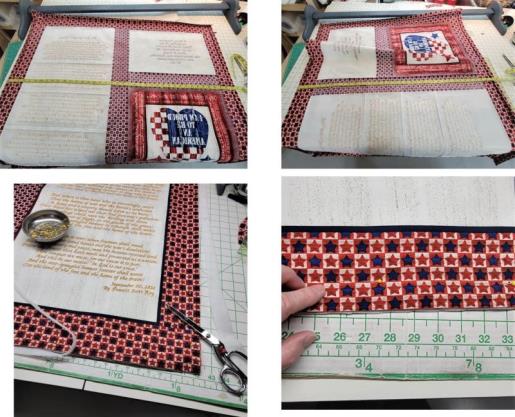 (Click Image to Enlarge) |
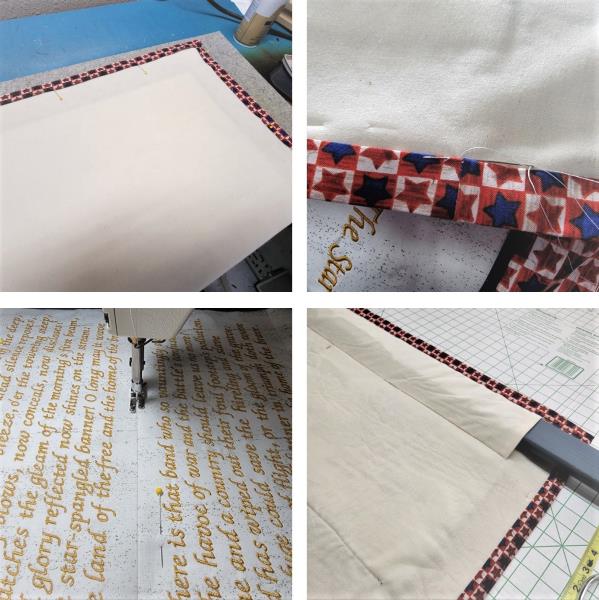
Step 32: | Flip the wallhanging over and tuck the cut edges of the batting inside the folded border edges. Cut the backing fabric the same size as the finished size of the batting. Also cut the length and width needed for the quilt sleeve. Place the backing fabric over the batting and tuck the cut edges under the folded border; pin everything together along the folded edges. | 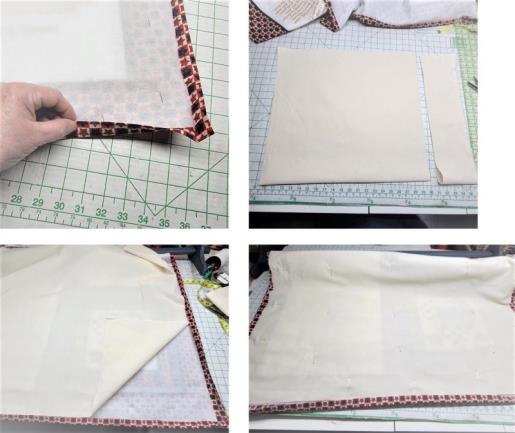 (Click Image to Enlarge) |
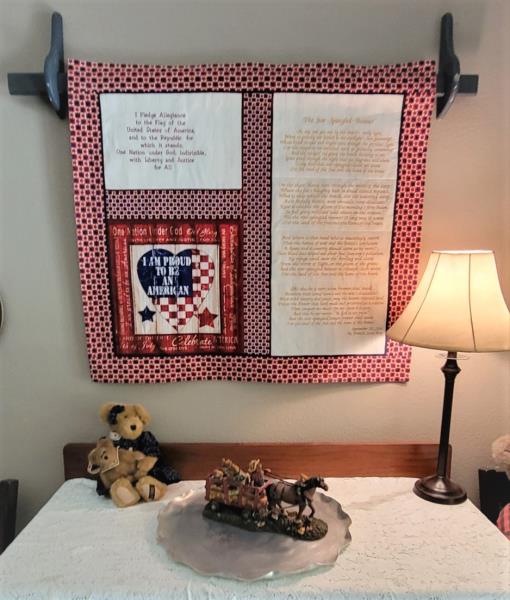
Step 33: | Hand stitch the border down catching the batting and backing. Quilt as desired. This project was done by stitching in the ditch along all the seams. Finish and attach the quilt sleeve and insert the quilt hanging bar. Hang the wall-hanging in place. | 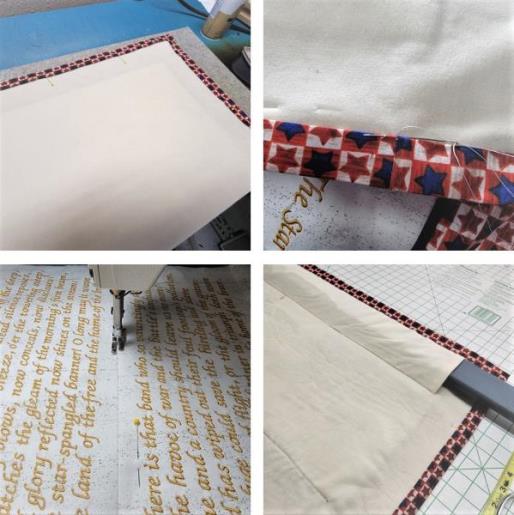 (Click Image to Enlarge) |
Step 34: | Congratulations and Thank You for purchasing these designs. This project would be a wonderful addition to any home. Also think of doing extras just as wall-hangings to gift to a veteran’s center, elementary school, and senior center. | 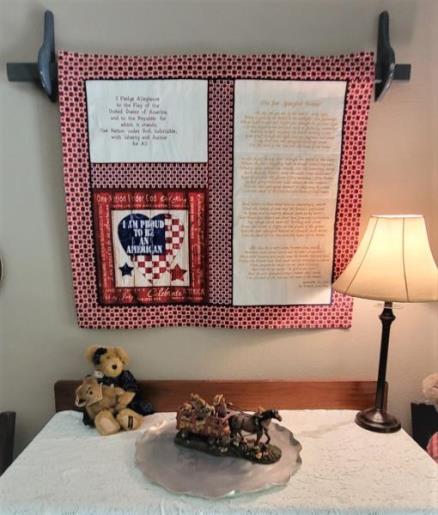 (Click Image to Enlarge) |
|