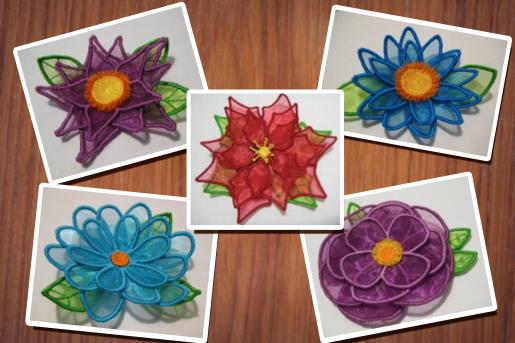
Preface: |
This is a collaboration between ITH Boutique and Holly Workshop. The copyrights to the digitizing and some images belongs to Holly |
Step 1: | The different size petals are showing in a different color shade only to help you pick them out on the screen on your embroidery machine. All of the flower petals shown are stitched in the same color thread and organza. As always, it is your flower and can be mixed and matched and stitched in whatever colors or one color of your choice. These designs will stitch in the 4x4 hoop and digitized as an applique design on water soluble stabilizer. To begin making the 3D flowers, hoop your water soluble stabilizer |  |
Step 2: | You will want to have a bobbin wound with the same thread you ! are using as the top thread. | 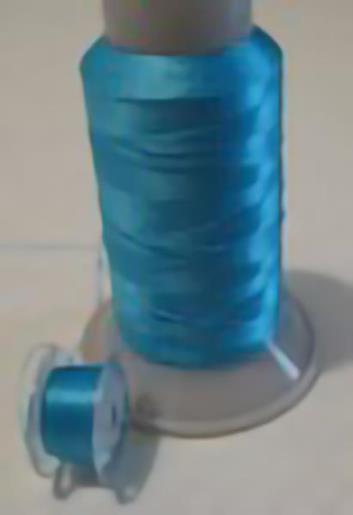 (Click Image to Enlarge) |
Step 3: | The design shows three color changes (common applique setup), but all are stitched with the one color thread on the top and in the bobbin. The color changes are simply stops for you to get the organza in place. Stitch the first color (which will give you placement for the organza). |
Step 4: | Lay the organza over the area stitched. Stitch the second color to hold the organza in place. When the machine stops after stitching down the organza, remove the hoop from the sewing machine (but do not unhoop the stabilizer and organza). Trim the organza around the stitched area, leaving a little organza outside the stitchdown line. Put the hoop back into the machine and stitch the third and final color. | 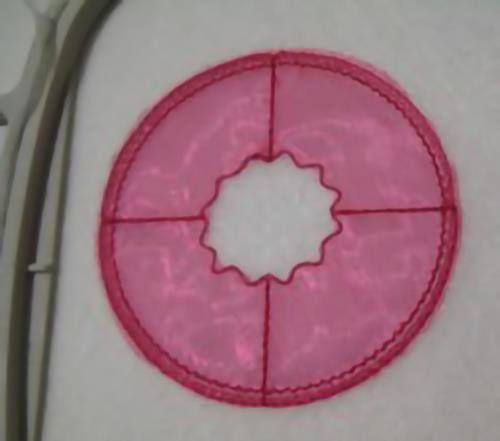 |
Step 5: | Remove the hoop from the machine, unhoop and cut away the excess stabilizer without cutting into the actual design. Soak the design in water to remove the water soluble stabilizer. After soaking, gently blot the excess moisture and lay flat to dry, or let it gently lay over a rounded object (cup, measuring cup, etc. to help form the upwards curling of the petals.) |
Step 6: | After all parts have been stitched, rinsed and dried. Thread a standard needle and thread and hand sew large stitches around the areas that have the open zigzag stitching (see red arrows in picture). Be sure to keep “tails” on the thread. You will be pulling the tighter to form the ruffle
effect for the flower. Start with the S piece which will be the center and small ruffle in the flower. | 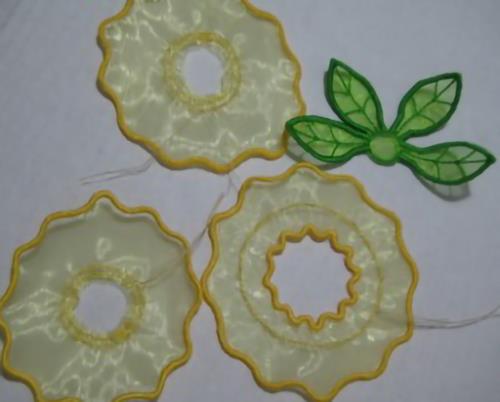 |
Step 7: | Pull the threads tight making sure the inside wavy edge is on one side and the outer wavy edge is completely on the other side of the gathered stitches. Pull and knot securely. Do not clip the threads yet! You can use them to sew the pieces together when all pieces are gathered and knotted. | 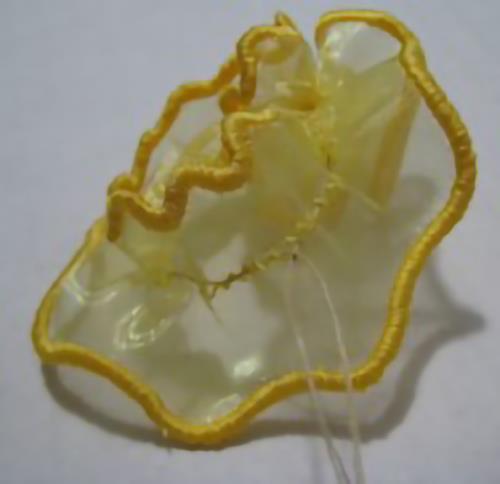 |
Step 8: | With S finished, take the M and L layers, pull the gathering together to form the flower layers and knot them off also. You not want to gather them completely tight as you did on S. Keeping the ruffle open will give the appearance of different size petal layers. | 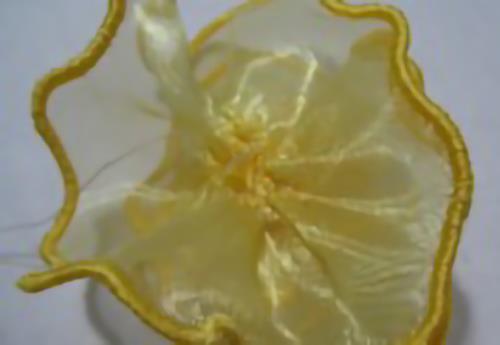 |
Step 9: | Now take the ends of some of the thread “tails” and after rethreading on your needle, place a few stitches into the lower layers until all three pieces are
connected. Knot off the threads and clip. Use the fabric glue and secure the leaf layer to the bottom of the flower and secure until the glue has dried. It might help to pin the glued layers together until the glue dries. | 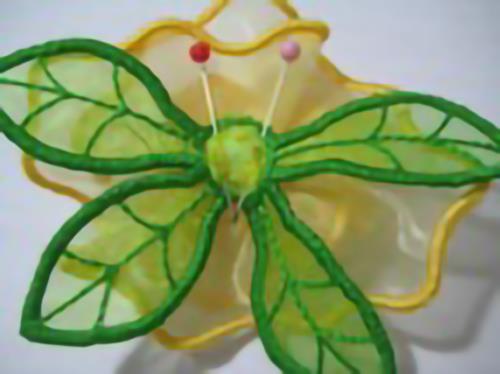 |
Step 10: | You will want to stitch one leaf layer, one L, one M stitch, two M and two S layers plus one center ring and one center After all parts have been stitched, rinsed and dried, stack and glue all layers. For the center, the center ring will fit securely around the center. Gently bend the points up on both pieces of the center and glue all pieces together. It might help to pin the glued layers together until the glue dries. |
Step 11: | Stitch out two leaf layers, and one each of the L, M, S, center star and center fringe. Stack and glue all layers. With the center fringe, gently fluff out the loops to open out completely. | 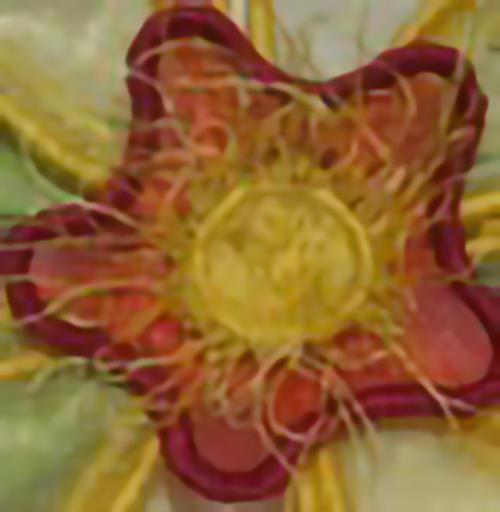 |
Step 12: | Stitch out two leaf layers, three each of L and M layers and one each of the S, center ring and center. After all parts have been stitched, rinsed and dried, stack and glue all layers. For the center, the center ring will fit securely around the center. Gently bend the points up on both pieces of the center and glue all pieces together. | 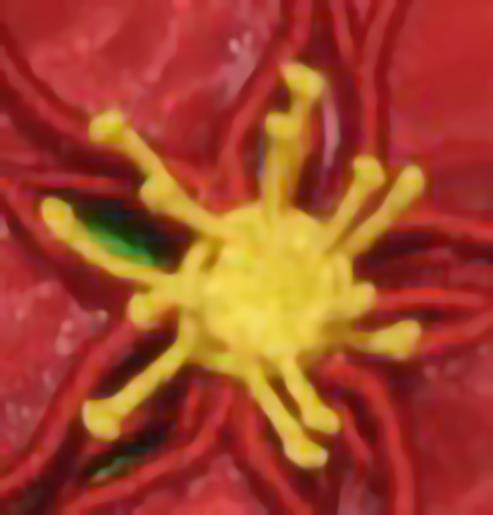 (Click Image to Enlarge) |
Step 13: | Stitch out one each of all pieces. After all parts have been stitched, rinsed and dried, stack the leaf, L, M layers. For the center ring, thread a standard needle and hand sew large stitches around the areas that have the open zigzag stitching (see red arrows in picture). Be sure to keep “tails” on the thread to tighten to form the ruffle effect for the flower. Attach the center fringe to the center ring you just tightened together and then glue to the bottom pieces. | 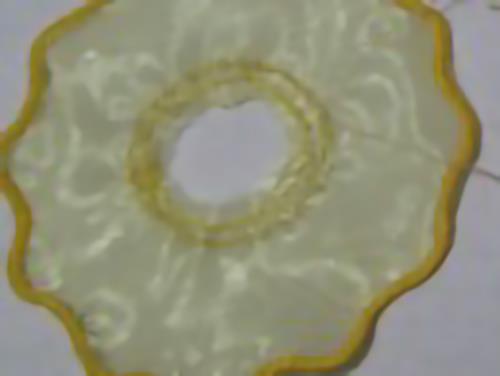 |
Step 14: | Stitch out one leaf design, two each of the L, M and S, one center and center ring. After all parts have been stitched, rinsed and dried, stack the leaf, L, M and S layers. | 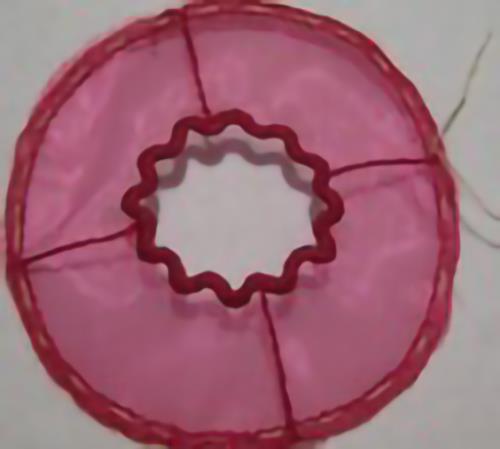 |
Step 15: | For the center ring, thread a standard needle and hand sew large stitches around the areas that have the open zigzag stitching (see red arrows in picture). Be sure to keep “tails” on the thread to tighten to form the ruffle effect for the flower. | 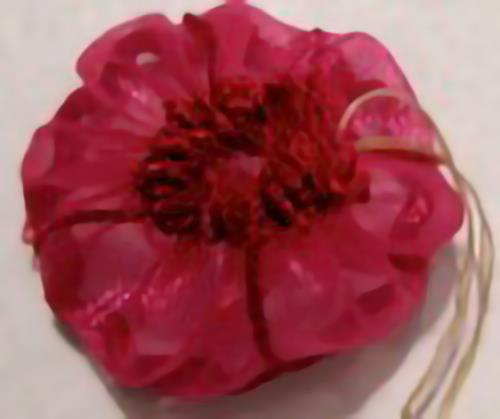 |
Step 16: | Pull the ruffle tightly and form the “cup” of the center. | 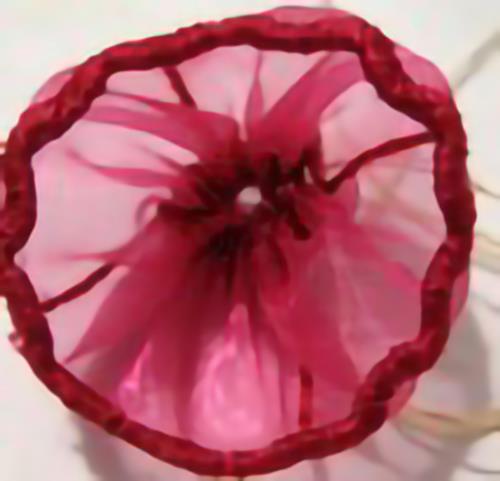 |
Step 17: | After forming the “cup”, glue the center into it. You might use a few straight pins to hold it in place until glue dries. Attach the center pieces to the bottom layers with glue and pin together until glue dries. | 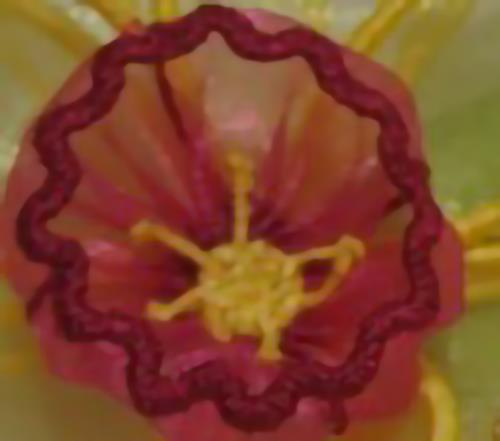 |
Step 18: | OPTION: There is a set of four leaf petals to use as an option for any of the flowers. It will not show under the 396 flower. This 396 flowers builds a bit larger than the other five. The digitizing copyrights for the designs used in this project and the project instruction credit goes to Holly. | 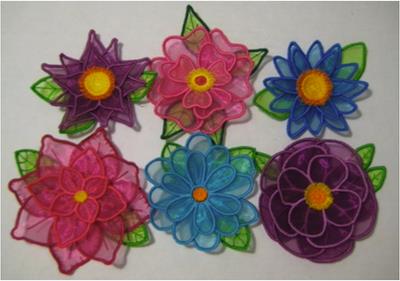 |
|