Border OptionsHugging border, circle, square, or rectangle — with a 3mm satin stitch.
Backing OptionsAvailable with iron-on, sew-on, or velcro backing.
Fast ShippingShipped quickly from the USA.
Free Online Tools
Powerful embroidery utilities that save time and prevent costly mistakes.
Stitch AssistantRECOMMENDED
Get the exact stabilizer, machine settings, needle, and thread color sequence for every embroidery design you purchase — based on that design's stitch density, dimensions, and color count.
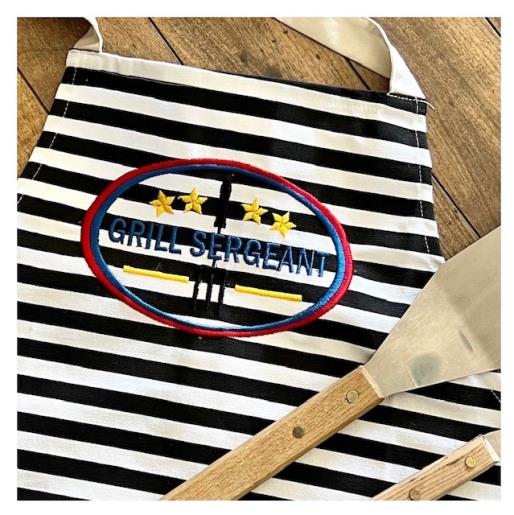
Father’s Day is just around the corner. Personalize a store purchased apron with this lighthearted embroidery design for your dad to compliment his grilling skills.
Gather all supplies and review instructions before beginning. Print out a paper template of the embroidery design. Iron press apron.
(Click Image to Enlarge)
Step 2:
Load design file into the machine. Optional: The design size used in this tutorial was enlarged by 10% due to the application area on the apron bib used. Refer to your machine’s instruction manual on how to edit size.
(Click Image to Enlarge)
Step 3:
Find horizontal center of apron bib by folding in half and marking center at top edge of bib. Center design paper template in the bib of your apron using the center marking as your guide. Mark all axis points. Side, bottom and top.
(Click Image to Enlarge)
Step 4:
Cut a piece of stabilizer and hoop. Spray temporary adhesive spray directly onto hooped stabilizer and center place apron bib matching marked axis points to axis markings on your hoop. Finger press and smooth apron bib fabric to secure onto the stabilizer. Attach the hoop to the machine and confirm needle placement is in center of design. Refer to your machine’s instruction manual for any needed adjustments. Begin the embroidering stitch-out process. This design size will take approx. 30 min based on a speed of 700 SPM ( SPM = Stitches Per Minute) First color to stitch will be black, red , blue and lastly yellow.
(Click Image to Enlarge)
Step 5:
Embroidering stitch out complete. Detach hoop from machine. Cut and trim all jump stitches and loose thread ends. Front and back. Tear away stabilizer from back. Iron press.
(Click Image to Enlarge)
Step 6:
Way to go! Your Personalized Grilling Apron is finished!