Border OptionsHugging border, circle, square, or rectangle — with a 3mm satin stitch.
Backing OptionsAvailable with iron-on, sew-on, or velcro backing.
Fast ShippingShipped quickly from the USA.
Free Online Tools
Powerful embroidery utilities that save time and prevent costly mistakes.
Stitch AssistantRECOMMENDED
Get the exact stabilizer, machine settings, needle, and thread color sequence for every embroidery design you purchase — based on that design's stitch density, dimensions, and color count.
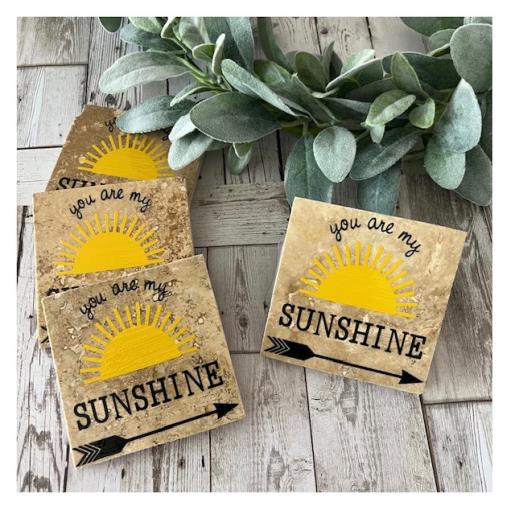
A one of a kind unique personalized set of beverage coasters with a sunshine design are a great way to decorate your table and bring warmth into your home decor.
Gather all your supplies and review instructions before beginning.
(Click Image to Enlarge)
Step 2:
Clean tiles by wiping down with wet cloth. Remove any store adhesive labels from tile
Step 3:
Cut (4) 3.75” x 3.75” squares from your adhesive cork sheet. Apply to back of tiles.
(Click Image to Enlarge)
Step 4:
Bring into your cutting machine’s design space the Vectoe Art design file You Are My Sunshine. Cut and resize to fit application area on tile. For this project design resized to approx. 3.7” x 3.7”. Ungroup the design and move the sunray design off the design board. Regroup. Duplicate design to cut 4 at the same time. Add a box around each of the designs for easier weeding.
(Click Image to Enlarge)
Step 5:
Prepare your black vinyl onto your cutting mat. Insert into your cutting machine. Adjust your cut settings. Make a test cut. Make any adjustments if needed. Cut vinyl.
Step 6:
Move the sunray design back onto design board. Duplicate design to cut 4 at the same time. Prepare your yellow vinyl onto you cutting mat. Insert into your cutting machine. Cut vinyl.
(Click Image to Enlarge)
Step 7:
Weed all cut designs for decals.
(Click Image to Enlarge)
Step 8:
Apply transfer tape over all weeded decals. Work one tile at a time. Remove adhesive backing from wording decal. Center position and apply to tile.
(Click Image to Enlarge)
Step 9:
Remove backing on sunray. Center position ( refer to design for placement) and apply. Repeat for the remaining 3 coasters.
(Click Image to Enlarge)
Step 10:
Apply a layer of mod podge with sponge applicator. Tip: I found using my finger to apply leaves a smoother application. Allow to dry. Optional: Lightly spray with clear matte finishing spray for additional seal and protectant
(Click Image to Enlarge)
Step 11:
Your set of Sunshine Coasters are complete. Way to go!