














































PROJECT INSTRUCTIONS


PROJECT INSTRUCTIONS
ITH Richelieu Rose Napkins Set Embroidery Project
By
Lace Artist
on
October 26, 2025
Description
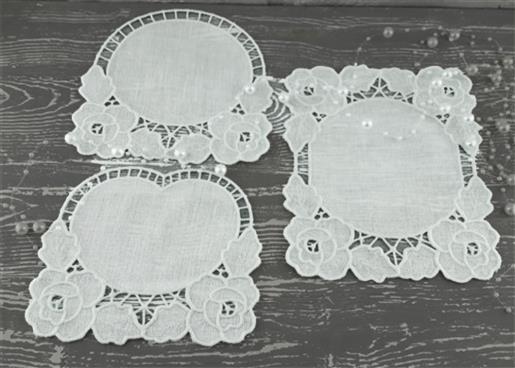
Create an elegant set of Richelieu rose napkins using the ITH technique. These vintage-inspired napkins feature intricate lacework, perfect for adding a touch of sophistication to any table setting. Step-by-step instructions are included.
Step
of
Materials
Project Preview Video

QUICK VIEW
FSL ITH Napkins With Richelieu Roses
$12.99
$6.50
Circle Price: $6.35

QUICK VIEW
FSL ITH Richelieu Roses Napkin
$12.99
$6.50
Circle Price: $6.35

QUICK VIEW
FSL ITH Handkerchief
$12.99
$6.50
Circle Price: $6.35

QUICK VIEW
FSL ITH Handkerchief
$12.99
$6.50
Circle Price: $6.35

Cut Away Stabilizer - 2.5 Oz wt.
$8.94
$7.15
Circle Price: $7.15
{{ item.name }}
{{ item.listPriceDisplay }}{{ item.salePriceDisplay }}
Circle Price:
{{ item.clubPriceDisplay }}


| Materials Use thread in the colours of your choice 1 or 2 layers of water soluble lining A number 70 needle Remember to use the same top and bottom thread to perfect finish. |
| Designs used in this project |
| Final Product: What You Will Create |
|
|


| Thanks to Kate Embroiery for the Project instructions and images. Enjoy the result of your work! |
Projects You May Like
Meet the Author:
Lace Artist

FSL Studio
Feedback
Characters Remaining
Please Login to Submit a Feedback
Invalid Characters, Please enter a valid Comment
Please enter a valid Comment
Reviewed On
Link is Broken, Please check the URL