Border OptionsHugging border, circle, square, or rectangle — with a 3mm satin stitch.
Backing OptionsAvailable with iron-on, sew-on, or velcro backing.
Fast ShippingShipped quickly from the USA.
Free Online Tools
Powerful embroidery utilities that save time and prevent costly mistakes.
Stitch AssistantRECOMMENDED
Get the exact stabilizer, machine settings, needle, and thread color sequence for every embroidery design you purchase — based on that design's stitch density, dimensions, and color count.
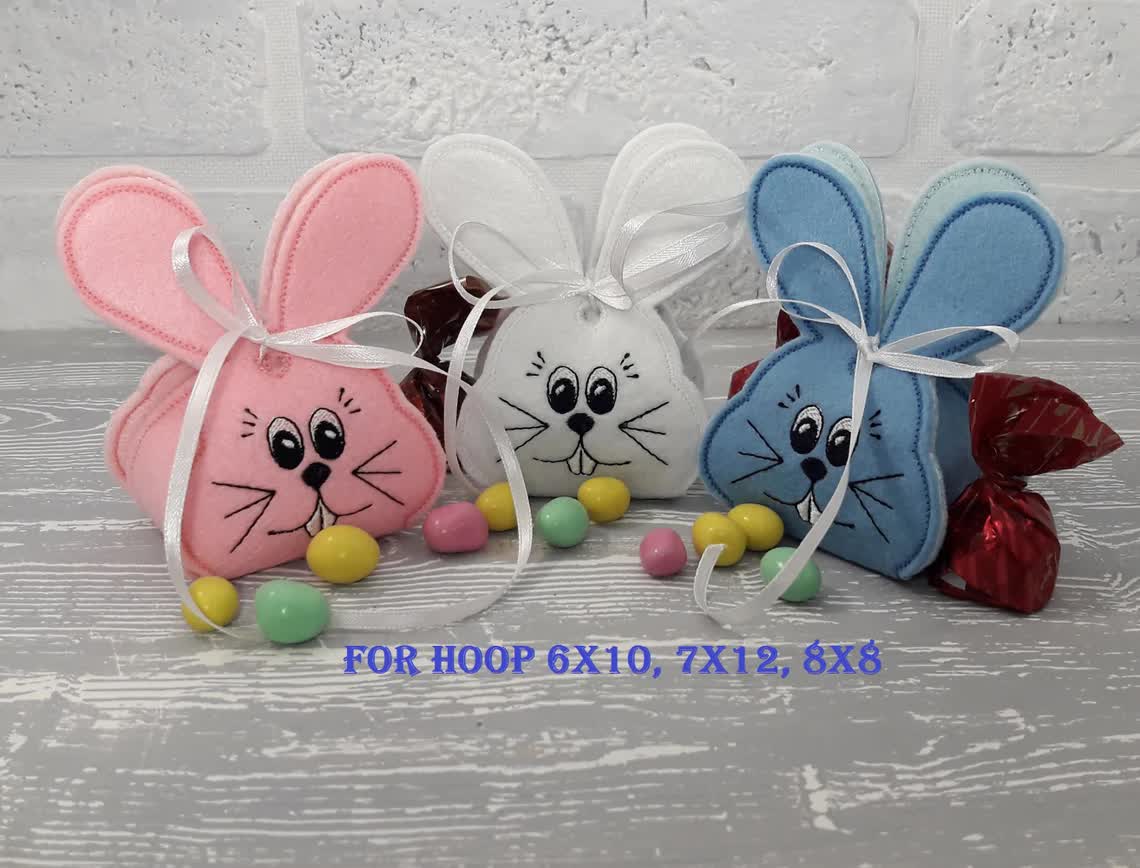
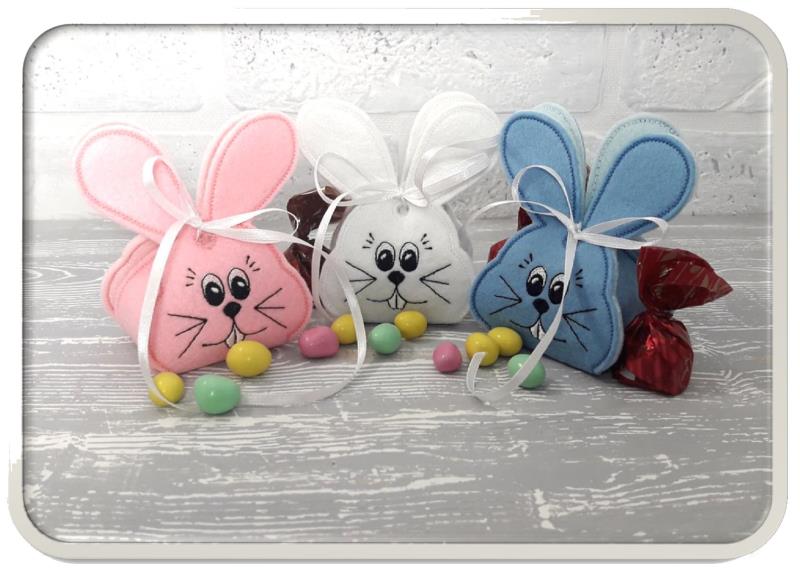
Create charming bunny-shaped candy holders with this in-the-hoop project. Perfect for small surprises, these felt holders are ideal for both children and adults. Available in multiple sizes, they're a delightful addition to any occasion. Step-by-step instructions are included.
This is a collaboration between ITH Boutique and Kate Gallery Workshop. The copyrights to the digitizing and some images belongs to Kate Gallery
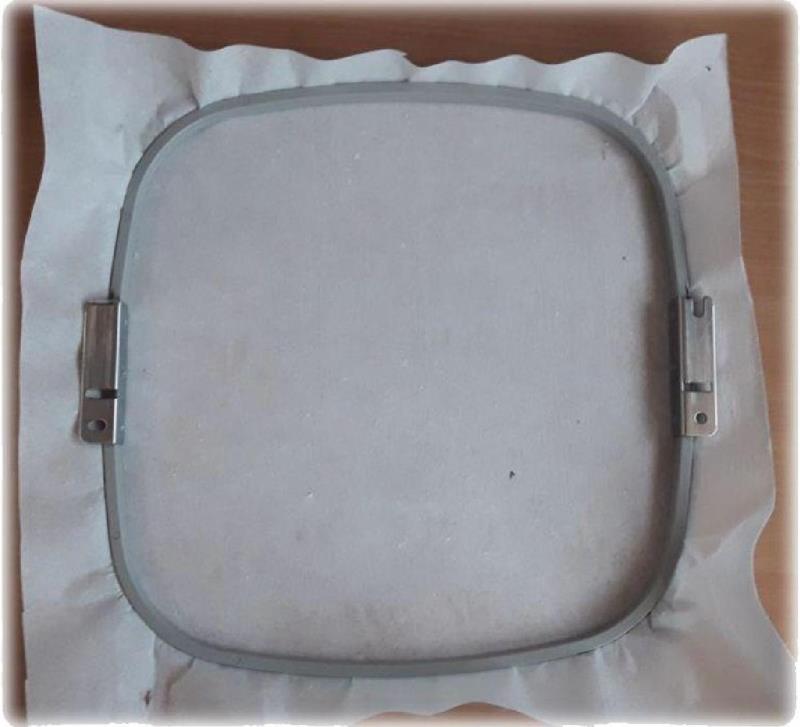
Step 1:
Put the tear-off stabilizer in the hoop
(Click Image to Enlarge)
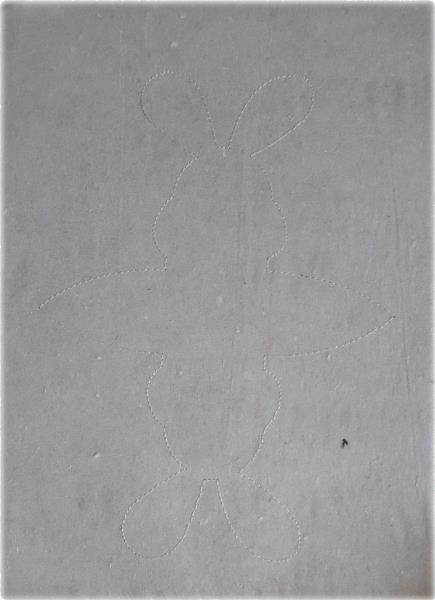
Step 2:
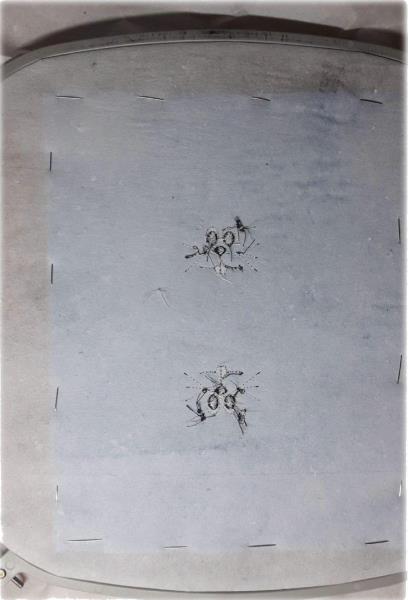
Put the hoop in the machine and embroider the first color. This line shows the place of embroidery.
(Click Image to Enlarge)
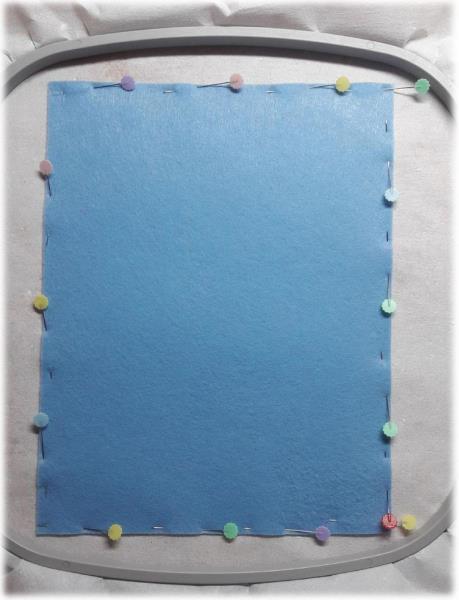
Step 3:
Put 1 piece of felt over the basting stitch, leaving at least 0.2 inches of allowance. Pin it around the perimeter with pins or use temporary adhesive spray.
(Click Image to Enlarge)
Step 4:
(Click Image to Enlarge)
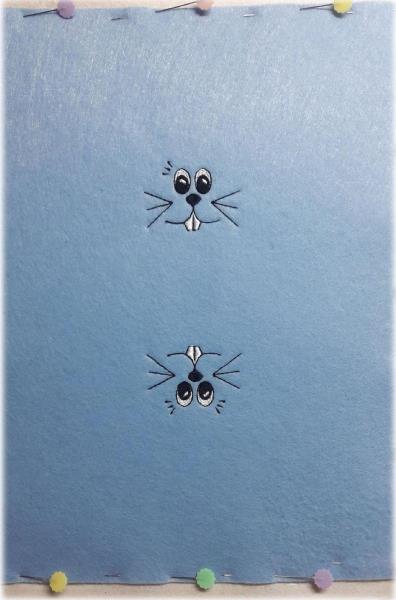
Embroider the next 3 colors (eyes, nose, mouth).
Step 5:
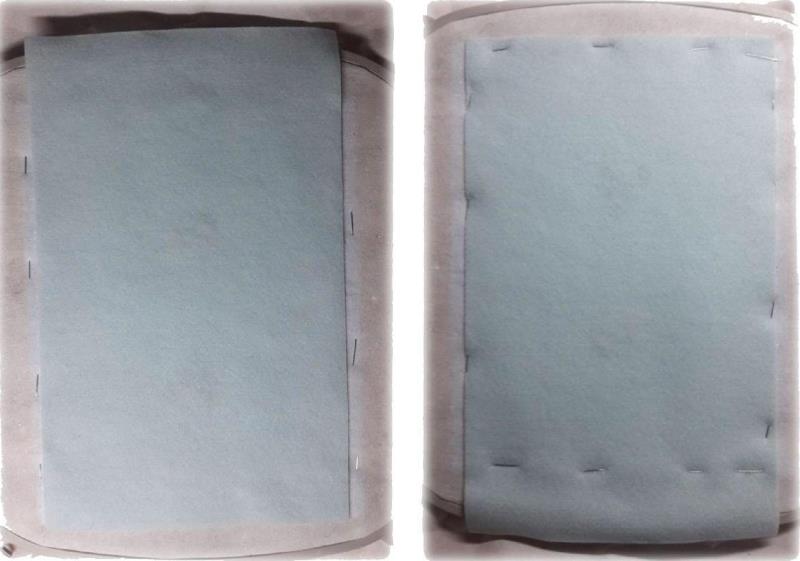
Remove the hoop from the machine. Turn the hoop to the back.
(Click Image to Enlarge)
Step 6:
Put a second piece of felt over the basting stitch, leaving at least 0.2 inches of allowance. Pin it around the perimeter with pins (on the front side) or use temporary adhesive spray.
(Click Image to Enlarge)
Step 7:
(Click Image to Enlarge)
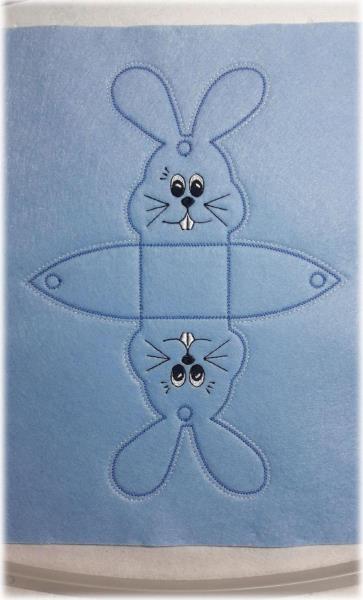
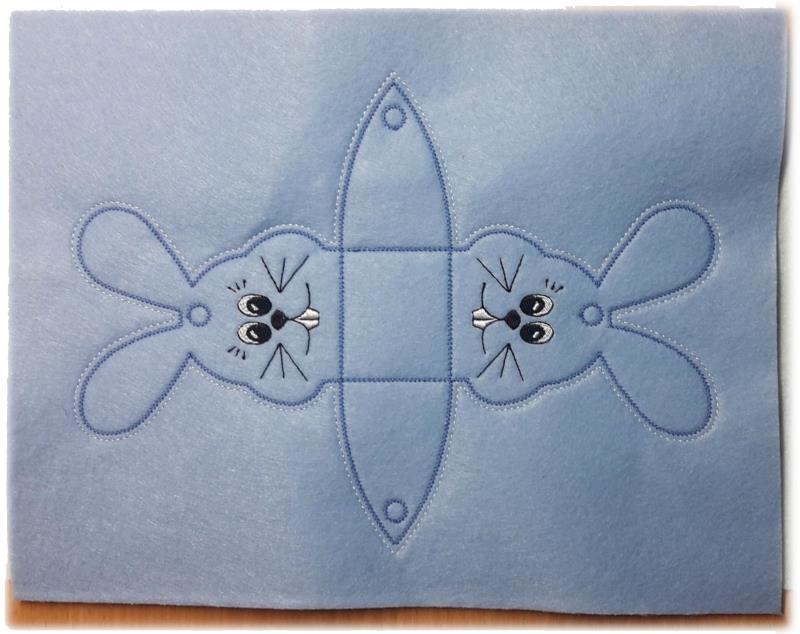
Embroider the contour of the bag. The last color is a marking line for cutting. If you can evenly cut a project without it, just don't embroider it.
Step 8:
Remove the hoop from the machine and take out the embroidery from the hoop. Remove the excess stabilizer.
(Click Image to Enlarge)
Step 9:
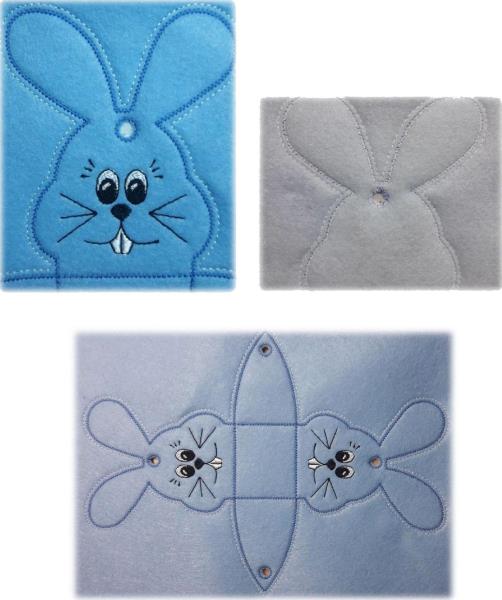
Now you need to carefully cut the holes for the ribbon. First, cut holes on the front side, then on the backside. Remove excess stabilizer from holes.
(Click Image to Enlarge)
Step 10:
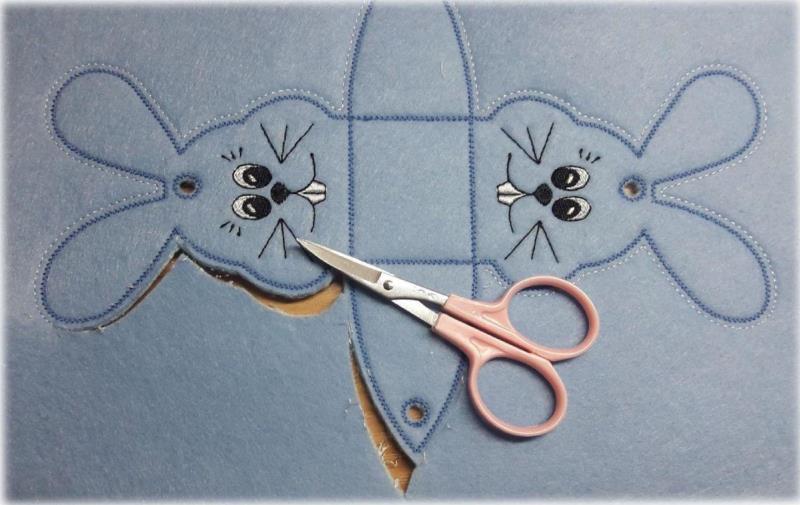
Take scissors and cut out the bag on the basting line.
(Click Image to Enlarge)
Step 11:
Remove all remaining threads.
(Click Image to Enlarge)
Step 12:
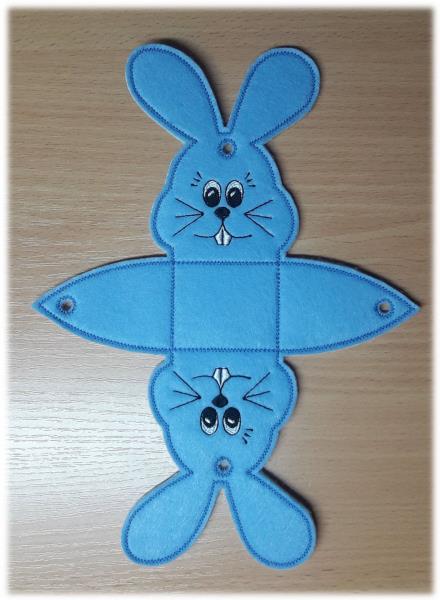
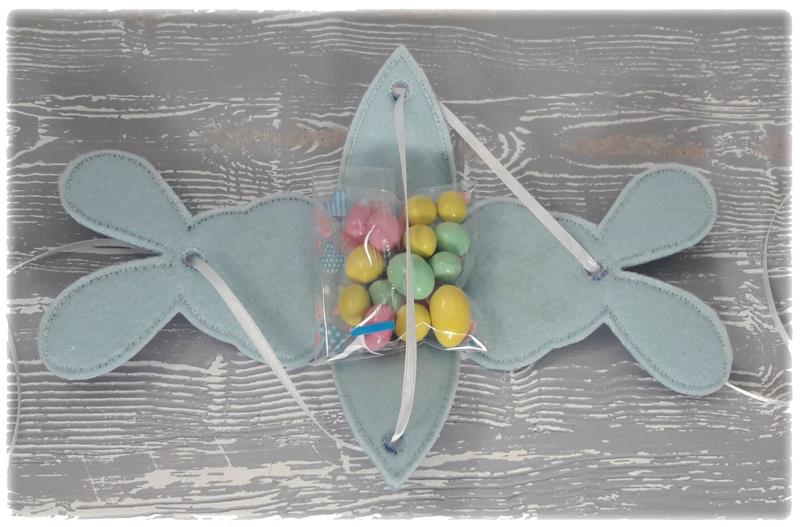
It remains only to tie the ribbon, put a little surprise and give it to your loved ones!
(Click Image to Enlarge)
Step 13:
That's all! Now you can make a little pretty surprise for all family and friends!
Project Idea, Instructions and photo credit: Kate Embroidery