Border OptionsHugging border, circle, square, or rectangle — with a 3mm satin stitch.
Backing OptionsAvailable with iron-on, sew-on, or velcro backing.
Fast ShippingShipped quickly from the USA.
Free Online Tools
Powerful embroidery utilities that save time and prevent costly mistakes.
Stitch AssistantRECOMMENDED
Get the exact stabilizer, machine settings, needle, and thread color sequence for every embroidery design you purchase — based on that design's stitch density, dimensions, and color count.
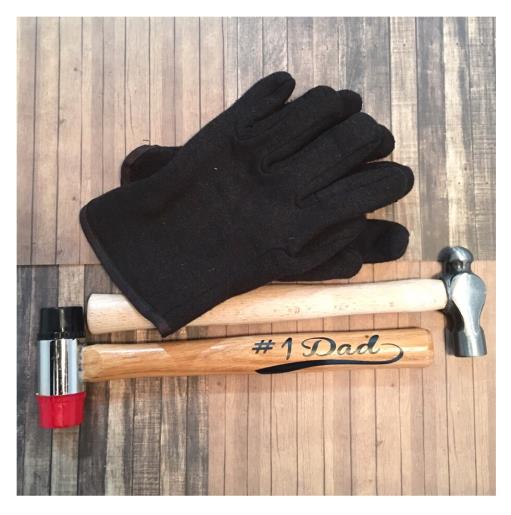
Celebrate the dad in your life with a special hammer featuring a '#1 Dad' monogram. Perfect for Father's Day or any occasion to show appreciation. Step-by-step instructions are included.
Gather all supplies and review instructions before beginning.
(Click Image to Enlarge)
Step 2:
Measure hammer’s wooden handle application area. (width and length)
(Click Image to Enlarge)
Step 3:
Bring SVG design file into your cutting machine’s design board. Cut. Resize design to fit within the application area of the wooden handle. For this tutorial design cut size: 1.3” x 4.5”
(Click Image to Enlarge)
Step 4:
Prepare vinyl onto mat for cutting. Adjust your cutting machine’s settings. Insert prepared mat into your cutting machine. Cut vinyl
(Click Image to Enlarge)
Step 5:
Cutting complete. Weed vinyl for decal. (Weeding is removing all unwanted vinyl) Apply transfer tape over decal. Carefully remove adhesive backing ensuring cut design (decal ) is adhering to transfer tape.
(Click Image to Enlarge)
Step 6:
Center and apply decal to hammer handle. Finger press securely. Carefully remove transfer tape. Ensuring the decal is adhering to the handle.