2026 Flash Sale
Live Chat
Embroidery Designs
Welcome, Embroiderer
Login
Project: Embroider-a-Bear
{{mainImageAlt || (productInfo._source && productInfo._source.name) || ''}}

Project: Embroider-a-Bear Embroidery Project

By   Eileen Roche   on   November 01, 2005
  • SKILL LEVELIntermediate
  • TIME REQUIRED02:00
Description

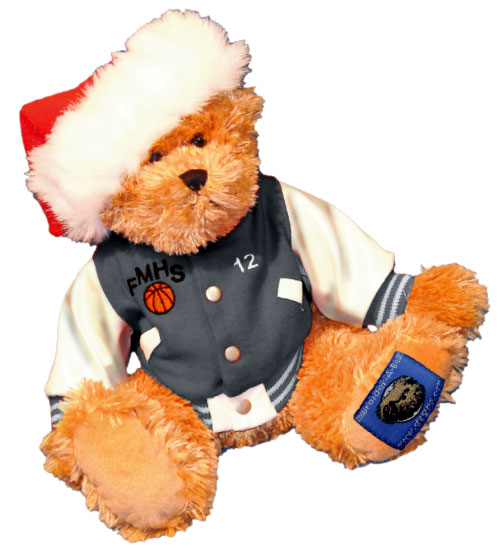
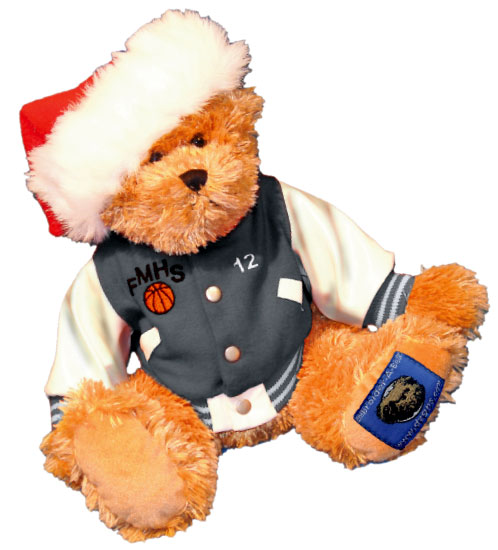
Personalize this bear's jacket for the athlete in your life- it's the perfect gift! For a holiday present, personalize further by adding a santa hat!

Step of

Materials

Project Preview Video

Materials
  • Embroider-a-Bear Spirit Wear CD embroidery customizing software
  • Embroider-a-Bear (teddy bear and jacket)
  • 12" x 12" red fleece
  • 11 1/2 x 2 1/2" fake fur
  • stretch needle
  • poly-mesh cut-away stabilizer
  • temporary spray adhesive
  • target stickers


  • Final Product: What You Will Create

    Preface:

    All Embroider-a-Bear products are currently available at www.dzgns.com.

    Embroider-a-Bear is the perfect gift for boys and girls of any age! Your grandchildren will love them and your husband will be touched when you create his own bear wiht the initials of his alma mater.

    The Spirit Wear CD includes miniature lettering, 17 school motifs (sports, band and cheer) and identical lettering in human sizes! Now you can create spirit wear for the active person in your life: your husband, child, coach, team manager, grandchild, friend or neighbor.                  

    I embroidered this jacket for my 14-year-old son, Ted. It sports a basketball, his jersey number and the initials of his high school. I'll show you how I created each motif and then you can duplicate the steps for your own personalized bear. Be careful though, once an athlete has one, the whole team wants one. And of course, don't forget about the coach - after all, how many T-shirts can a coach wear?


    Step 1:
    (Click Image to Enlarge)
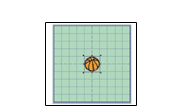
    I opened a new file in customizing software and saved it as BBall Bear. Then I copied and pasted the basketball motif into BBall Bear.


    Step 2:
    (Click Image to Enlarge)
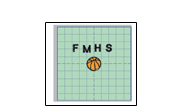
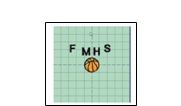
    Next, I opened, copied and pasted four small letters, FMHS, into BBall Bear.


    Step 3:
    (Click Image to Enlarge)
    I moved the two center letters, M and H, so that they were equidistant from the vertical center of the design and close to the basketball.


    Step 4:
    (Click Image to Enlarge)
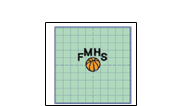
    Next, I moved the F and S closer to the basketball to create an inverted arch. Once I was satisfied with the placement of the lettering, I selected the design, centered it and saved it in the appropriate format.


    Step 5:
    For the left jacket front, I opened the numbers 1 and 2 and kerned them close together. After centering all of the elements, I saved them as BballNumb in the appropriate format.


    Step 6:
    (Click Image to Enlarge)
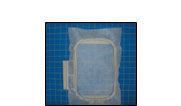
    Refer to the instructions on the Embroider-A-Bear CD for placement of the target stickers. Hoop poly-mesh cut-away stabilizer and spray it with temporary adhesive. Place the hoop on a cutting mat, lining up one edge of the hoop with a line on the mat.


    Step 7:
    (Click Image to Enlarge)
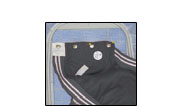
    Turn the jacket wrong side out. Since the lines on the mat are visible through the poly-mesh stabilizer, use them to help place the jacket. Place the Embroider-a-Bear left front jacket on the stabilizer, lining up the jacket front edge with a line on the cutting mat. For extra security, pin the jacket to the stabilizer.


    Step 8:
    (Click Image to Enlarge)
    Now, line up the right jacket front edge with a line on the cutting mat on the opposite side of the hoop. For extra security, pin the jacket to the stabilizer.


    Step 9:
    (Click Image to Enlarge)
    Smooth the bulk of the jacket down so that the embroidery foot can clear the garment as it travels from one design area to the other.


    Step 10:
    (Click Image to Enlarge)
    Position the needle over the target sticker on the left front. Remove the target sticker and embroider the BballNumber design.


    Step 11:
    Position the needle over the target sticker on the right front. Keep an eye on the jacket as the foot travels across the hoop. Hold down any bulk with your hand. Remove the target sticker and embroider the BballNumb design.


    Step 12:
    I wanted to add a festive holiday touch to the bear so I created a removable stocking cap. Fod the fleece in half and place the hat pattern (from the pullout pattern section) on the fold. Cut one. Sew right sides together with a 1/4" seam allowance.


    Step 13:
    Sew the strip of fake fur, right sides together for form a loop. Pin the wrong side of the fur to the right side of the fleece matching the seams. Sew with a 1/4" seam allowance. Turn the cuff to the right side. Gently place the hat on Embroider-A-Bear and surprise that special sports enthusiast with this personalized keepsake.
    Meet the Author: Eileen Roche
    Eileen Roche
    Eileen is the editor of Designs in Machine Embroidery and a regular contributor to freeEmbroiderystuff.com. Editor Eileen Roche shares her wealth of embroidery and sewing experience in this project based magazine. Her talent, creativity and enthusiasm distinguish her from others in the industry and are the driving force behind the magazine’s success.
    More From This Author
    Link is Broken, Please check the URL
    Exclusive Embroidery Offers!
    Copyright © {{ currentDate | date:'yyyy'}} - EmbroideryDesigns.com

    GET 50% OFF! ×