Border OptionsHugging border, circle, square, or rectangle — with a 3mm satin stitch.
Backing OptionsAvailable with iron-on, sew-on, or velcro backing.
Fast ShippingShipped quickly from the USA.
Free Online Tools
Powerful embroidery utilities that save time and prevent costly mistakes.
Stitch AssistantRECOMMENDED
Get the exact stabilizer, machine settings, needle, and thread color sequence for every embroidery design you purchase — based on that design's stitch density, dimensions, and color count.
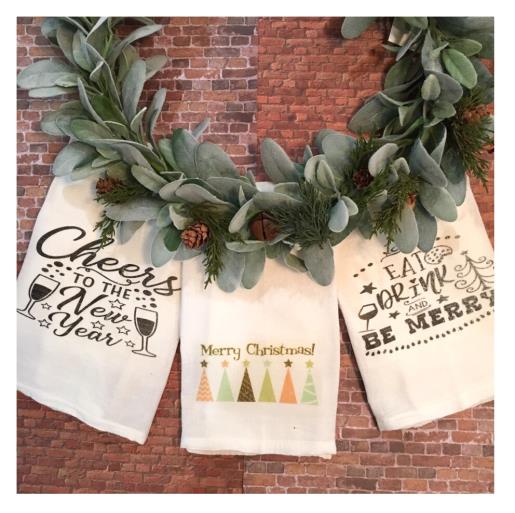
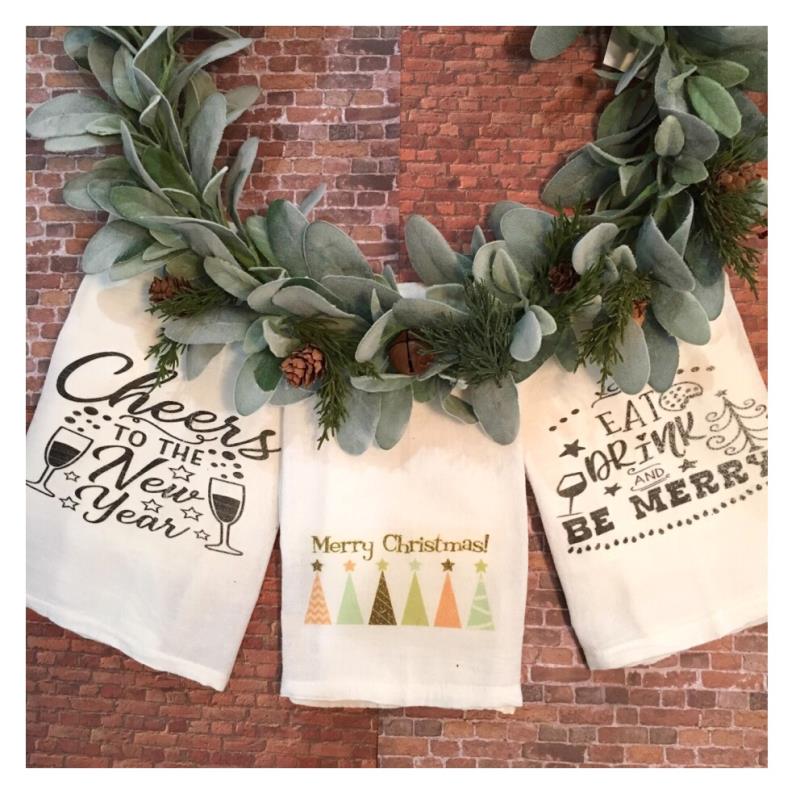
Decorate your kitchen with this charming set of holiday-themed flour sack towels. Perfect for adding a festive touch during Christmas and New Year celebrations. Step-by-step instructions are included.
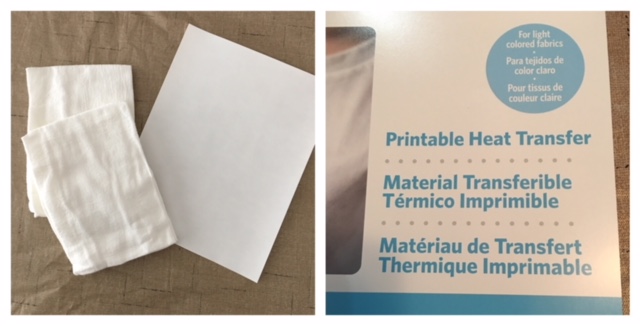
Here is another technique for embellishing flour sack towels. Apply any print art design to your flour sack towels using a printable heat transfer paper product. Please note there are different types of printable heat transfer paper. One that works in laser printers and the other in inkjet printers. For this tutorial the transfer paper used is for inkjet. Depending on the color of your fabric there are two types of transfer paper. One for light colored fabrics and the other for dark. For this tutorial the transfer paper used is for light. Using your computer’s word program, the print art is inserted into a new document and resized to fit the towel’s application area. Mirroring the image and then printed onto the heat transfer paper for application onto the towel. Time stated for 30 minutes is for one towel.
Step 1:
Gather all supplies and review instructions before beginning
(Click Image to Enlarge)
Step 2:
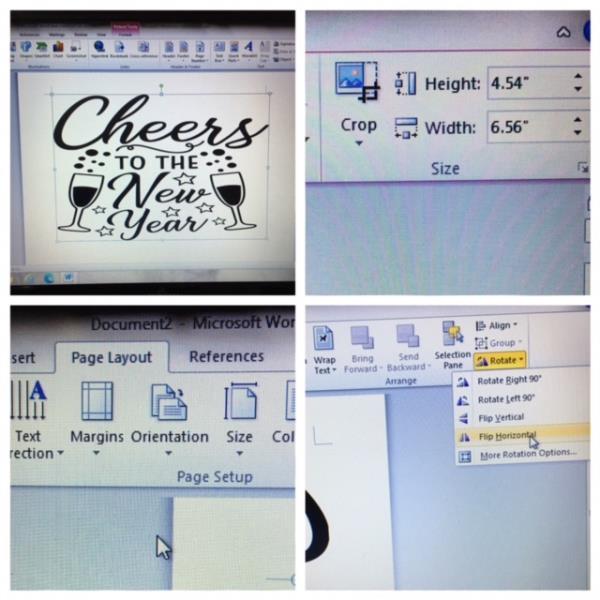
Open a blank document in your computer word program. Insert print art “Cheers to the New Year”. Resize print art design to 4.5´x 6.6”. Mirror image by clicking on page layout. Click rotate. Flip horizontally.
(Click Image to Enlarge)
Step 3:
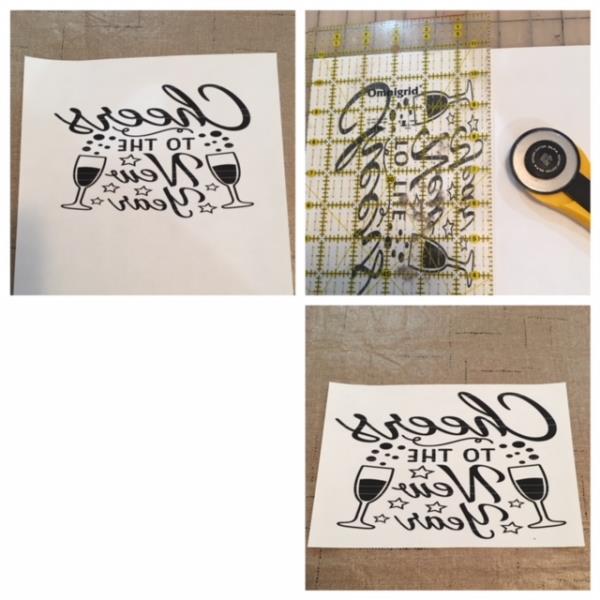
Insert a sheet of printable heat transfer paper into printer. Refer to your heat transfer paper product instructions. Check your printer setting for the best printer quality. Print. Trim around printed print art.
(Click Image to Enlarge)
Step 4:
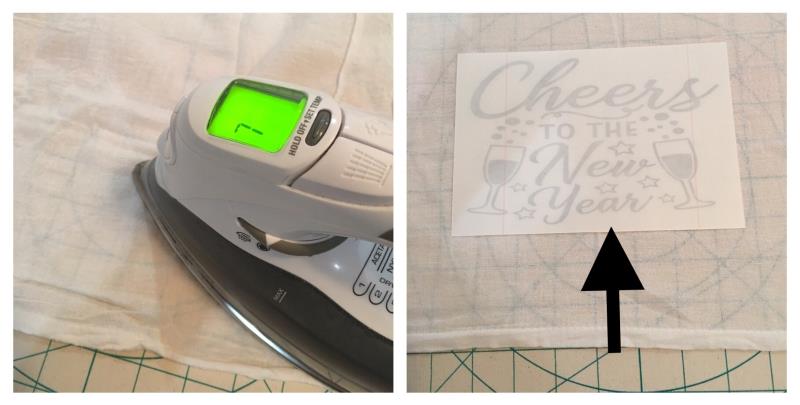
Select cotton/linen setting on your iron. Press flour sack towel to remove wrinkles. Fold towel in half to find center. Center and place your printable heat transfer sheet, printed side down approx 3” above hemmed edge of towel.
(Click Image to Enlarge)
Step 5:
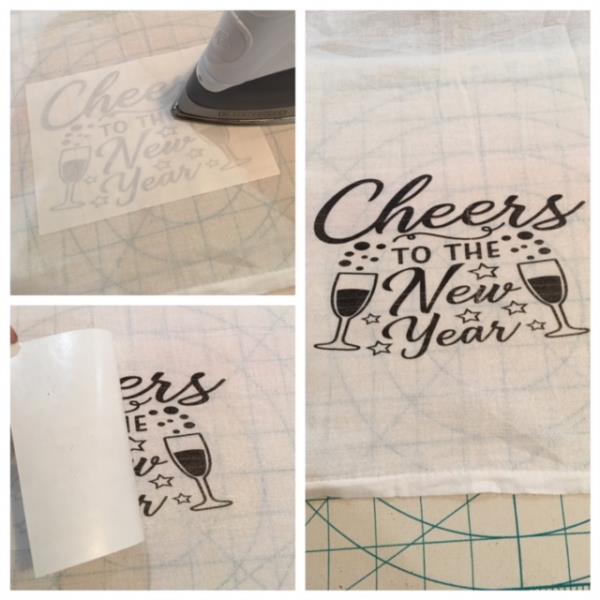
Follow your product’s printable heat transfer instructions for application. Remove paper. And you are done!
(Click Image to Enlarge)
Step 6:
An amazingly easy and so creatively fun project! Repeat steps for the additional towel using the linked Print Art designs or search on the ED website for other Print Art. Way to go! Makes great gifts!