














































PROJECT INSTRUCTIONS


PROJECT INSTRUCTIONS
Quilt Holiday Treat Box Embroidery Project
By
Linda Mills
on
November 03, 2021
Description
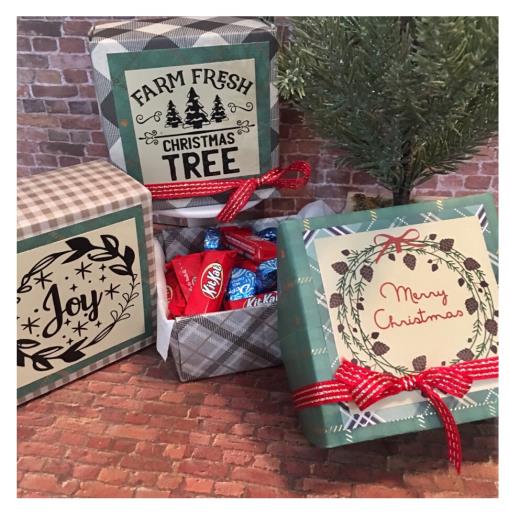
Create a festive treat box with quilted panels, perfect for holiday gift-giving. Each box features charming holiday designs, making it a delightful addition to your seasonal celebrations. Step-by-step instructions are included.
Step
of
Materials
Project Preview Video

QUICK VIEW
Merry Christmas Wreath
$2.99
Circle Price: $2.24

QUICK VIEW
Christmas Joy Noel
$2.99
Circle Price: $2.69

QUICK VIEW
Christmas Tree
$2.99
Circle Price: $2.69

Cut Away Stabilizer - 2.5 Oz wt.
$8.94
Circle Price: $8.05

Cut Away Stabilizer - 2 oz wt.
$8.52
Circle Price: $7.67



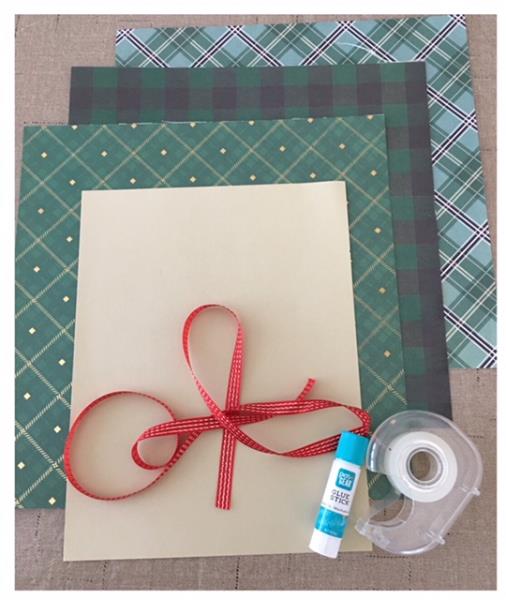
| Materials (3) COORDINATING PATTERNED CARD STOCK SHEETS 12” X 12” (1) SOLID COLOR CARDSTOCK/CONSTRUCTION PAPER RIBBON GLUE STICK SCOTCH TAPE ROTARY CUTTER RULER PRINTER COMPUTER WITH WORD PROGRAM |
| Designs used in this project |
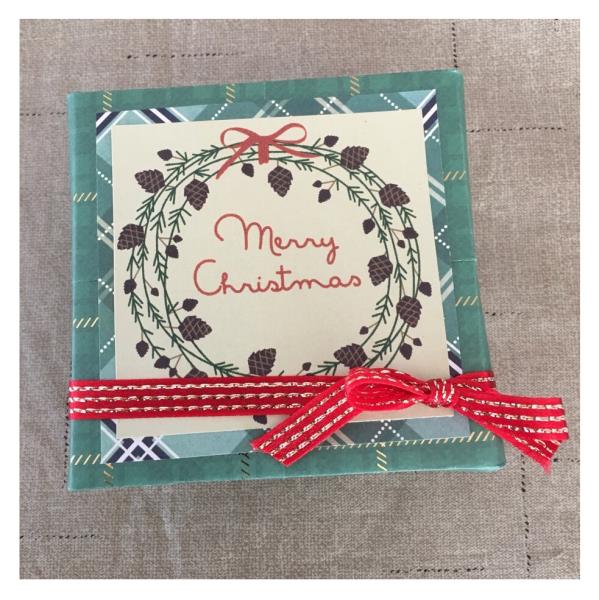
| Final Product: What You Will Create |
 |
|
Projects You May Like
Meet the Author:
Linda Mills

Linda loves to create by sharing her different sewing and machine embroidery techniques so others can utilize their machines to the fullest
Feedback
Characters Remaining
Please Login to Submit a Feedback
Invalid Characters, Please enter a valid Comment
Please enter a valid Comment
Reviewed On
Link is Broken, Please check the URL