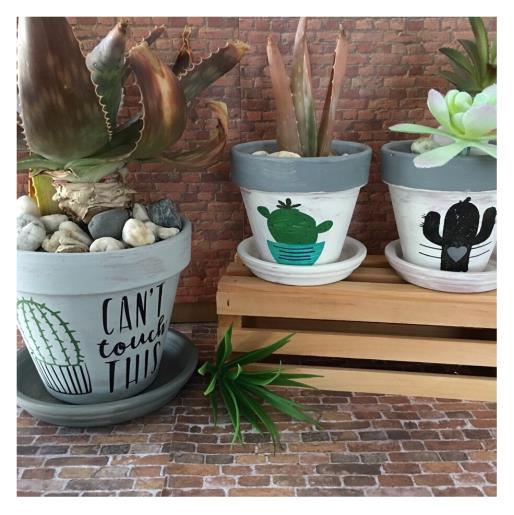
Create colorful accent plant pots for inside your home or garden with the many different SVG designs from the ED SVG site. Using water based acrylic colors paint any size terra cotta plant pot, create a stencil from the designs using your cutting machine for application, and paint the open areas of stencil. Basic knowledge of the use of cutting machine and how to weed design for a stencil is required for this project.
Step 1:
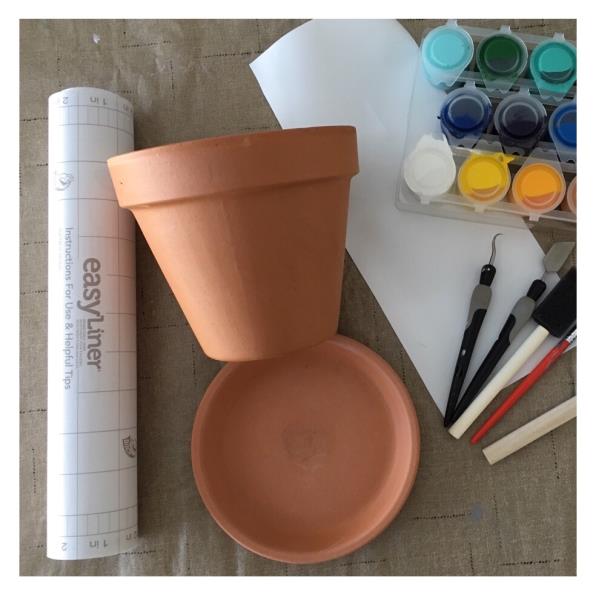
Gather all supplies and review instructions before beginning.
(Click Image to Enlarge)
Step 2:
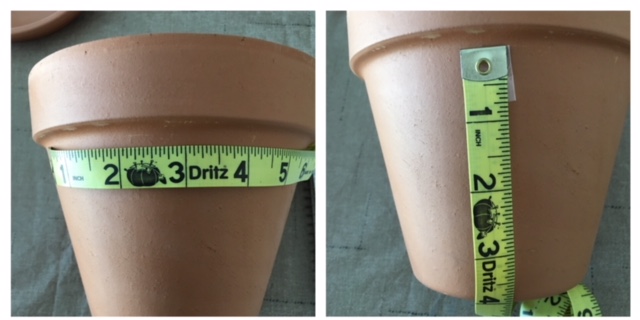
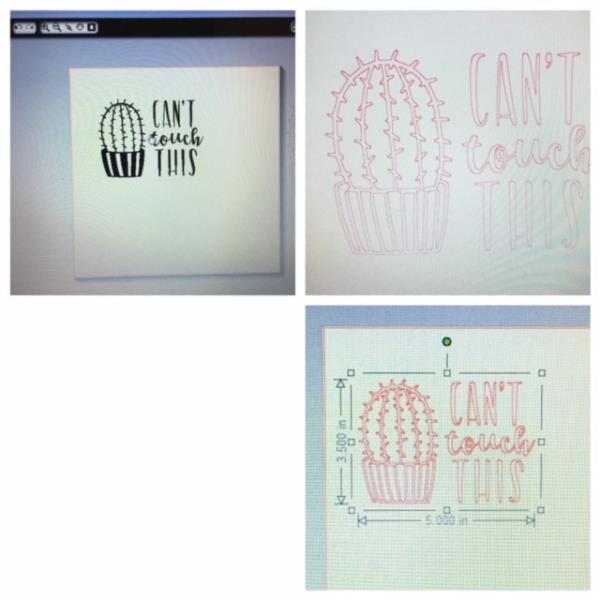
Wipe down pot and saucer to remove any dirt/dust particles. Measure out your design application area if using a different size pot than stated in this tutorial. Application area measurements will help in resizing of SVG design. For the 6” pot used in this tutorial the application area measured 5” x 3.5”.
(Click Image to Enlarge)
Step 3:
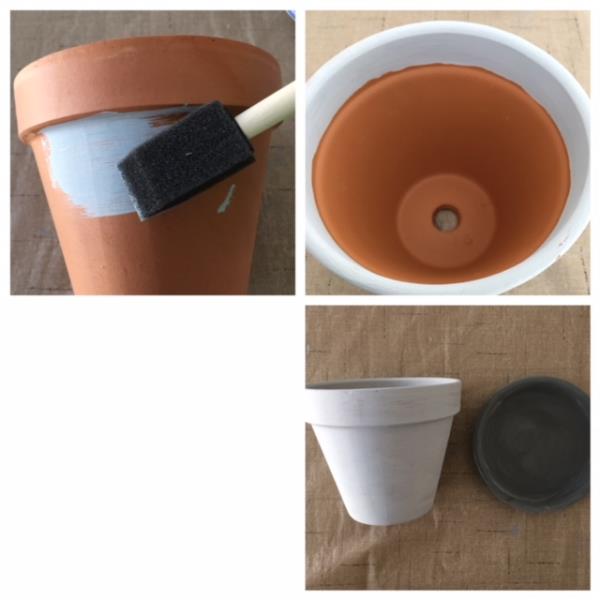
Paint pot and saucer color of choice. Saucer for this tutorial was painted using a contrasting color. Paint the inside of pot rim. Allow pot and saucer to dry.
(Click Image to Enlarge)
Step 4:
Bring SVG design Can't Touch This into your cutting machine's design board. Cut design. Resize to fit your pot’s application area. For the 6” pot the design was resized to 5”x 3.5”.
(Click Image to Enlarge)
Step 5:
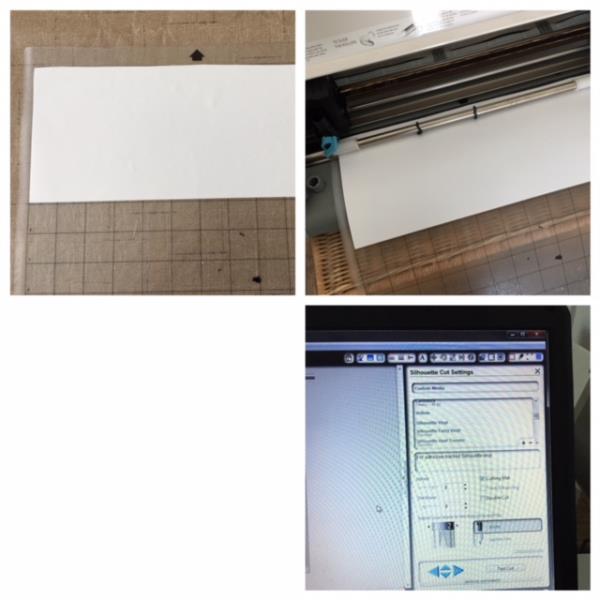
Prepare your vinyl onto you mat. If you are using remnant vinyl ensure the size will accommodate your resized SVG design. Load mat into your cutting machine . Adjust your cut settings. Make a test cut. Make any necessary adjustments. Cut your design.
(Click Image to Enlarge)
Step 6:
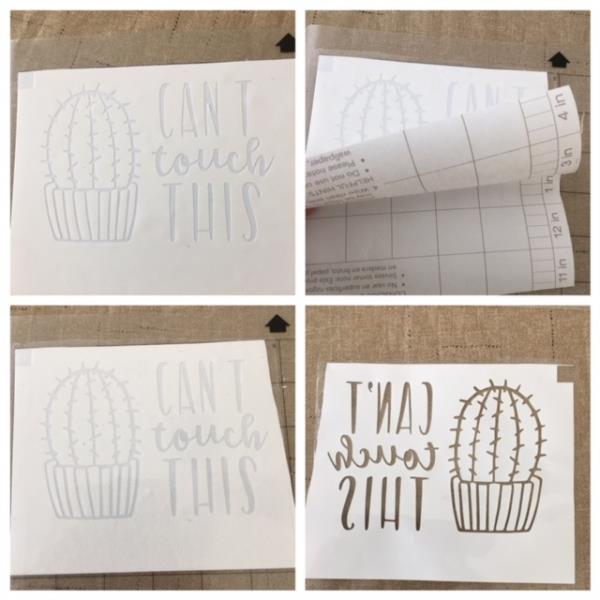
Remove mat/vinyl when cutting is complete. Weed for stencil. Apply transfer tape atop weeded design. Remove adhesive back.
(Click Image to Enlarge)
Step 7:
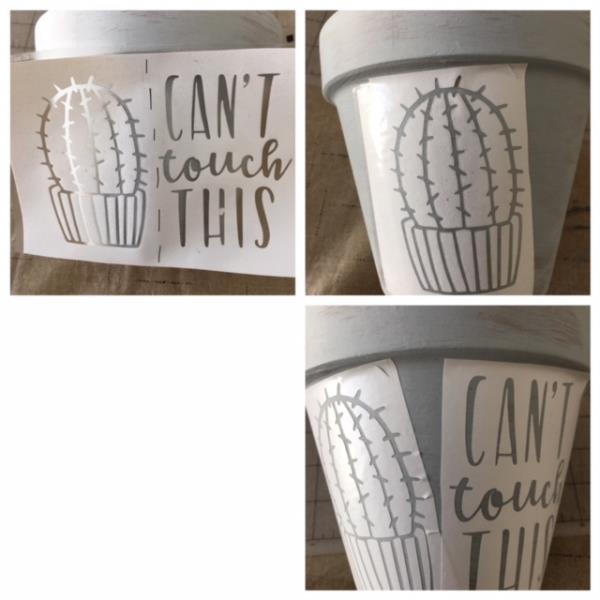
Position/ apply stencil to painted pot. ( position below pot rim) Ensure paint has completely dried before applying stencil. Tip: For an easier application of the stencil , due to the curve/roundness of the pot, divide your stencil in half by cutting in between the Cactus and the wording. This will make two stencils. Remove transfer tape from the first stencil application before applying the second stencil as the vinyl may overlap in the corner. Finger press all open edges to ensure all bubbles have been removed and all has adhered to pot to avoid any paint seepage.
(Click Image to Enlarge)
Step 8:
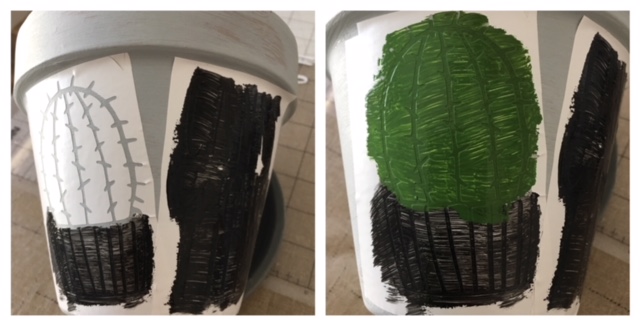
Paint open areas of stencil your colors of choice or refer to paint colors used in this tutorial.
Wording and design pot: black
Cactus: green allow each color to dry before moving onto the next.
(Click Image to Enlarge)
Step 9:
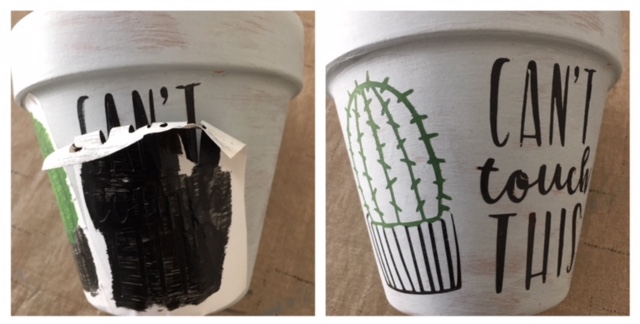
Slowly remove stencil. Tip: touch up any painted area with a fine point permanent marker if needed.
(Click Image to Enlarge)
Step 10:
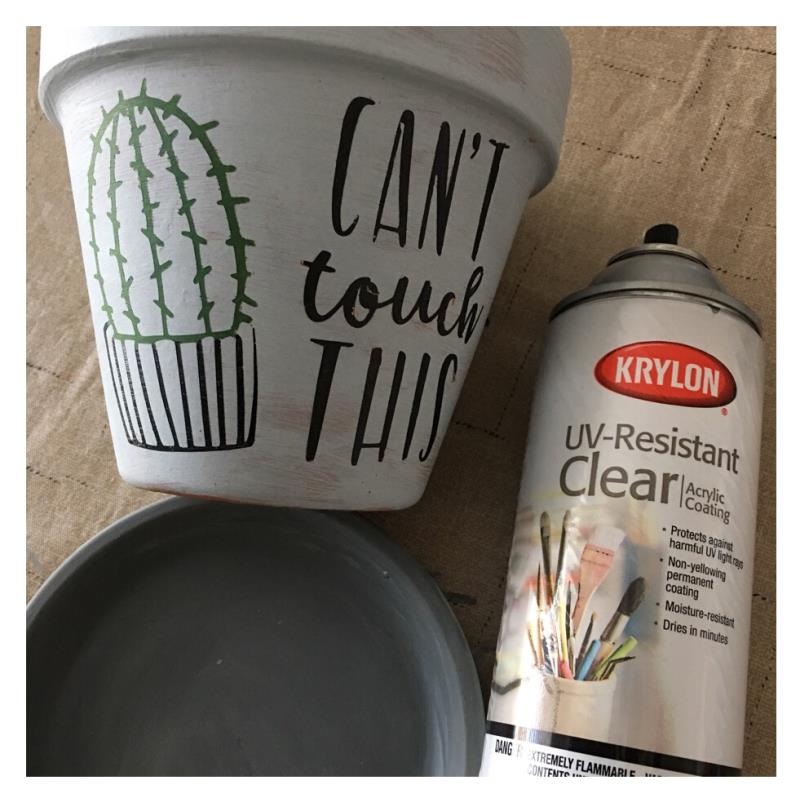
Spray painted pot and saucer using the clear acrylic coating to seal paints.
(Click Image to Enlarge)
Step 11:
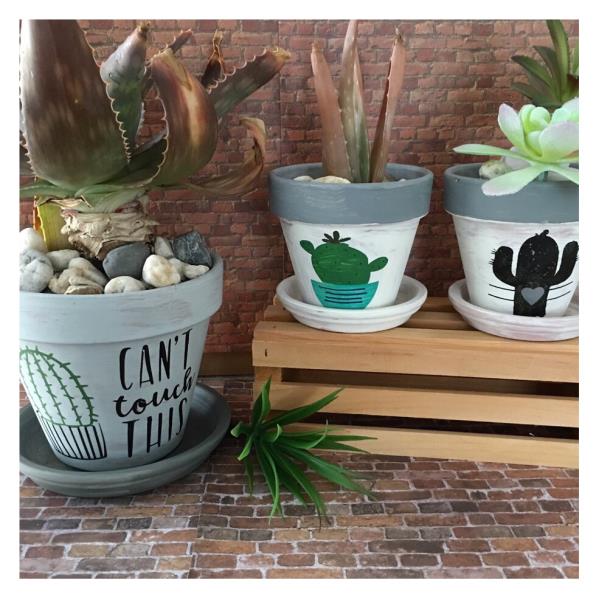
And your Cactus Plant Pot is finished! Great job! Make additional accent plant pots using smaller sized terra cotta pots with the themed cactus SVG designs linked in this tutorial.