














































PROJECT INSTRUCTIONS


PROJECT INSTRUCTIONS
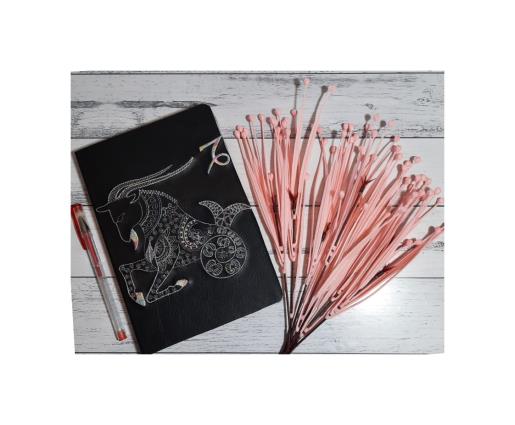
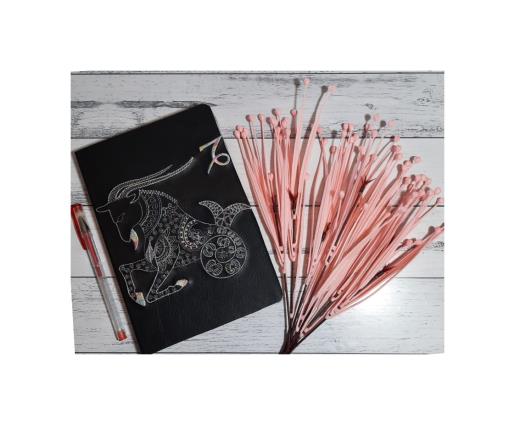
Applique Zodiac Notebook Cover Embroidery Project
By
Kylie Burke
on
September 30, 2021
Description
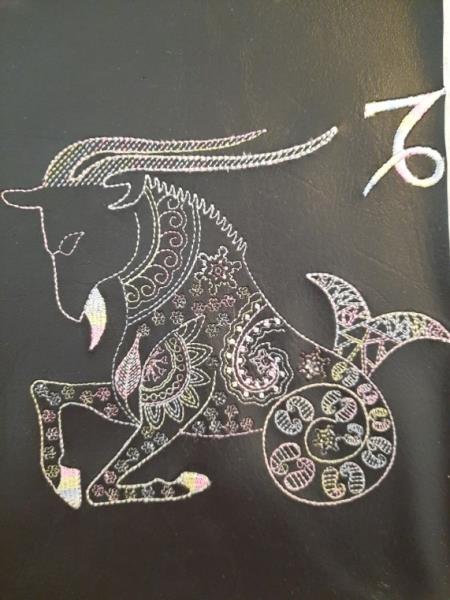
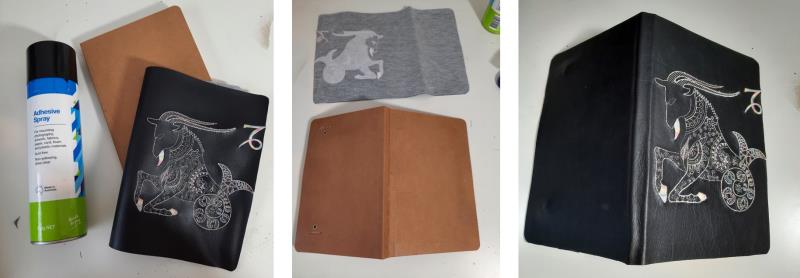
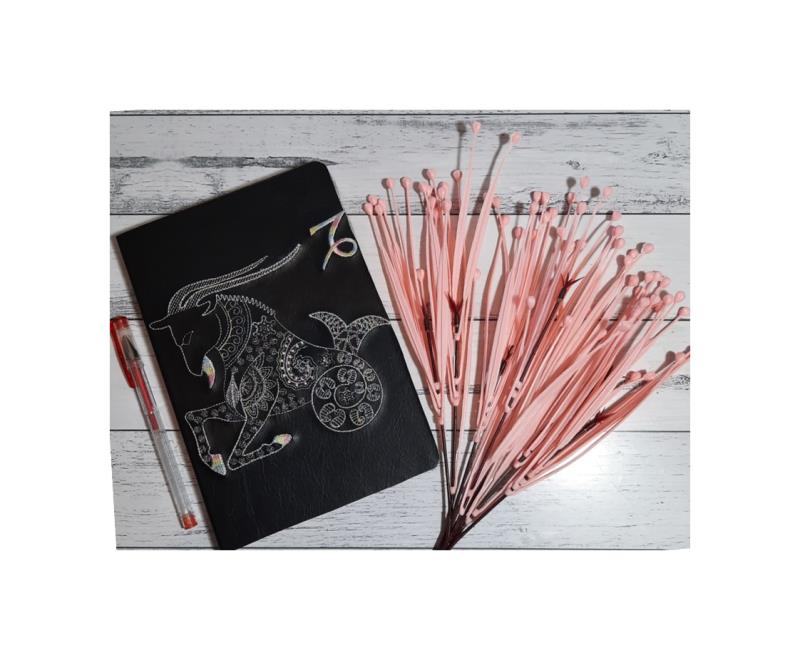
Transform a plain notebook with this stunning applique zodiac cover, crafted using vinyl and variegated thread for a unique touch. Perfect for astrology enthusiasts looking to personalize their stationery. Step-by-step instructions are included.
Step
of
Materials
Project Preview Video

QUICK VIEW
Tear Away Stabilizer
$7.98
Circle Price: $7.18
505 Spray Temporary Spray Adhesive
$19.99
Circle Price: $19.99
{{ item.name }}
{{ item.listPriceDisplay }}{{ item.salePriceDisplay }}
Circle Price:
{{ item.clubPriceDisplay }}

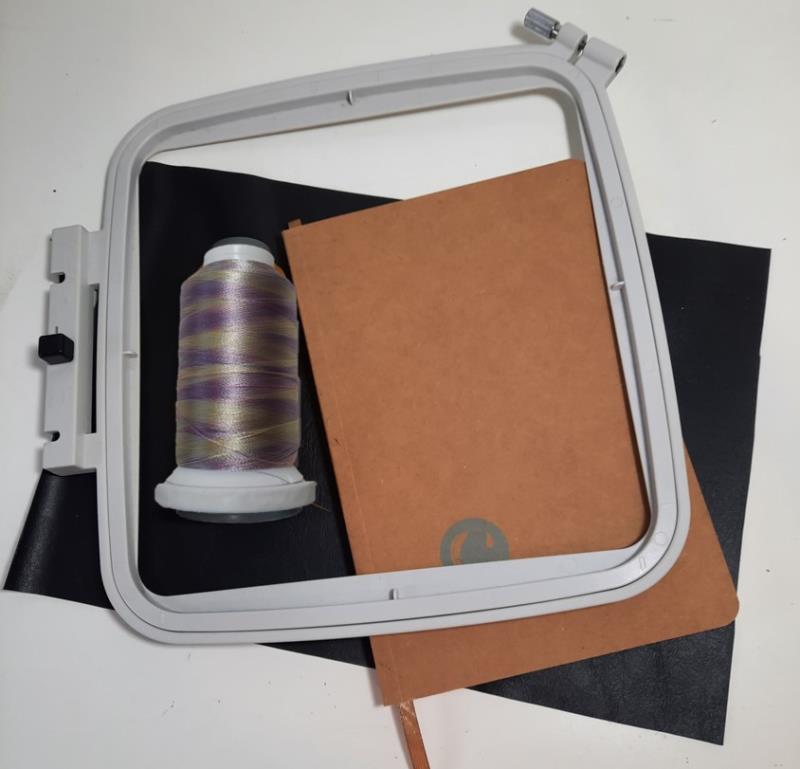
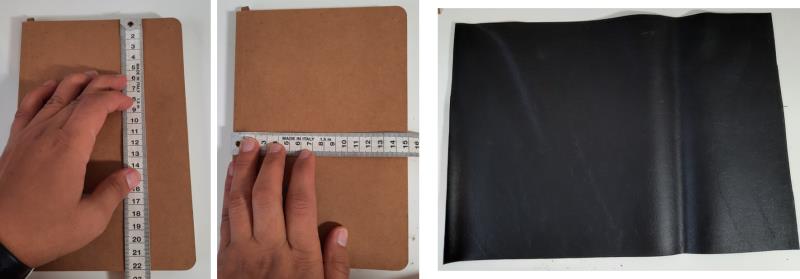
| Materials Vinyl Notebook 8” hoop Variegated embroidery thread Ballpoint machine needle Tearaway stabilizer Spray adhesive |
| Designs used in this project |
| Final Product: What You Will Create |
 |
|
Projects You May Like
Meet the Author:
Kylie Burke

Kylie is based in Australia and loves creating and sharing her unique pieces.
Feedback
Characters Remaining
Please Login to Submit a Feedback
Invalid Characters, Please enter a valid Comment
Please enter a valid Comment
Reviewed On
Link is Broken, Please check the URL