{{superHeaderAds.title}}
Live Chat
Embroidery Designs
Welcome, Embroiderer
Login
FSL Metallic Snowflake Ornaments
{{mainImageAlt || (productInfo._source && productInfo._source.name) || ''}}

FSL Metallic Snowflake Ornaments Embroidery Project

By   Marisa Littleton   on   September 30, 2021

PROJECT DETAILS

SKILL LEVEL
Some Experience
TIME REQUIRED
03:00
Description

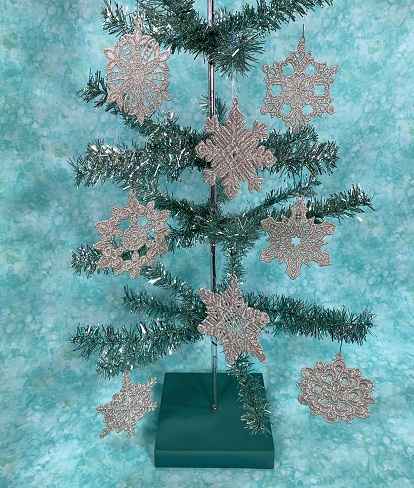
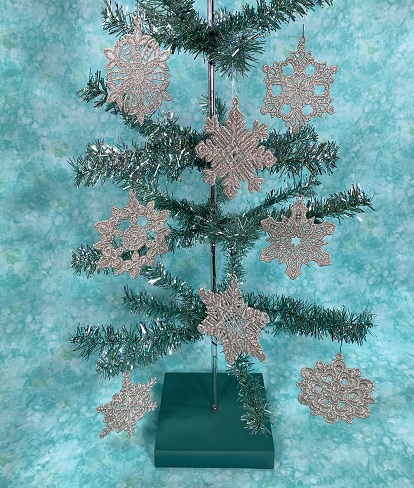
FSL Metallic Snowflake Ornaments are an elegant way to add sparkle and shine to Christmas decorations.

Project Preview Video

Materials
  • 4"x4" hoop or larger
  • 2 pieces of Vilene water soluble stabilizer per hooping
  • Embroidery needle size 75/11
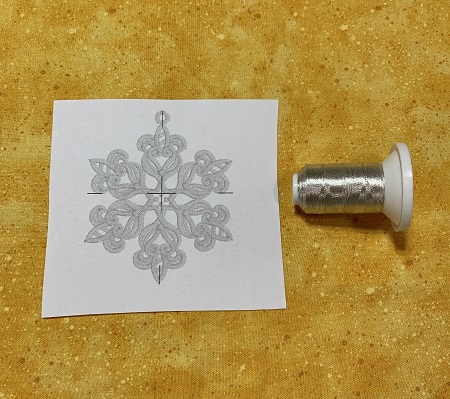
  • Embroidery thread 40 wt. Robison-Anton (metallic)
  • Ornament hooks
  • Parchment paper

  • Designs used in this project

    Final Product: What You Will Create

    Preface:
    FSL Metallic Snowflake Ornaments are an elegant way to add sparkle and shine to your Christmas decorations.  The designs are available in a set of 15 with an average size of 3"x3" and stitch count of 12,000-15,000.  Each design took about 20-30 minutes to embroider.  Project length time will vary depending on how many ornaments are embroidered.  Drying time is not included in project length time.


    Step 1:
    Read all the directions before beginning the project.  Gather the materials needed for the project.  


    Step 2:
    (Click Image to Enlarge)
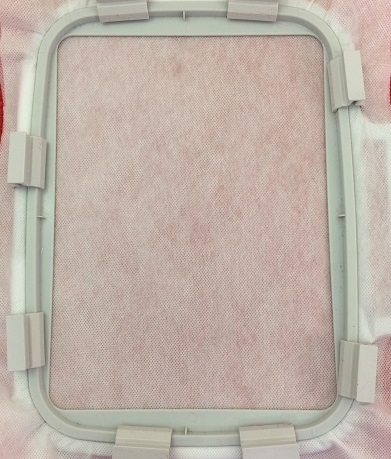
    Free-standing lace (FSL) embroidery designs are stitched on a fibrous water-soluble stabilizer with no fabric base.  A high stitch count holds the lace together. The film plastic-like WSS works better as a topping for deep nap fabrics like towels and is NOT recommended for this project.  Drying time is not included in the project completion time.  
     
    Hoop 2 pieces of Vilene wash-away stabilizer. Make sure the stabilizer is taut and drum-like in the hoop.


    Step 3:
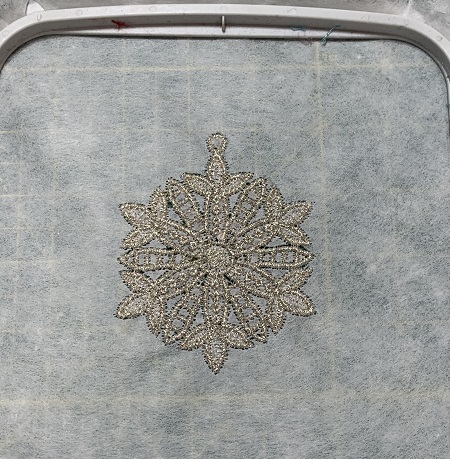
    Load the embroidery design on your machine. Use 40 wt. metallic embroidery thread.  Use the same color but not the same type of thread for the bobbin if the lace will be viewed from both sides.   Use a silver color for the bobbin thread.  You should not use metallic thread in the bobbin.  Make sure to begin with a full bobbin due to the high stitch count of FSL designs. You don’t want to run out before the design is finished stitching.
     
    Embroider the design. 


    Step 4:
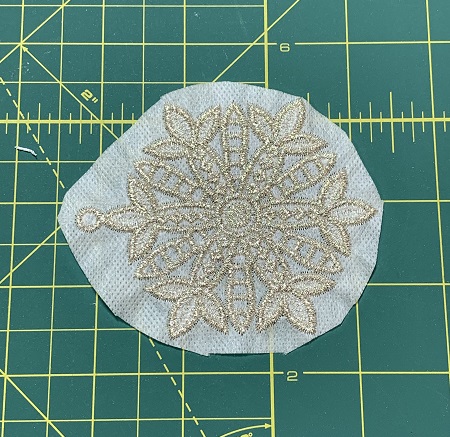
    Remove the stabilizer from the hoop. Trim the excess stabilizer to about ¼” from the edge. Trim the long threads if needed on the back of the design.  It’s very difficult to clip/remove a stray thread once you remove the water- soluble stabilizer.
     
    Repeat steps 2-4 to embroider more FSL Snowflake Ornaments. 


    Step 5:
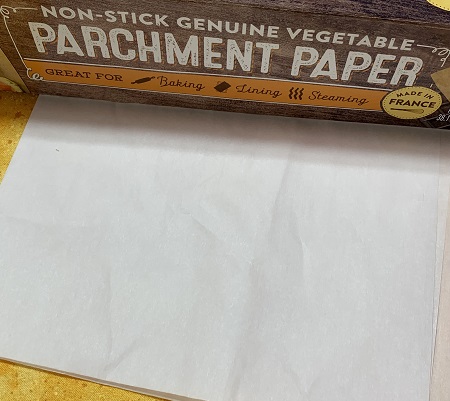
    Remove the water-soluble stabilizer by following the directions on the package. WSS is usually removed by running hot water on the design. Hold the FSL snowflake under the running water just until the WSS is no longer visible around the edges or in holes in the design. Leaving some of the WSS will make the FSL ornaments stiff and hold their shape better.  Lay the FSL ornament on parchment paper to dry overnight.  FSL items tend to stick when put on paper towels or cloth towels to dry.  


    Step 6:
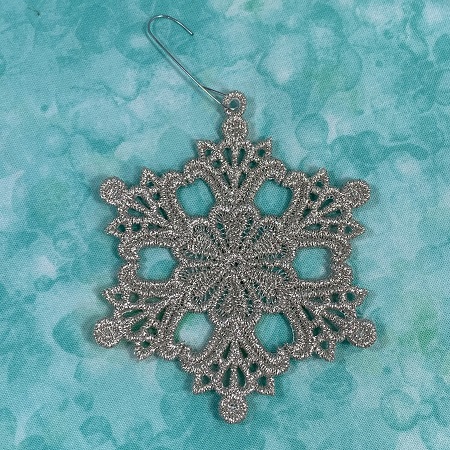
    Add an ornament hook or string tie in the loop of the ornament.


    Step 7:
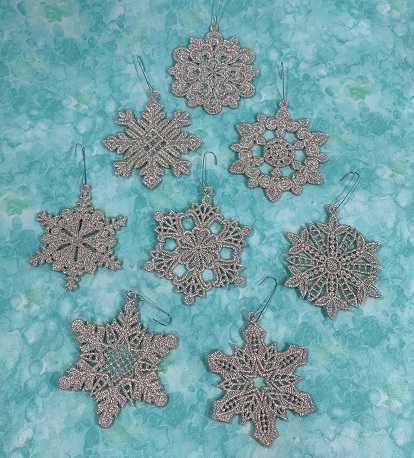
    Finish adding hangers to the FSL Snowflake ornaments.


    Step 8:
    WTG!  These make a super nice set of ornaments!  A wonderful idea for a legacy or keepsake item. 

    Beautiful things are made one stitch at a time...
     
    Marisa Littleton 
    Meet the Author: Marisa Littleton
    Marisa Littleton
    Marisa Littleton is a retired educator with a love for teaching and learning. Interests include machine embroidery, hand embroidery, quilting, cooking, and antiques.
    More From This Author
    Link is Broken, Please check the URL
    Exclusive Embroidery Offers!
    Copyright © {{ currentDate | date:'yyyy'}} - EmbroideryDesigns.com
    GET 50% OFF! ×