Border OptionsHugging border, circle, square, or rectangle — with a 3mm satin stitch.
Backing OptionsAvailable with iron-on, sew-on, or velcro backing.
Fast ShippingShipped quickly from the USA.
Free Online Tools
Powerful embroidery utilities that save time and prevent costly mistakes.
Stitch AssistantRECOMMENDED
Get the exact stabilizer, machine settings, needle, and thread color sequence for every embroidery design you purchase — based on that design's stitch density, dimensions, and color count.
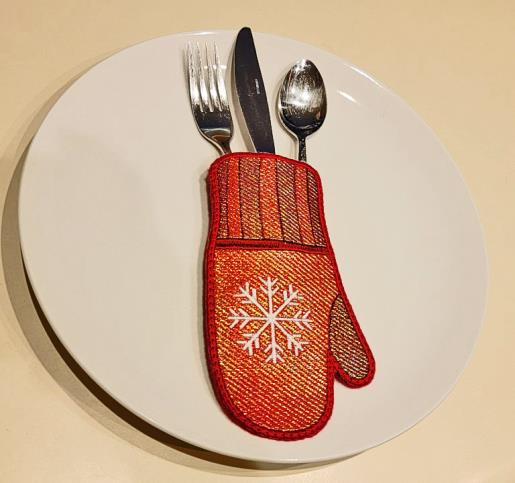
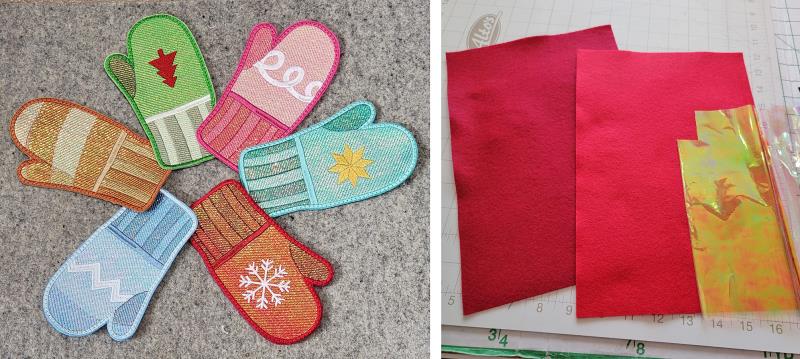
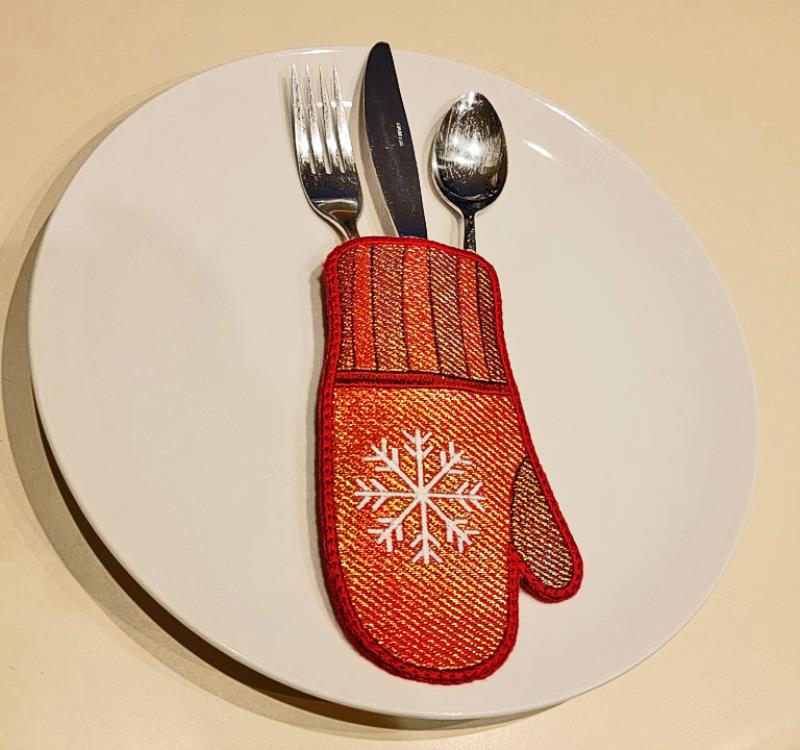
Add a festive touch to your winter dining with this Mylar mitten utensil holder. Perfect for enhancing your buffet setup, this holder is crafted entirely in-the-hoop. Step-by-step instructions are included.
Read through the instructions thoroughly before beginning and assemble all the materials needed to complete the project. Please use only Mylar specifically created for embroidery for this project.
(Click Image to Enlarge)
Step 2:
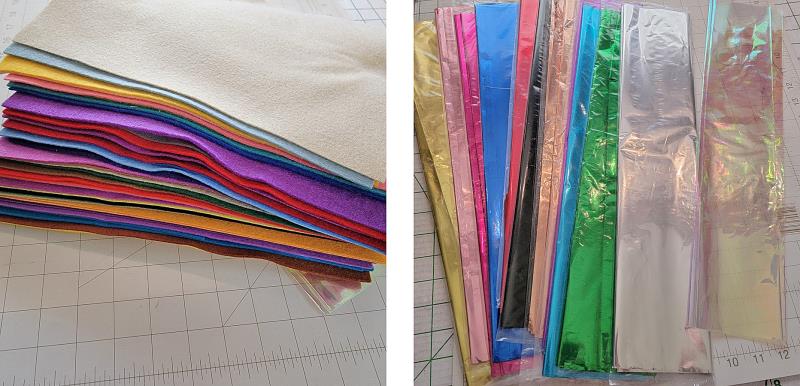
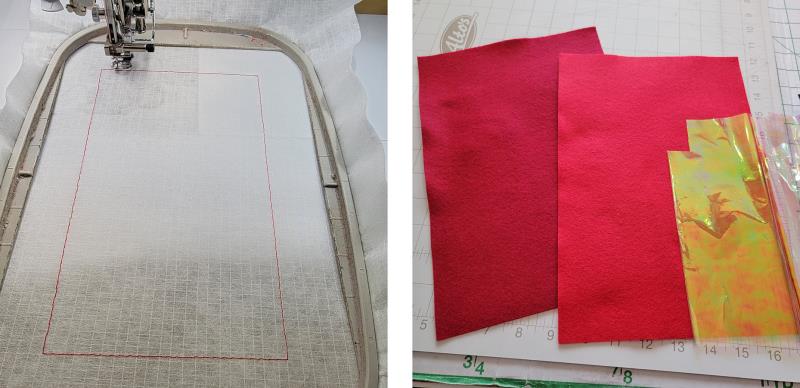
There are many different colors of felt and styles of Mylar. Chose 2mm SOFT felt—the stiff felt would not work well for this project. There is also Mylar in colors, along with iridescent.
(Click Image to Enlarge)
Step 3:
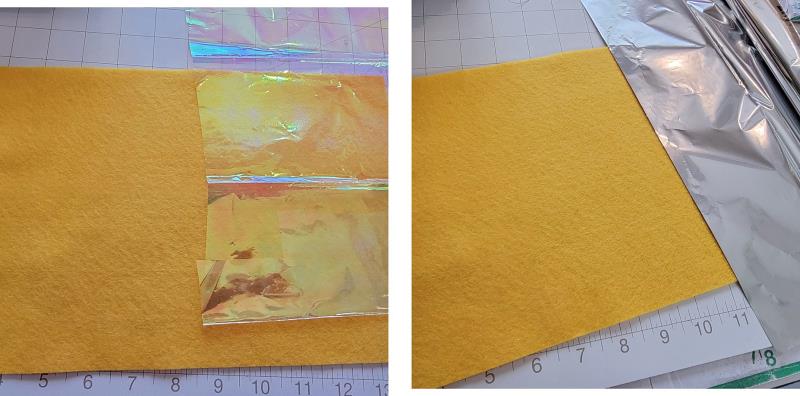
Take a look at what happens when Mylar is placed over the felt. On the left is a piece of iridescent Mylar; the color of felt shows through. On the right, is a silver Mylar. The felt color will not show through this opaque Mylar. Make a choice of what you’d like to use. For this project, I chose the felt color, iridescent Mylar, and the open density fill was stitched in a color to match the felt. You can have great fun experimenting, but I recommend starting out how I did first, and then experiment further.
(Click Image to Enlarge)
Step 4:
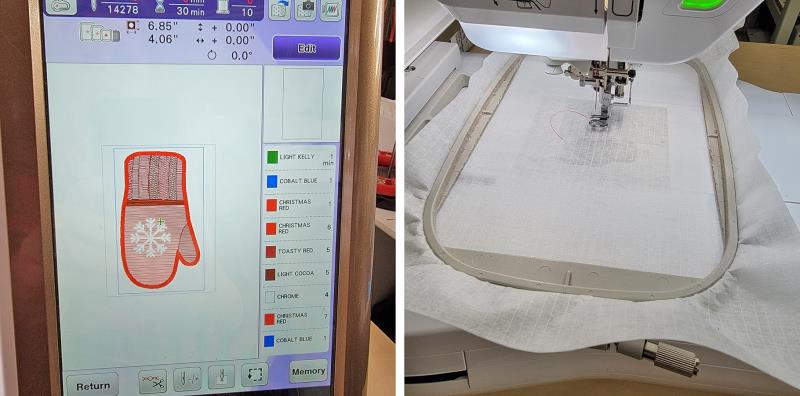
Load the design on the machine. Hoop the stabilizer and place the hoop on the machine.
(Click Image to Enlarge)
Step 5:
Stitch color 1 which is the placement line. If you purchased a stack of felt online, there is nothing wrong with coordinating colors with the lighter for the front, and darker for the back of the mitten.
(Click Image to Enlarge)
Step 6:
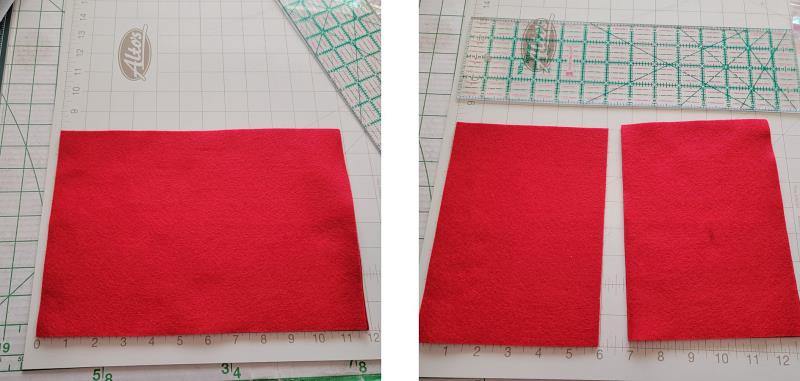
The felt pieces I purchased were 8.5” x 11” sheets, so I just cut them in half.
(Click Image to Enlarge)
Step 7:
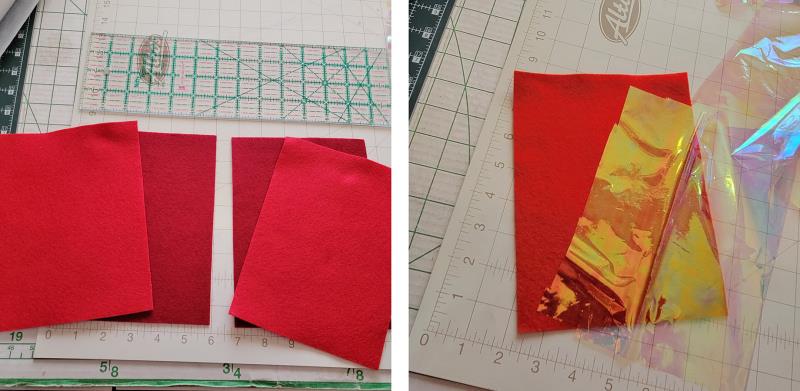
And because I wanted another bright red mitten, I chose to back it with the darker red.
(Click Image to Enlarge)
Step 8:
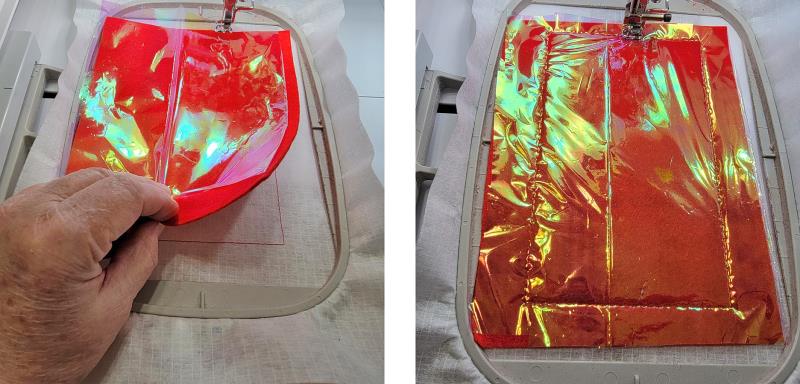
Place the felt over the placement line, and then place the Mylar on top of the felt. Try and keep the Mylar as smooth as possible while the tack down line is stitched, color 2.
(Click Image to Enlarge)
Step 9:
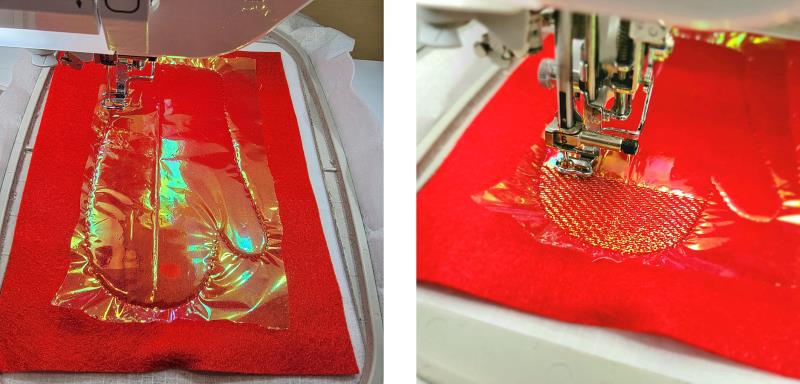
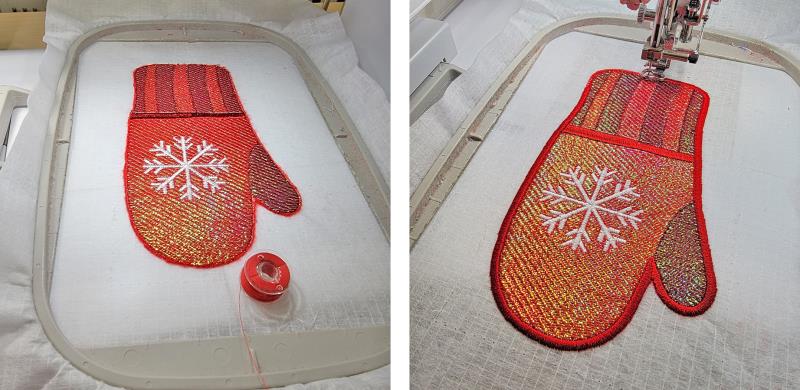
Continue stitching following the color sequence. The mitten outline and light fill will stitch.
(Click Image to Enlarge)
Step 10:
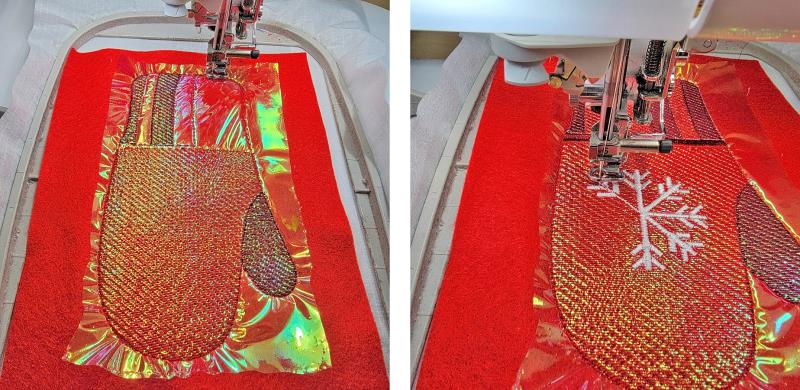
And then the thumb and ribbing, and then the detail.
(Click Image to Enlarge)
Step 11:
The machine will stop. Remove the hoop from the machine but do not remove the piece from the hoop. Use the small applique scissors to trim the excess felt and Mylar from around the mitten.
(Click Image to Enlarge)
Step 12:
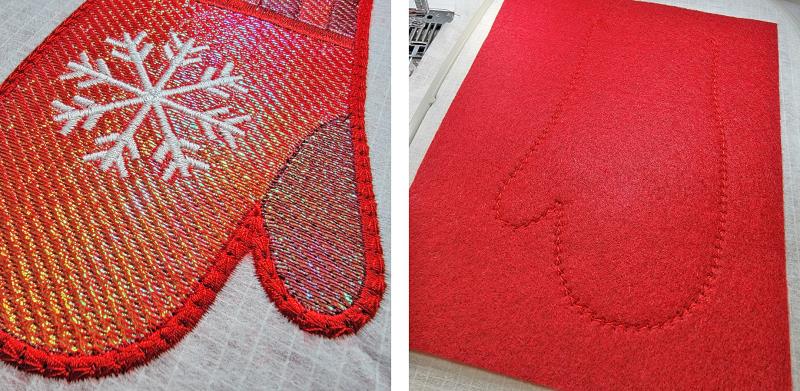
Place the colored bobbin in the machine. Place the hoop on the machine and stitch the next color which is the satin outline.
(Click Image to Enlarge)
Step 13:
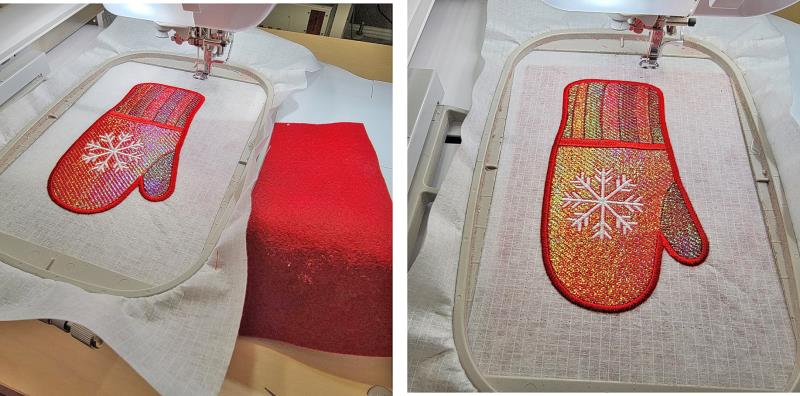
The machine will stop. Place the back felt under the hoop, sliding it into position under the mitten.
(Click Image to Enlarge)
Step 14:
Stitch the next color to attach the front to the back.
(Click Image to Enlarge)
Step 15:
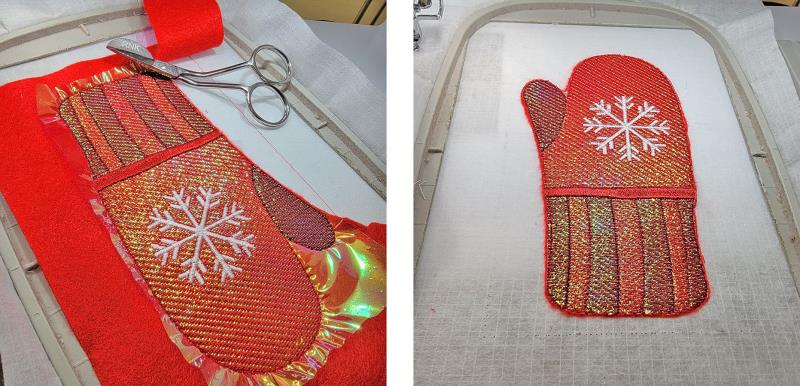
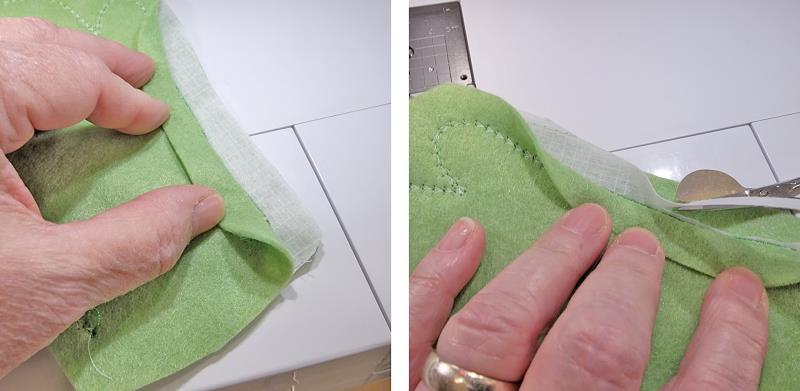
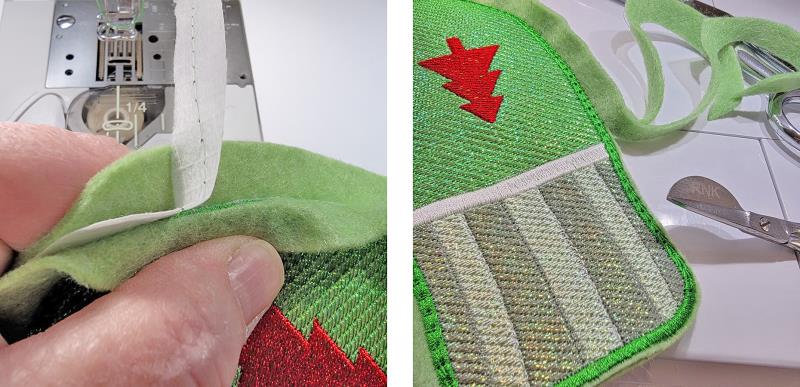
I did not take photos when doing the original mitten of these steps, so I’m just showing trimming another mitten. Remove the mitten from the hoop. Fold back the felt to expose the stabilizer. Use the applique scissors to very carefully trim away the stabilizer right next to the stitches.
(Click Image to Enlarge)
Step 16:
After the stabilizer is trimmed from between the felt pieces, then cut the front and back felt from around the mitten separately, making the mitten front a little longer than the back.
(Click Image to Enlarge)
Step 17:
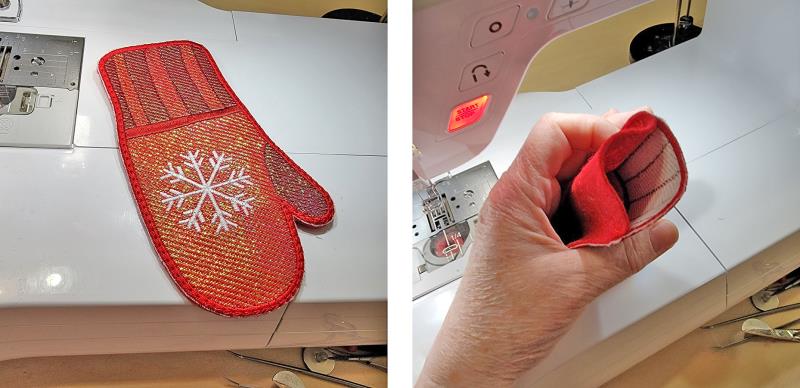
The mitten is complete with an opening at the top to hold utensils.
(Click Image to Enlarge)
Step 18:
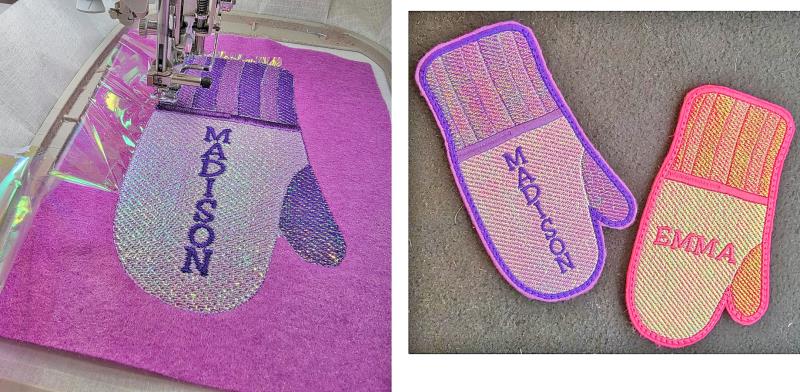
There is one blank mitten in the set, or it can be purchased separately. Either in software or at the machine, a name or other text may be added. The text should sewn before the trimming is done on the mitten front. Consult your manual to see how to add text to the design.
(Click Image to Enlarge)
Step 19:
Congratulations!!! Mix and match felt and thread colors, have fun adding text greetings—what ever you would like to add some fun to your winter buffet. And don’t forget there will be a lot of parties coming up, so stitch some up with perhaps a monogram or in sets as a welcome hostess gift that can be used year after year.
Ramona Baird has been in the embroidery industry for over 23 years. She and her husband owned a commercial and retail embroidery store in Arizona for many years. She is an experienced digitizer having been mentored by award-winners Pat Williams and Lindee Goodall. Ramona is a contributor to “Creative Machine Embroidery” magazine having 5 covers to her credit. Ramona has worked for Wilcom America and served many years as Education Director for the American Sewing Guild. With a degree in fashion design, she is able to design and execute patterns which Pat Williams says are “out of the box” in creativity and application. Ramona likes to challenge the boundaries of embroidery and bring new and exciting designs, ideas, and projects to EmbroideryDesigns.com. She wants embroiderers of all levels to increase their skills and enjoyment in using their embroidery machine for gift-making and personal pleasure.