Holiday Embroidered Cork Coasters

Holiday Embroidered Cork Coasters Embroidery Project

By   Linda Mills   on   August 19, 2021
  • SKILL LEVELSome Experience
  • TIME REQUIRED00:45
Description

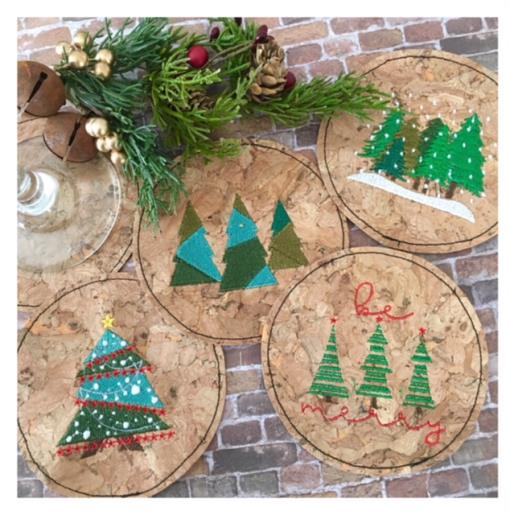
A Christmas Tree embroidery design themed fabric cork coasters will be such a festive table décor for the holiday entertaining.

Step of

Materials

Project Preview Video

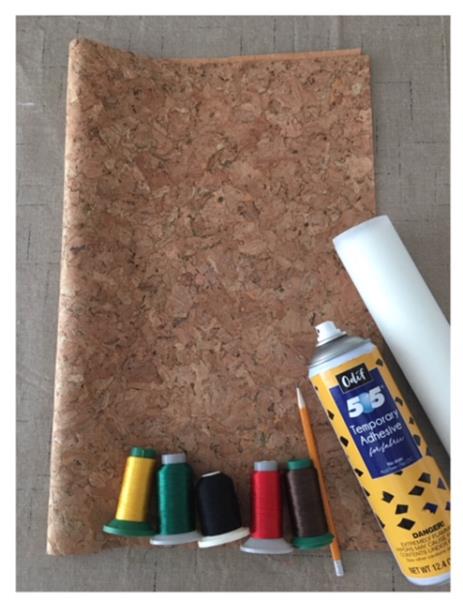
Materials
  • CORK FABRIC ½ YARD
  • TEAR AWAY STABILIZER
  • MULTIPLE COLORS EMBROIDERY THREAD
  • SEWING THREAD
  • TEMPORARY ADHESIVE SPRAY
  • PENCIL
  • 90/14 SIZE EMBROIDERY NEEDLE
  • SEWING MACHINE

  • Designs used in this project

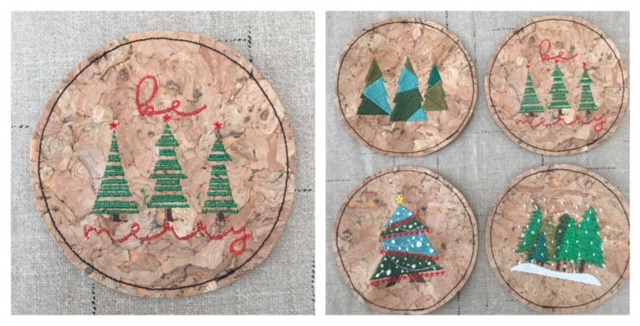
    Final Product: What You Will Create

    Preface:
    A simple easy to follow project tutorial for those machine embroiderers with some experience and beginners in mind. Cork fabric used in this project is an easy stable fabric to sew and embroider on. Most find sewing on this type of fabric works well with regular needles, sewing machine settings, etc. It is wise though before sewing that you check your machine settings using a sample piece of the cork fabric. The fabric is cut into 5.5” squares and then cut to size for the coaster after embroidering is complete. Completion time of each coaster will vary due to embroidery design stitch out time. Please note that the 5" circle pattern is linked for print out. 
     
    "Be Merry" embroidery design size used in this tutorial 2.76 x 3" 


    Step 1:
    Gather all supplies and review instructions before beginning. 

    (Click Image to Enlarge)


    Step 2:
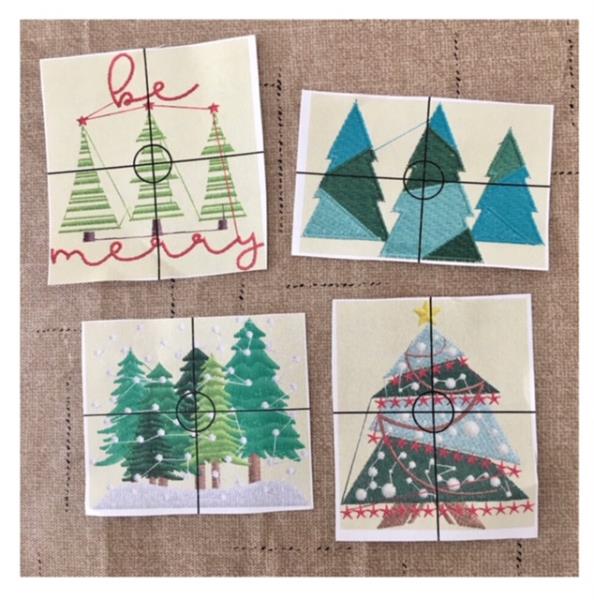
    Print out paper template of embroidery designs for thread color review.

    (Click Image to Enlarge)


    Step 3:
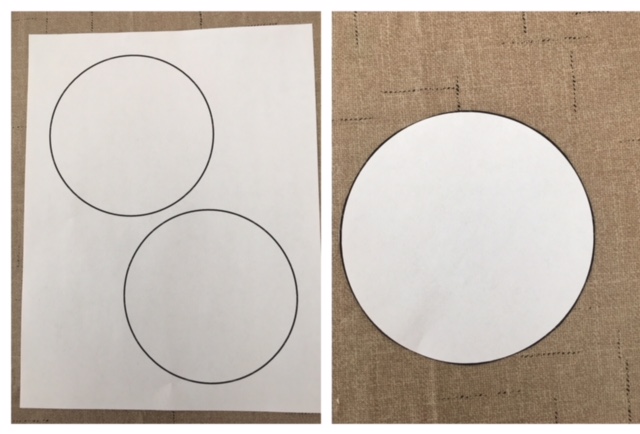
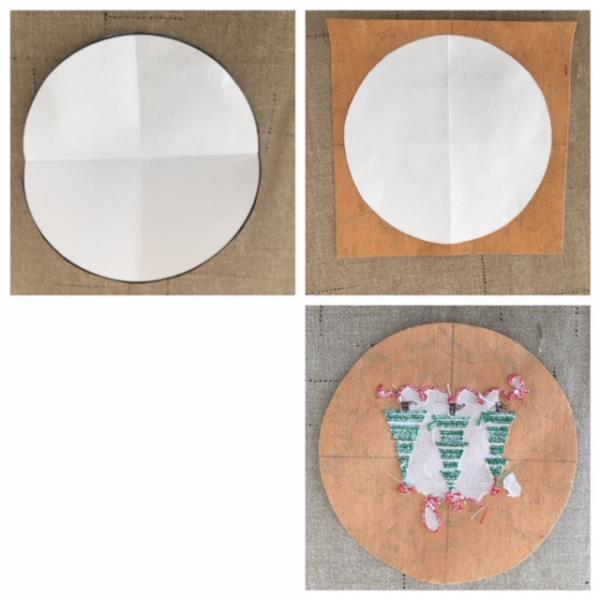
    Print out attached 5” circle pattern and cut out.

    (Click Image to Enlarge)


    Step 4:
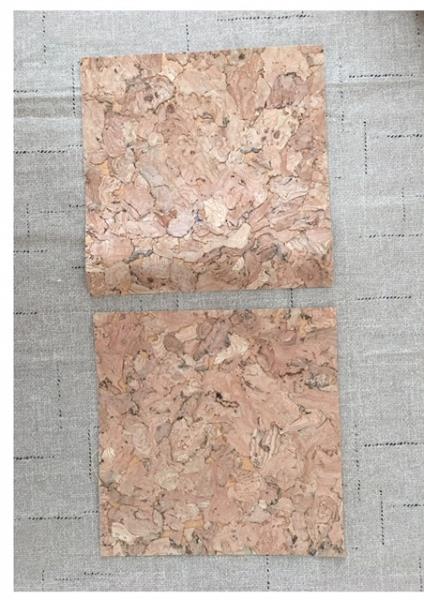
    Cut cork fabric into (8) 5.5” squares. Each coaster requires two squares.

    (Click Image to Enlarge)


    Step 5:
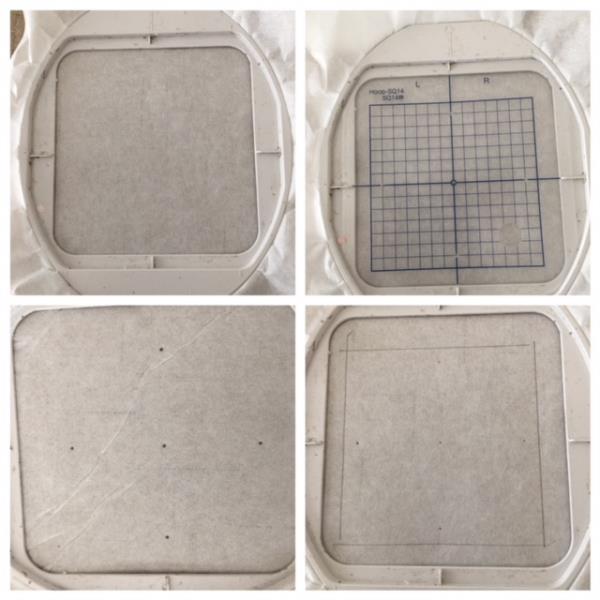
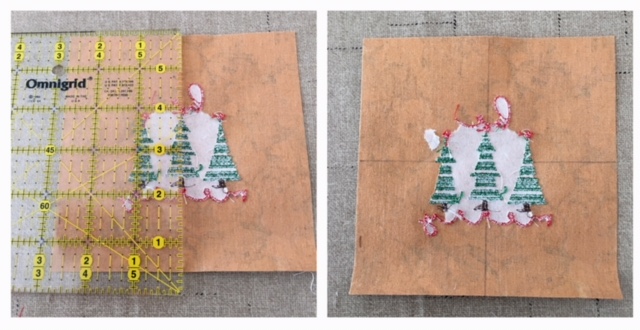
    Hoop stabilizer. Using your hoop grid, mark registration marks directly onto stabilizer. Draw a 5.5” square onto stabilizer. Using your registration marks measure 2 ¾” from center out. Draw line and repeat for the other side, top and bottom to draw out your 5.5” square.

    (Click Image to Enlarge)


    Step 6:
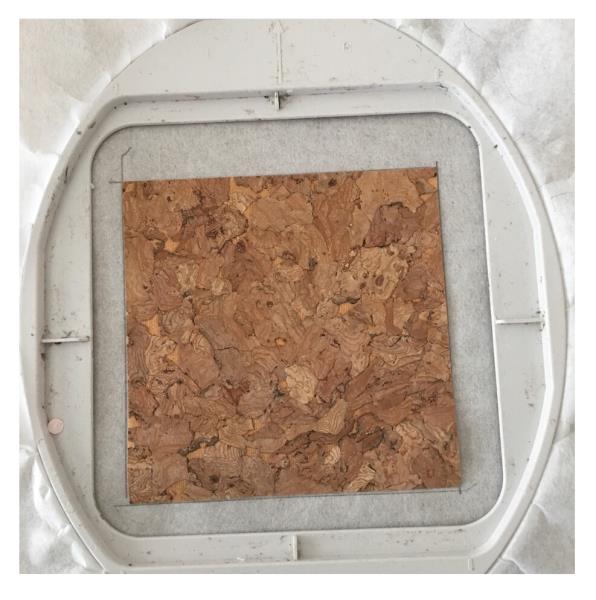
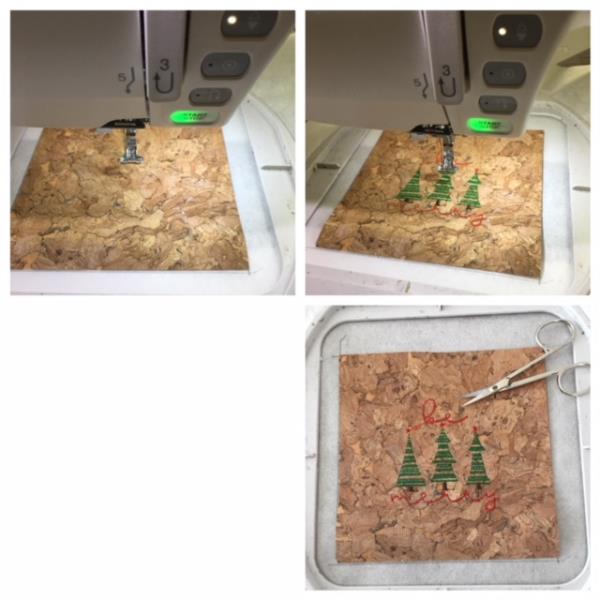
    Spray temporary adhesive spray onto back of one of your cork fabric squares. Place and center onto stabilizer fitting within the square drawn.  Finger press to secure.

    (Click Image to Enlarge)


    Step 7:
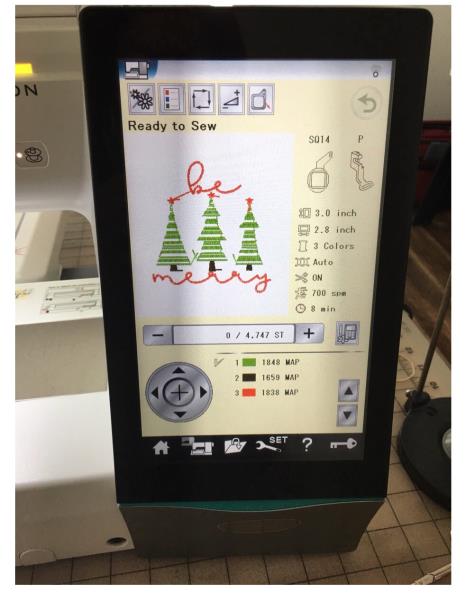
    Load “Be Merry “ embroidery design into your machine. 

    (Click Image to Enlarge)


    Step 8:
    Attach hoop. Confirm center needle placement. Begin embroidering process. Review paper design templates for thread colors. Embroidering complete. Remove hoop. Cut and trim all jump stitches and loose thread ends. Remove stabilizer from back.

    (Click Image to Enlarge)


    Step 9:
    On back side of embroidered square find center and mark axis lines using your pencil.

    (Click Image to Enlarge)


    Step 10:
    Quarter fold your cut out 5” circle pattern. ( Fold in half then half again). Place pattern circle onto cork fabric square. Match axis points from your pattern to axis markings on cork fabric square. With your pencil trace around outside of pattern circle. Remove pattern and cut out circle.

    (Click Image to Enlarge)


    Step 11:
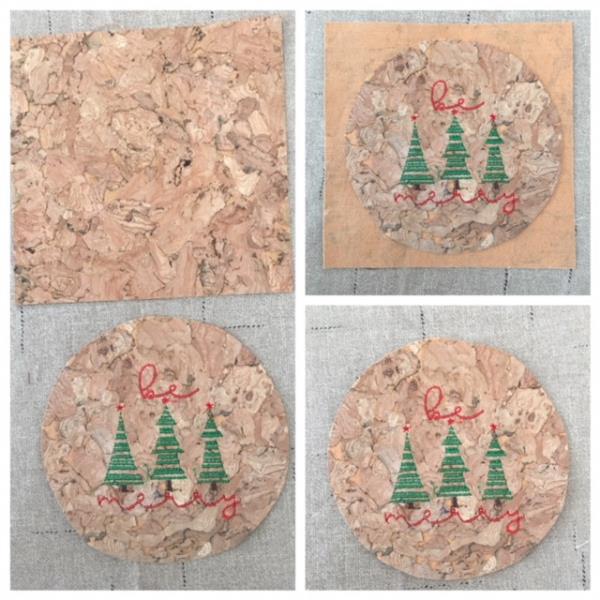
    Spray back of fabric cut circle. Place wrong sides together using your other 5.5” cork square. Cut out circle.  You now have front and back of coaster sandwiched together. 

    (Click Image to Enlarge)


    Step 12:
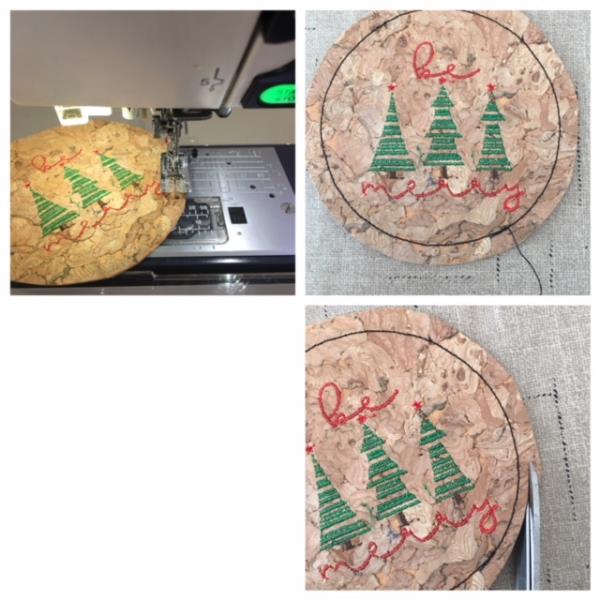
    Stitch all around approximately ½” from edge of circle. Cut loose thread ends. Trim all around 1/8” from stitching.

    (Click Image to Enlarge)


    Step 13:
    And your first coaster is done! Congrats! Repeat steps 5-12 for the remaining embroidery designs to complete your set of 4!

    (Click Image to Enlarge)

    Meet the Author: Linda Mills
    Linda Mills
    Linda loves to create by sharing her different sewing and machine embroidery techniques so others can utilize their machines to the fullest
    More From This Author
    Link is Broken, Please check the URL
    Exclusive Embroidery Offers!
    Copyright © {{ currentDate | date:'yyyy'}} - EmbroideryDesigns.com
    GET 50% OFF! ×