Countdown to Christmas Chalkboard Easel

Countdown to Christmas Chalkboard Easel Embroidery Project

By   Linda Mills   on   July 16, 2021
  • SKILL LEVELSome Experience
  • TIME REQUIRED00:45
  • FINISHED SIZE6.5 x 10.5 inches
Description

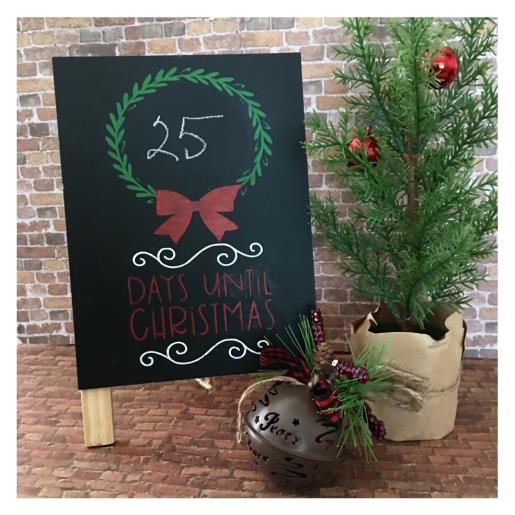
Get into the festive spirit with this charming tabletop chalkboard easel, perfect for counting down the days to Christmas. Its decorative design adds a festive touch to any room. Step-by-step instructions are included.

Step of

Materials

Project Preview Video

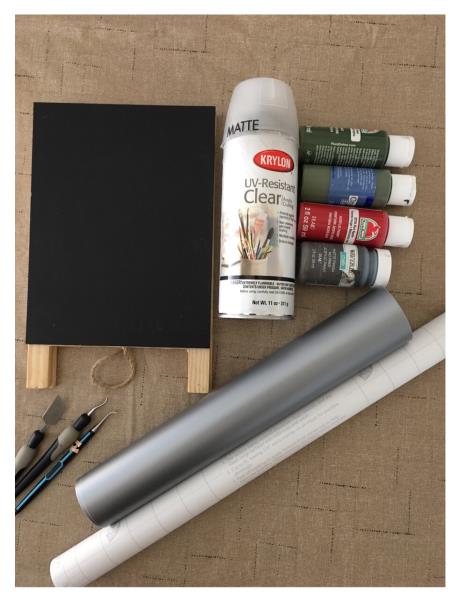
Materials
  • TABLETOP CHALKBOARD EASEL 10”H X 6.5”W
  • ACYLIC PAINTS – GREEN,RED,WHITE OR YOUR CHOICE OF COLORS
  • WEEDING TOOLS
  • ADHESIVE BACK VINYL (1) 12” X 12” ANY COLOR
  • CUTTING MACHINE
  • CLEAR COATING SPRAY
  • TRANSFER TAPE
  • SMALL PAINT BRUSH

  • Designs used in this project

    Final Product: What You Will Create

    Preface:
    Turn an inexpensive tabletop chalkboard easel into a fun Christmas countdown using your cutting machine to cut this fun Days Until Christmas SVG design, weed for a stencil, then paint using your choice of paint colors or follow along with the colors used in this tutorial. Dry time is not included in the time stated to complete this project. Allow for additional time. Basic knowledge of the use of a cutting machine and how to weed the cut vinyl for a stencil is required for this project tutorial.
    . 


    Step 1:
    Gather all supplies and review instructions before beginning.

    (Click Image to Enlarge)


    Step 2:
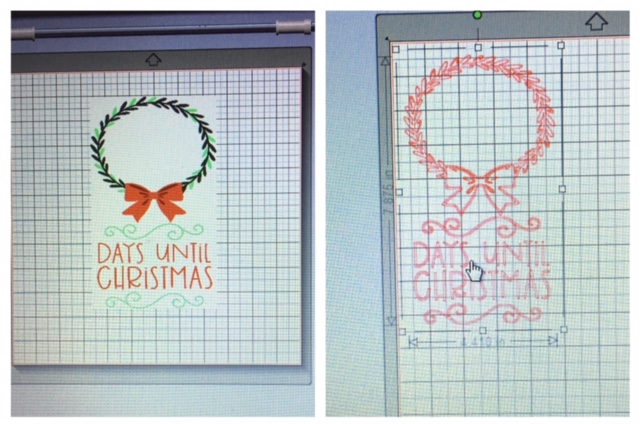
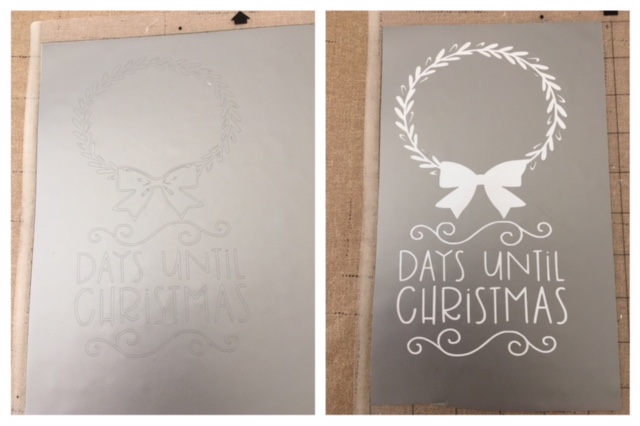
    Bring Days Until Christmas SVG design into your cutting machine’s program design board. Cut design and resize to 7.8”h x 4.4”w. If using a different size easel than stated in the supply list, resize to fit your chalkboard area. 

    (Click Image to Enlarge)


    Step 3:
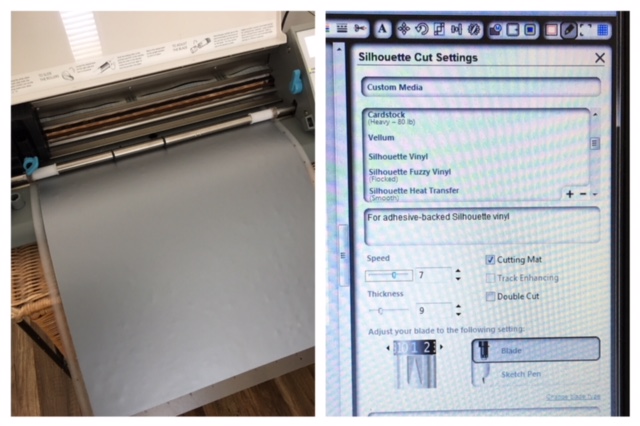
    Prepare your vinyl onto your mat for cutting. Load mat into your cutting machine. Check your cut settings. Cut design onto your vinyl.

    (Click Image to Enlarge)


    Step 4:
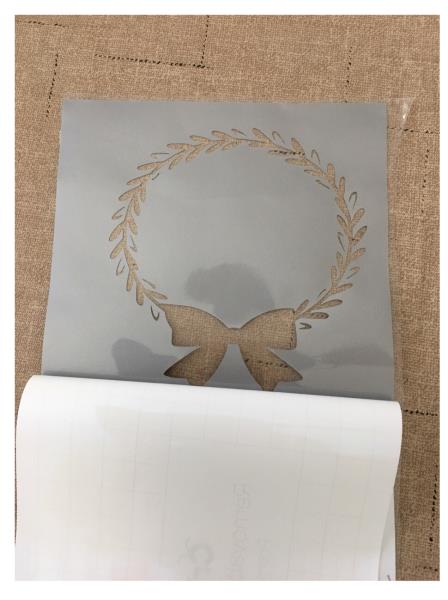
    Cutting complete. Unload from cutting machine. Weed cut vinyl for a stencil.
    *Weeding vinyl is the process of removing the unwanted vinyl from your cut design. 

    (Click Image to Enlarge)


    Step 5:
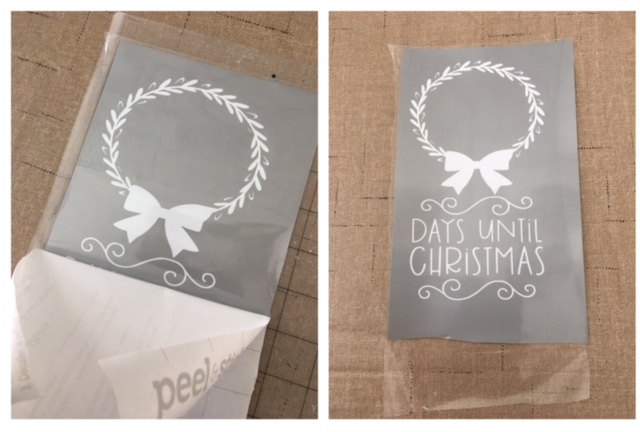
    Apply transfer tape adhesive side down to your weeded stencil. Finger press and
    smooth out any air bubbles.

    (Click Image to Enlarge)


    Step 6:
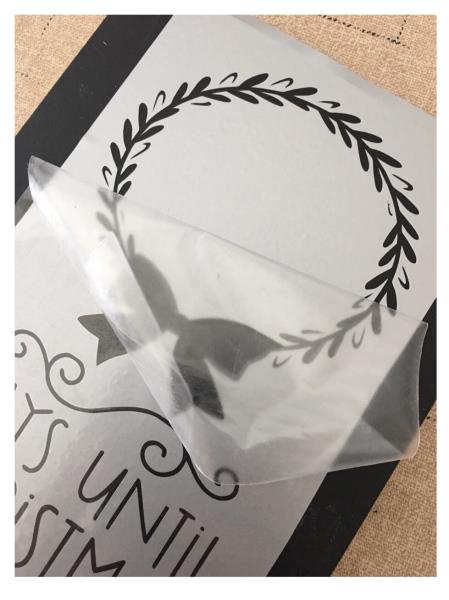
    Remove back adhesive. 

    (Click Image to Enlarge)


    Step 7:
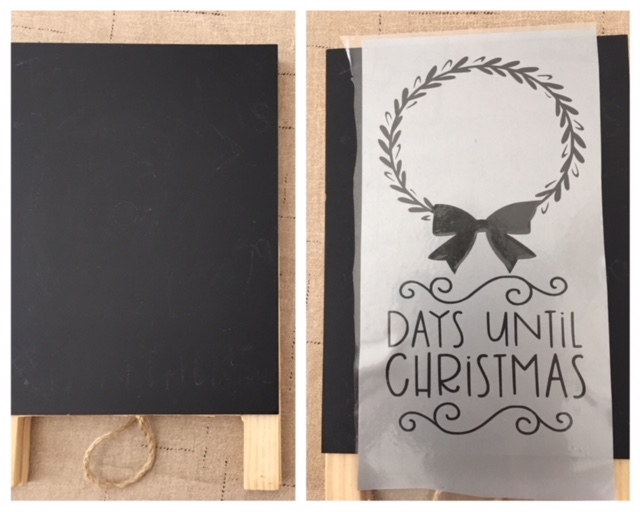
    Center onto chalkboard area of easel. Finger press to secure, focusing on pressing the edges of the open cut areas to try to avoid any paint seepage. 

    (Click Image to Enlarge)


    Step 8:
    Slowly remove transfer tape.

    (Click Image to Enlarge)


    Step 9:
    Lets get ready to paint!
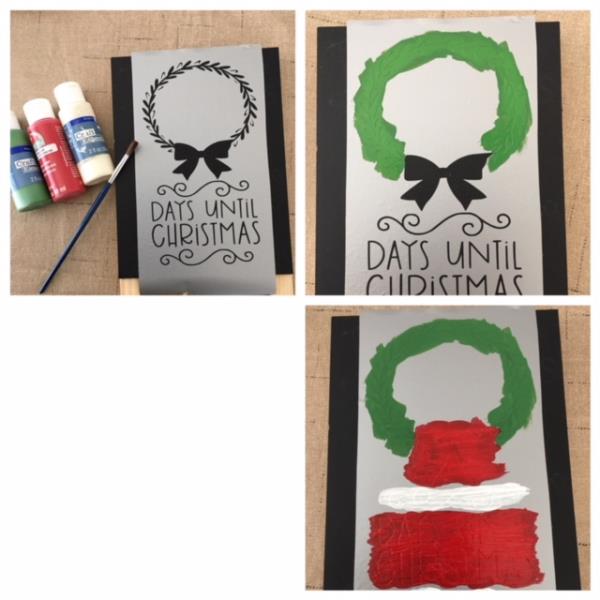
    Paint colors used in this tutorial: red, white and green or use your choice of colors. Paint the open areas. Allow each color to dry before moving on to the next.  

    (Click Image to Enlarge)


    Step 10:
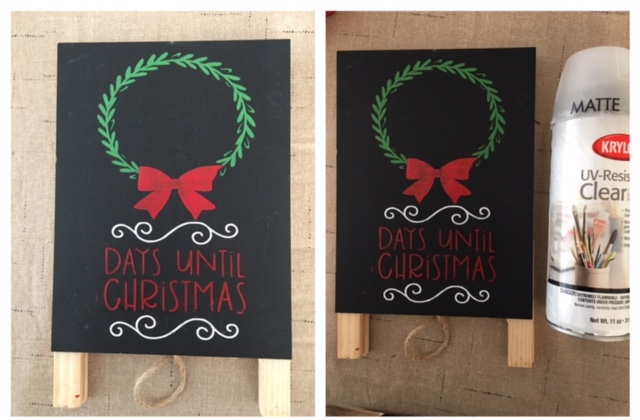
    Slowly remove stencil. Lightly spray clear coating spray as this will “seal” paint
    colors.

    (Click Image to Enlarge)


    Step 11:
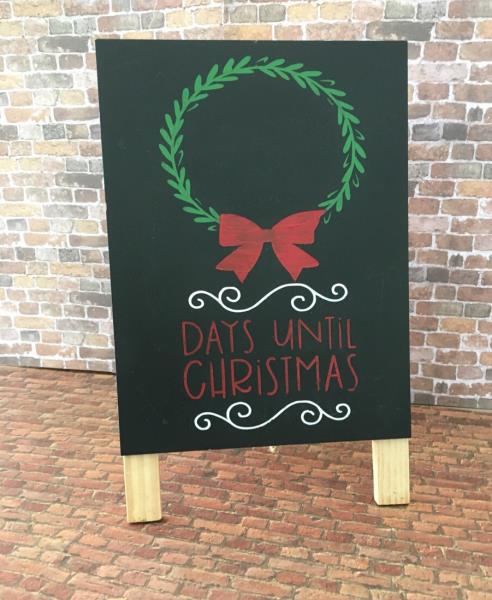
    Great job! Your Countdown to Christmas Chalkboard Easel is finished!

    (Click Image to Enlarge)

    Meet the Author: Linda Mills
    Linda Mills
    Linda loves to create by sharing her different sewing and machine embroidery techniques so others can utilize their machines to the fullest
    More From This Author
    Link is Broken, Please check the URL
    Exclusive Embroidery Offers!
    Copyright © {{ currentDate | date:'yyyy'}} - EmbroideryDesigns.com
    GET 50% OFF! ×