Border OptionsHugging border, circle, square, or rectangle — with a 3mm satin stitch.
Backing OptionsAvailable with iron-on, sew-on, or velcro backing.
Fast ShippingShipped quickly from the USA.
Free Online Tools
Powerful embroidery utilities that save time and prevent costly mistakes.
Stitch AssistantRECOMMENDED
Get the exact stabilizer, machine settings, needle, and thread color sequence for every embroidery design you purchase — based on that design's stitch density, dimensions, and color count.
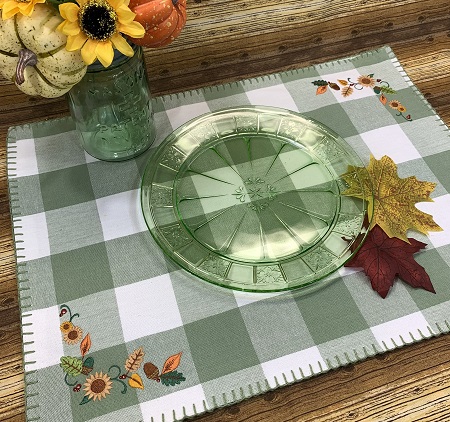
Enhance your dining experience with these charming gingham placemats featuring an applique sunflower design. Perfect for adding a touch of nature to your table setting. Step-by-step instructions are included.
Step
of
Applique Sunflower Gingham Placemats
By Marisa Littleton
A super cute sunflower design makes a great accent on these gingham placemats.
Step 1:
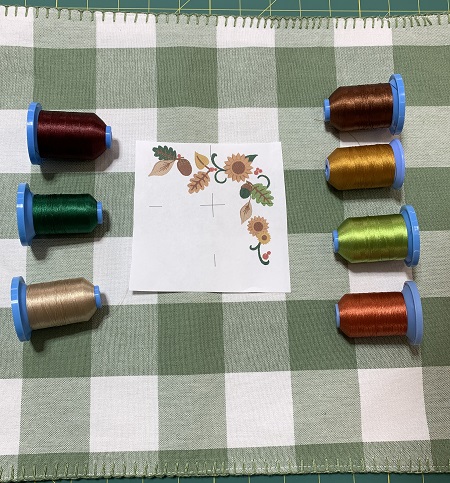
Gather & prepare the materials needed for the project. Read the directions before you begin the project.
Step 2:
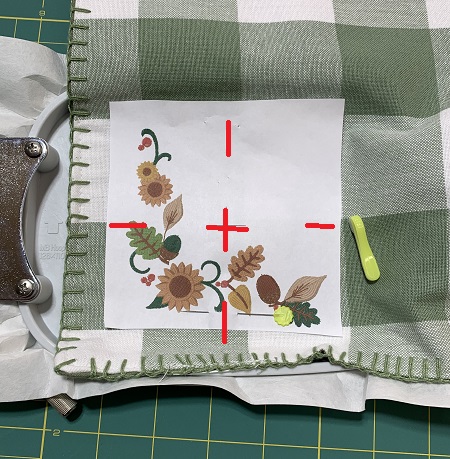
An essential tool for embroidery position and placement is a 'design template'. A design template is a printout of the actual size of the design. It has the center of the design identified, as well as the horizontal and vertical axis lines. An embroidery program can print a template of any design. (Embrilliance Essentials program was used to print the design template).
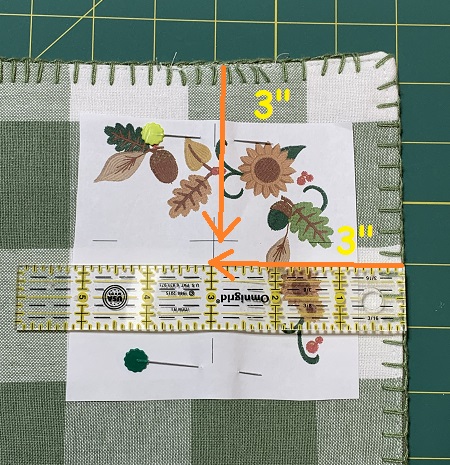
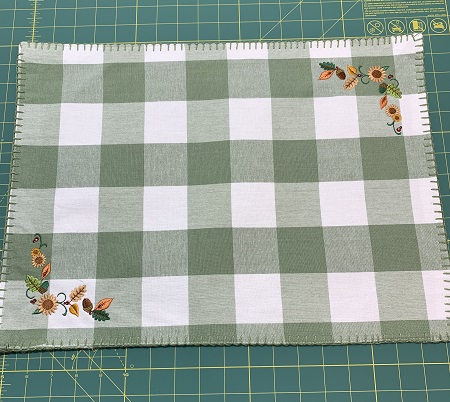
Print 2 copies of the design template. Use a design template to determine the placement and position of the design. The design template was positioned in a corner of the placemat 3” from each side.
Step 3:
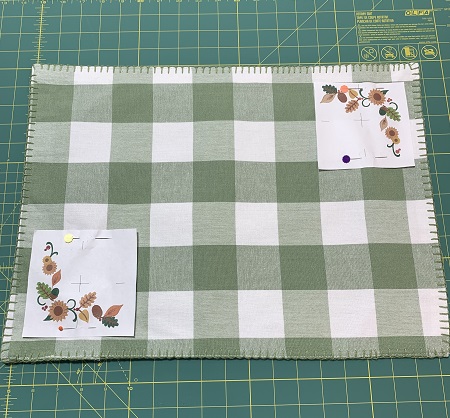
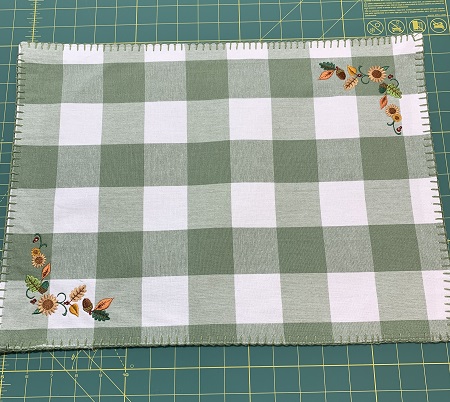
A second design template was placed on the lower opposite corner of the placement.
Step 4:
The size of the design is 3.9”x3.8” with a low stitch count of 8364. Hoop one piece of lite weight (2.0) cutaway stabilizer.
Mark the center on the stabilizer. Match the center of the design template with the center point on the stabilizer. Match the horizontal and vertical points on the hoop and the design template.
Use a light mist of 505 Temporary Adhesive spray on the stabilizer. Press the placemat onto the stabilizer. Use wonder pins to secure the placemat on the stabilizer.
Step 5:
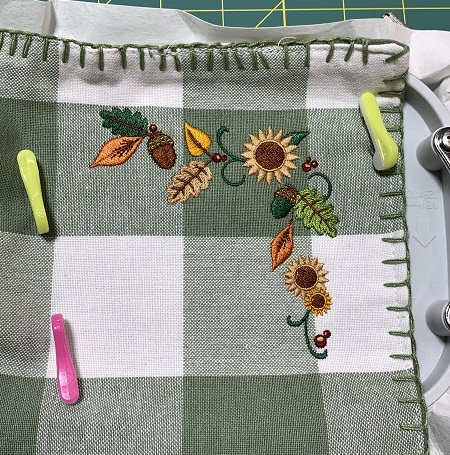
Load the design on the machine. A 75/11 size embroidery needle is suggested for this project. Attach the hoop to the machine. Check the stitching field area to make sure there is nothing in the way. Use the stitching guide to stitch the design.
Step 6:
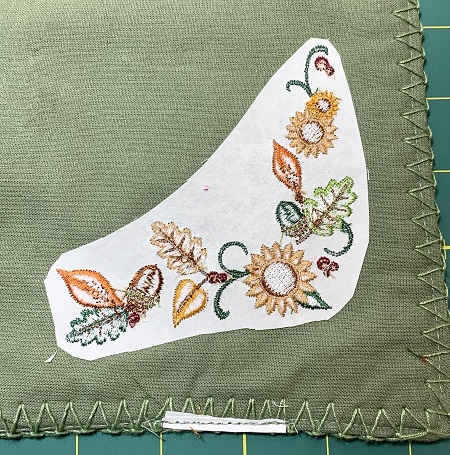
Once the design has completed stitching, remove the hoop from the machine. Remove the placemat from the hoop. Trim excess stabilizer from around the design leaving about 1/2" margin.
Step 7:
Next prepare to stitch the second design on the placemat.
Hoop one piece of lite weight (2.0) cutaway stabilizer. Mark the center on the stabilizer. Match the center of the design template with the center point on the stabilizer. Match the horizontal and vertical points on the hoop and the design template.
Use a light mist of 505 Temporary Adhesive spray on the stabilizer. Press the placemat onto the stabilizer. Use wonder pins to secure the placemat on the stabilizer.
Stitch the design. Trim the excess stabilizer from around the design leaving about a 1/2" margin.
Step 8:
Repeat steps 3-7 for each placemat in your set.
Step 9:
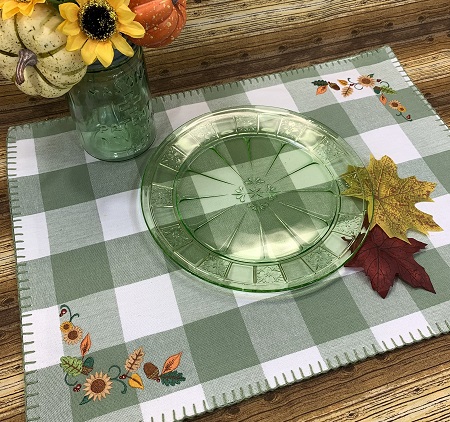
Congrats! You completed Sunflower Placemats. Now to decide where to put them...kitchen island, breakfast nook, or family table?
Marisa Littleton is a retired educator with a love for teaching and learning. Interests include machine embroidery, hand embroidery, quilting, cooking, and antiques.