Camping Trailer T-Shirt

Camping Trailer T-Shirt Embroidery Project

By   Linda Mills   on   June 10, 2021
  • SKILL LEVELSome Experience
  • TIME REQUIRED01:00
Description

Create a fun t-shirt celebrating camping life with the phrase 'It's All Good In The Trailerhood'. Perfect for outdoor enthusiasts, this shirt is a great way to capture memories. Step-by-step instructions are included.

Step of

Materials

Project Preview Video

Materials
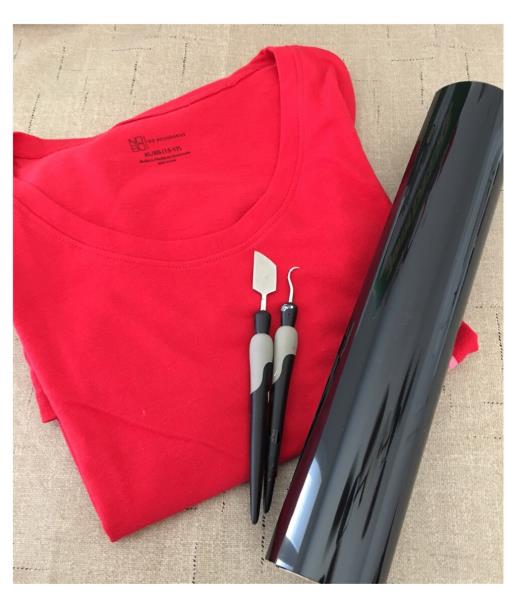
  • HEAT TRANSFER/IRON ON VINYL 12” X 12”
  • SOLID COLOR T-SHIRT (COTTON)
  • WEEDING TOOLS
  • CUTTING MACHINE ( CRICUT,SILHOUETTE CAMEO)
  • IRON PRESSING CLOTH

  • Designs used in this project

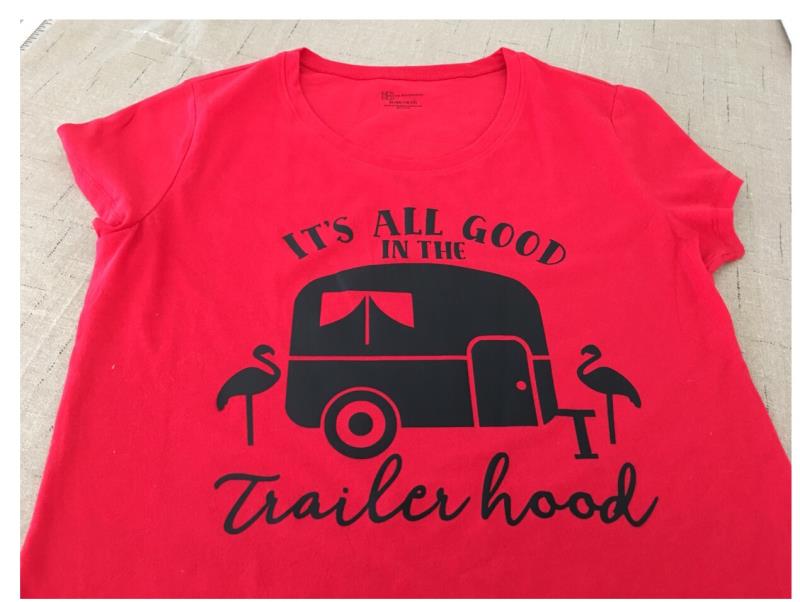
    Final Product: What You Will Create

    Preface:
    This tutorial is easy to follow for those with experience and knowledge of the usage of a cutting machine and how to cut and weed your cut vinyl to create a decal for ironing on to a t-shirt.  Not listed in supplies: Iron 


    Step 1:
    Gather all supplies and review instructions before beginning. 

    (Click Image to Enlarge)


    Step 2:
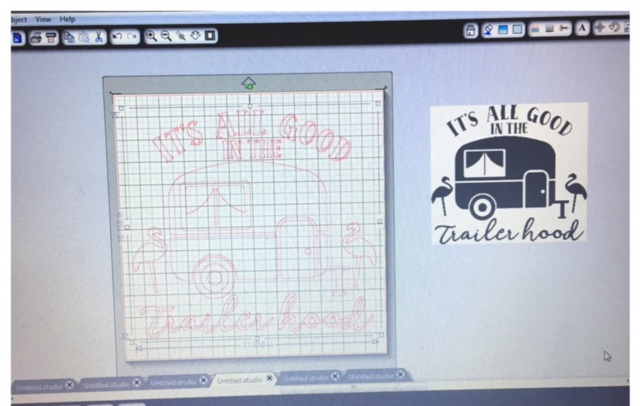
    Bring SVG design “All Good In The Trailerhood” into your cutting machine program. Cut design and resize to fit the application area of your t-shirt. A woman’s XL t-shirt was used in this tutorial and design was resized to 10”h x 11” w. 

    (Click Image to Enlarge)


    Step 3:
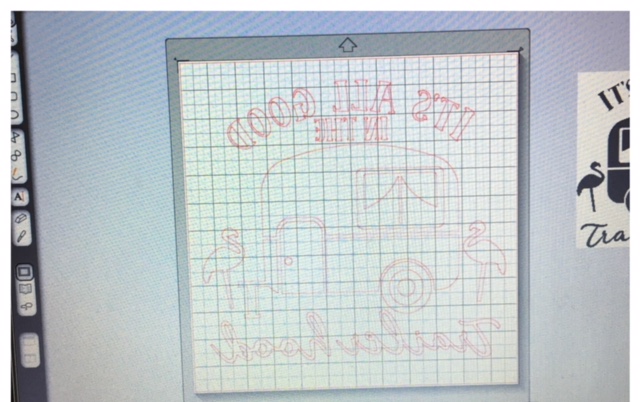
    Flip horizontally ( mirror image) your cut design.
     **You should always mirror your image when applying heat transfer/iron on vinyl to t-shirts, tote bags, etc. Flipping the design horizontally will mirror your image so that it appears backward from what it should look like when your project is finished.

    (Click Image to Enlarge)


    Step 4:
    Prepare vinyl for cutting
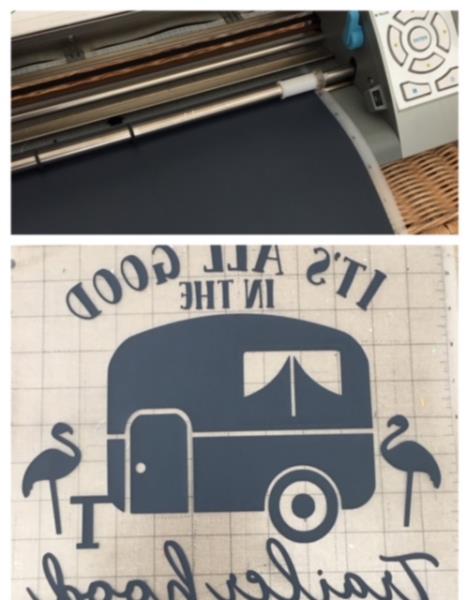
    Place your vinyl atop your cutting mat shiny side down.( plastic sheeting) finger press to adhere to mat. **The plastic sheeting acts as the transfer agent when applying to t-shirt. Load in to your cutting machine. Adjust your cut setting to heat transfer. Do a test cut and make any necessary adjustments. Cut vinyl. When cutting is complete, unload from cutting machine. Weed design for a decal by peeling away all unwanted vinyl until you are left with just your design.

    (Click Image to Enlarge)


    Step 5:
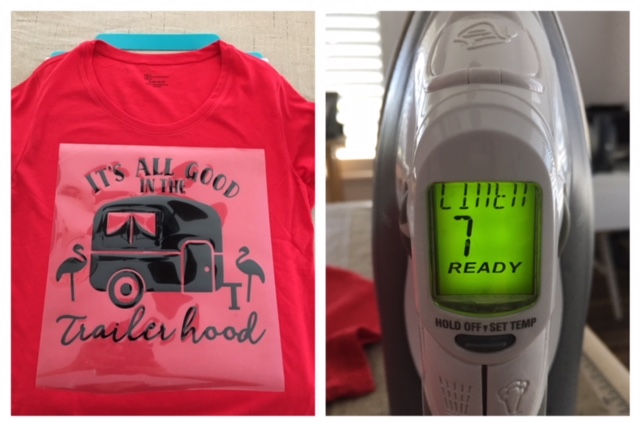
    Flip over the decal. Position and center atop your t-shirt. If needed, first iron press your t-shirt to remove any wrinkles.  Follow manufacturer’s instructions for the heat transfer/iron on vinyl purchased. Set iron to linen setting. Place your pressing cloth on top of plastic sheeting. Iron press 15-20 seconds per sections of design. 

    (Click Image to Enlarge)


    Step 6:
    Slowly peel off plastic sheeting ensuring the vinyl is adhering to the t-shirt. If it’s not sticking…place back the plastic sheeting, pressing cloth and apply the iron for a few seconds more to adhere. And Viola! You are done! Great job!

    (Click Image to Enlarge)

    Meet the Author: Linda Mills
    Linda Mills
    Linda loves to create by sharing her different sewing and machine embroidery techniques so others can utilize their machines to the fullest
    More From This Author
    Link is Broken, Please check the URL
    Exclusive Embroidery Offers!
    Copyright © {{ currentDate | date:'yyyy'}} - EmbroideryDesigns.com
    GET 50% OFF! ×