















































PROJECT INSTRUCTIONS


PROJECT INSTRUCTIONS
Quilt Sunflower Gingham Apron Embroidery Project
By
Marisa Littleton
on
April 13, 2021
Description
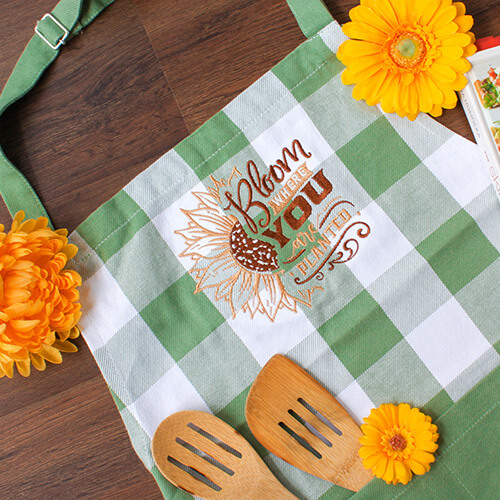
This quilted gingham apron features vibrant sunflowers and the inspiring phrase 'Bloom Where You Are Planted.' It makes a charming addition to your kitchen décor from late summer through Thanksgiving. Step-by-step instructions are included.
Step
of
Materials
Project Preview Video

Bloom Where Planted
$4.99
$0.99
Circle Price: $0.99

Wonder Pins
$20.75
Circle Price: $20.75

Cut Away Stabilizer - 2.5 Oz wt.
$8.94
Circle Price: $8.05

Cut Away Stabilizer - 2 oz wt.
$8.52
Circle Price: $7.67


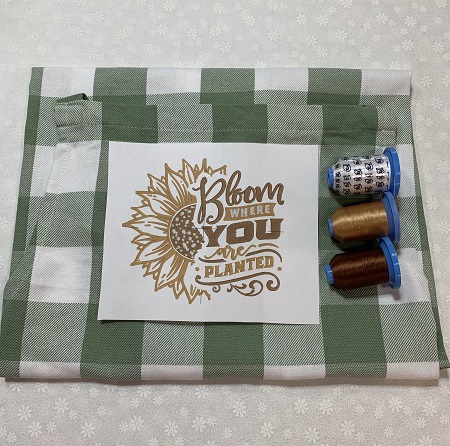
| Materials Design Template Commercial gingham apron Embroidery needle size 75/11 Cut away (medium wt.) stabilizer Embroidery thread (40 wt.) Robison-Anton Super Brite poly 505 Temporary Adhesive Spray Wonder Pins |
| Designs used in this project |
| Final Product: What You Will Create |
 |
|
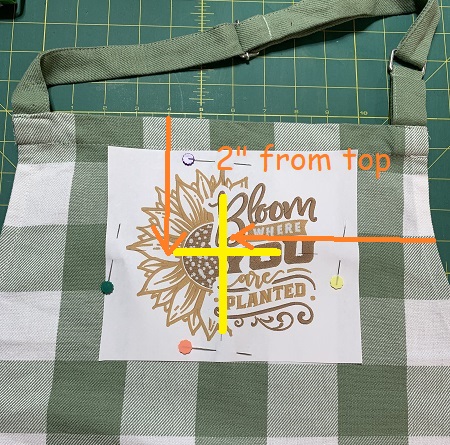
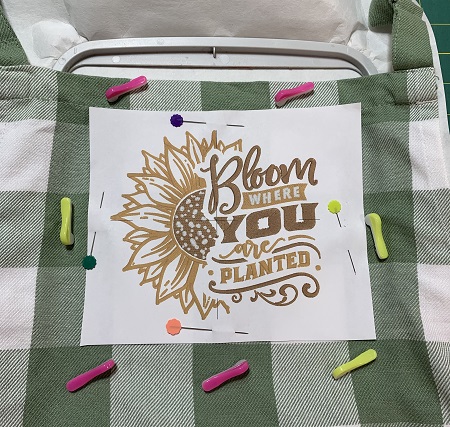
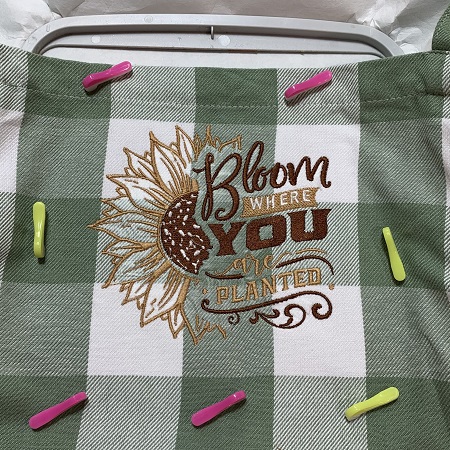
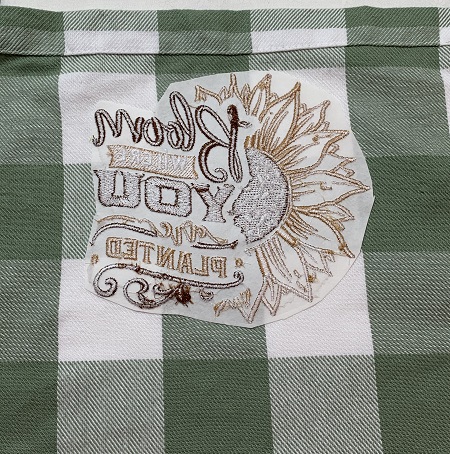
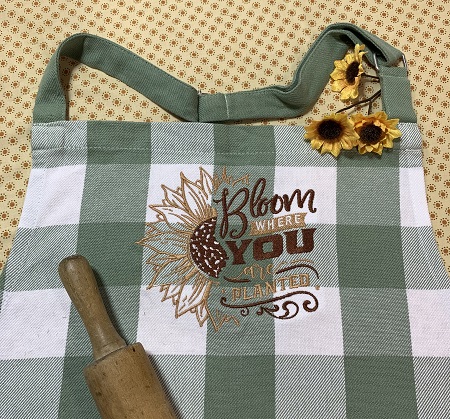
Beautiful things are made one stitch at a time... Marisa Littleton |
Projects You May Like
Meet the Author:
Marisa Littleton

Marisa Littleton is a retired educator with a love for teaching and learning. Interests include machine embroidery, hand embroidery, quilting, cooking, and antiques.
Feedback
Characters Remaining
Please Login to Submit a Feedback
Invalid Characters, Please enter a valid Comment
Please enter a valid Comment
Reviewed On
Link is Broken, Please check the URL