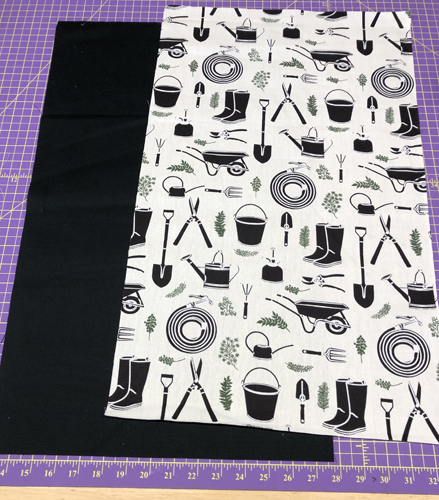
Cut 14” x 25” rectangles of both the outer and lining fabrics.
Step 2:
(Click Image to Enlarge)
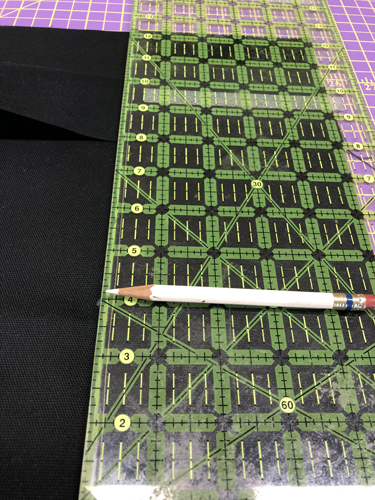
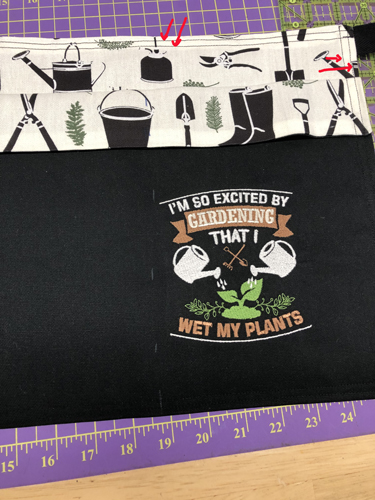
Fold the outer fabric in half widthwise so you are working on a 14” x 12 ½” apron. Measure up 4” from the bottom folded edge and 4” from the side edge and mark where you want the embroidery to be. I mistakenly measured in 5” from the side edge as you can see in this picture, but we loved the apron anyway so left it as it is. Extend you markings vertically and horizontally to have cross hairs for hooping.
Step 3:
(Click Image to Enlarge)
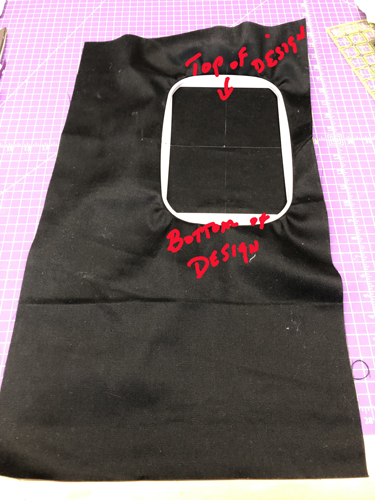
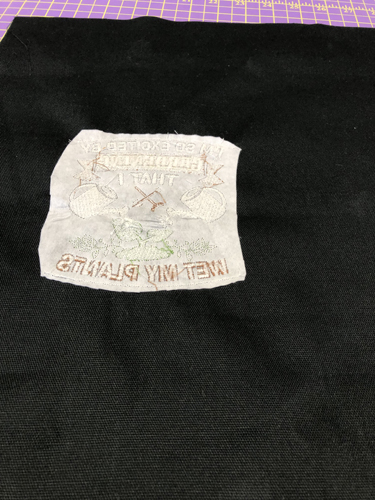
Tautly hoop the outer layer of fabric with cut-away stabilizer aligning your crosshair with the alignment marks on your hoop.
Step 4:
(Click Image to Enlarge)
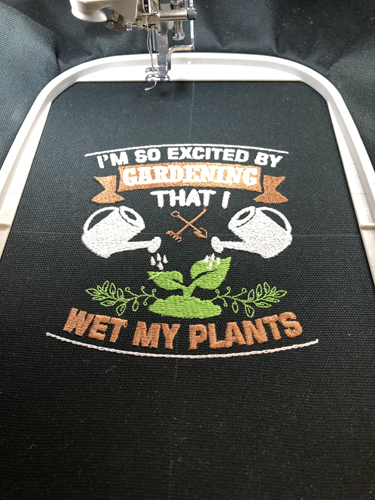
Follow the color chart to embroider the design
Step 5:
(Click Image to Enlarge)
Trim the excess stabilizer around the design.
Step 6:
(Click Image to Enlarge)
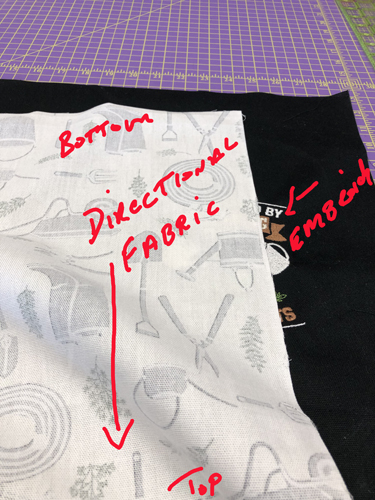
Lay the lining fabric right sides together over the embroidery. If you are using a directional print, the top of the print will look upside down over the embroidery and facing the other end of the apron.
Step 7:
(Click Image to Enlarge)
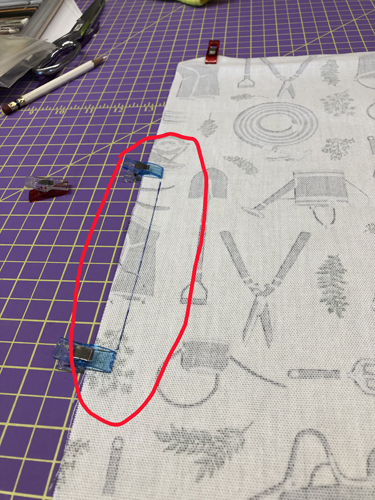
Pin or clip around all sides of the lining and outer fabric. Mark a 4” or 5” space along one side to leave an opening for turning.
Step 8:
(Click Image to Enlarge)
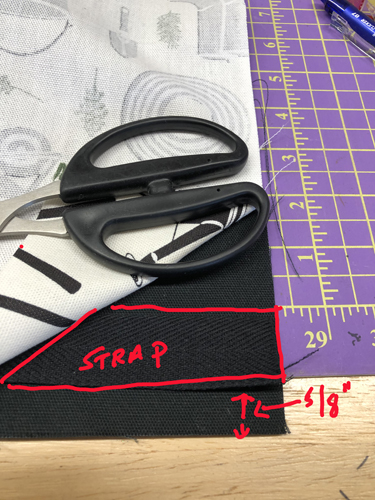
Turn back the fabric on the top edge of the apron. This is the end without the embroidery. Cut two 1 yard pieces of twill and insert between the lining and outer fabric 5/8ths” from the top edge of the fabric and matching the end with the side edge of the fabric. Tuck the strap inside the apron making sure the straps will be away from the seam edges. Do this on both sides of the top of the apron.
Step 9:
(Click Image to Enlarge)
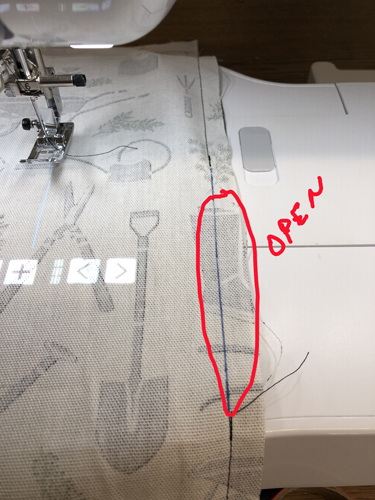
Stitch around the apron with a ½” seam allowance starting at one edge of the area you will leave open and stopping at the other edge of your opening. Backstitch at both the beginning and end of the opening.
Step 10:
(Click Image to Enlarge)
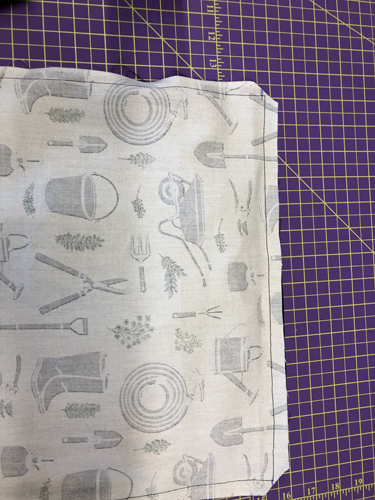
Clip diagonally across all 4 corners.
Step 11:
(Click Image to Enlarge)
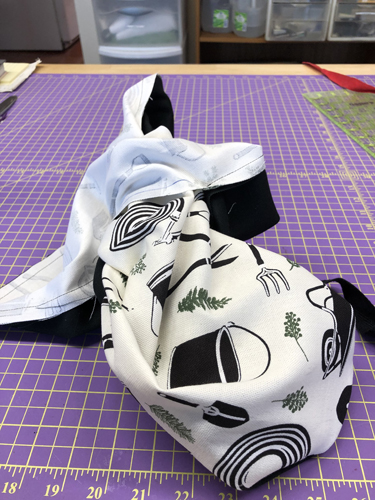
Turn the apron right side out through the opening using a point turner of other object to form the corners.
Step 12:
(Click Image to Enlarge)
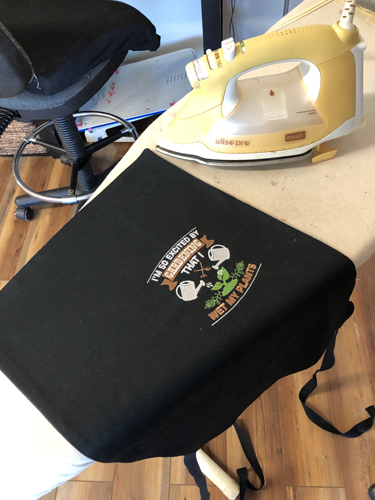
Press around the whole apron turning in and pressing the opening seam allowance inside of the apron.
Step 13:
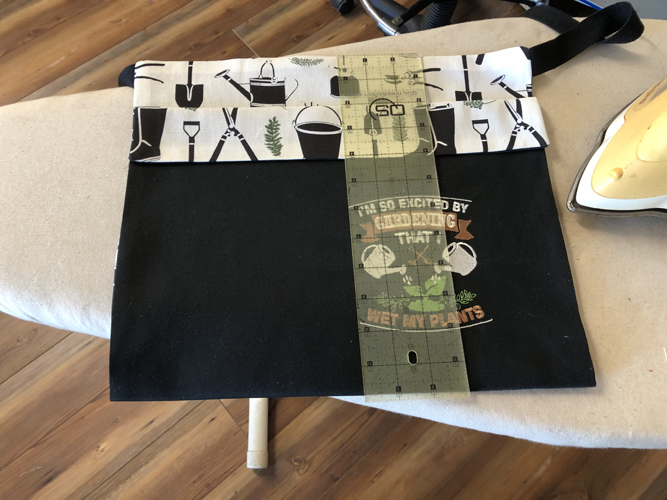
Press the lined fabric in half, lining sides together, bringing the top of the embroidery section to meet the top of the apron. Press the fold. Fold the top of the apron 2” to form the pocket borders and press.
(Click Image to Enlarge)
Step 14:
(Click Image to Enlarge)
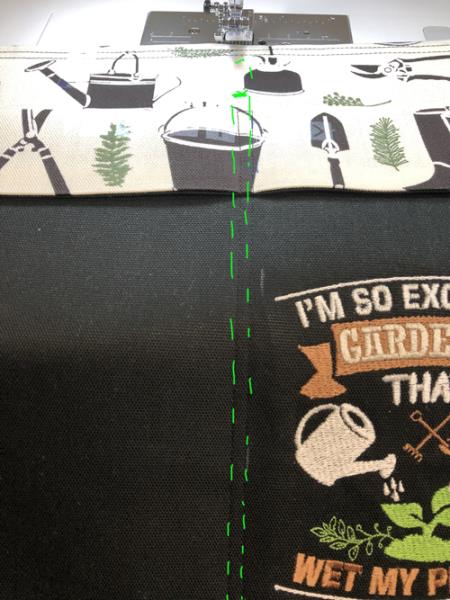
Topstitch around the whole folded apron a scant ¼” and then a second time ¼” from the first stitching.
Step 15:
Measure in 7” from the right-hand side of the apron and mark a line from the bottom of the apron through the top of the flap at the top of the pocket. Starting at the lower edge stitch through marks to the top edge of the pocket; pivot and stitch ¼” across the top of the pockets, pivot and stitch back down to the bottom of the apron ¼” away from your original pocket stitches.
(Click Image to Enlarge)
Step 16:
(Click Image to Enlarge)
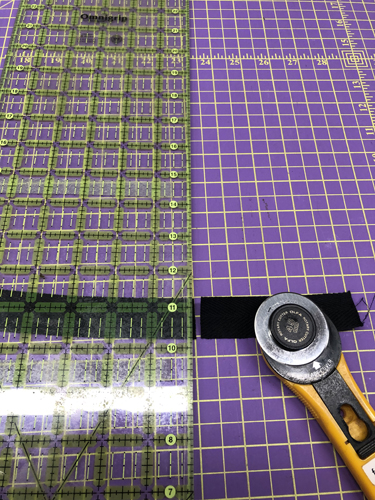
Tie the apron around yourself or a dress form to see if you want to shorten the length of your ties. Add 1 ¼” to the finished length you want. I trimmed off 4” from each strap.
Step 17:
(Click Image to Enlarge)
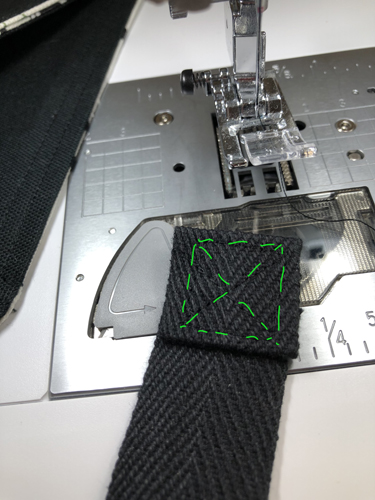
Fold under the end of each strap ¼” and press. Fold up 1” and press. Stitch a square and cross on the end of each strap to secure.
Step 18:
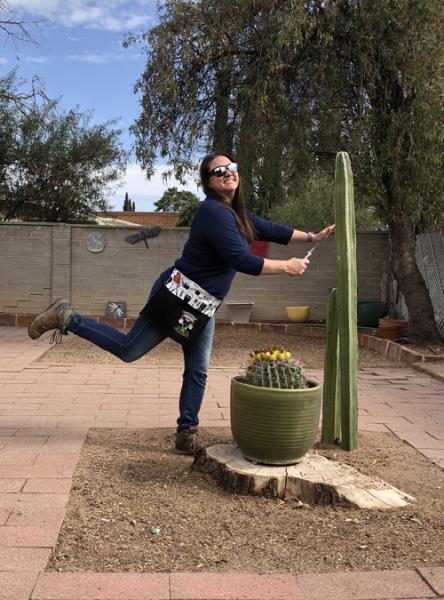
Congratulations your Sassy Gardening Apron is complete! Tie it on and enjoy working in your garden, or give it to your daughter, as I did, to get this happy response.
Award winning Digitizer, Embroidery Educator, Author and a Consultant to the Industry, Pat Williams has 30 years of experience in the embroidery industry. Pat has won multiple awards for her digitizing expertise including the 2007 Impressions Awards Grand Championship, Best of Show as well as the 1st and 2nd Place Awards. Pat’s love of digitizing has afforded her the opportunity to write numerous articles for Impressions magazine in the United States and Images Magazine in Europe. In 2001 Pat was named “Embroidery Educator of the Year.” For many years Pat taught digitizing seminars at the ISS Shows in Long Beach, CA and for Compucon software. She now resides in Tucson, AZ.