{{superHeaderAds.title}}
Live Chat
Embroidery Designs
Welcome, Embroiderer
Login
Soap Dispenser/SVG
{{mainImageAlt || (productInfo._source && productInfo._source.name) || ''}}

Soap Dispenser/SVG Embroidery Project

By   Linda Mills   on   March 03, 2021

PROJECT DETAILS

SKILL LEVEL
Beginner
TIME REQUIRED
00:30
Description

Say goodbye to those unattractive liquid soap dispensers and say hello to these stylish ones that will complete your home décor in your kitchen and bathroom.

Project Preview Video

Materials
  • (1) CLEAR BOTTLE SOAP DISPENSER (GLASS OR PLASTIC) 9” H X 3” DIAMETER (PUMP UNLOCKED) DISPENSER USED IN TUTORIAL IS
  • GLASS and PURCHASED AT TARGET DOLLAR SPOT AREA
  • PERMANENT VINYL (1) 12” X 12” SHEET OR MINIMUM REMNANT SIZE 6” X 6” (CHOICE OF COLOR)
  • TRANSFER TAPE
  • CUTTING MAT
  • CUTTING MACHINE (CRICUT,SILHOUETTECAMEO)
  • WEEDING TOOLS

  • Designs used in this project

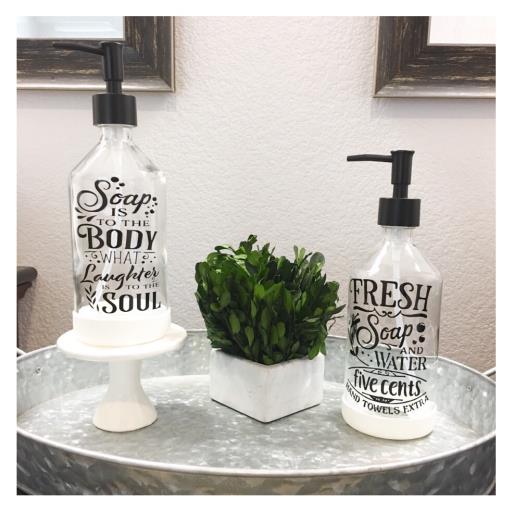
    Final Product: What You Will Create

    Preface:
    Take your bathroom and/or kitchen décor to the next level by creating a soap dispenser using your cutting machine to create a decal using these charming SVG designs and applying to a clear bottle dispenser. **Basic knowledge of the usage of a cutting machine and how to cut and weed an SVG design for a decal is required. 


    Step 1:
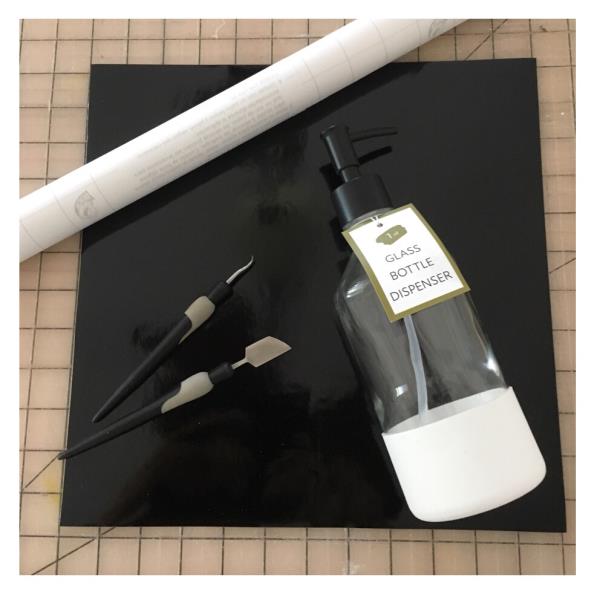
    Gather all supplies and review instructions before beginning. The time allocated of 30 minutes is for one (1) bottle dispenser.

    (Click Image to Enlarge)


    Step 2:
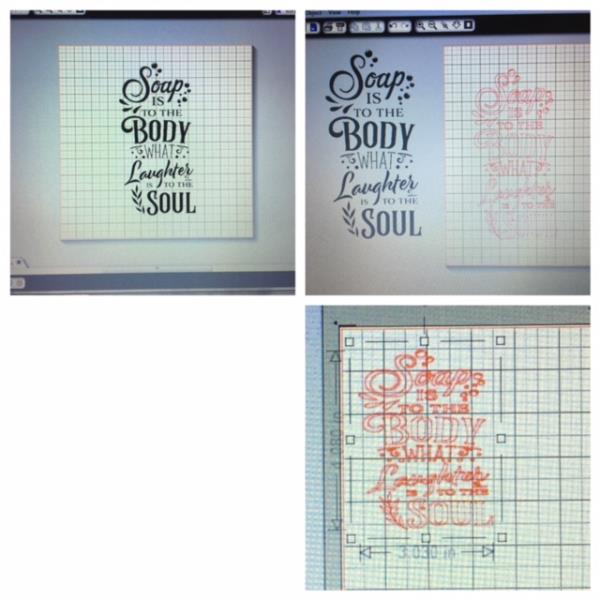
    Bring SVG /Print Art design "Laughter To Soul" into your cutting machine program. Cut/trace design. Resize design to 4” (h) x 3” (w)

    (Click Image to Enlarge)


    Step 3:
    PREPARE VINYL FOR CUTTING
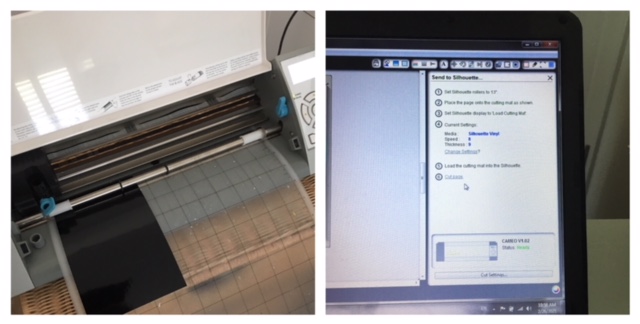
    Cut a 6” x 6” piece of vinyl. Place onto cutting mat and secure in place. Insert cutting mat into your cutting machine. Make the necessary adjustments to your cut settings per your cutting machine instructions. Cut vinyl for design.

    (Click Image to Enlarge)


    Step 4:
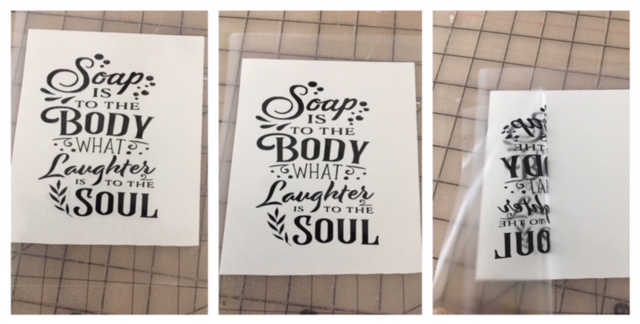
    Remove cut design/mat from your cutting machine. Weed your cut design by removing all unwanted vinyl from the design. Apply transfer tape. Remove adhesive backing.

    (Click Image to Enlarge)


    Step 5:
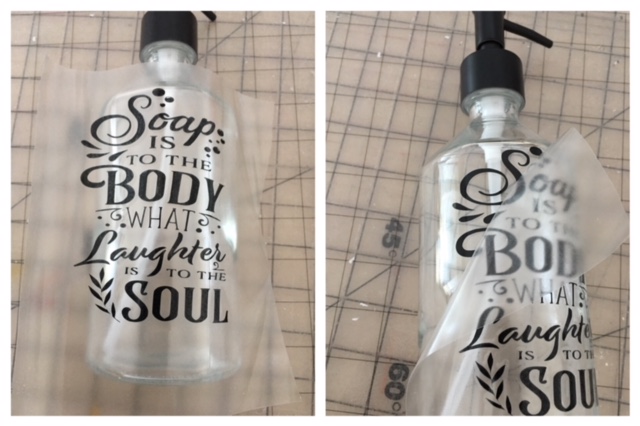
    Wipe down your bottle. Center and apply decal. Work from center out. Fingertip press. Smooth/pushing out any air bubbles. Carefully remove transfer tape.

    (Click Image to Enlarge)


    Step 6:
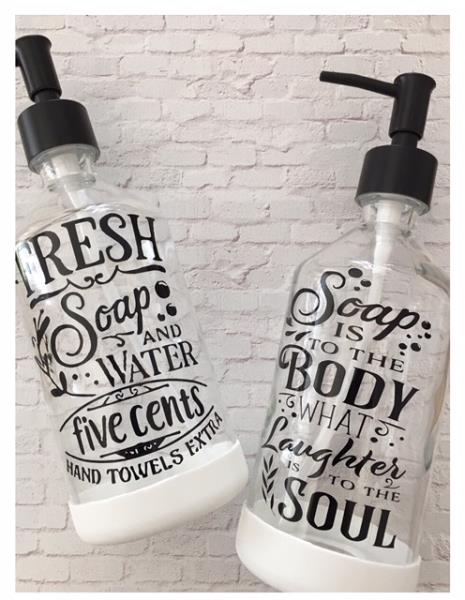
    And you are done! Great job! The bottles used in this tutorial had rubber bottoms that were trimmed down to size. Look for other SVG designs on the embroidery design website to personalize additional bottle dispensers. These make great gifts!

    (Click Image to Enlarge)

    Meet the Author: Linda Mills
    Linda Mills
    Linda loves to create by sharing her different sewing and machine embroidery techniques so others can utilize their machines to the fullest
    More From This Author
    Link is Broken, Please check the URL
    Exclusive Embroidery Offers!
    Copyright © {{ currentDate | date:'yyyy'}} - EmbroideryDesigns.com
    GET 50% OFF! ×