Border OptionsHugging border, circle, square, or rectangle — with a 3mm satin stitch.
Backing OptionsAvailable with iron-on, sew-on, or velcro backing.
Fast ShippingShipped quickly from the USA.
Free Online Tools
Powerful embroidery utilities that save time and prevent costly mistakes.
Stitch AssistantRECOMMENDED
Get the exact stabilizer, machine settings, needle, and thread color sequence for every embroidery design you purchase — based on that design's stitch density, dimensions, and color count.
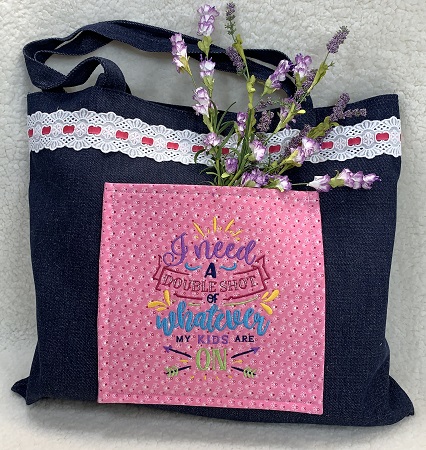
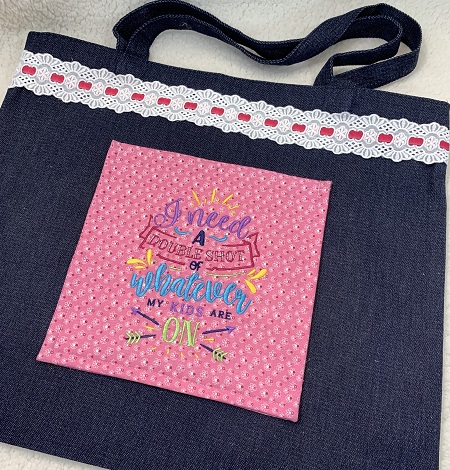
Denim tote bag with a sassy mom saying 'I need a double shot of whatever my kids are on!' Basic sewing skills are needed to complete the tote bag.
Step 1:
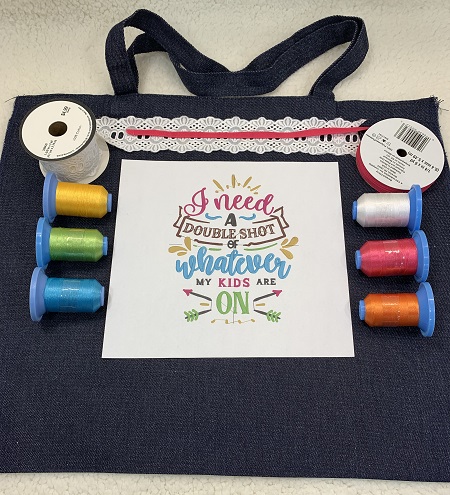
Read the directions before beginning. Gather the materials needed for the project. Iron and lightly starch the fabric. Cut the fabric, interfacing, & fusible fleece for the pocket. All seams allowances are ¼” unless otherwise noted. Press seam allowances open unless otherwise noted. Print a design template.
Step 2:
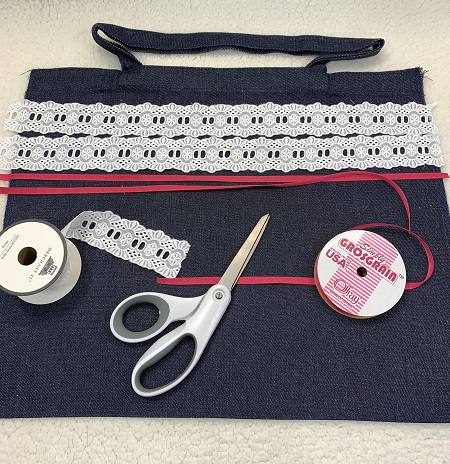
Cut two pieces of lace ribbon 19" long. Cut two pieces of the grosgrain ribbon 19" long.
Step 3:
Thread the grosgrain ribbon through the eyelets on the lace ribbon.
Step 4:
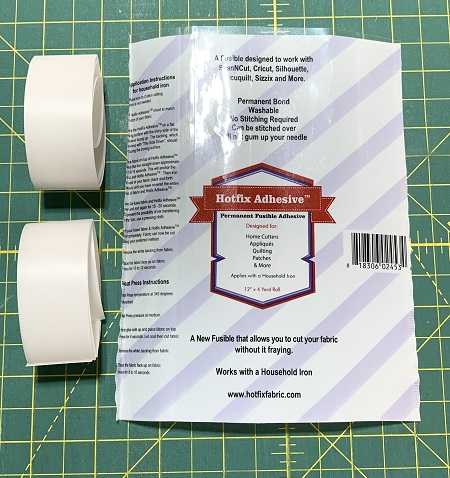
Cut two strips of Hot Fix adhesive slightly smaller than the eyelet ribbon. The example used 2" ribbon; so, the strips were cut 1 3/4" x 19". Follow the package instructions to bond the Hot Fix adhesive to the back of the lace ribbon.
Step 5:
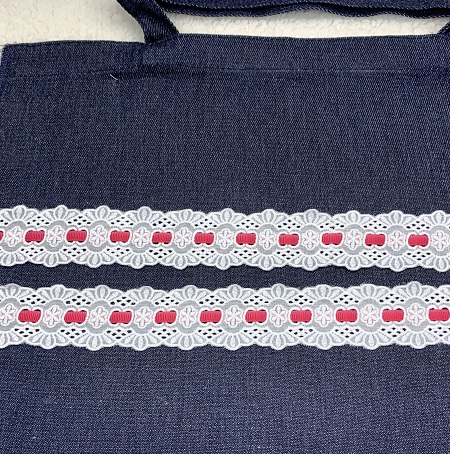
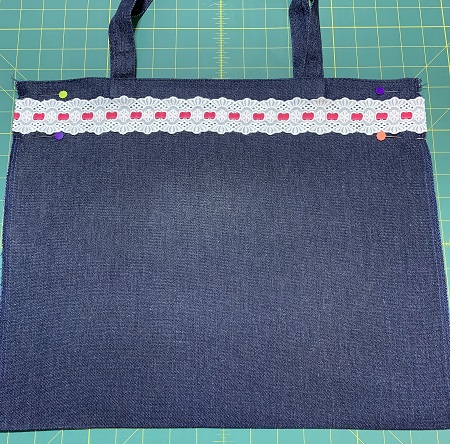
Place the lace ribbon across the top of the bag using the topstitching below the handles as a guide.
Step 6:
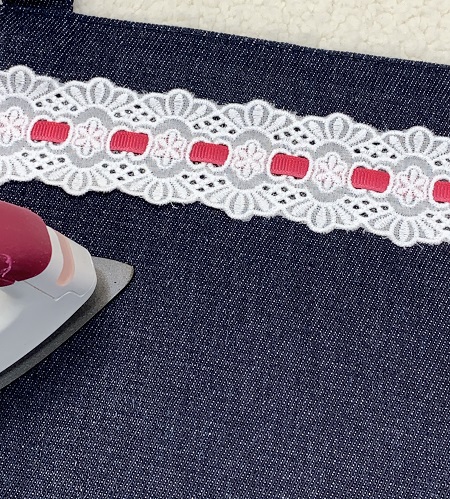
Follow the package directions to bond the lace ribbon to each side of the denim tote bag.
Step 7:
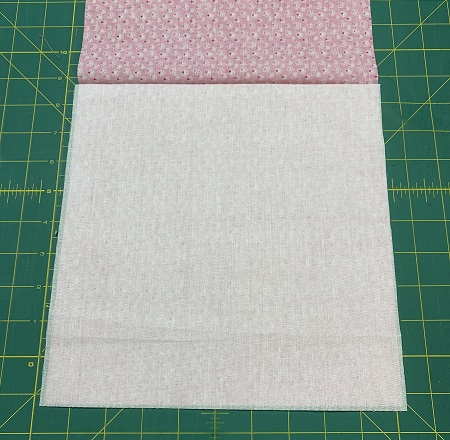
Fold the 10"x20" piece of fabric in half. Crease along the fold line. Open the fabric with the wrong side facing you. Place one piece of 10"x10" SF101 on one half of the fabric. Follow package directions to fuse the SF101 to the fabric.
Step 8:
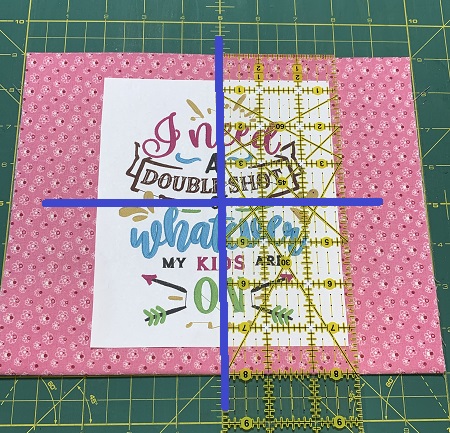
Flip the fabric over so that the right side is facing up. Center the design template on the fabric side that has the SF101 on the back of it. Line the fabric on a cutting mat. Use grid lines on the cutting mat and the design template to help with design placement. Pin the design template to the fabric.
Step 9:
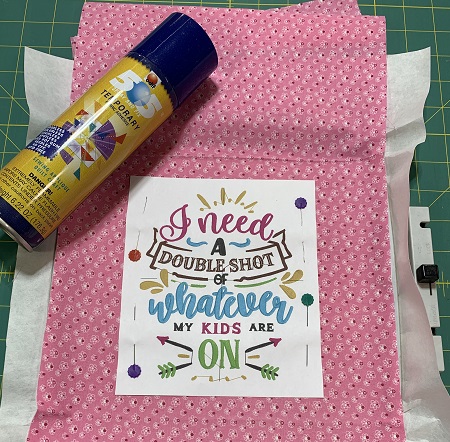
Tautly hoop one piece of medium weight cut away stabilizer. Use the grid points on the hoop and design template to center the fabric in the hoop. Lightly mist the stabilizer surface with 505 Temporary Adhesive spray. Gently press the fabric onto the stabilizer. Make sure the fabric surface is smooth.
Step 10:
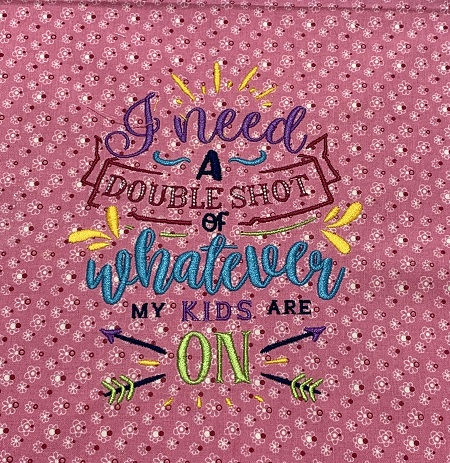
Attach the hoop to the machine. Load the embroidery design on the machine. An 80/10 embroidery needle is recommended. Remove lint/debris in the bobbin area if needed. Stitch the design.
Step 11:
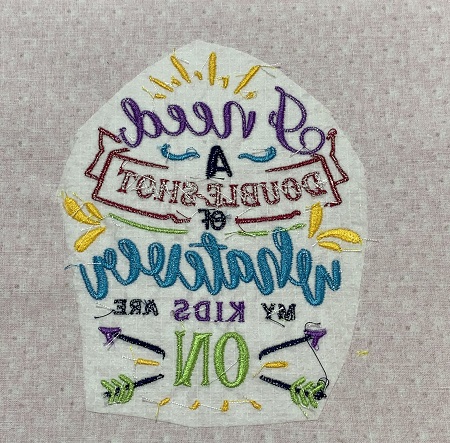
Remove the hoop from the machine. Trim the excess stabilizer from around the design leaving a ½” margin. Clip any long threads if needed.
Step 12:
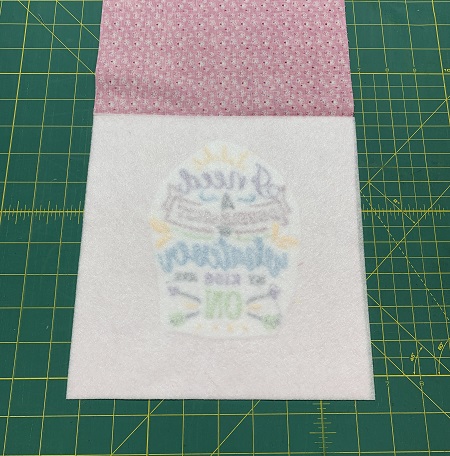
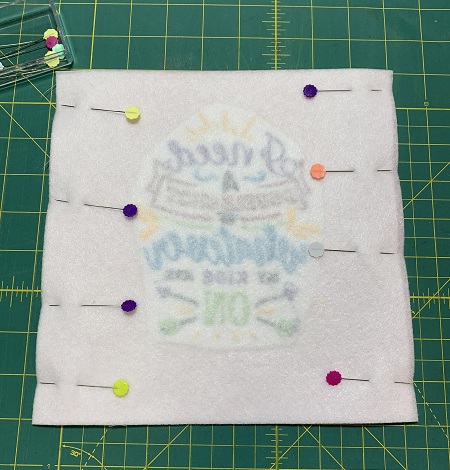
Place one piece of fusible fleece over the back of the stitched design. Follow the package directions to bond the fusible fleece to the fabric. Trim the fabric sides if needed. The sample measures 8.5"x8.5'.
Step 13:
Pin the sides of the pocket together with wrong sides of the fabric out. Sew a 1/4" seam along each side. Reinforce the stitching at the beginning and end of the seam.
Step 14:
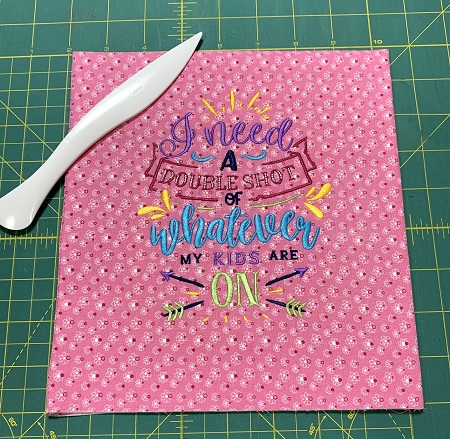
Turn the fabric to right sides out. Use a turning tool to shape the top corners.
Step 15:
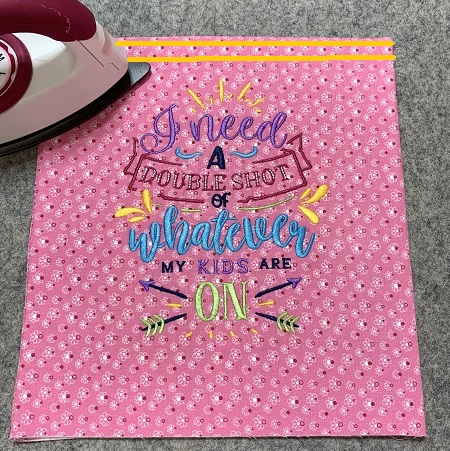
Use an iron to press the sides on the seamlines. Topstitch a 1/4" seam along the folded edge of the pocket. Topstitch a second seam 1/4" from the first seam.
Step 16:
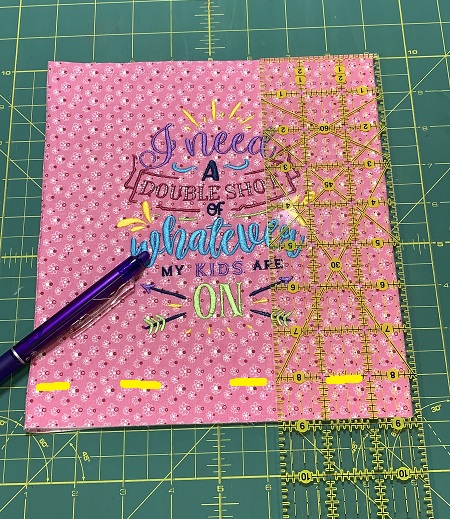
Use a fabric marker to mark a fold line for the bottom of the pocket. The finished size of this pocket was 8"x8".
(Click Image to Enlarge)
Step 17:
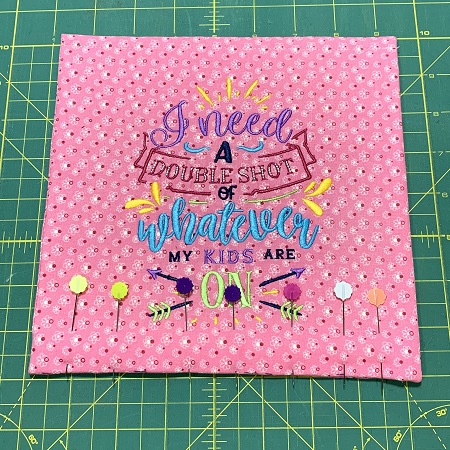
Use the line as a guide to fold the fabric to the inside. Pin the sides together.
Step 18:
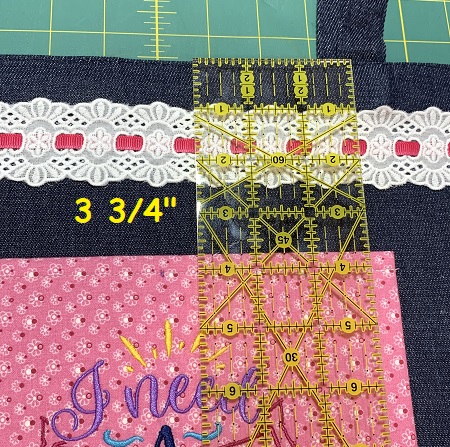
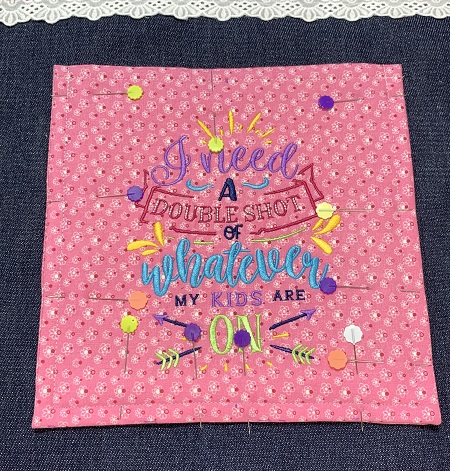
Find the center of the tote. The pocket was placed 3 3/4" from the top to the center. Pin the pocket to one side of the denim tote.
Step 19:
Topstitch the pocket to the tote.
Step 20:
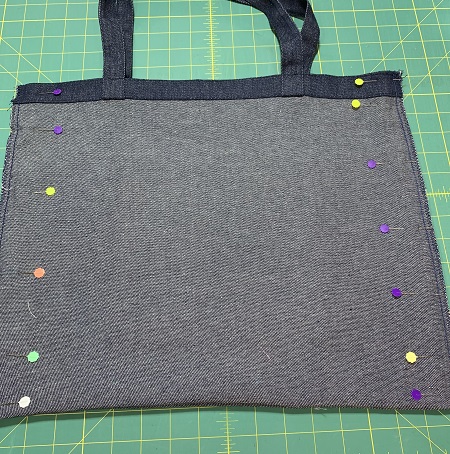
Pin the sides of the tote together with the wrong fabric side facing you. Stitch seams down each side. Reinforce the stitching at the beginning and end of each seam.
Marisa Littleton is a retired educator with a love for teaching and learning. Interests include machine embroidery, hand embroidery, quilting, cooking, and antiques.