














































PROJECT INSTRUCTIONS


PROJECT INSTRUCTIONS
Applique Blue Jacobean Table Napkins Embroidery Project
By
Marisa Littleton
on
February 17, 2021
Description
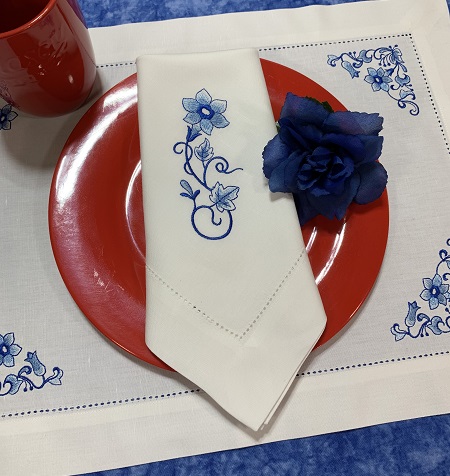
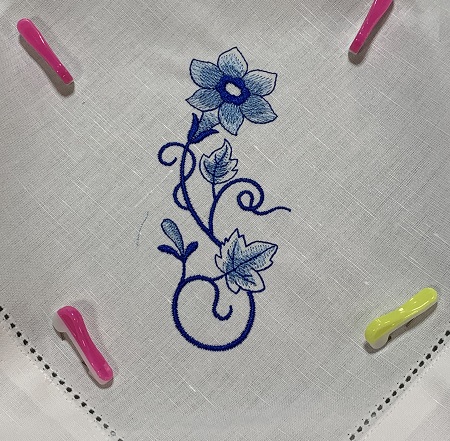
Enhance your dining experience with these elegant Blue Jacobean Table Napkins. Featuring applique technique in shades of blue on white hemstitched fabric, they bring a touch of classic charm to any table setting. Step-by-step instructions are included.
Step
of
Materials
Project Preview Video

Blue Jacobean Flowers
$10.00
$2.99
Circle Price: $2.84
Embrilliance Essentials - Software Download
$139.00
Circle Price: $125.10

Cut Away Stabilizer - 2.5 Oz wt.
$8.94
Circle Price: $8.05

Cut Away Stabilizer - 2 oz wt.
$8.52
Circle Price: $7.67


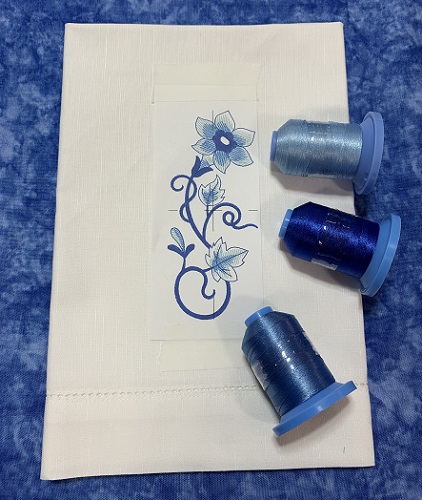
| Materials Design Template Napkins (Cotton/linen blend fabric) Embrilliance Essentials embroidery software program, optional Sulky Easy Tear away stabilizer 404 Repositionable Spray 40 wt. Embroidery thread (Robison-Anton Super Brite poly) 75/11 Embroidery needle Spray starch tweezers cutting snips *Napkins were purchased from Amazon |
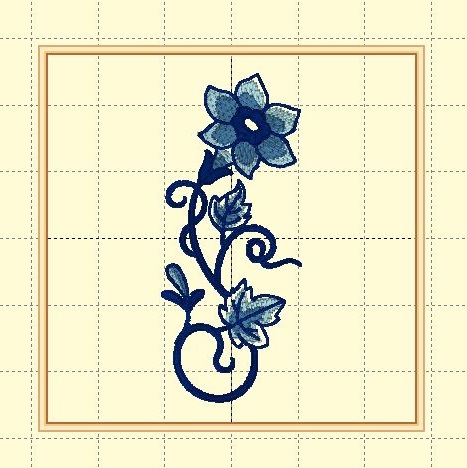
| Designs used in this project |
| Final Product: What You Will Create |
 |
|
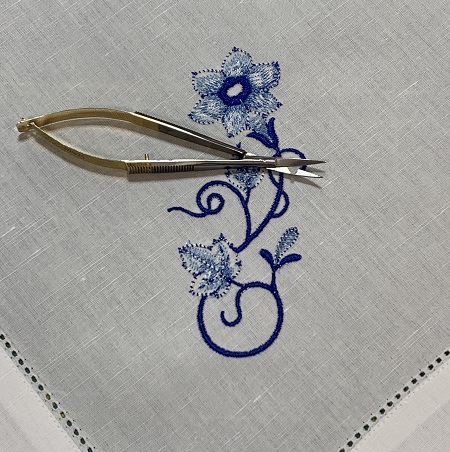
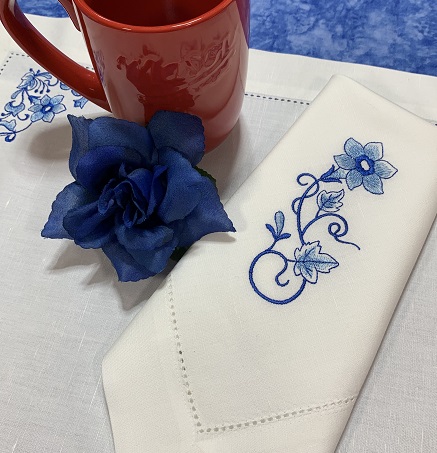
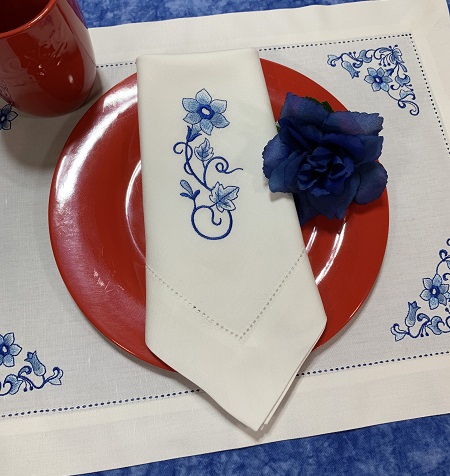
Beautiful things are made one stitch at a time... Marisa Littleton |
Projects You May Like
Meet the Author:
Marisa Littleton

Marisa Littleton is a retired educator with a love for teaching and learning. Interests include machine embroidery, hand embroidery, quilting, cooking, and antiques.
Feedback
Characters Remaining
Please Login to Submit a Feedback
Invalid Characters, Please enter a valid Comment
Please enter a valid Comment
Reviewed On
Link is Broken, Please check the URL