














































PROJECT INSTRUCTIONS


PROJECT INSTRUCTIONS

Floral Pocket Tee Embroidery Project
By
Kylie Burke
on
February 10, 2021
Description
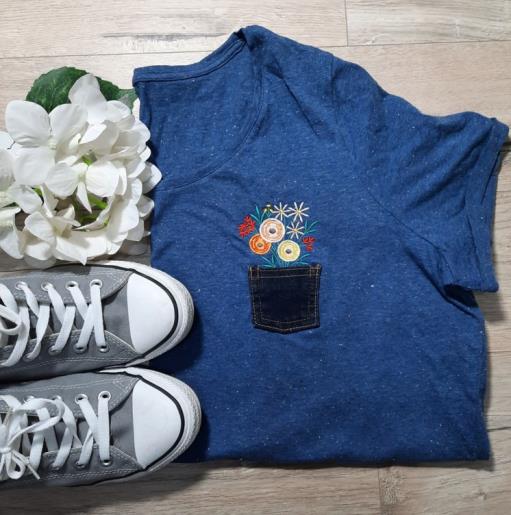
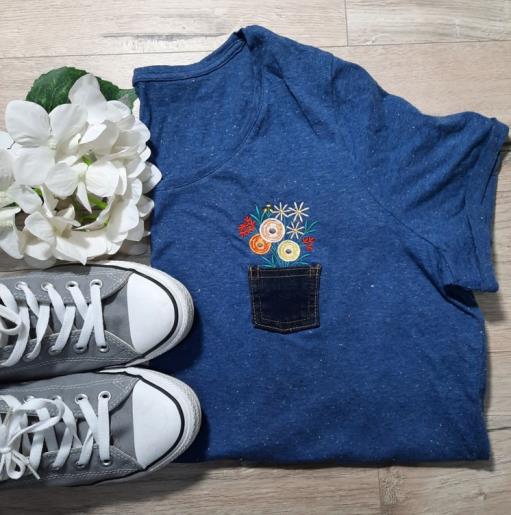
Use an old jean pocket and this delicate floral embroidery to create a unique and on trend tee
Step
of
Materials
Project Preview Video

Flower Bouquet
$3.89
$2.00
Circle Price: $1.85

QUICK VIEW
Cut Away Stabilizer - 2.5 Oz wt.
$8.94
Circle Price: $8.05
{{ item.name }}
{{ item.listPriceDisplay }}{{ item.salePriceDisplay }}
Circle Price:
{{ item.clubPriceDisplay }}


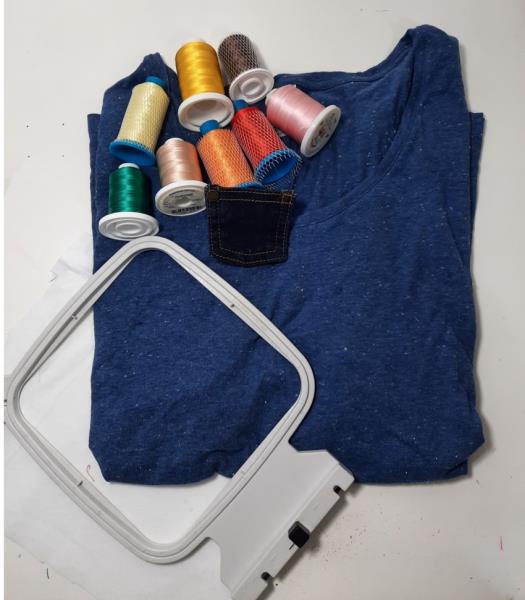
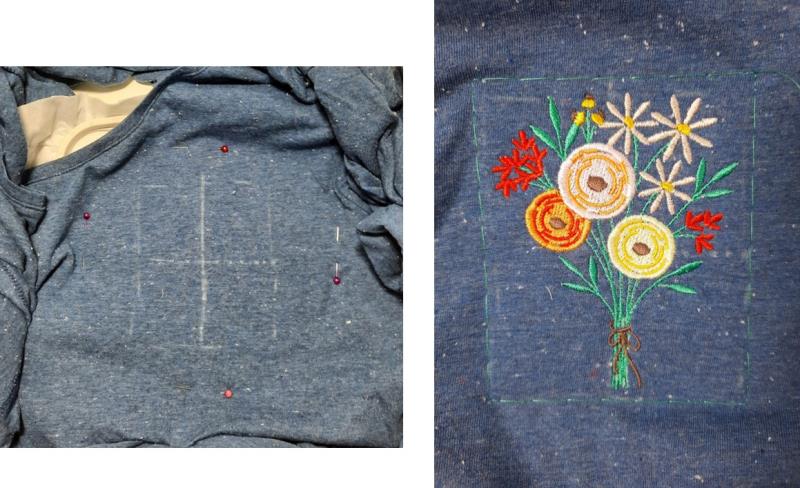
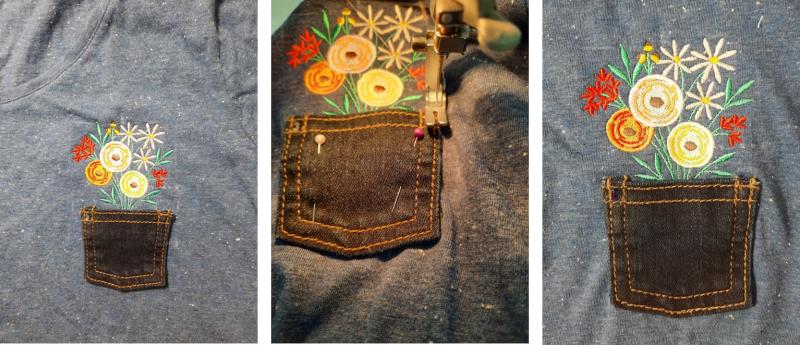
| Materials t-shirt of your choice small pocket from an old pair of jeans (the small coin one which is in the front pocket is perfect) 4” hoop Cutaway stabilizer Thread colors Spray adhesive Sewing machine Sewing thread to match stitch color on jean pocket |
| Designs used in this project |
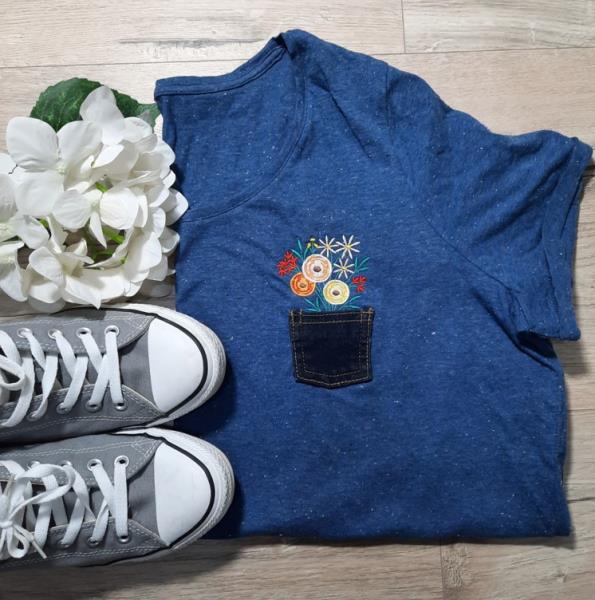
| Final Product: What You Will Create |
 |
|
Projects You May Like
Meet the Author:
Kylie Burke

Kylie is based in Australia and loves creating and sharing her unique pieces.
Feedback
Characters Remaining
Please Login to Submit a Feedback
Invalid Characters, Please enter a valid Comment
Please enter a valid Comment
Reviewed On
Link is Broken, Please check the URL