Border OptionsHugging border, circle, square, or rectangle — with a 3mm satin stitch.
Backing OptionsAvailable with iron-on, sew-on, or velcro backing.
Fast ShippingShipped quickly from the USA.
Free Online Tools
Powerful embroidery utilities that save time and prevent costly mistakes.
Stitch AssistantRECOMMENDED
Get the exact stabilizer, machine settings, needle, and thread color sequence for every embroidery design you purchase — based on that design's stitch density, dimensions, and color count.
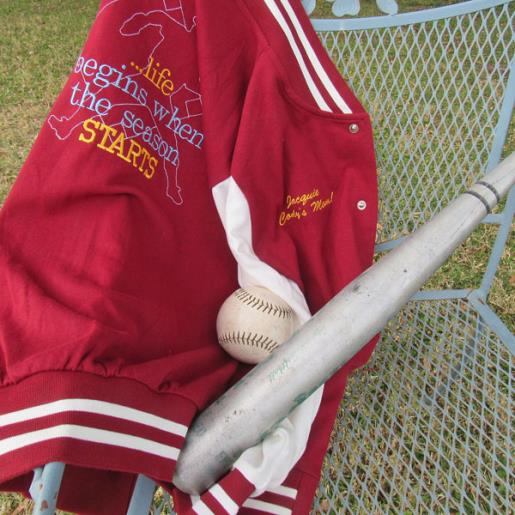
Get ready for spring training with this stylish women's baseball jacket in team colors. Perfect for showcasing your team spirit, this jacket is both functional and fashionable. Step-by-step instructions are included.
Step
of
Women's Baseball Jacket for Spring Training
By Ramona Baird
There are many different styles of baseball jackets on the market and in many different fabrics. Be sure to choose the appropriate stabilizer for the fabric being stitched. Also depending upon the fabric in the jacket, the water-soluble topper may or may not be needed.
Step 1:
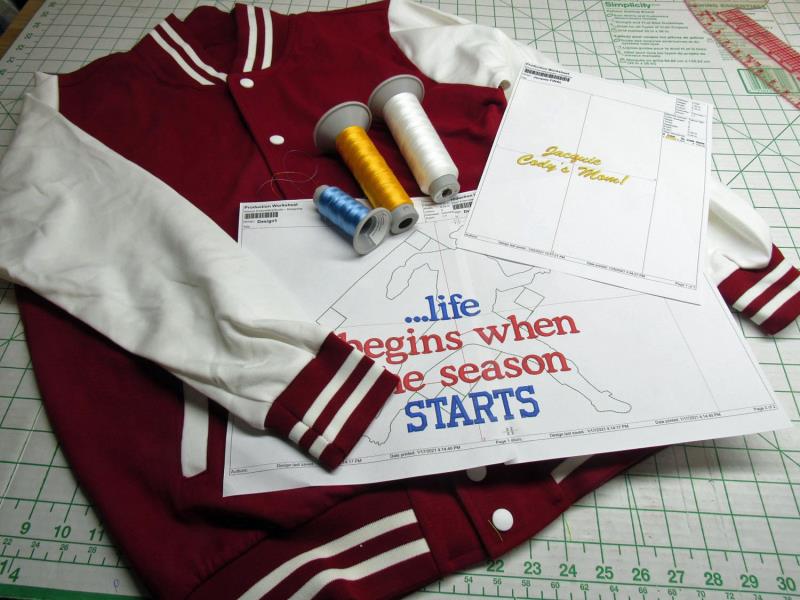
Read through the instructions thoroughly before beginning and assemble all the materials needed to complete the project. Reminder: be sure the hoop for the machine is large enough to accommodate the jacket back design. Print out the design template.
(Click Image to Enlarge)
Step 2:
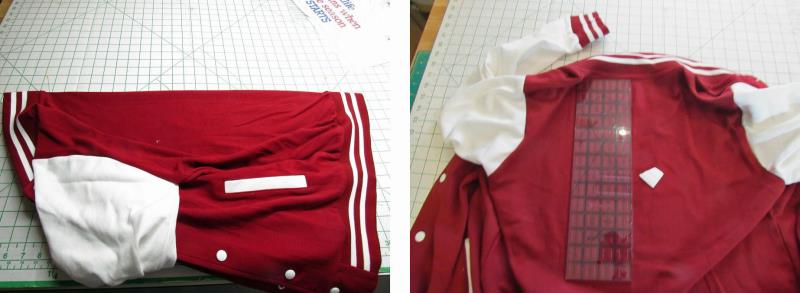
Begin with the jacket back. Find the vertical center back of the jacket by folding it in half, matching shoulder and side seams. Lightly mark a line using tailor’s chalk and a ruler.
(Click Image to Enlarge)
Step 3:
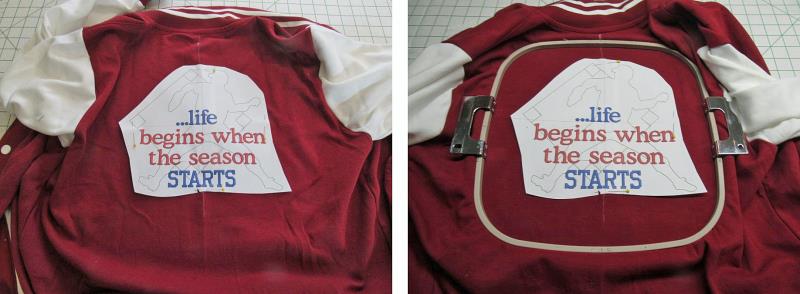
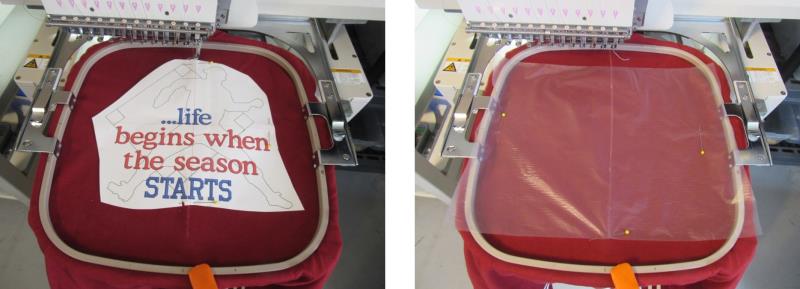
Trim around the design template and pin it to the jacket back, aligning the vertical line of the template crosshair to the vertical line drawn. Align the top of the design approximately 4” down from the bottom of the collar seam. Placement may be up or down a little depending on the jacket size; it is best to have the person try on the jacket and then do the placement. Hoop the jacket back with the appropriate stabilizer, centering and aligning the design in the hoop.
(Click Image to Enlarge)
Step 4:
Align the needle to the crosshair and check the stitch area with the function on the machine. Remove the template and place down the water-soluble topper if needed.
(Click Image to Enlarge)
Step 5:
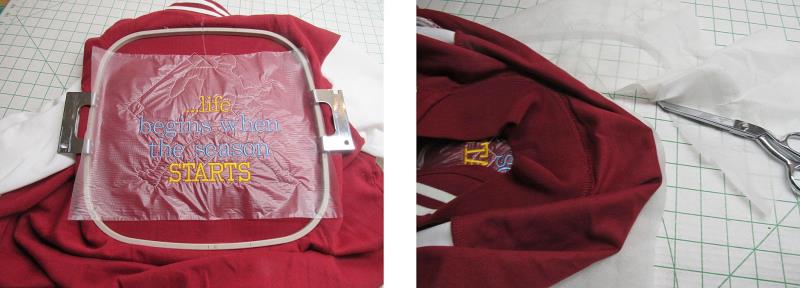
Stitch the design following the color sequence. After the design has stitched, remove the jacket from the hoop. Carefully trim away the excess stabilizer by folding back the fabric and then trimming.
(Click Image to Enlarge)
Step 6:
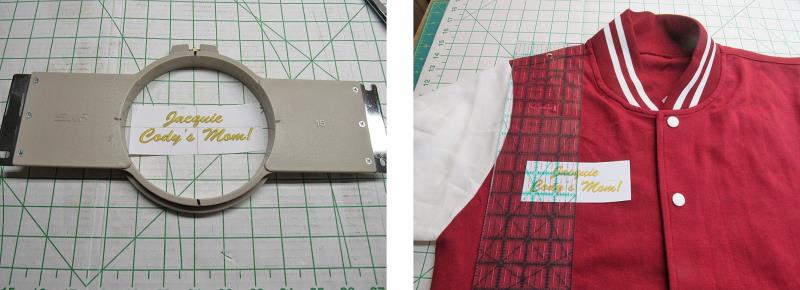
Using embroidery software or at the machine, set up the name for the front of the jacket, print out the template, and then select the hoop size. Measure down from the neckline the amount needed to align the name. Again, if possible, do this while the jacket is on the wearer.
(Click Image to Enlarge)
Step 7:
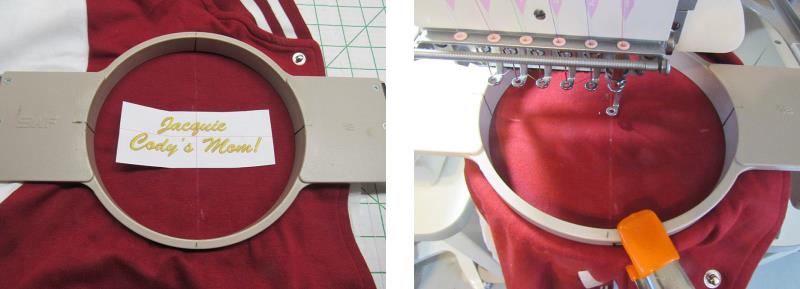
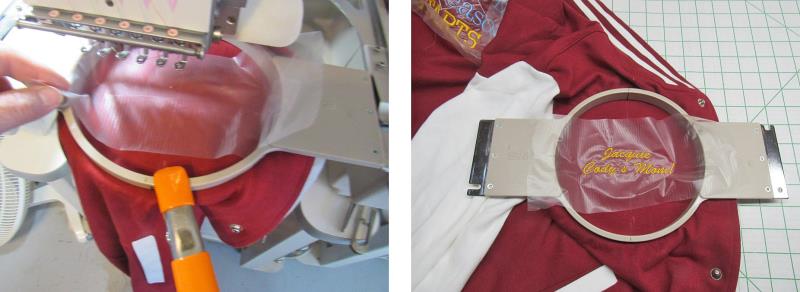
Hoop the jacket with the appropriate stabilizer, align the needle to the center of the crosshairs on the template.
(Click Image to Enlarge)
Step 8:
If needed, place down a piece of water-soluble stabilizer and stitch the text in the chosen thread color.
(Click Image to Enlarge)
Step 9:
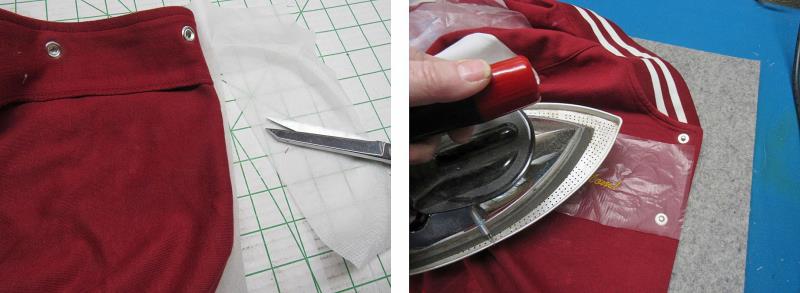
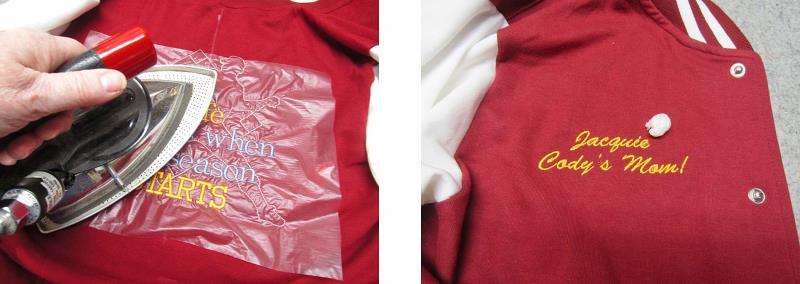
Remove the fabric from the hoop, fold back the fabric and trim away the excess stabilizer. Here’s a fun little tip: to remove the water-soluble stabilizer, hold a steam iron just above (not touching) the water-soluble and while moving the iron in a circular motion, press the shot of steam button on the iron.
(Click Image to Enlarge)
Step 10:
This will make the WSS roll up on itself into a ball and cleanly remove the WSS.
(Click Image to Enlarge)
Step 11:
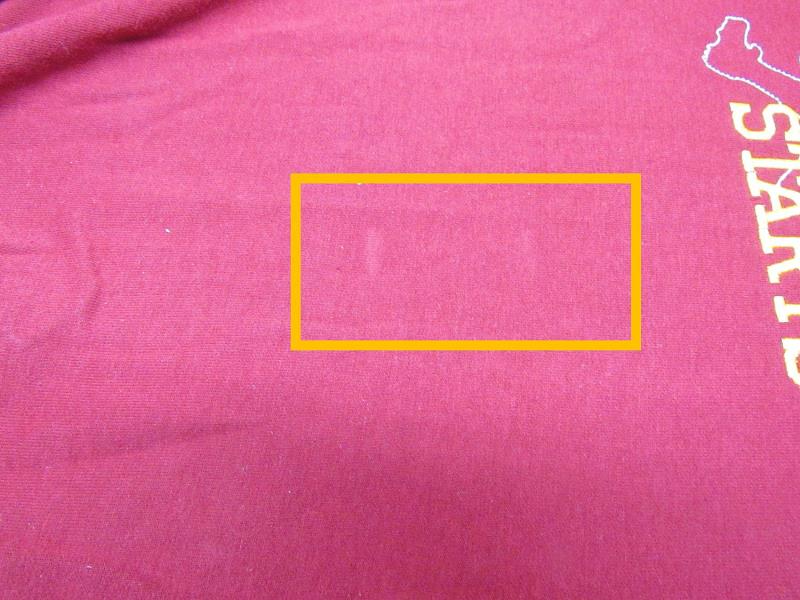
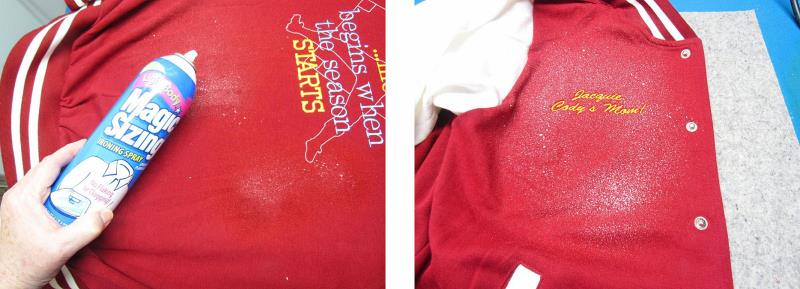
On occasion, no matter how carefully knit fabric is hooped, there will be little marks and maybe even hoop burn on the fabric.
(Click Image to Enlarge)
Step 12:
Here’s another little tip: take a can of Magic Sizing (not spray starch), shake the can well, and spray the area well but not to the point of saturation. Do not touch the fabric. Just let it dry. The sizing rejuvenates the fibers in the fabric and the marks disappear!
(Click Image to Enlarge)
Step 13:
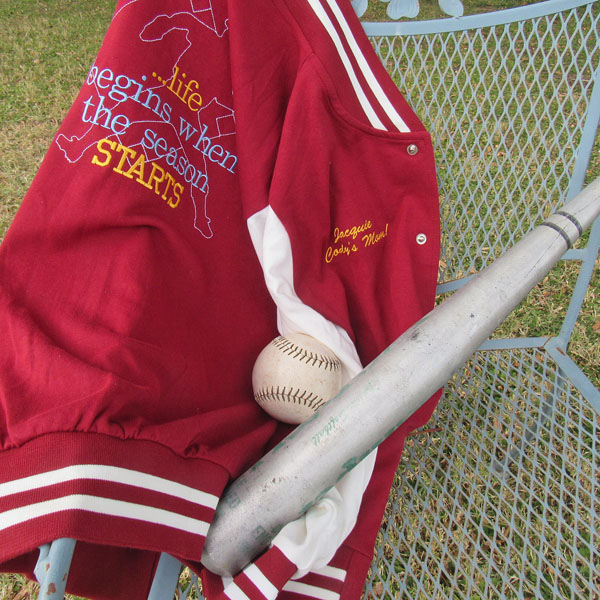
Congratulations! Enjoy your new baseball jacket and don't forget to pair it with the stadium cushion project.
Ramona Baird has been in the embroidery industry for over 23 years. She and her husband owned a commercial and retail embroidery store in Arizona for many years. She is an experienced digitizer having been mentored by award-winners Pat Williams and Lindee Goodall. Ramona is a contributor to “Creative Machine Embroidery” magazine having 5 covers to her credit. Ramona has worked for Wilcom America and served many years as Education Director for the American Sewing Guild. With a degree in fashion design, she is able to design and execute patterns which Pat Williams says are “out of the box” in creativity and application. Ramona likes to challenge the boundaries of embroidery and bring new and exciting designs, ideas, and projects to EmbroideryDesigns.com. She wants embroiderers of all levels to increase their skills and enjoyment in using their embroidery machine for gift-making and personal pleasure.