














































PROJECT INSTRUCTIONS


PROJECT INSTRUCTIONS

Bushel & Peck Pillow Embroidery Project
By
Marisa Littleton
on
February 02, 2021
Description
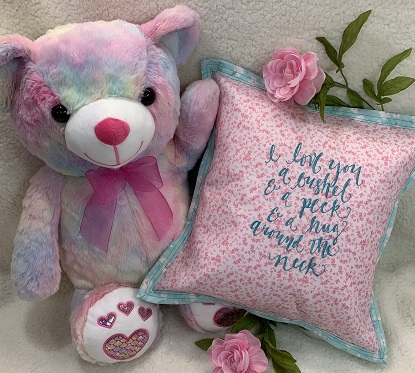
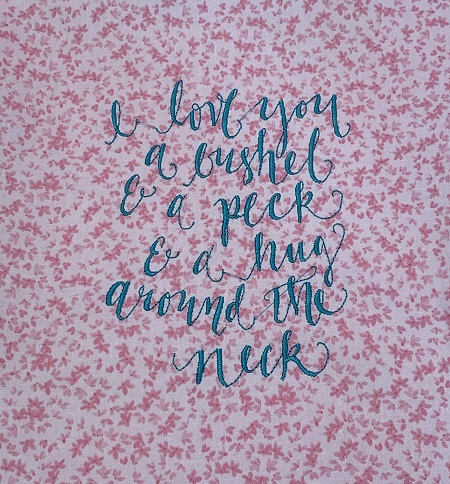
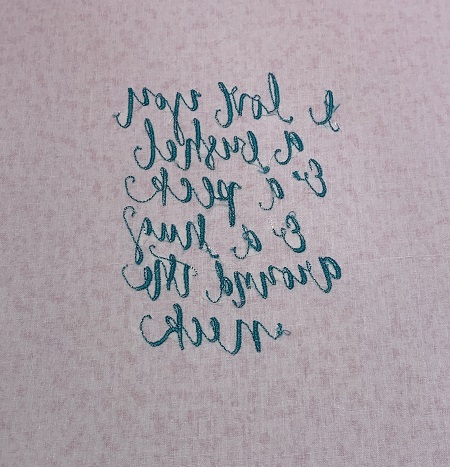
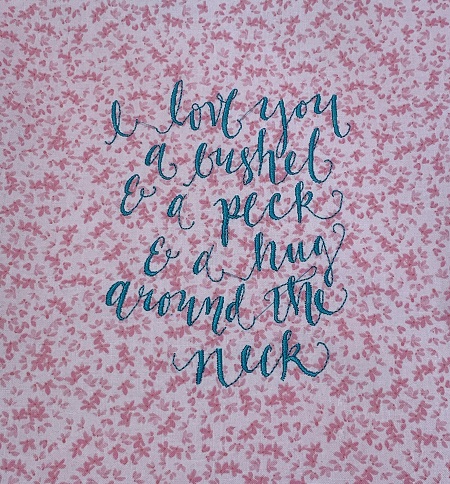
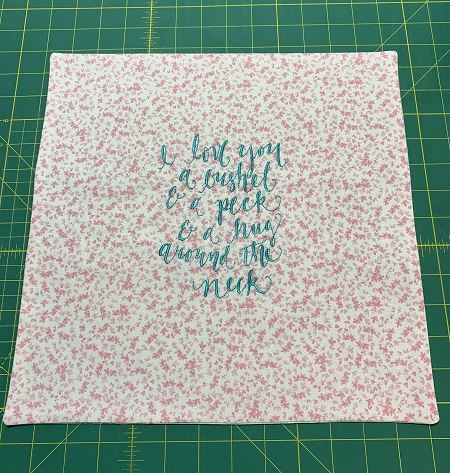
I love you a bushel & a peck...and a hug around the neck! A popular verse on a comfy pillow for an extra special someone.
Step
of
Materials
Project Preview Video

Bushel & A Peck
$3.89
$2.00
Circle Price: $1.85

Cut Away Stabilizer - 2.5 Oz wt.
$8.94
Circle Price: $8.05

Cut Away Stabilizer - 2 oz wt.
$8.52
Circle Price: $7.67

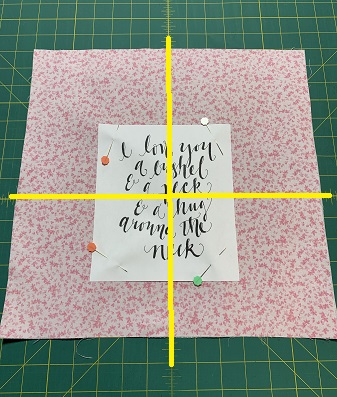
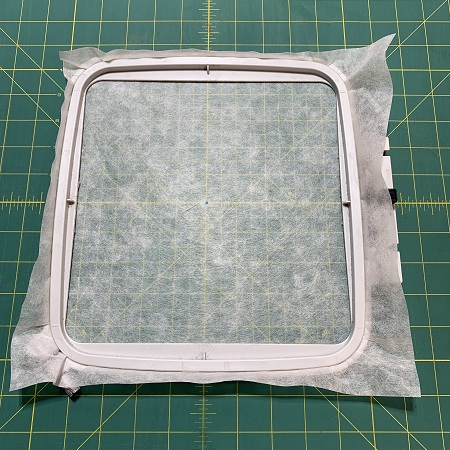
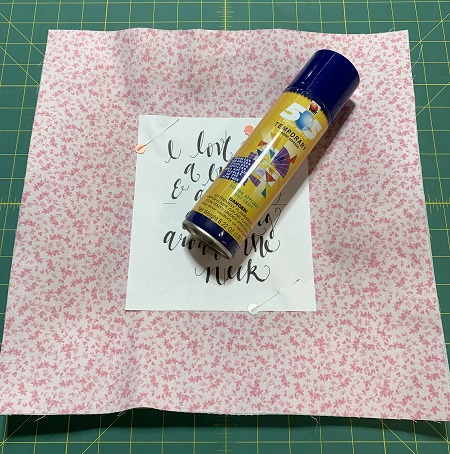
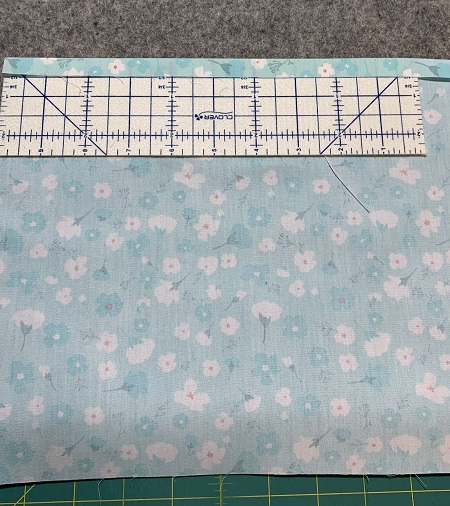
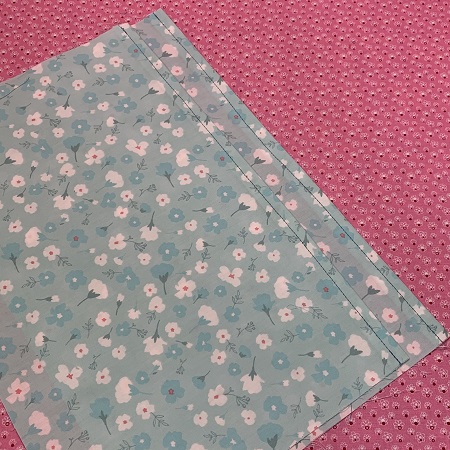
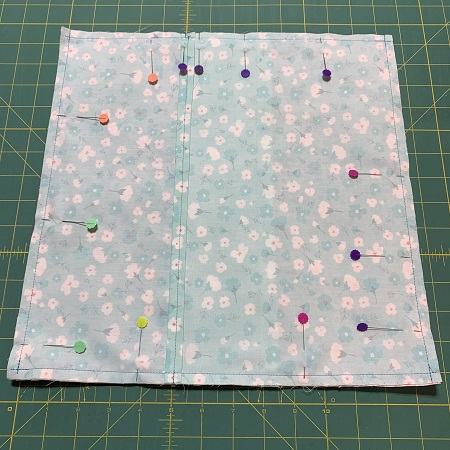
| Materials Design Template 8"x8" hoop for Janome machine Embroidery needle (75/11) Embroidery thread (40 wt.), Robison-Anton Super Brite poly Terial Magic fabric stabilizer or Magic Sizing spray starch One 12"x12" pillow insert One 14"x14" piece neutral fabric (front of pillow), 100% quilter's cotton Two 10"x14" pieces contrasting fabric (100% quilter's cotton" 2.5"x42" strips of contrasting fabric (100% quilter's cotton) One 14"x14" piece Pellon SF101 super flex interfacing 505 Temporary Adhesive spray Sewing machine, needle, thread & matching bobbin |
| Designs used in this project |
| Final Product: What You Will Create |
 |
|
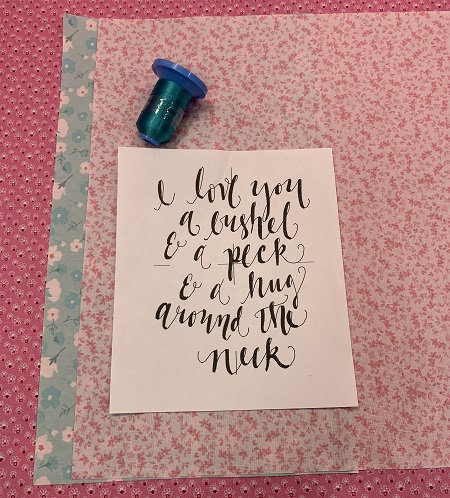
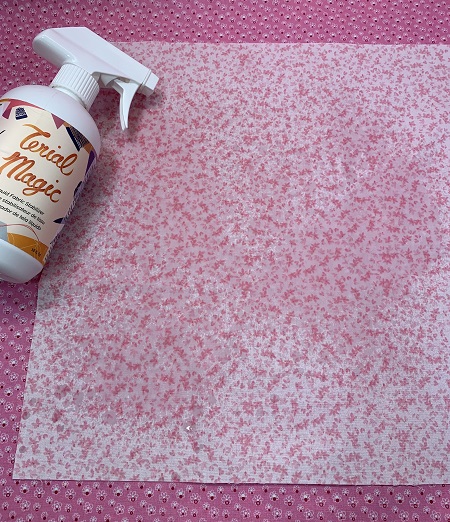
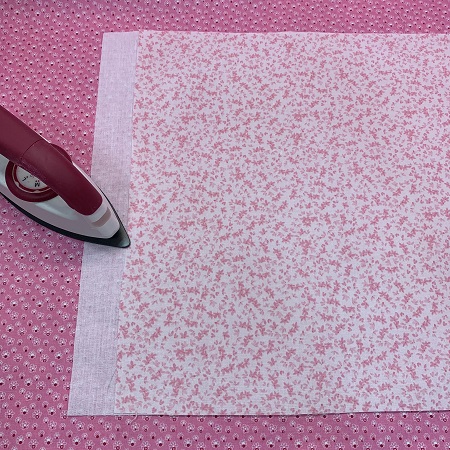
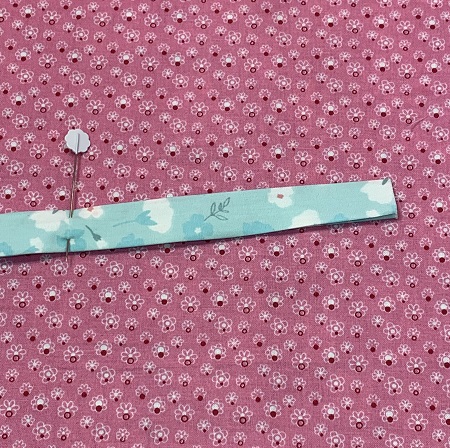
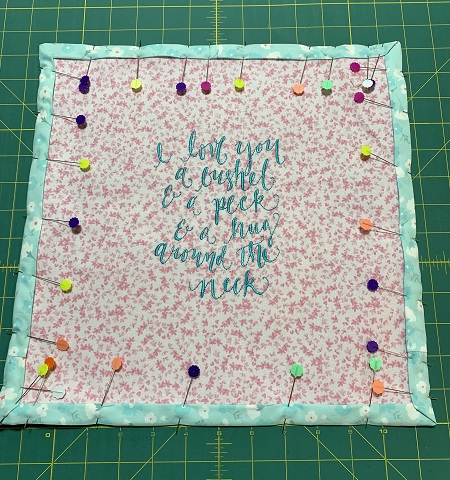
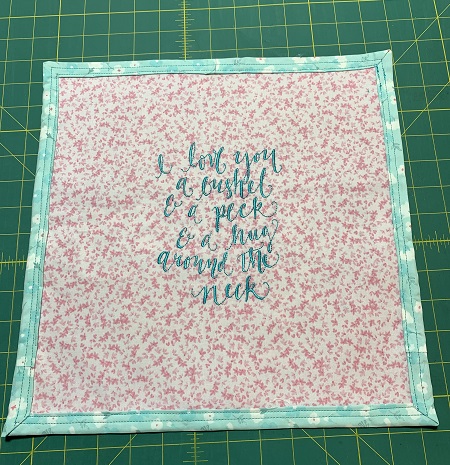
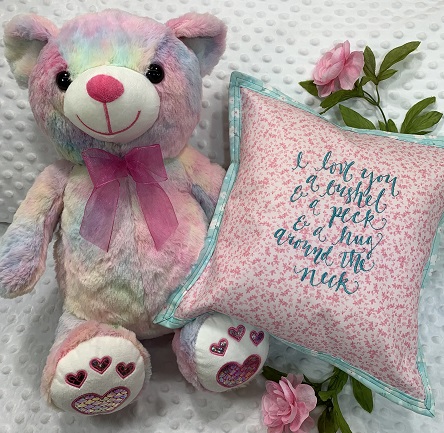
Beautiful things are made one stitch at a time... Marisa Littleton |
Projects You May Like
Meet the Author:
Marisa Littleton

Marisa Littleton is a retired educator with a love for teaching and learning. Interests include machine embroidery, hand embroidery, quilting, cooking, and antiques.
Feedback
Characters Remaining
Please Login to Submit a Feedback
Invalid Characters, Please enter a valid Comment
Please enter a valid Comment
Reviewed On
Link is Broken, Please check the URL