Valentine Decor Wood Blocks

Valentine Decor Wood Blocks Embroidery Project

By   Linda Mills   on   January 18, 2021
  • SKILL LEVELIntermediate
  • TIME REQUIRED01:45
Description

Celebrate Valentine's Day with charming wood blocks featuring sweet designs. Perfect for adding a touch of love to your home or as thoughtful gifts. Step-by-step instructions are included.

Step of

Materials

Project Preview Video

Materials
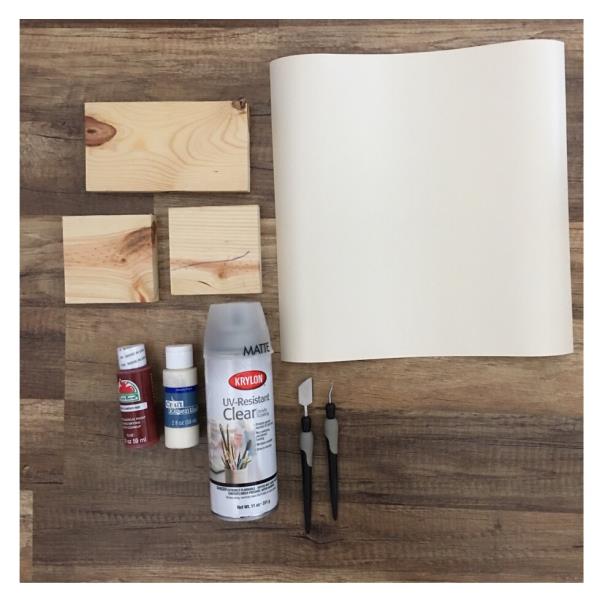
  • CUTTING MACHINE ( I.E CRICUT, SILHOUETTE CAMEO)
  • (1) 12” X 12” ADHESIVE VINYL ( ANY COLOR)
  • TRANSFER TAPE( NOT PICTURED IN SUPPLIES)
  • WEEDING TOOLS
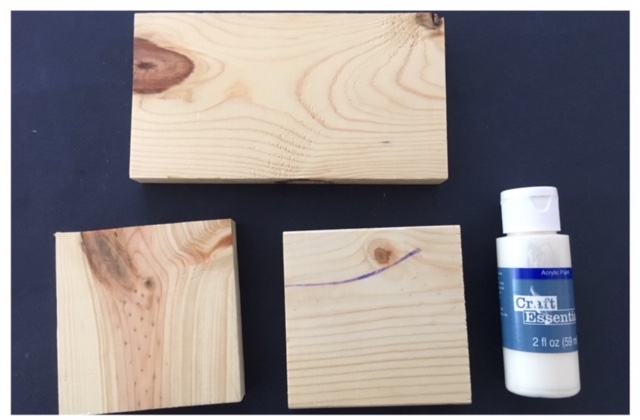
  • WOOD BLOCKS (2) 3.5” X 3.5” (1) 3.5” X 6.5” ( PURCHASE PRECUT AT ANYCRAFT/HOBBY STORE )
  • WATER BASE ACRYLIC PAINTS (1) WHITE (1) RED
  • CLEAR ACRYLIC COATING SPRAY ( MATTE FINISH)
  • PAINT BRUSH OR SMALL CUT SPONGES

  • Designs used in this project

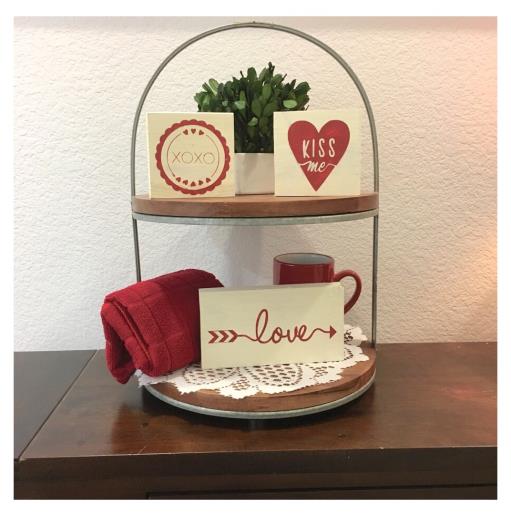
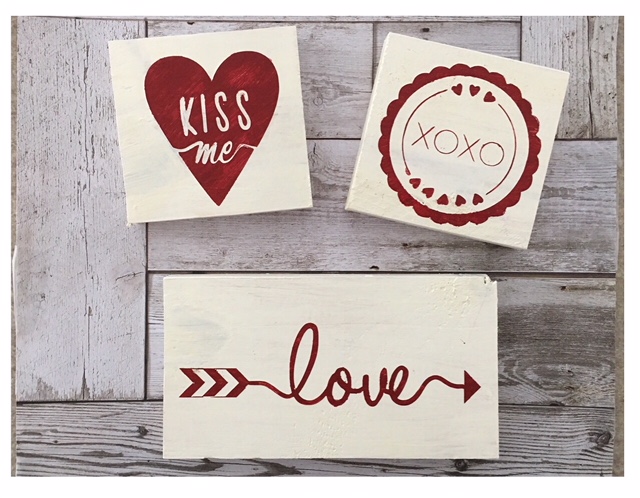
    Final Product: What You Will Create

    Preface:
    The time allotted for this project is  for the making of the three blocks pictured and does not include drying time. Using precut wood blocks and two paint colors helps to keep this tutorial simple and can be completed in under 2 hours. Basic knowledge of a cutting machine and how to prepare vinyl for stencil is required. Skill level is intermediate but for those with some experience and want to challenge yourself then give this project a go. 


    Step 1:
    Gather all supplies and review instructions before beginning. 

    (Click Image to Enlarge)


    Step 2:
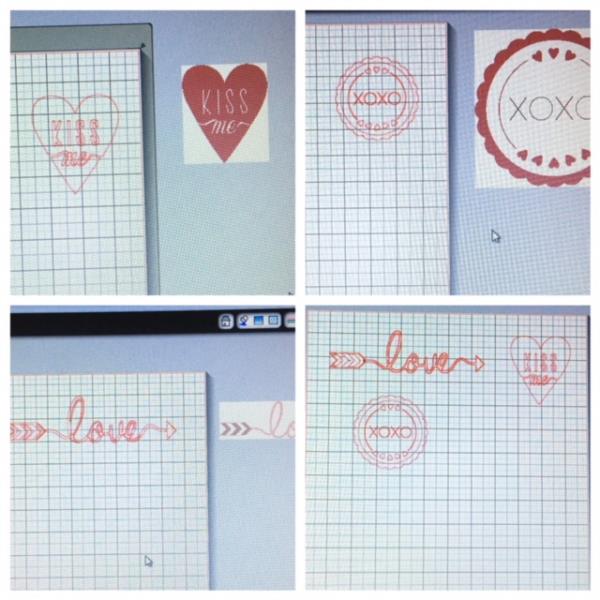
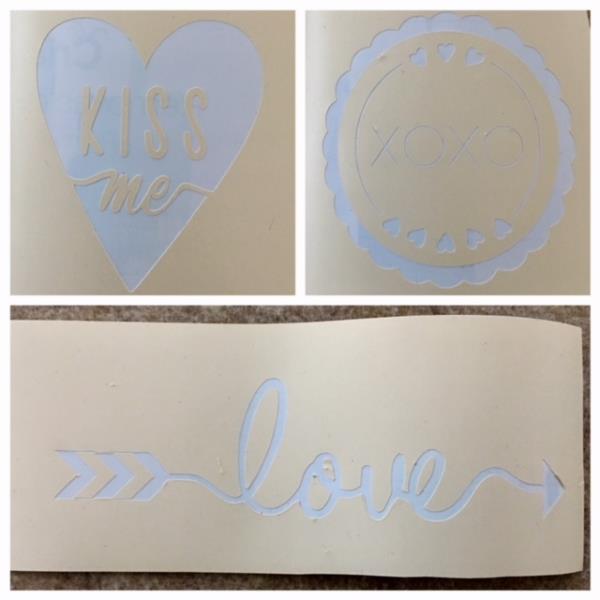
    Bring each SVG design individually into your cutting program. Edit/resize each design to fit according to size of block. Once you have edited/resized and cut all three designs open a new window to copy and paste designs into so to machine cut all three at the same time. 

    (Click Image to Enlarge)


    Step 3:
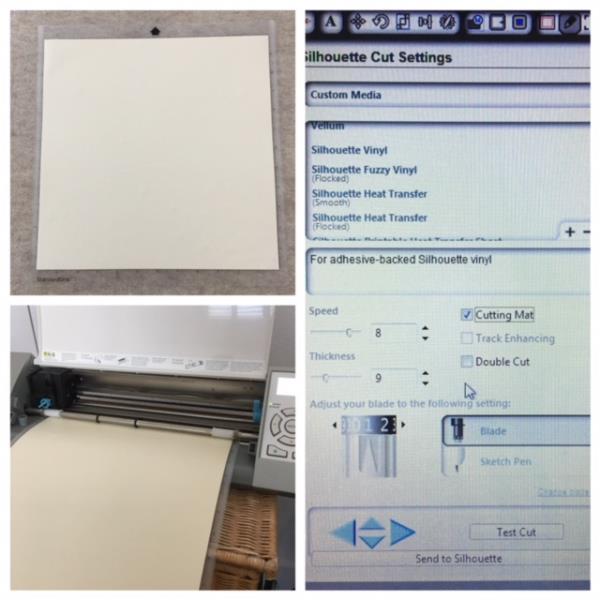
    Prepare vinyl on cutting mat. Load into your cutting machine. Check and adjust your settings for cutting adhesive vinyl. Cut designs.

    (Click Image to Enlarge)


    Step 4:
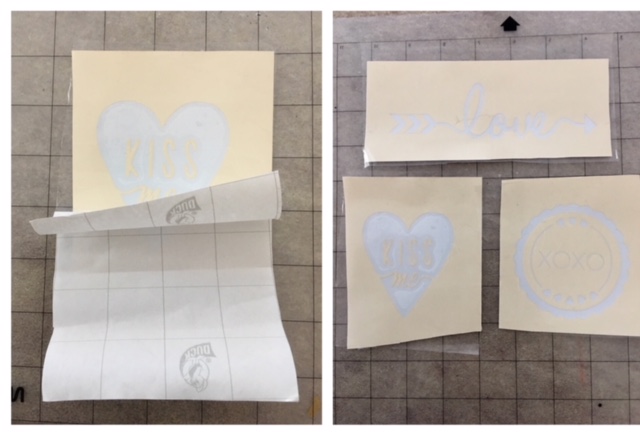
    Weed cut designs for stencils.  

    (Click Image to Enlarge)


    Step 5:
    Apply transfer tape to all stencils per manufacturer’s instructions. Set aside as we paint the wood blocks. 

    (Click Image to Enlarge)


    Step 6:
    Paint all blocks white. Front, sides and back. Allow to dry completely. (Apply second coat of paint if needed)

    (Click Image to Enlarge)


    Step 7:
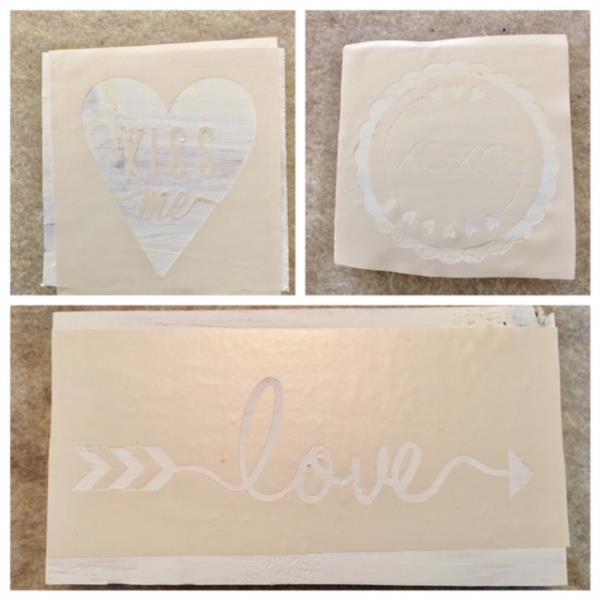
    Remove adhesive back from one of your stencils. Center onto wood block. Finger press down onto wood block to secure. Fingertip smooth. Remove transfer tape. Push out all air bubbles especially from the open weeded areas to avoid any paint seepage. Repeat for the other two stencils.

    (Click Image to Enlarge)


    Step 8:
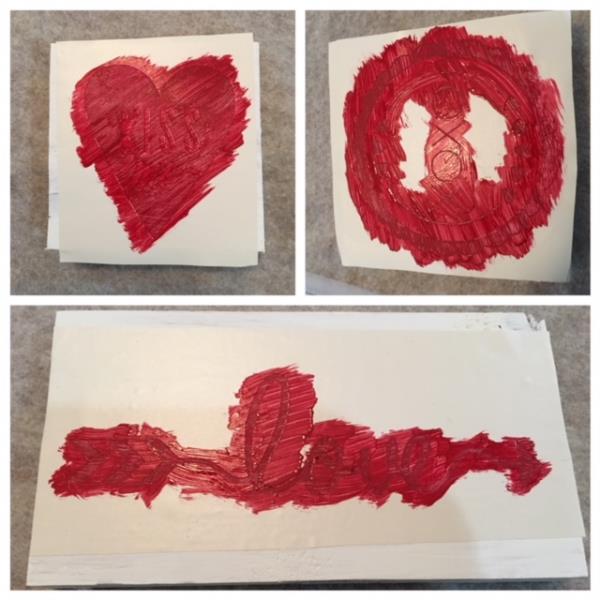
    Paint open weeded areas with red paint. Allow to dry completely. (Apply second coat of paint if needed)

    (Click Image to Enlarge)


    Step 9:
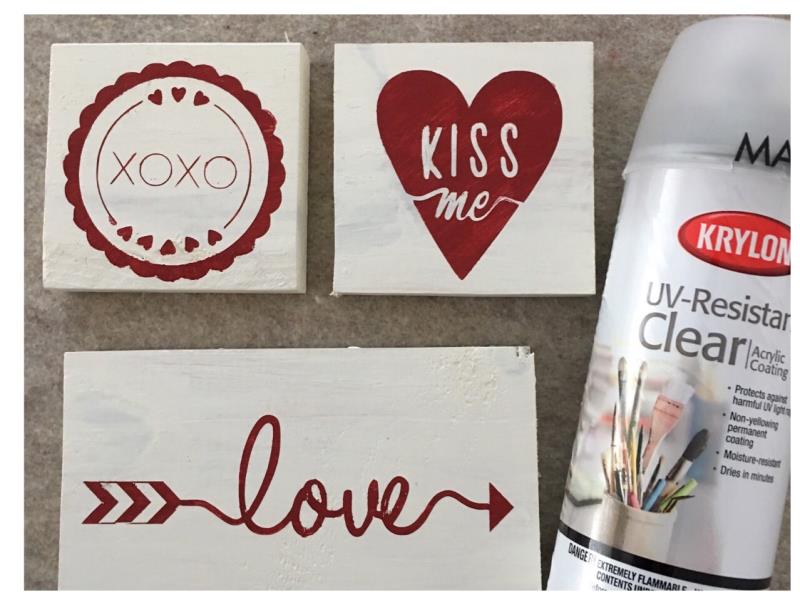
    Remove stencil from all three wood blocks. Make any needed touch ups. Spray with the clear coating spray to seal in paints. 

    (Click Image to Enlarge)


    Step 10:
    Viola ! Your Valentine Themed Wood Blocks are complete! Great job!

    (Click Image to Enlarge)

    Meet the Author: Linda Mills
    Linda Mills
    Linda loves to create by sharing her different sewing and machine embroidery techniques so others can utilize their machines to the fullest
    More From This Author
    Link is Broken, Please check the URL
    Exclusive Embroidery Offers!
    Copyright © {{ currentDate | date:'yyyy'}} - EmbroideryDesigns.com
    GET 50% OFF! ×