{{superHeaderAds.title}}
Live Chat
Embroidery Designs
Welcome, Embroiderer
Login
ITH Kitchen Mice Mug Rugs
{{mainImageAlt || (productInfo._source && productInfo._source.name) || ''}}

ITH Kitchen Mice Mug Rugs Embroidery Project

By   Ramona Baird   on   January 13, 2021

PROJECT DETAILS

SKILL LEVEL
Some Experience
TIME REQUIRED
00:45
Description

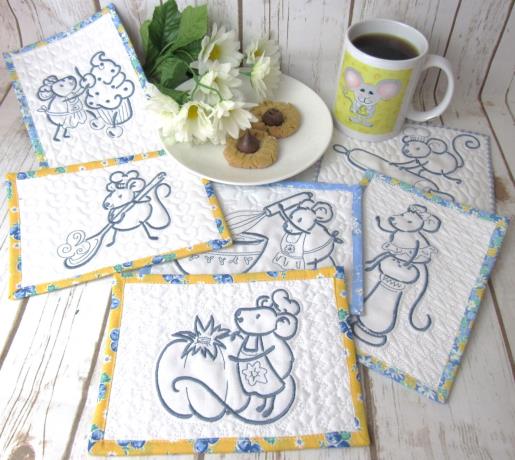
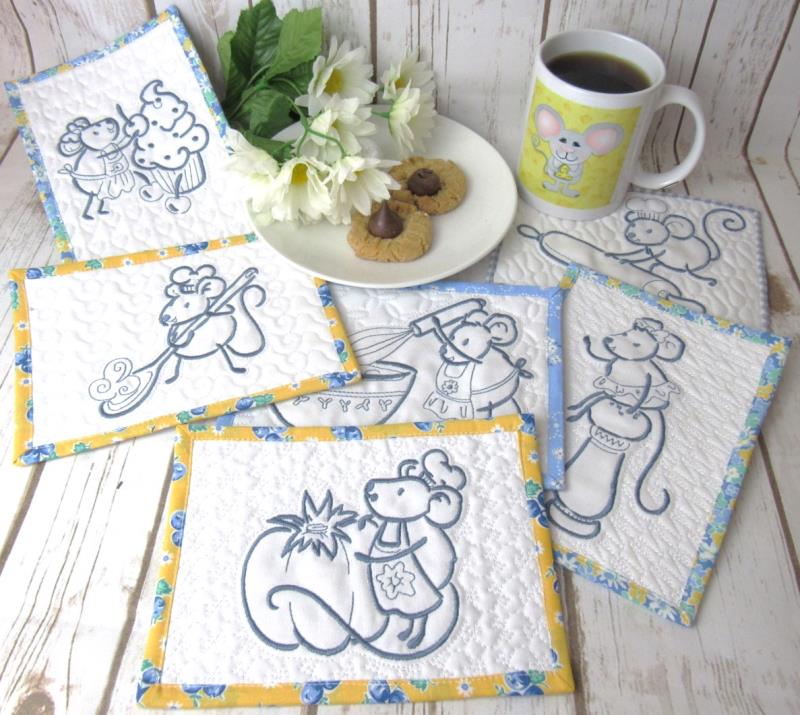
Clever and cute, these ITH Kitchen Mice Mug Rugs are sure to delight the mice collector in your life.

Project Preview Video

Materials
  • For each mug rug:
  • 5” x 7” hoop
  • 1- 6” x 8” white cotton fabric for front
  • 1- 8” x 8” print backing fabric for back
  • 1- 6” x 8” Pellon batting
  • Optional: fabric strips for border binding
  • Embroidery thread as stated in color sequence
  • Poly mesh stabilizer
  • KK200 temporary spray adhesive
  • Hand sewing needle (optional)

  • Designs used in this project

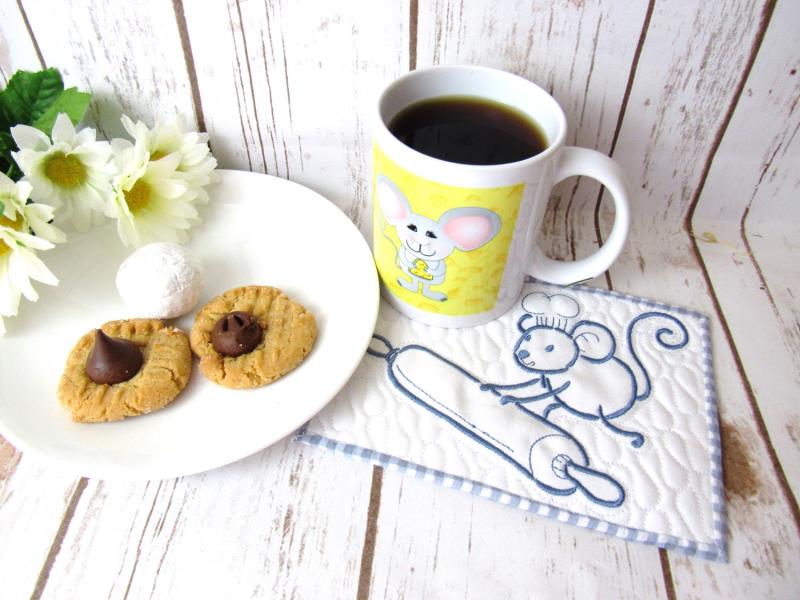
    Final Product: What You Will Create

    Preface:
    Each of these mug mats stitch up in less than an hour and are a wonderful addition to a kitchen or for a friend who collects mice. The embroidery is done first and then batting and backing are added with the background quilting done in the hoop. The fabrics are trimmed and then the binding is done to complete the mug rug. Two options are given for completing the binding.


    Step 1:
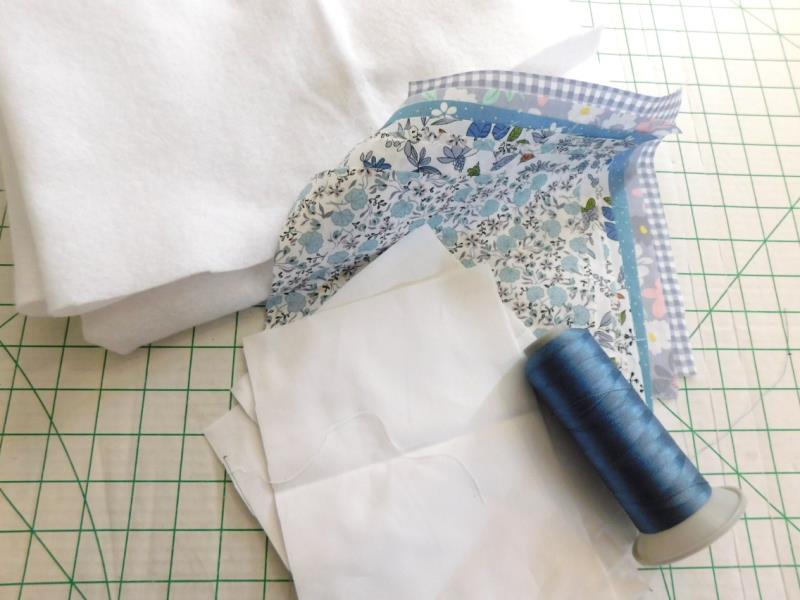
    Read through the instructions thoroughly before beginning and assemble all the materials needed to complete the project. The stitching can be done in any thread color to coordinate with the colors in a kitchen or just in a favorite color. Coordinate the backing/binding fabric with the thread color.

    (Click Image to Enlarge)


    Step 2:
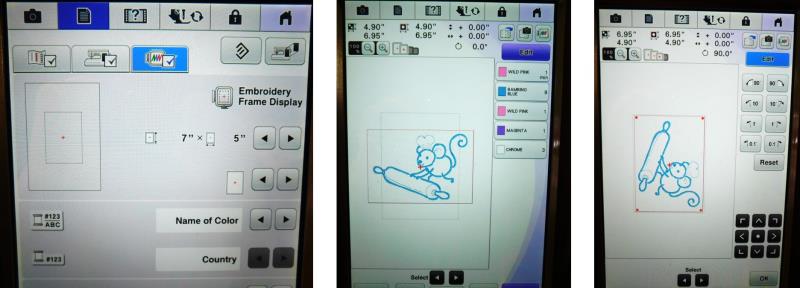
    Set up the machine for a 5” x 7” hoop. Load the chosen design on the machine and rotate it 90 degrees if necessary.

    (Click Image to Enlarge)


    Step 3:
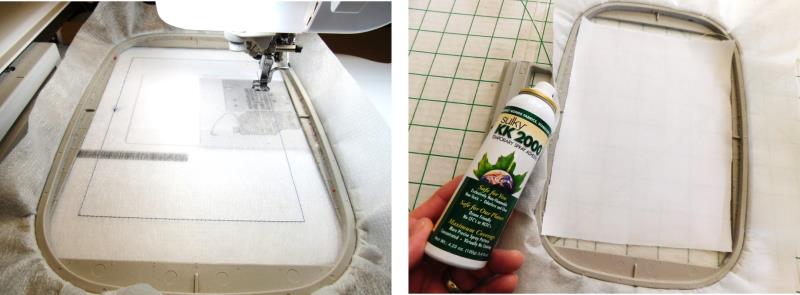
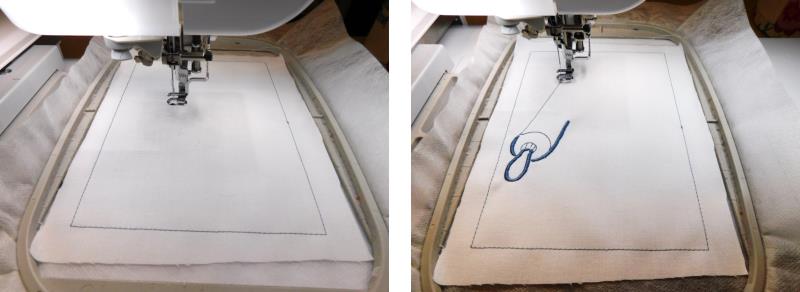
    Hoop one piece of poly mesh stabilizer. Stitch Color 1, the placement line. Spray the back of the white fabric with the spray adhesive and place the fabric over the placement line.

    (Click Image to Enlarge)


    Step 4:
    Stitch Color 2, the tack down line. Stitch Color 3, the design.

    (Click Image to Enlarge)


    Step 5:
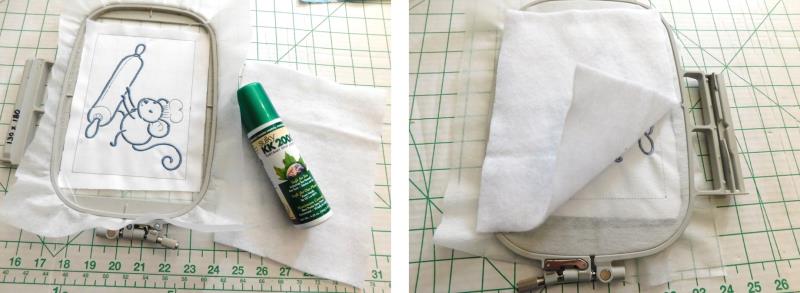
    Remove the hoop from the machine but do not remove the fabric from the hoop. Flip the hoop over. Spray the batting with the spray adhesive and place over the back of the embroidery.

    (Click Image to Enlarge)


    Step 6:
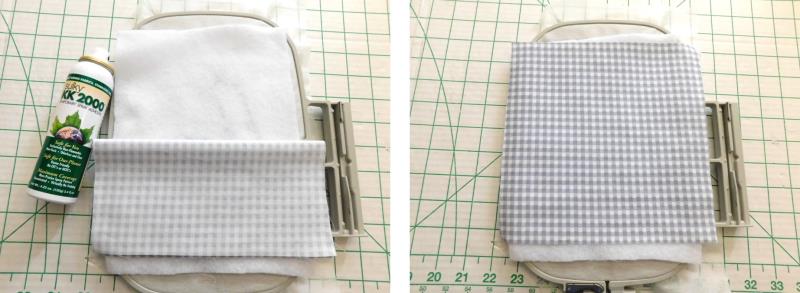
    Spray the back side of the backing fabric and center it over the batting.

    (Click Image to Enlarge)


    Step 7:
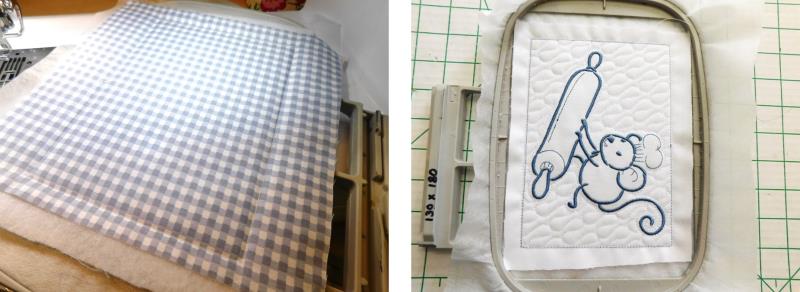
    Place the hoop back on the fabric and stitch Color 4, which tacks the batting and backing fabric down. Stitch Color 5, the quilting.

    (Click Image to Enlarge)


    Step 8:
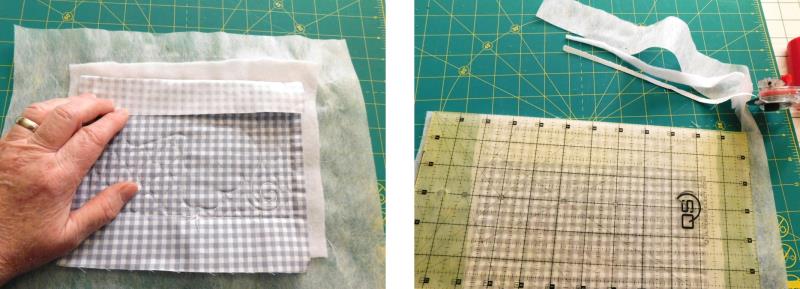
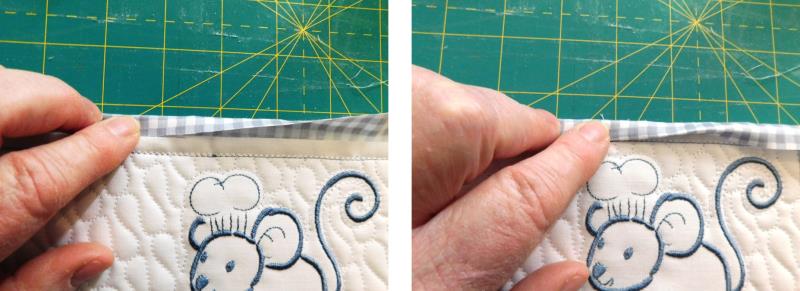
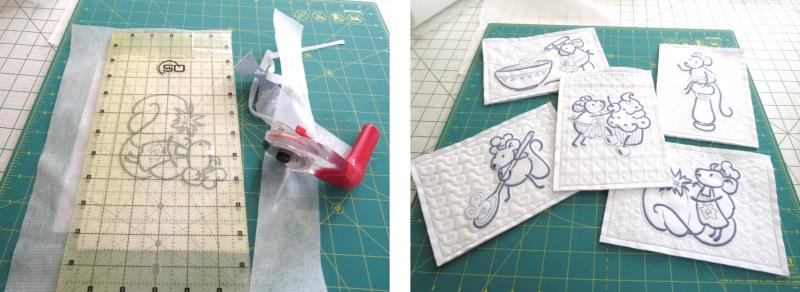
    Remove the hoop from the fabric. There are two ways to bind the quilt. The first way is to use the backing fabric edges cut and folded to the front. To do this, place the embroidery with the back side up. Fold back the edges and trim the front and batting to ¼” all around.

    (Click Image to Enlarge)


    Step 9:
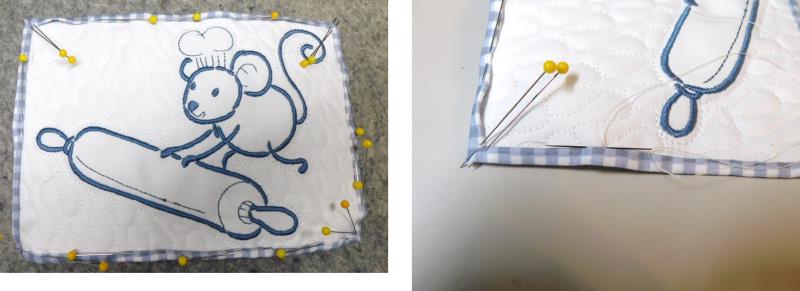
    Now trim the back fabric to ½” beyond the front cut edge. Fold and meet the cut edges, then fold the backing fabric again, over the outer most stitching line of the front as shown and pin in place.

    (Click Image to Enlarge)


    Step 10:
    Repeat for the remaining three sides, mitering the corners. Hand (or machine) stitch the binding in place on the front.

    (Click Image to Enlarge)


    Step 11:
    The mug rug is completed.

    (Click Image to Enlarge)


    Step 12:
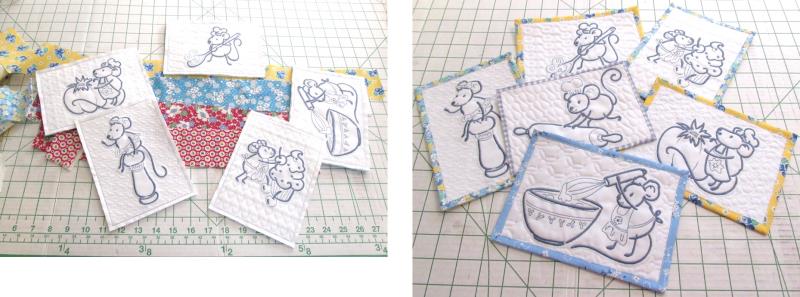
    Another binding option is to trim all three layers ¼” all around.

    (Click Image to Enlarge)


    Step 13:
    Cut binding strips and bind using your favorite method. It is fun using this method to use up scraps of fabric with different ones for the backing and binding.

    (Click Image to Enlarge)


    Step 14:
    Congratulations on completing the ITH Mice Mug Mats! Spend an afternoon creating a set of these for yourself or to gift.

    (Click Image to Enlarge)

    Meet the Author: Ramona Baird
    Ramona Baird
    Ramona Baird has been in the embroidery industry for over 23 years. She and her husband owned a commercial and retail embroidery store in Arizona for many years. She is an experienced digitizer having been mentored by award-winners Pat Williams and Lindee Goodall. Ramona is a contributor to “Creative Machine Embroidery” magazine having 5 covers to her credit. Ramona has worked for Wilcom America and served many years as Education Director for the American Sewing Guild. With a degree in fashion design, she is able to design and execute patterns which Pat Williams says are “out of the box” in creativity and application. Ramona likes to challenge the boundaries of embroidery and bring new and exciting designs, ideas, and projects to EmbroideryDesigns.com. She wants embroiderers of all levels to increase their skills and enjoyment in using their embroidery machine for gift-making and personal pleasure.
    More From This Author
    Link is Broken, Please check the URL
    Exclusive Embroidery Offers!
    Copyright © {{ currentDate | date:'yyyy'}} - EmbroideryDesigns.com
    GET 50% OFF! ×