














































PROJECT INSTRUCTIONS


PROJECT INSTRUCTIONS
Applique Christmas Tree Skirt Embroidery Project
By
Marisa Littleton
on
December 25, 2020
Description
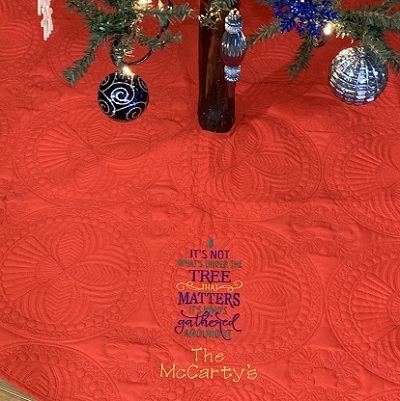
Create a festive atmosphere with this charming applique Christmas tree skirt. Perfect for adding a touch of warmth and elegance to your holiday decor, it beautifully frames your Christmas tree. Step-by-step instructions are included.
Step
of
Materials
Project Preview Video

Tinker Toy Embrilliance
$9.95
Circle Price: $8.96

QUICK VIEW
Tinker Toy
$9.95
Circle Price: $8.96

Under The Tree
$3.99
$2.00
Circle Price: $1.85
Embrilliance Essentials - Software Download
$139.00
Circle Price: $125.10

Cut Away Stabilizer - 2.5 Oz wt.
$8.94
Circle Price: $8.05

Cut Away Stabilizer - 2 oz wt.
$8.52
Circle Price: $7.67



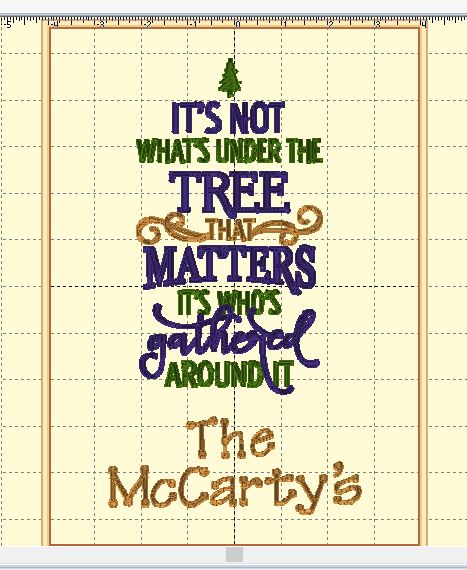
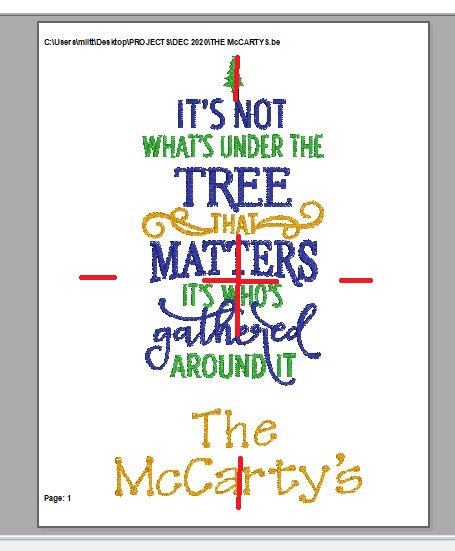
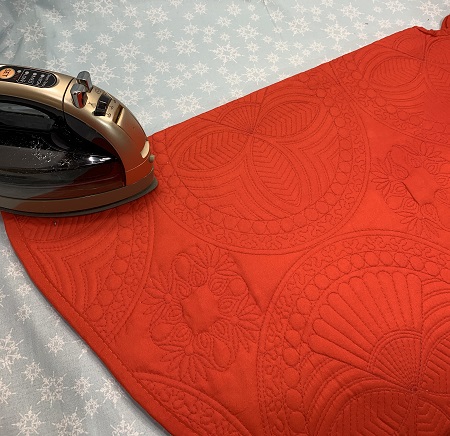
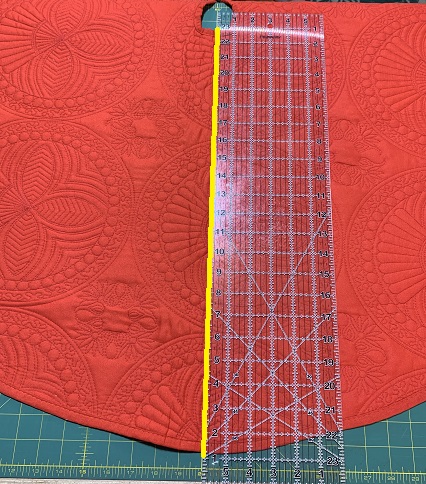
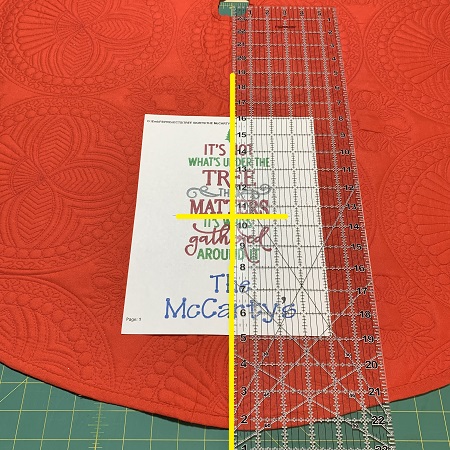
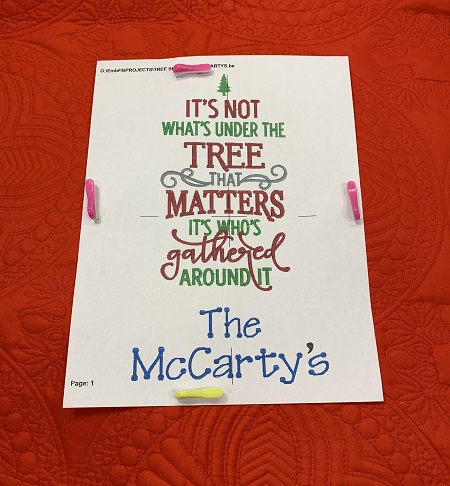
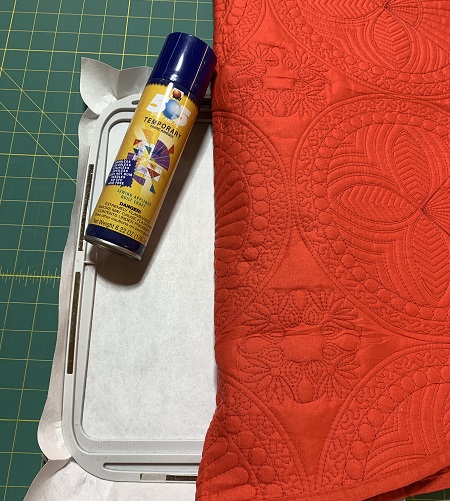
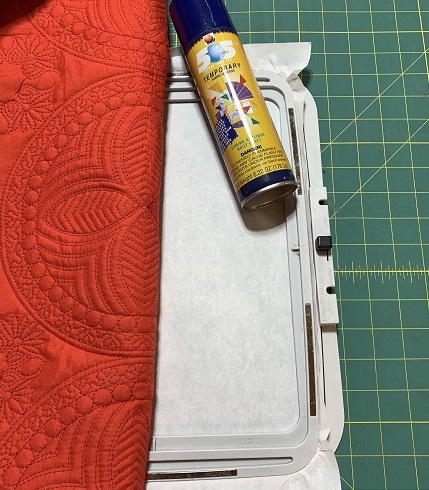
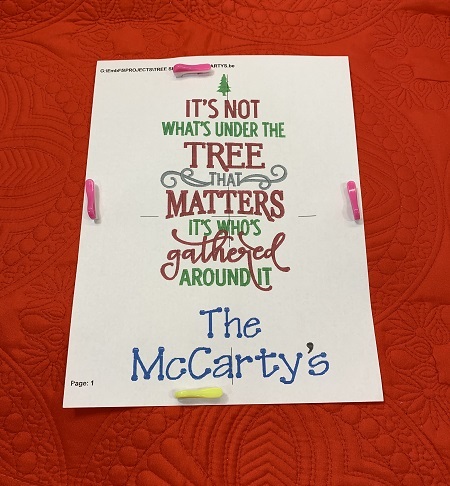
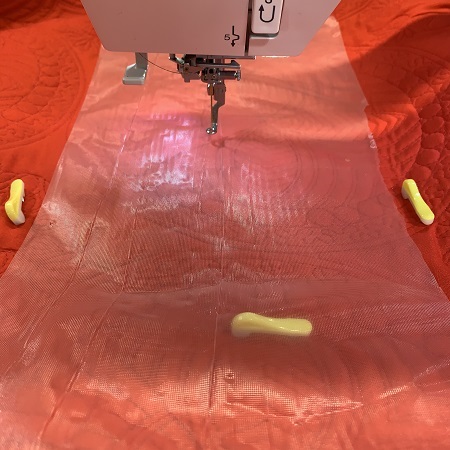
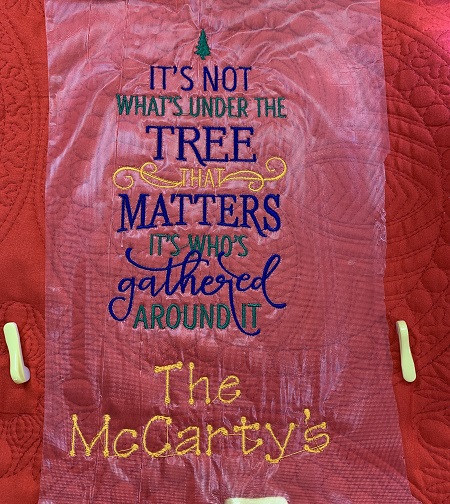
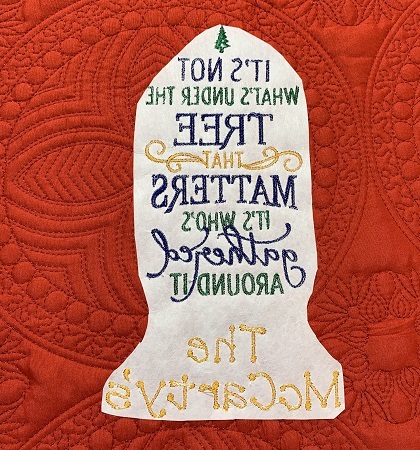
| Materials Design Template 8"x12" hoop (size optional) Cutaway stabilizer (medium weight) Water soluble stabilizer 75/11 or 80/12 embroidery needle Commercial Tree Skirt 40 wt. embroidery thread (Robison-Anton super brite poly) 505 Temporary Adhesive Spray Wonder pins |
| Designs used in this project |
| Final Product: What You Will Create |
 |
|


Sew much fun! Marisa Littleton |
Projects You May Like
Meet the Author:
Marisa Littleton

Marisa Littleton is a retired educator with a love for teaching and learning. Interests include machine embroidery, hand embroidery, quilting, cooking, and antiques.
Feedback
Characters Remaining
Please Login to Submit a Feedback
Invalid Characters, Please enter a valid Comment
Please enter a valid Comment
Reviewed On
Link is Broken, Please check the URL