{{superHeaderAds.title}}
Live Chat
Embroidery Designs
Welcome, Embroiderer
Login
Embroidering Terry Towels
{{mainImageAlt || (productInfo._source && productInfo._source.name) || ''}}

Embroidering Terry Towels Embroidery Project

By   Pat Williams   on   January 10, 2025

PROJECT DETAILS

SKILL LEVEL
Some Experience
TIME REQUIRED
00:30
Description

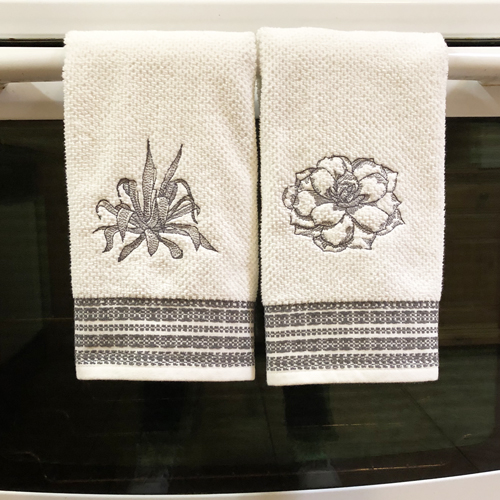
Embroidered dish towels make great gifts for any occasion. See the instructions for two different hooping techniques for terry towels.

Project Preview Video

Materials
  • 5” x 7” embroidery hoop or larger
  • Purchased Terry Cloth Dishtowels
  • Fibrous Water-soluble Stabilizer
  • Water-soluble Topping such as Solvy®
  • Long straight pins or Basting Stitch Function on your embroidery machine
  • Frixion® heat removable pen

  • Designs used in this project

    Final Product: What You Will Create

    Preface:
    Two methods of hooping terry towels are described below. The first is for embroiderers that do not have a “Basting” function on their embroidery machines. The second method is for those that do have a “Basting” function. You can successfully embroider on terry towels with either method.


    Step 1:
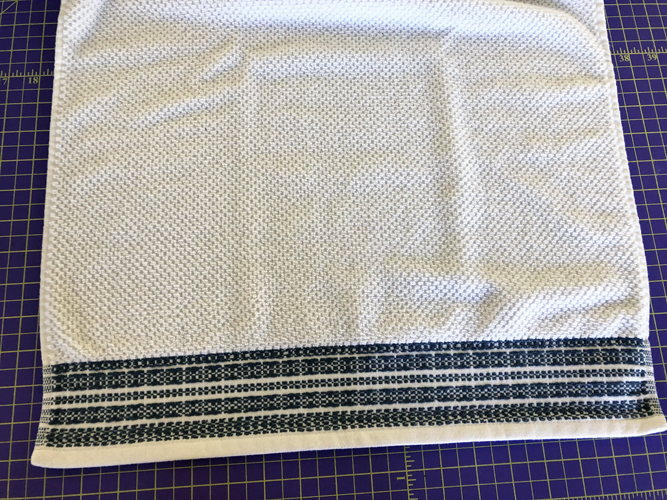
    All cotton terry towels are going to shrink, so wash and dry the towels before beginning.

    (Click Image to Enlarge)


    Step 2:
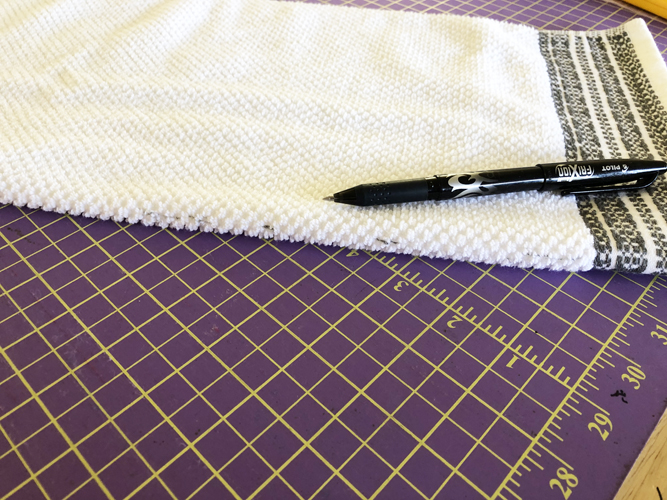
    Fold the towel in half lengthwise and mark the center of the towel for about 10” with a heat removable pen.

    (Click Image to Enlarge)


    Step 3:
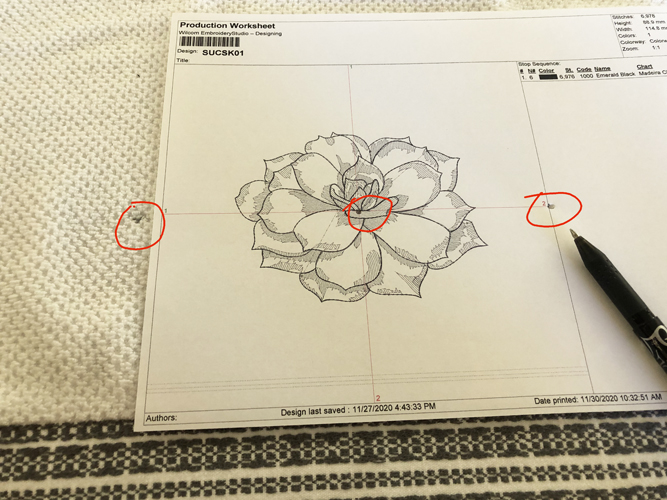
    Print out a run sheet of your design. Place the design the height that you want it to stitch on the towel. Align the center of design vertical line with the marks on the towel. Make marks indicating the vertical placement lines.

    (Click Image to Enlarge)


    Step 4:
    (Click Image to Enlarge)
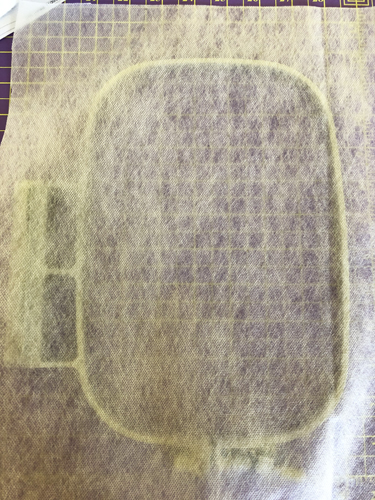
    Tautly hoop 1 layer of fibrous water-soluble stabilizer. The inner hoop ring is not shown in this picture, but you do place in the outer ring and adjust the stabilizer until it is taut.


    Step 5:
    (Click Image to Enlarge)
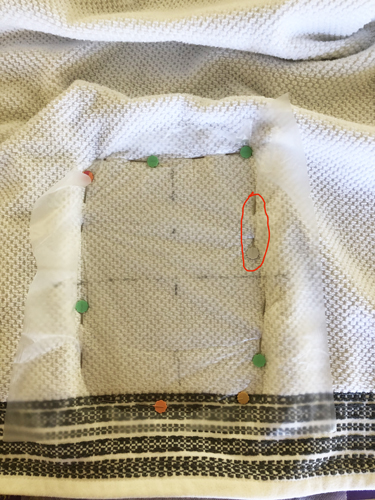
    Layer the towel, covered with a layer of Solvy®, and place it over the stabilizer, aligning your vertical and horizontal marks with the marks on the side of the hoop. If you do not have a baste function on your machine - place long straight pins through all layers along the inside edges of the hoop. The pin circled in red had to be turned around so the presser foot would not hit it after tracing the design in the next step. 


    Step 6:
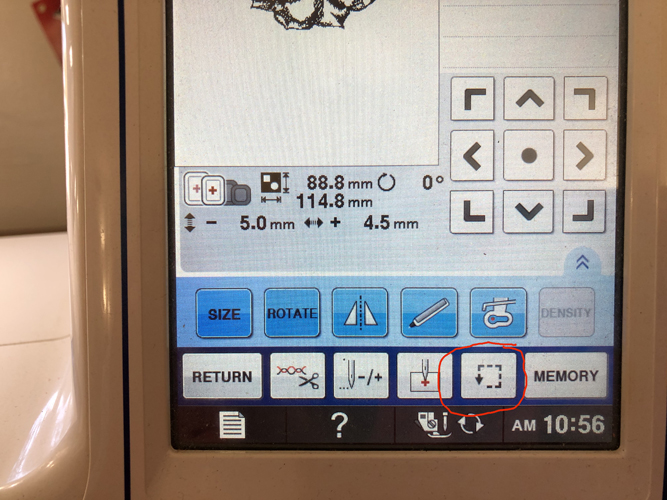
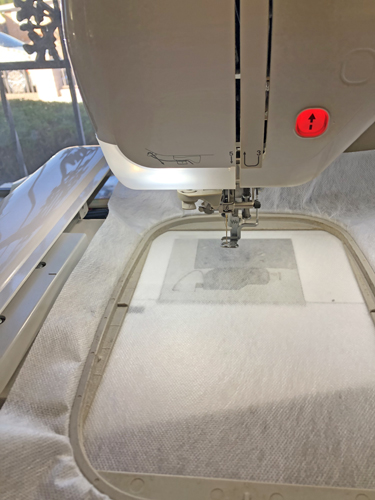
    The icons on your machine may look a little different than mine but locate the trace function on your machine and trace the design to make sure that no part of the presser foot will hit the pins. Consult your manual if you do not know how to trace a design.

    (Click Image to Enlarge)


    Step 7:
    (Click Image to Enlarge)
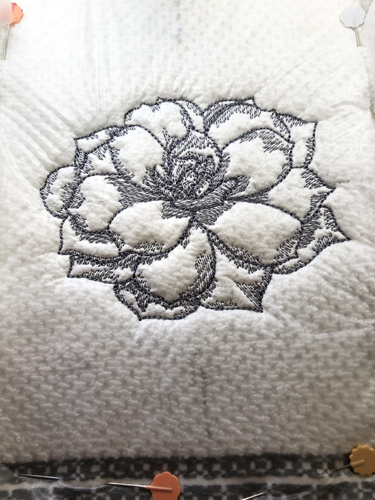
    Run the design. If you are using this method skip to Step 17.


    Step 8:
    (Click Image to Enlarge)
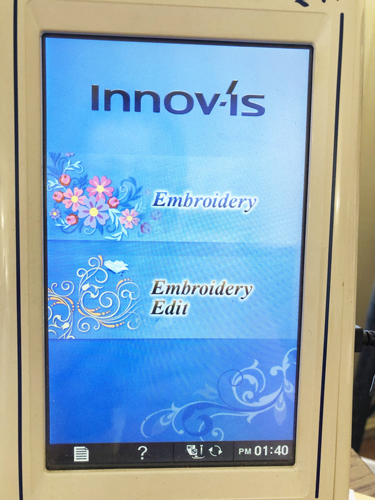
    If you do have a baste function on your machine but have not used it. It should work something like this. Open the design in the Embroidery Edit mode.


    Step 9:
    (Click Image to Enlarge)
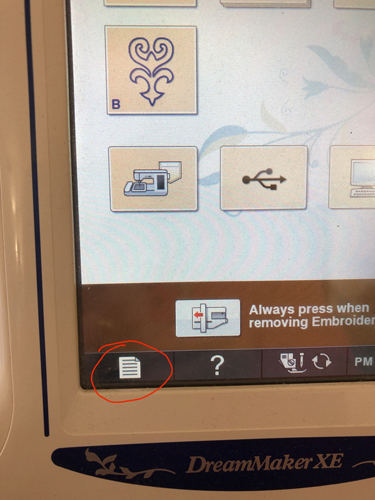
    Open the machine settings pages on your screen.


    Step 10:
    (Click Image to Enlarge)
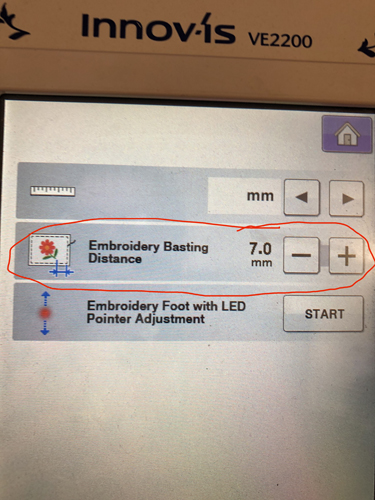
    Scroll through the settings to find the Embroidery Basting Section. This sets how far away from the design the basting will be. I set this one at 7mm which will place the basting stitches about ¼” around the design.


    Step 11:
    (Click Image to Enlarge)
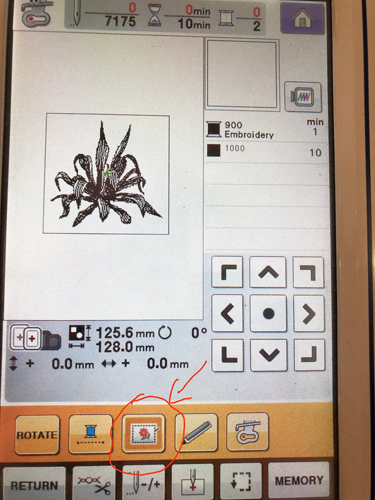
    Open the design and click on the Basting icon which will place the basting stitch around the design.


    Step 12:
    (Click Image to Enlarge)
    Tautly hoop the fibrous water-soluble stabilizer and place the hoop in your machine.


    Step 13:
    (Click Image to Enlarge)
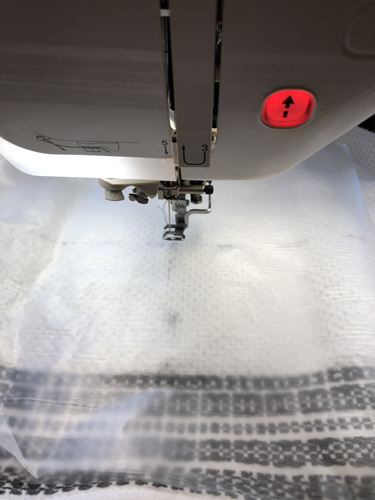
    Lay the towel on top of the hoop centering the center of design marks under the needle. Do not use adhesive spray on the back of the towel as it might pull your loops loose. Lay the Solvy® topping on top of the towel.


    Step 14:
    (Click Image to Enlarge)
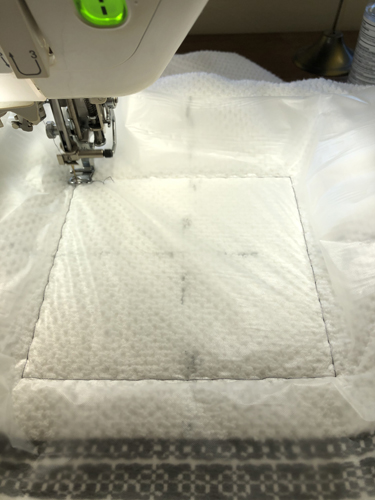
    Run the 1st color-stop (CS) to stitch the basting. You can carefully place your fingers on the towel and the hoop edges to keep the towel from shifting while the basting stitches are sewn but do keep them away from the needle. Your towel and topping are now secured to the stabilizer.


    Step 15:
    (Click Image to Enlarge)
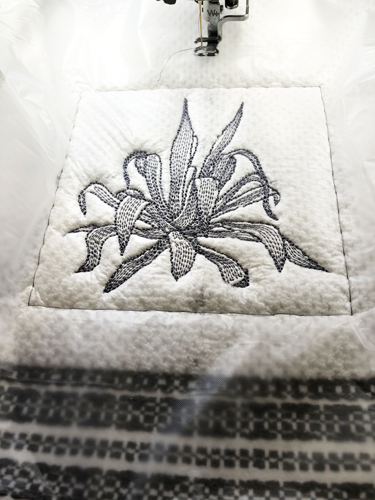
    Run CS 2 to stitch the design.


    Step 16:
    (Click Image to Enlarge)
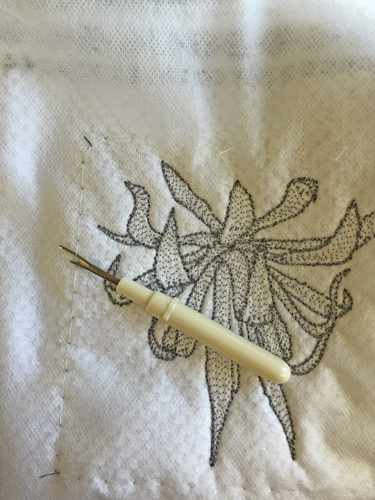
    Cut the basting stitches’ bobbin thread with a seam ripper on the back of the work and pull the top thread away from project.


    Step 17:
    (Click Image to Enlarge)
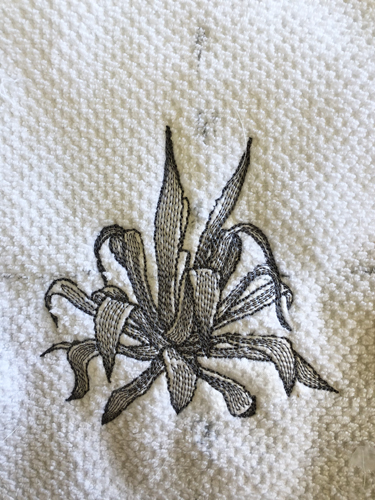
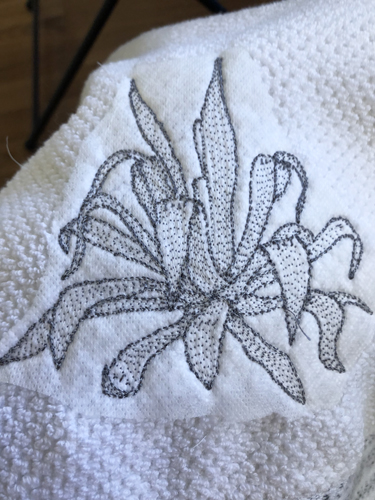
    Tear-away the topping around the design. Do not worry about ripping away the stabilizer in the small open areas as it will wash away when you wash the towel.


    Step 18:
    (Click Image to Enlarge)
    Trim the fibrous water-soluble stabilizer from the back of the towel. Wash the towels to remove the remaining stabilizers.


    Step 19:
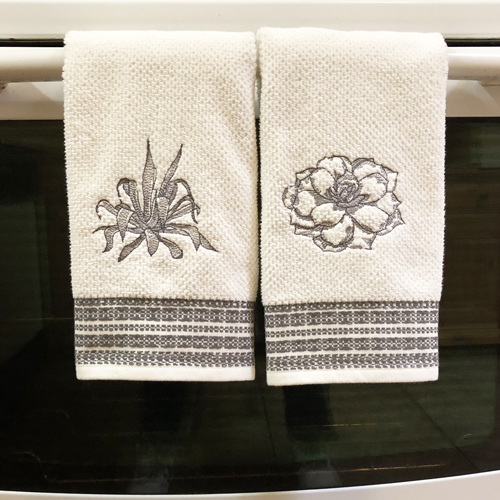
    Congratulations your Terry Towels are complete! Once you hang them on your oven door to check them out, they may not be a gift for anyone. You can always make your friends another set.

    For the love of embroidery…
    Pat Williams
    Meet the Author: Pat Williams
    Pat Williams
    Award winning Digitizer, Embroidery Educator, Author and a Consultant to the Industry, Pat Williams has 30 years of experience in the embroidery industry. Pat has won multiple awards for her digitizing expertise including the 2007 Impressions Awards Grand Championship, Best of Show as well as the 1st and 2nd Place Awards. Pat’s love of digitizing has afforded her the opportunity to write numerous articles for Impressions magazine in the United States and Images Magazine in Europe. In 2001 Pat was named “Embroidery Educator of the Year.” For many years Pat taught digitizing seminars at the ISS Shows in Long Beach, CA and for Compucon software. She now resides in Tucson, AZ.
    More From This Author
    Link is Broken, Please check the URL
    Exclusive Embroidery Offers!
    Copyright © {{ currentDate | date:'yyyy'}} - EmbroideryDesigns.com
    GET 50% OFF! ×