Border OptionsHugging border, circle, square, or rectangle — with a 3mm satin stitch.
Backing OptionsAvailable with iron-on, sew-on, or velcro backing.
Fast ShippingShipped quickly from the USA.
Free Online Tools
Powerful embroidery utilities that save time and prevent costly mistakes.
Stitch AssistantRECOMMENDED
Get the exact stabilizer, machine settings, needle, and thread color sequence for every embroidery design you purchase — based on that design's stitch density, dimensions, and color count.
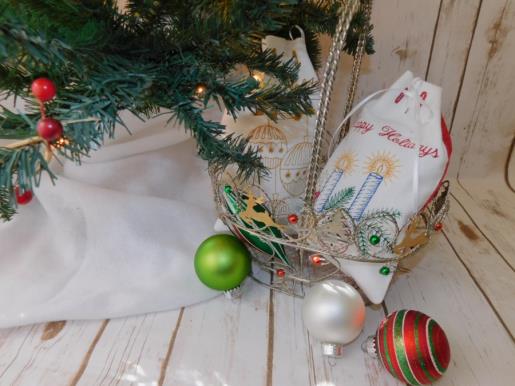
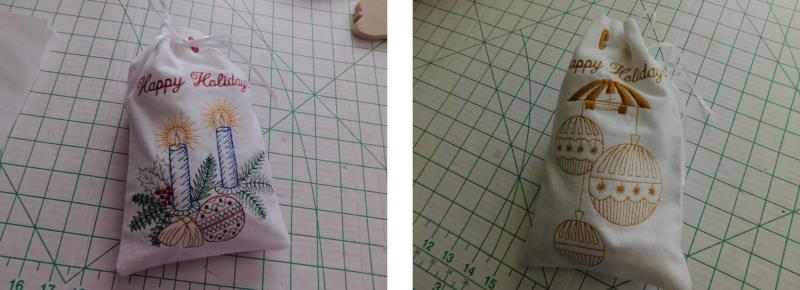
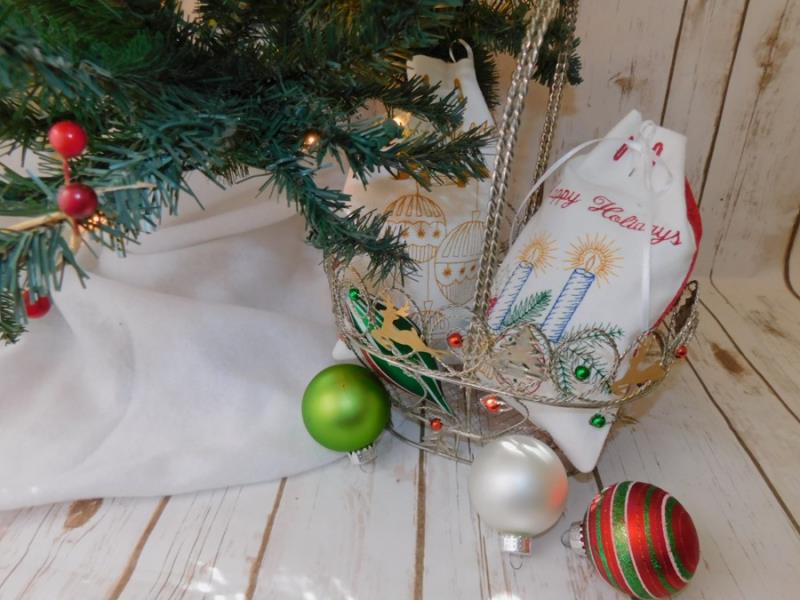
These reusable Christmas gift bags are perfect for holding various presents, from homemade candies to jewelry and gift cards. Durable and festive, they can be used year after year to add a special touch to your holiday gifting. Step-by-step instructions are included.
This is a large ITH design, so before beginning, be sure there is a hoop large enough for your machine. Each bag takes about 1.5-2.0 hours to complete. The backing is completed first, set aside, and then the front is stitched. The last steps are to place the back on top of the front, and then the bag pieces are stitched together in the hoop. Cut and then thread the ribbon through the buttonholes and the bag is ready to add a gift. After doing the first one you’ll find how easy these are to stitch, you’ll want to make these for all your small-item gift giving!
Step 1:
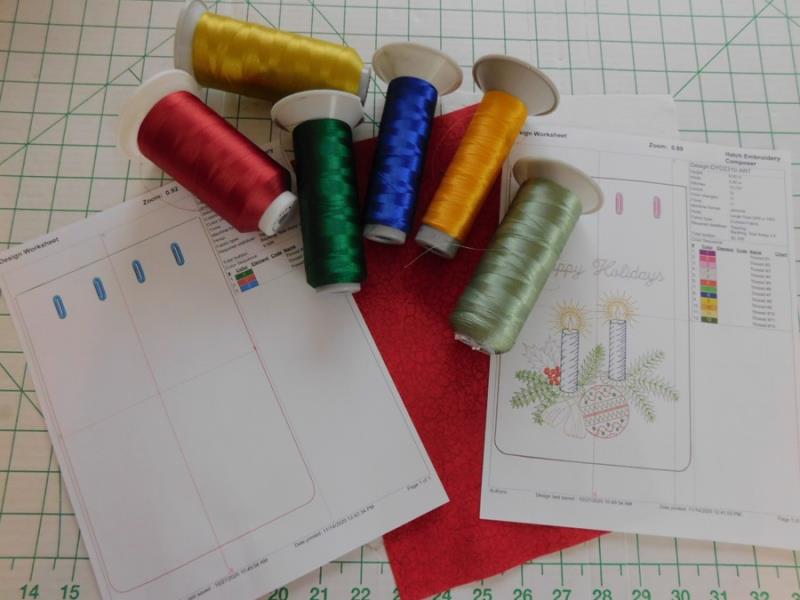
Read through the instructions thoroughly before beginning and assemble all the materials needed to complete the project. For the first bag, cotton fabric was used for the back with matching embroidery thread, and a quality flannel was used for the front. For the second bag stitched, the flannel was used for both the front and back. Print out the color sequence sheets.
(Click Image to Enlarge)
Step 2:
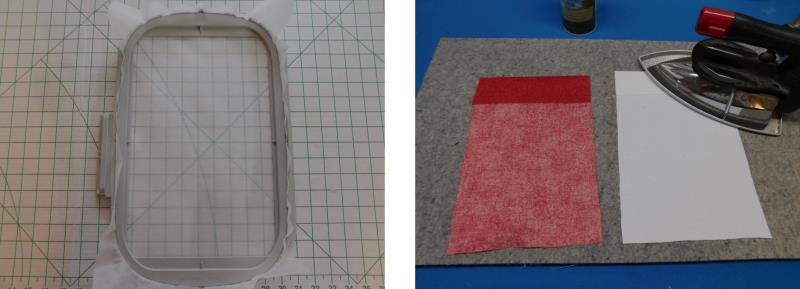
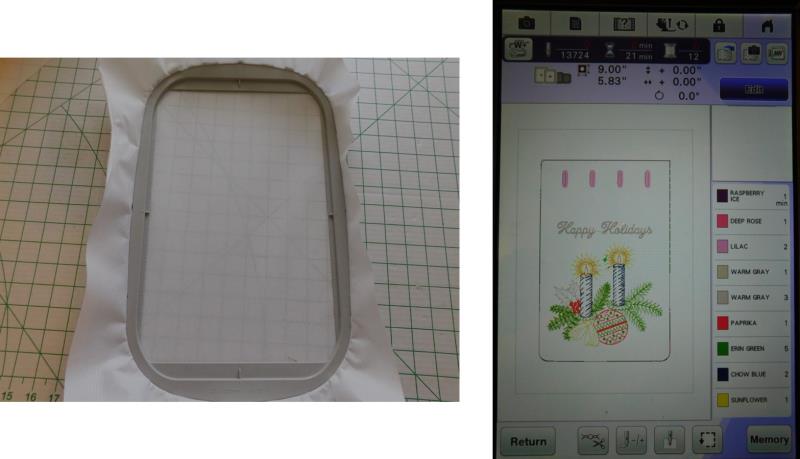
Hoop one layer of poly mesh or tearaway stabilizer. In this project, I tried the poly mesh for the first bag and then switched to tearaway for the second; both worked equally well. Poly mesh was left in the first bag and actually acted like a liner. Press the fabrics well with spray starch. Mark and fold down 2” on one end of each of the fabrics for the buttonhole area. The edge doesn’t need to be finished, but if you’d like pink or serge that edge.
(Click Image to Enlarge)
Step 3:
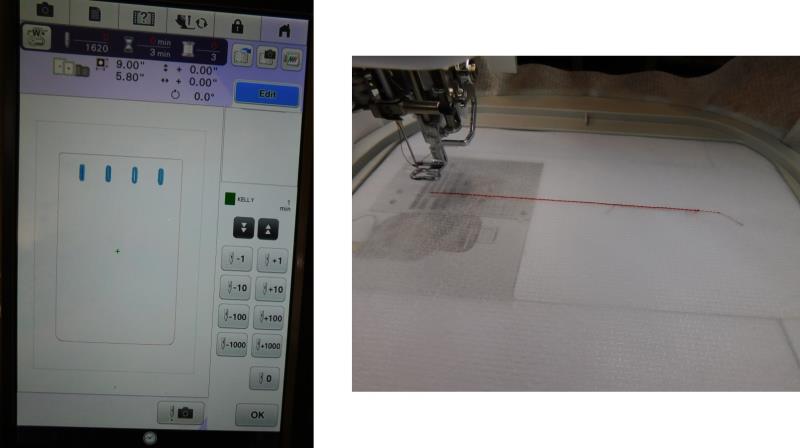
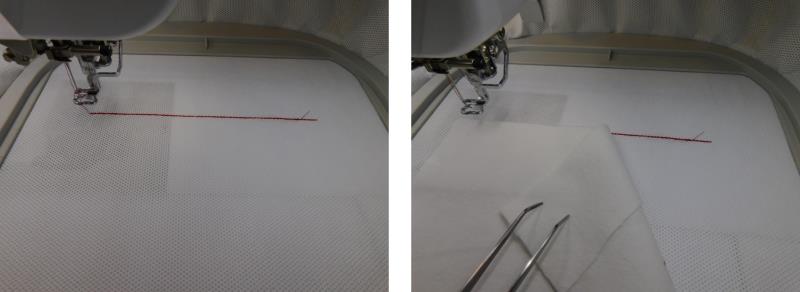
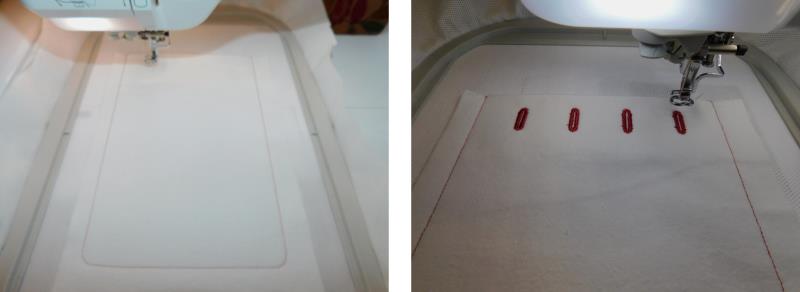
Load the design DYD2334 (blank with buttonholes only) on the machine. Place the hoop on the machine and stitch the first color (this can be the color used for the buttonholes) which is a placement line.
(Click Image to Enlarge)
Step 4:
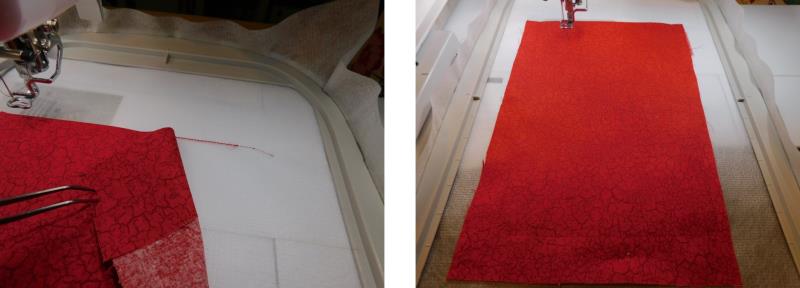
Place the back fabric, wrong side down on top of the stabilizer; line the folded top edge of the fabric along the placement line, centering the fabric. Stitch color two which will tack the fabric down in the bag’s shape.
(Click Image to Enlarge)
Step 5:
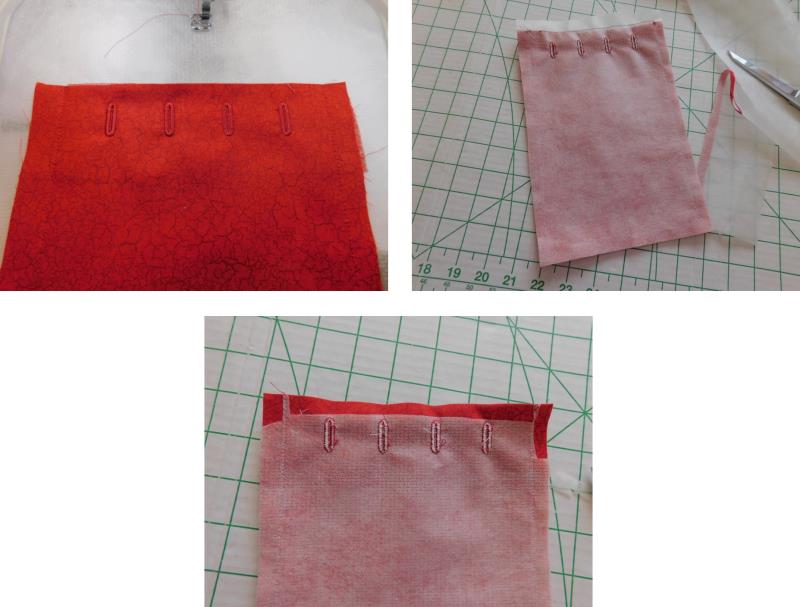
Stitch color three, the buttonholes. Remove the fabric from the hoop and trim as shown if using poly mesh stabilizer. Trim away from the placement line about ½”. If using tearaway then just remove all the stabilizer.
(Click Image to Enlarge)
Step 6:
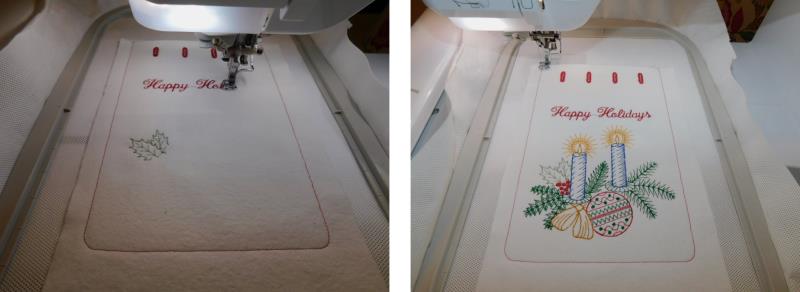
Now to stitch the bag front. Hoop poly mesh (or tearaway) stabilizer. Load the chosen front bag design on the machine.
(Click Image to Enlarge)
Step 7:
Stitch color one, the placement line. Place the front fabric, wrong side down on top of the stabilizer aligning the folded edge of the fabric to the placement line, centering it on the line.
(Click Image to Enlarge)
Step 8:
Stitch color two, the tackdown/bag shape. Stitch color three, the buttonholes.
(Click Image to Enlarge)
Step 9:
Continue stitching following the color sequence until the front design is done.
(Click Image to Enlarge)
Step 10:
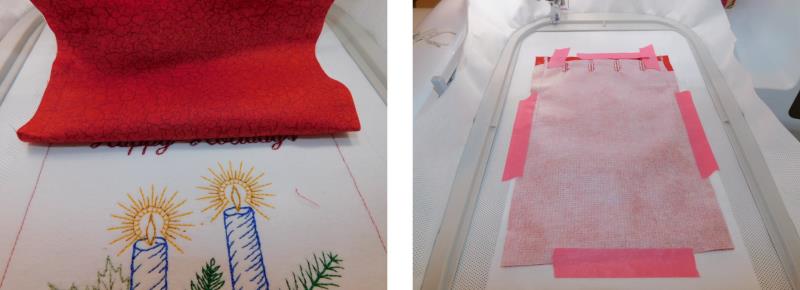
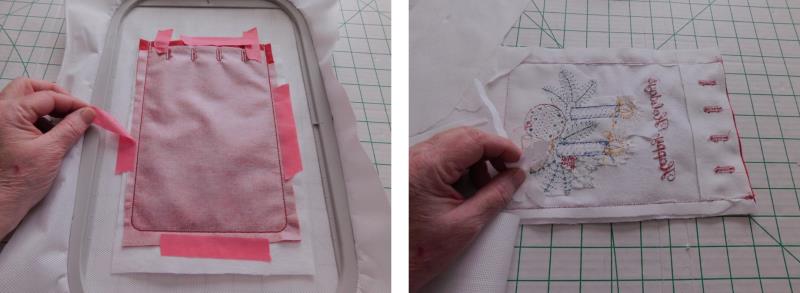
The machine will stop allowing placement of the fabric back, right side down, on top of the bag front. Align the top of the bag back exactly on top of the bag front matching folded lines and bag stitching lines. Use embroidery or painters’ tape to hold the bag back in position—just be sure to keep the tape out of the stitching area which will be right over the previous bag outline stitching.
(Click Image to Enlarge)
Step 11:
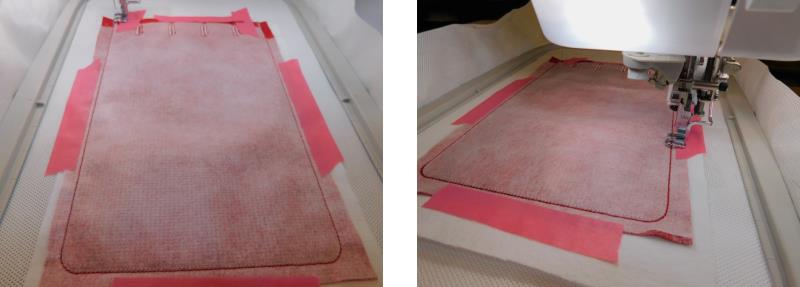
Stitch the final colors. The next to last stitching will be stitching the bags together and the last color to stitch will be a reinforcement stitch over the previous stitching.
(Click Image to Enlarge)
Step 12:
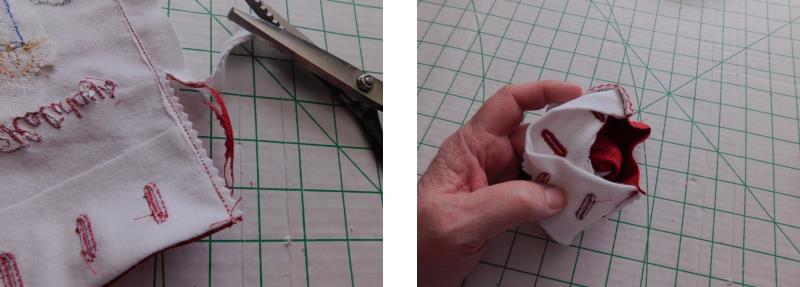
After the stitching is completed, remove the hoop from the machine and carefully remove all the tape. Trim the piece so there is about ½” around the outer edges; also trim the excess stabilizer from the top of the front around the buttonholes and seam allowances.
(Click Image to Enlarge)
Step 13:
Pink or otherwise finish the seam allowance around the bag and turn the bag right side out, forming the corners well. Press the bag.
(Click Image to Enlarge)
Step 14:
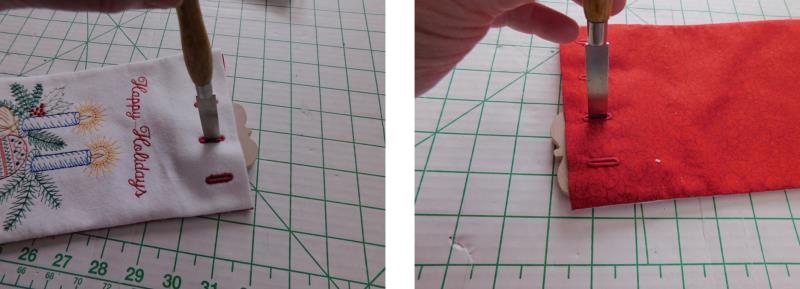
Use the buttonhole cutter with a block to open the buttonholes.
(Click Image to Enlarge)
Step 15:
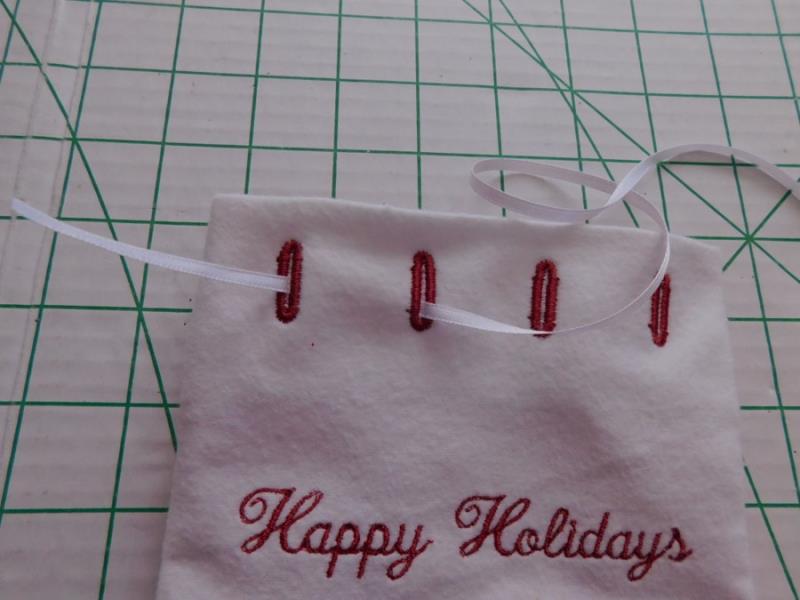
Thread the ribbon weaving it in and out through the buttonholes.
(Click Image to Enlarge)
Step 16:
Insert the gift and then tie the bag. Repeat all the steps for creating more gift bags.
(Click Image to Enlarge)
Step 17:
Congratulations! You now have beautiful gift bags for the holiday gift giving season. If adding homemade food gifts to the bags, please be sure to insert the food into food-grade bags before inserting into the embroidered gift bags.
Ramona Baird has been in the embroidery industry for over 23 years. She and her husband owned a commercial and retail embroidery store in Arizona for many years. She is an experienced digitizer having been mentored by award-winners Pat Williams and Lindee Goodall. Ramona is a contributor to “Creative Machine Embroidery” magazine having 5 covers to her credit. Ramona has worked for Wilcom America and served many years as Education Director for the American Sewing Guild. With a degree in fashion design, she is able to design and execute patterns which Pat Williams says are “out of the box” in creativity and application. Ramona likes to challenge the boundaries of embroidery and bring new and exciting designs, ideas, and projects to EmbroideryDesigns.com. She wants embroiderers of all levels to increase their skills and enjoyment in using their embroidery machine for gift-making and personal pleasure.