Border OptionsHugging border, circle, square, or rectangle — with a 3mm satin stitch.
Backing OptionsAvailable with iron-on, sew-on, or velcro backing.
Fast ShippingShipped quickly from the USA.
Free Online Tools
Powerful embroidery utilities that save time and prevent costly mistakes.
Stitch AssistantRECOMMENDED
Get the exact stabilizer, machine settings, needle, and thread color sequence for every embroidery design you purchase — based on that design's stitch density, dimensions, and color count.
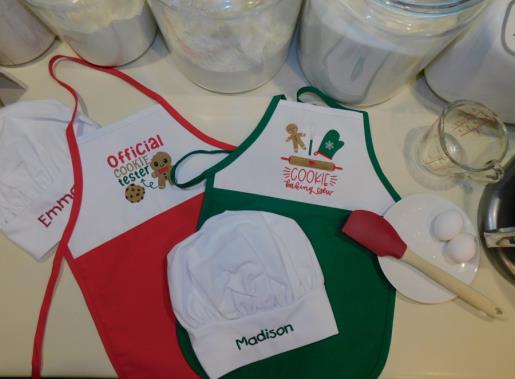
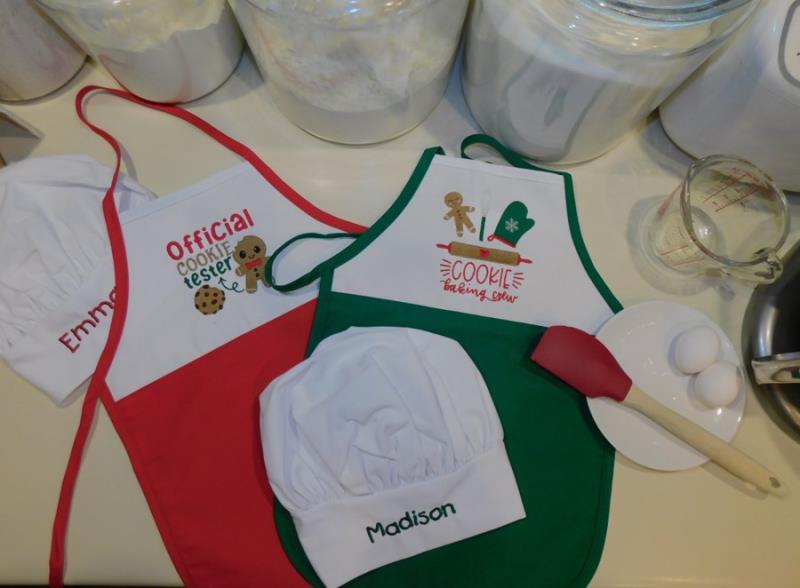
After Thanksgiving dinner is the perfect time to give children the first gift of the season and have them anticipate the holiday baking season coming up. Little ones will be thrilled to get their very own apron and chef’s hat--why include a cookie cutter, too! The time stated is to do a set of two aprons and two chef’s hats.
Step 1:
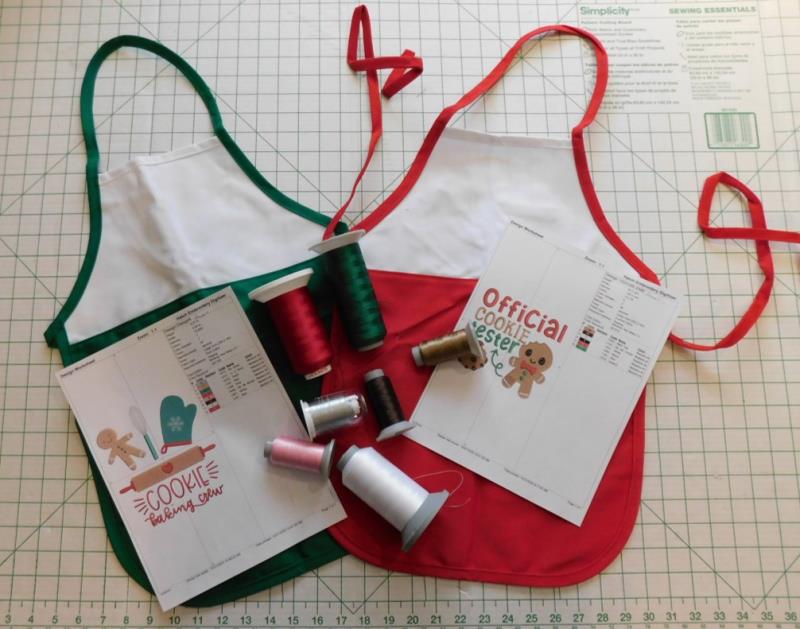
Read through the instructions thoroughly before beginning and assemble all the materials needed to complete the project. Print a paper template of each design. These aprons and hats can be completed quickly in an afternoon. Determine which design will be sewn on which apron and if using software, set up the names for the chef’s hats.
(Click Image to Enlarge)
Step 2:
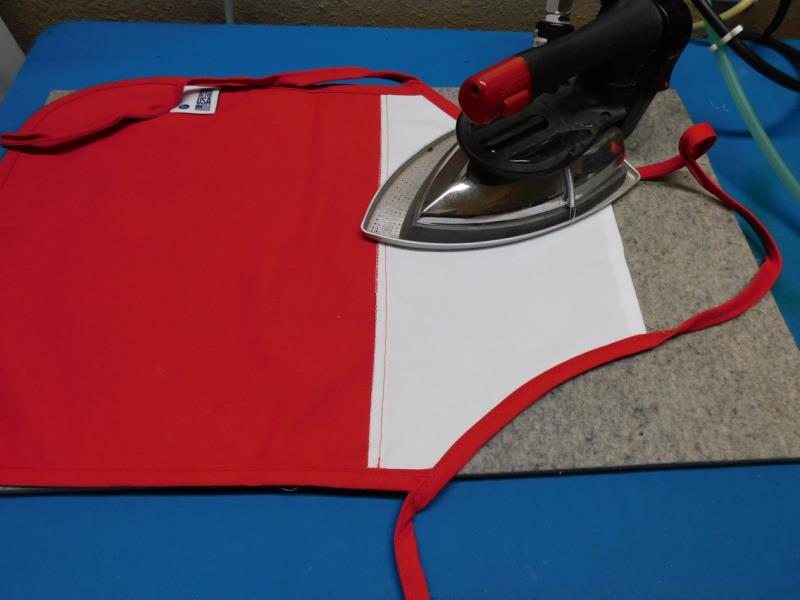
Press the apron well, using spray starch if needed.
(Click Image to Enlarge)
Step 3:
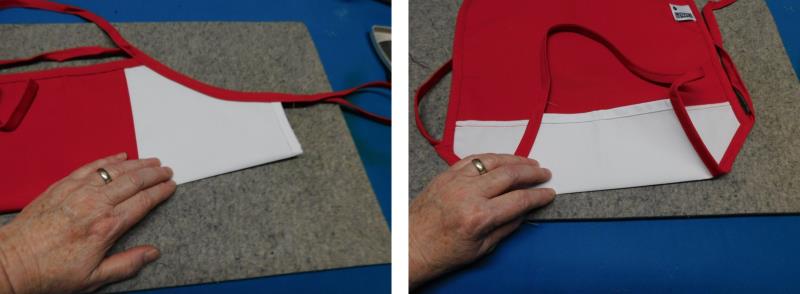
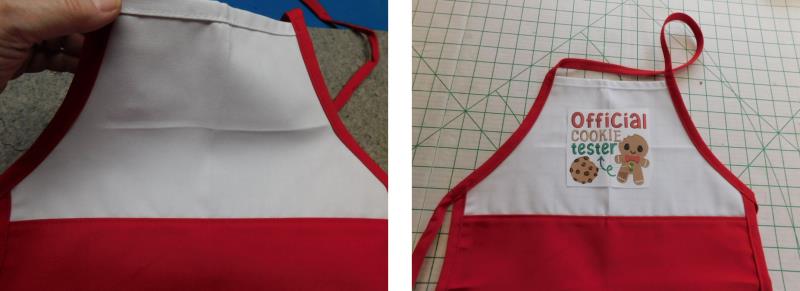
To create a center point for the design alignment, fold the apron in half first lengthwise on the bib, and then crosswise; gently crease in a fold each way.
(Click Image to Enlarge)
Step 4:
Cut out the design from the paper. Align the cross hairs of the design to the creases on the apron.
(Click Image to Enlarge)
Step 5:
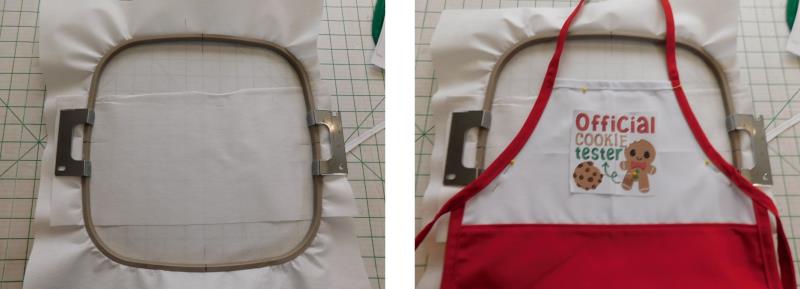
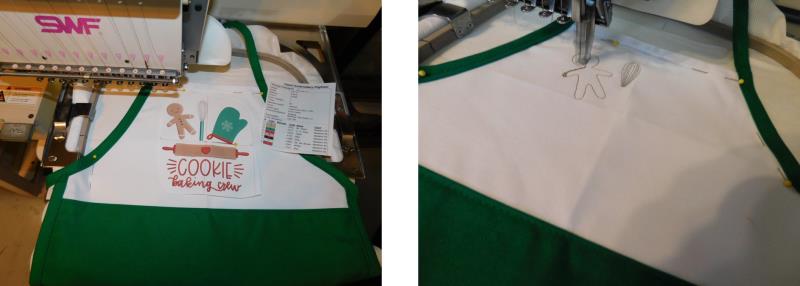
Hoop a piece of tearaway stabilizer—I like to use another half piece in the center if the design has quite a few stitches. Using temporary spray adhesive, affix the apron bib to the center of the hoop. Additionally, if needed place painters’ tape or pins around the apron bib—be sure to keep the pins or tape out of the stitching field.
(Click Image to Enlarge)
Step 6:
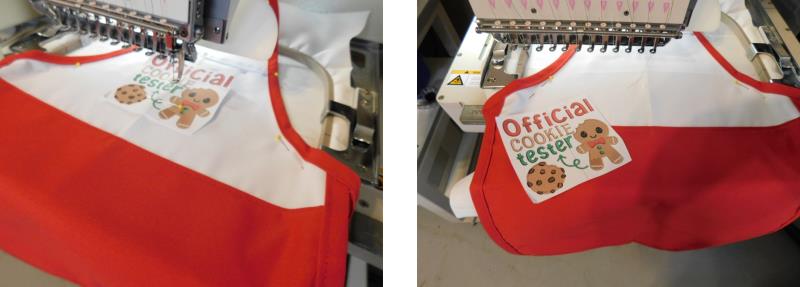
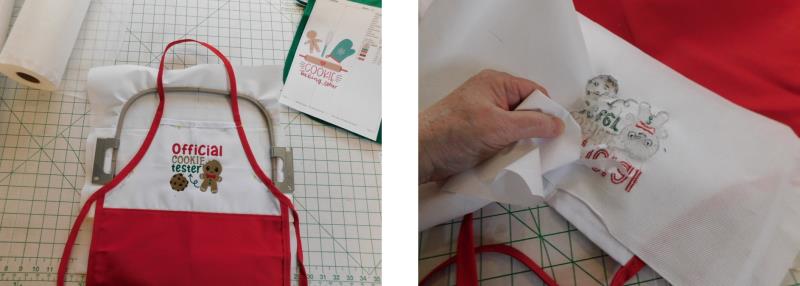
Load the “Official Cookie Tester” design on the machine. Place the hoop on the machine and align the needle to the center of the template. Remove the paper template.
(Click Image to Enlarge)
Step 7:
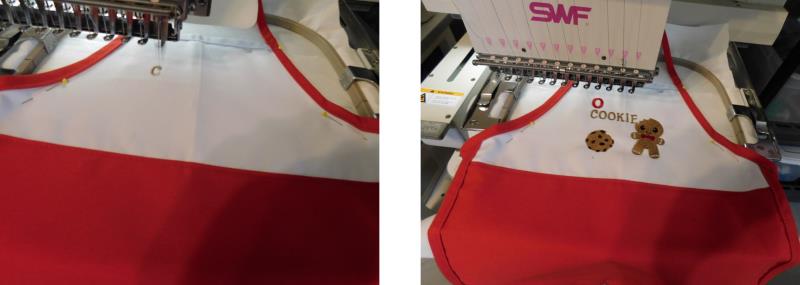
Stitch the design following the color sequence with the chosen thread colors.
(Click Image to Enlarge)
Step 8:
After the design has finished stitching, remove the apron and stabilizer from the hoop. Remove the excess stabilizer from the back of the design.
(Click Image to Enlarge)
Step 9:
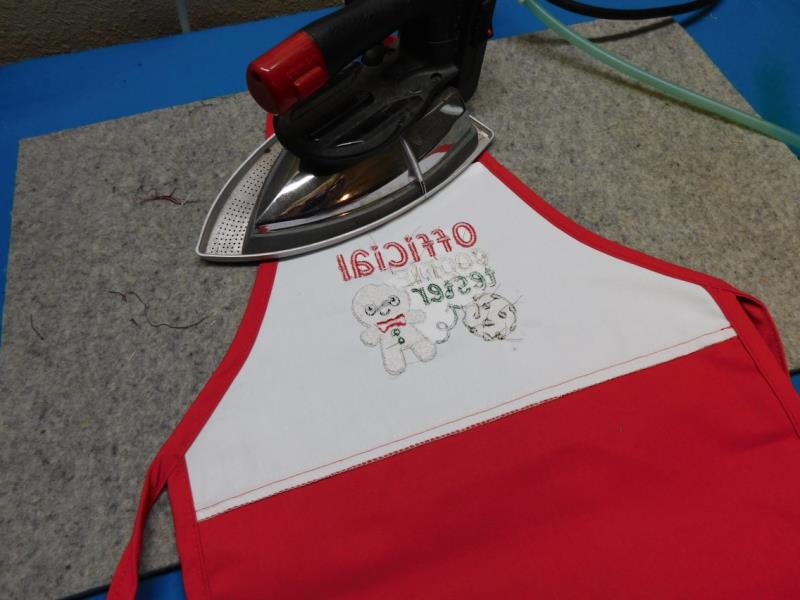
Carefully press the apron.
(Click Image to Enlarge)
Step 10:
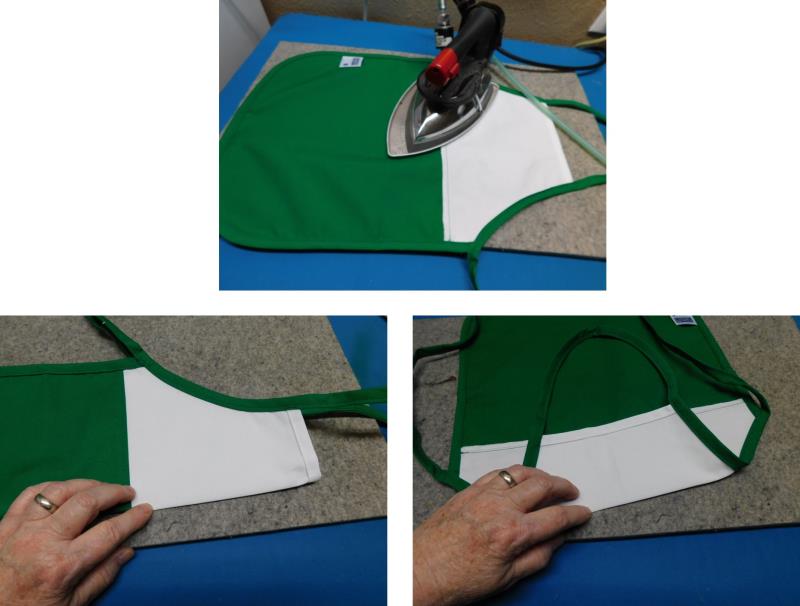
Repeat the steps for stitching the second apron. Press the apron and then fold the bib to create the crease marks. Cut out the design of the paper template.
(Click Image to Enlarge)
Step 11:
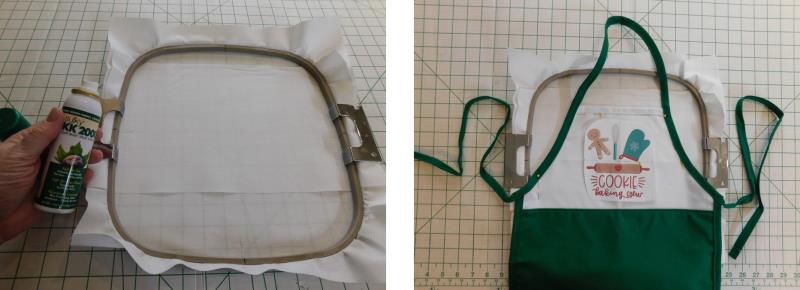
Hoop the stabilizer, use the spray adhesive to secure the bib of the apron to the center of the hoop; pin the bib of the apron in place if necessary.
(Click Image to Enlarge)
Step 12:
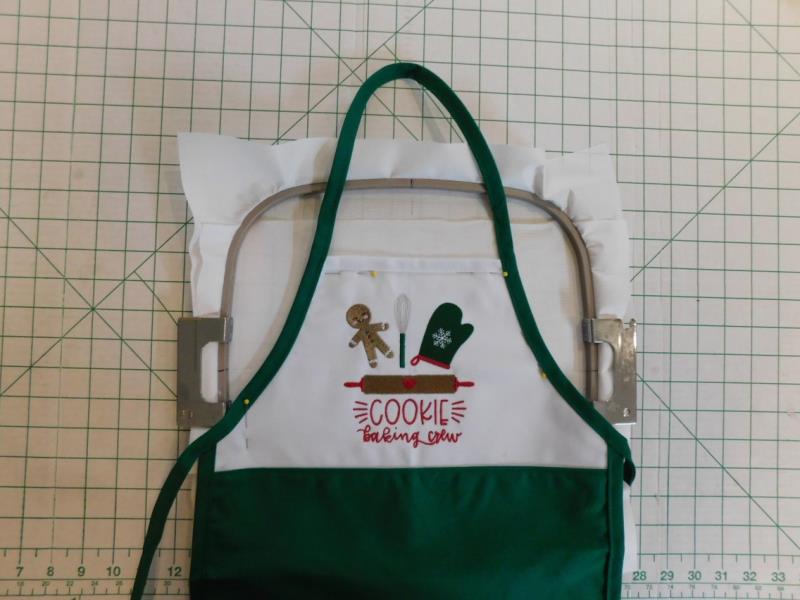
Load the “Cookie Baking Crew” design on the machine, place the hoop on the machine, center the needle, remove the paper template, and stitch the design.
(Click Image to Enlarge)
Step 13:
After the design has finished stitching, remove the apron and stabilizer from the hoop, and remove the excess stabilizer from the back of the apron.
(Click Image to Enlarge)
Step 14:
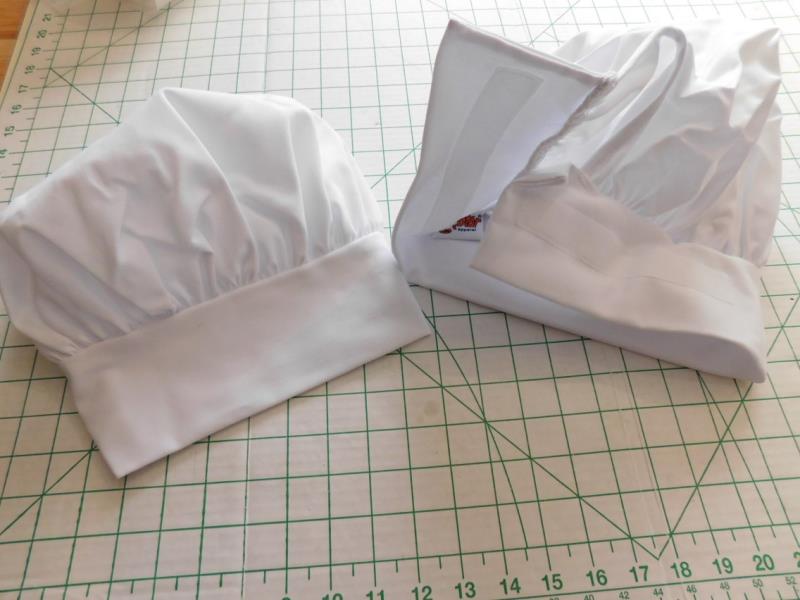
These chef’s hats have hook and loop tape on the back which make them easy to embroider and adjustable for sizing to a child’s head.
(Click Image to Enlarge)
Step 15:
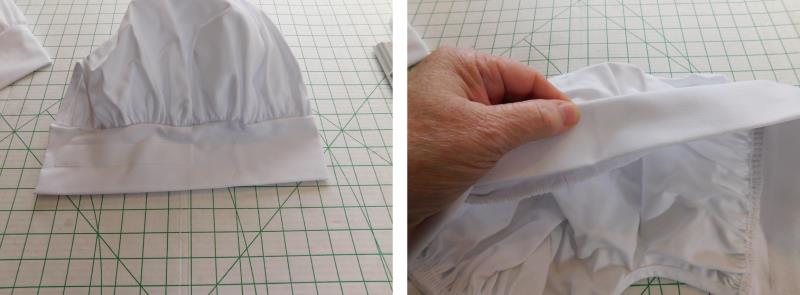
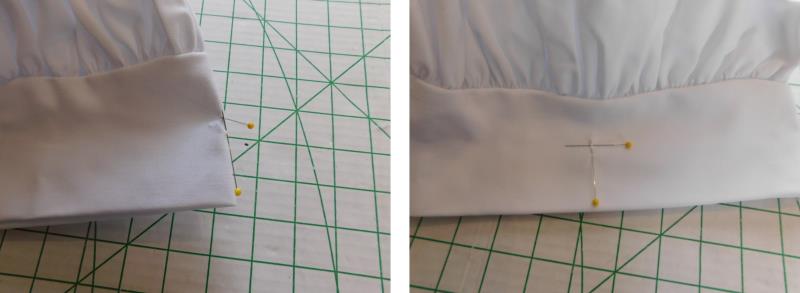
Find the center point for the front of the cap to center the embroidery. Fold the hat in half lengthwise and mark the fold with a pin. Now fold the band in half from the fold to the seam line and mark with a pin.
(Click Image to Enlarge)
Step 16:
The embroidery will be centered at this point.
(Click Image to Enlarge)
Step 17:
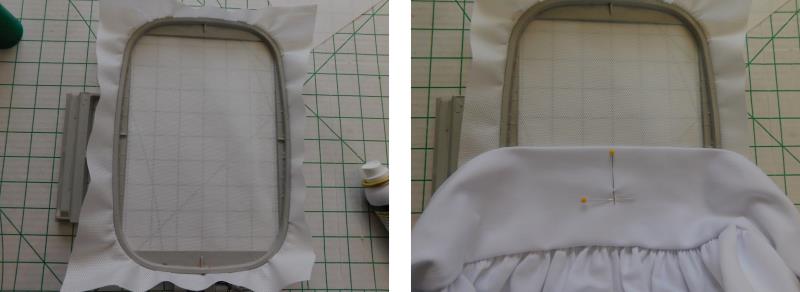
Hoop one layer of tearaway stabilizer. Use a gridded mat and align the hoop marks to the grid—this aids in the alignment of the fold of the band to the hoop.
(Click Image to Enlarge)
Step 18:
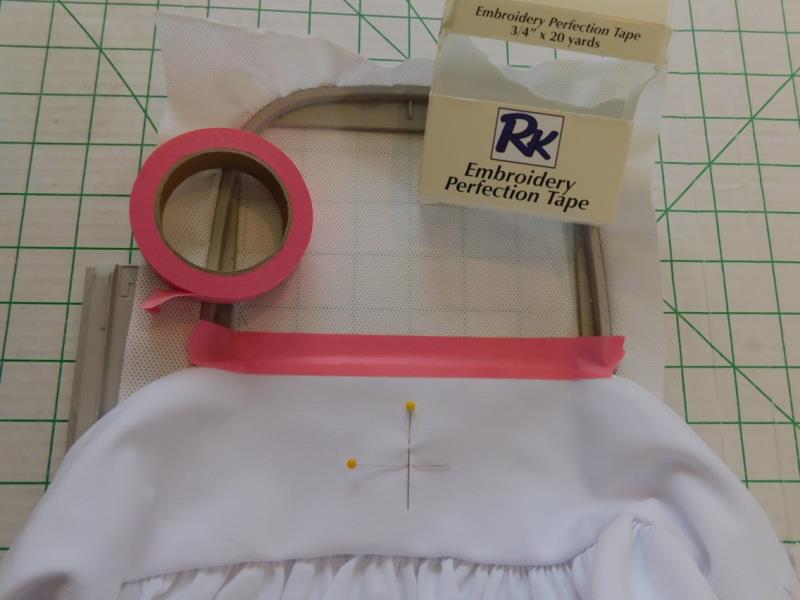
Use embroidery tape to hold the fold of the band in place on the stabilizer.
(Click Image to Enlarge)
Step 19:
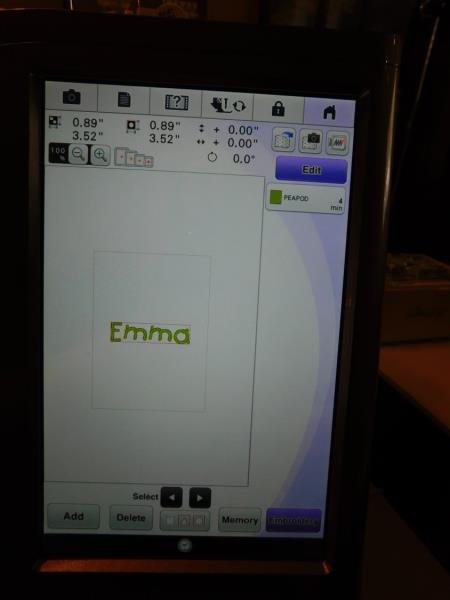
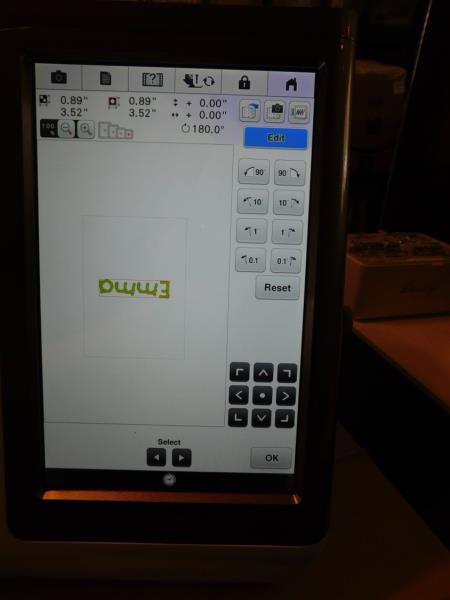
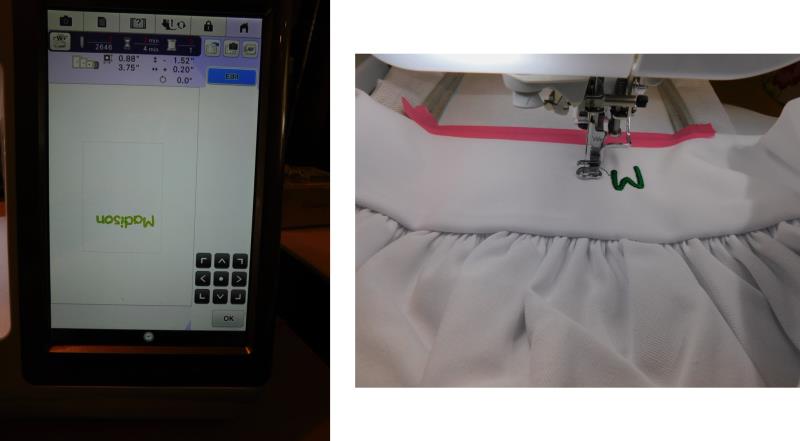
Load the prepared name on the machine—this can be done using embroidery software or with the lettering in the machine.
(Click Image to Enlarge)
Step 20:
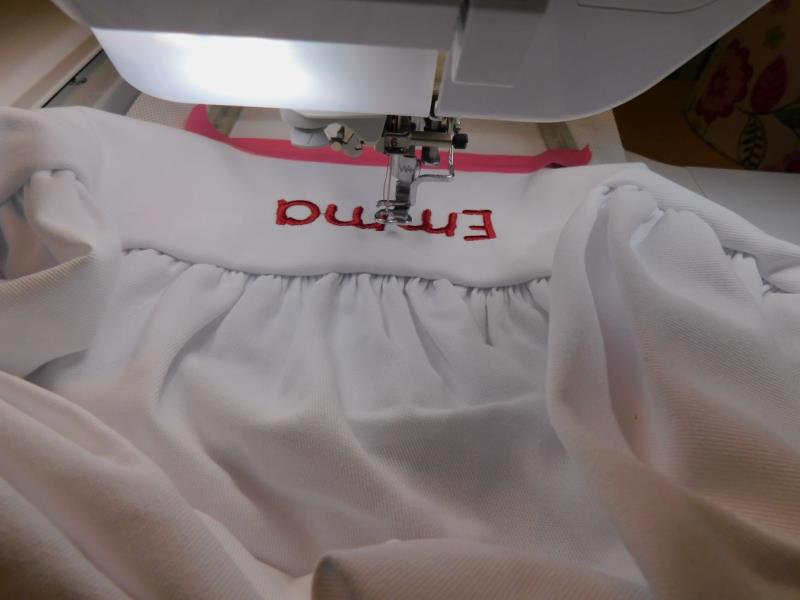
Rotate the name 180 degrees so it will stitch properly on the cap.
(Click Image to Enlarge)
Step 21:
Carefully load the frame on the machine; be sure the excess part of the cap is out from under the hoop. Align the name to the center mark on the band and stitch the name in the chosen color. Remove the cap from the frame and remove the excess stabilizer.
(Click Image to Enlarge)
Step 22:
Repeat steps 15-21 for embroidering the name on the second chef’s hat.
(Click Image to Enlarge)
Step 23:
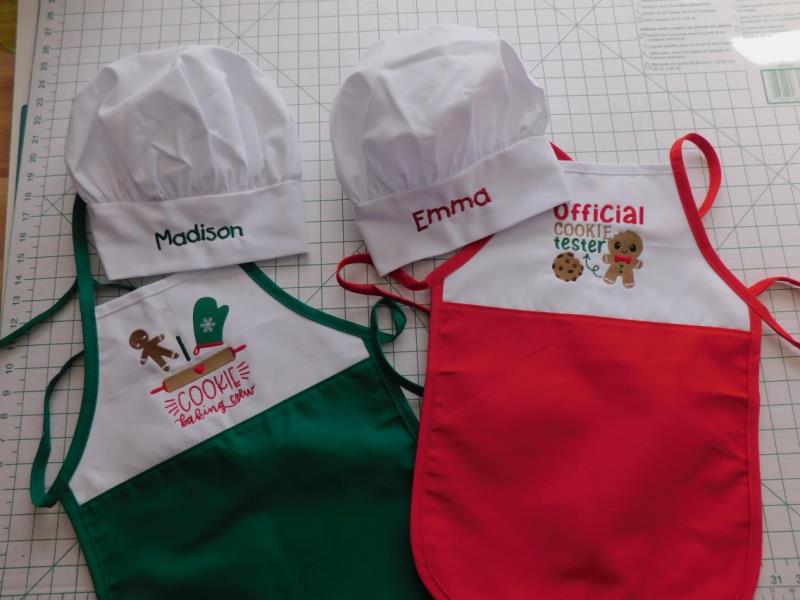
For this project, the thread color for the names were matched to the main color of the apron.
(Click Image to Enlarge)
Step 24:
Congratulations on creating a great gift for aspiring little bakers. These sets will be given to the little girls after Thanksgiving dinner so they’ll be all set for holiday cookie making time.
Ramona Baird has been in the embroidery industry for over 23 years. She and her husband owned a commercial and retail embroidery store in Arizona for many years. She is an experienced digitizer having been mentored by award-winners Pat Williams and Lindee Goodall. Ramona is a contributor to “Creative Machine Embroidery” magazine having 5 covers to her credit. Ramona has worked for Wilcom America and served many years as Education Director for the American Sewing Guild. With a degree in fashion design, she is able to design and execute patterns which Pat Williams says are “out of the box” in creativity and application. Ramona likes to challenge the boundaries of embroidery and bring new and exciting designs, ideas, and projects to EmbroideryDesigns.com. She wants embroiderers of all levels to increase their skills and enjoyment in using their embroidery machine for gift-making and personal pleasure.